Download Assets
description
It’s day 20 of our series! Learn how to color correct photos in ACR. This tutorial covers using the White Balance tool and the handy Auto feature in the Camera Raw filter to fix issues like incorrect white balance in your images.
Follow along with all 30 episodes as we explore the the magic of Photoshop together!
Watch Next
JOIN 30 DAYS OF PHOTOSHOP (FOR FREE!)
Ready to jump in? Sign up and we’ll email you a printable calendar and daily class schedule so you can get started right away!
Image Source
- Mohammad Amin
Images sourced from Unsplash.
Share
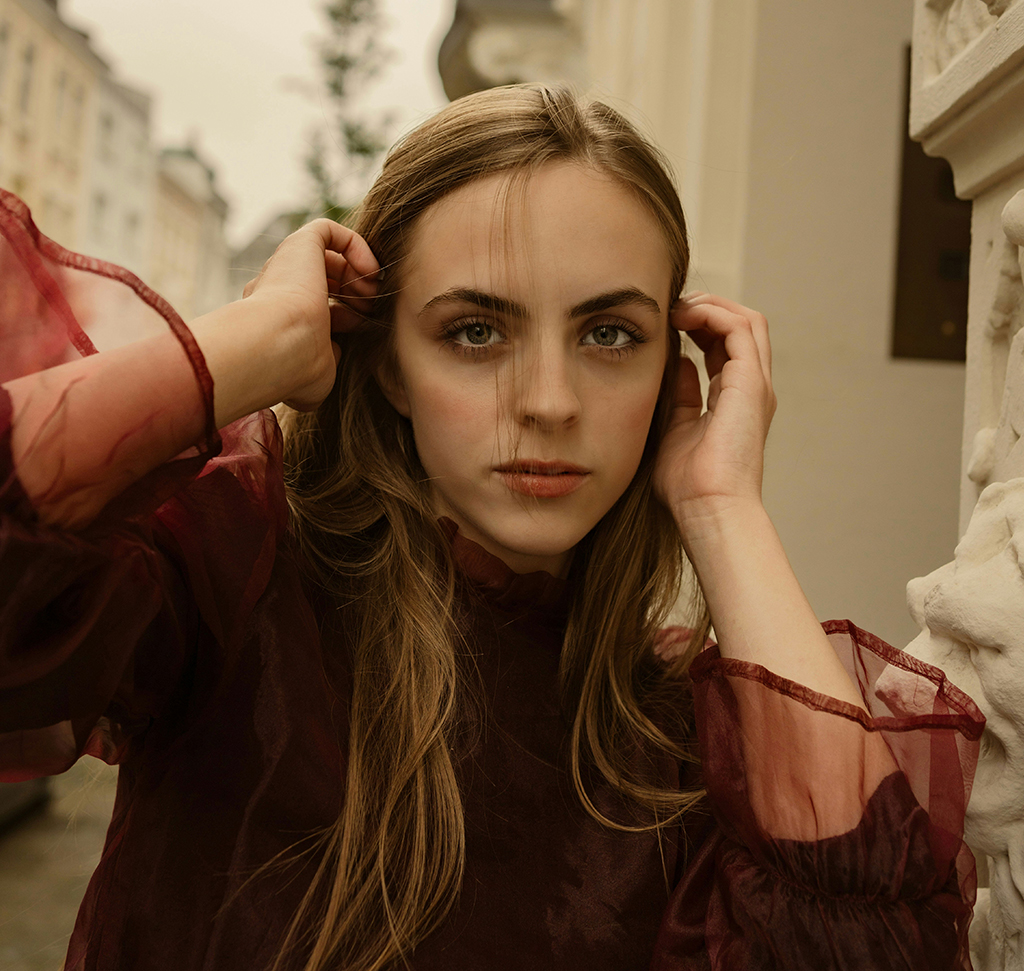
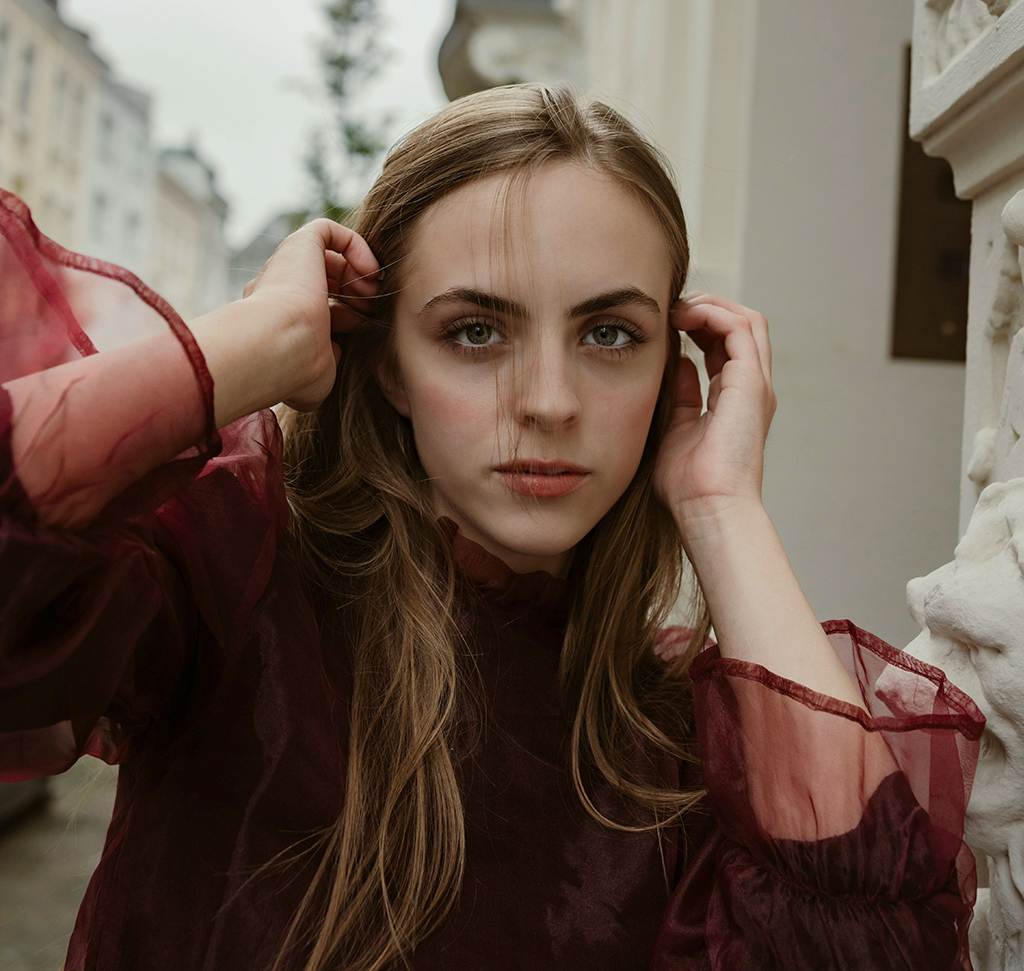
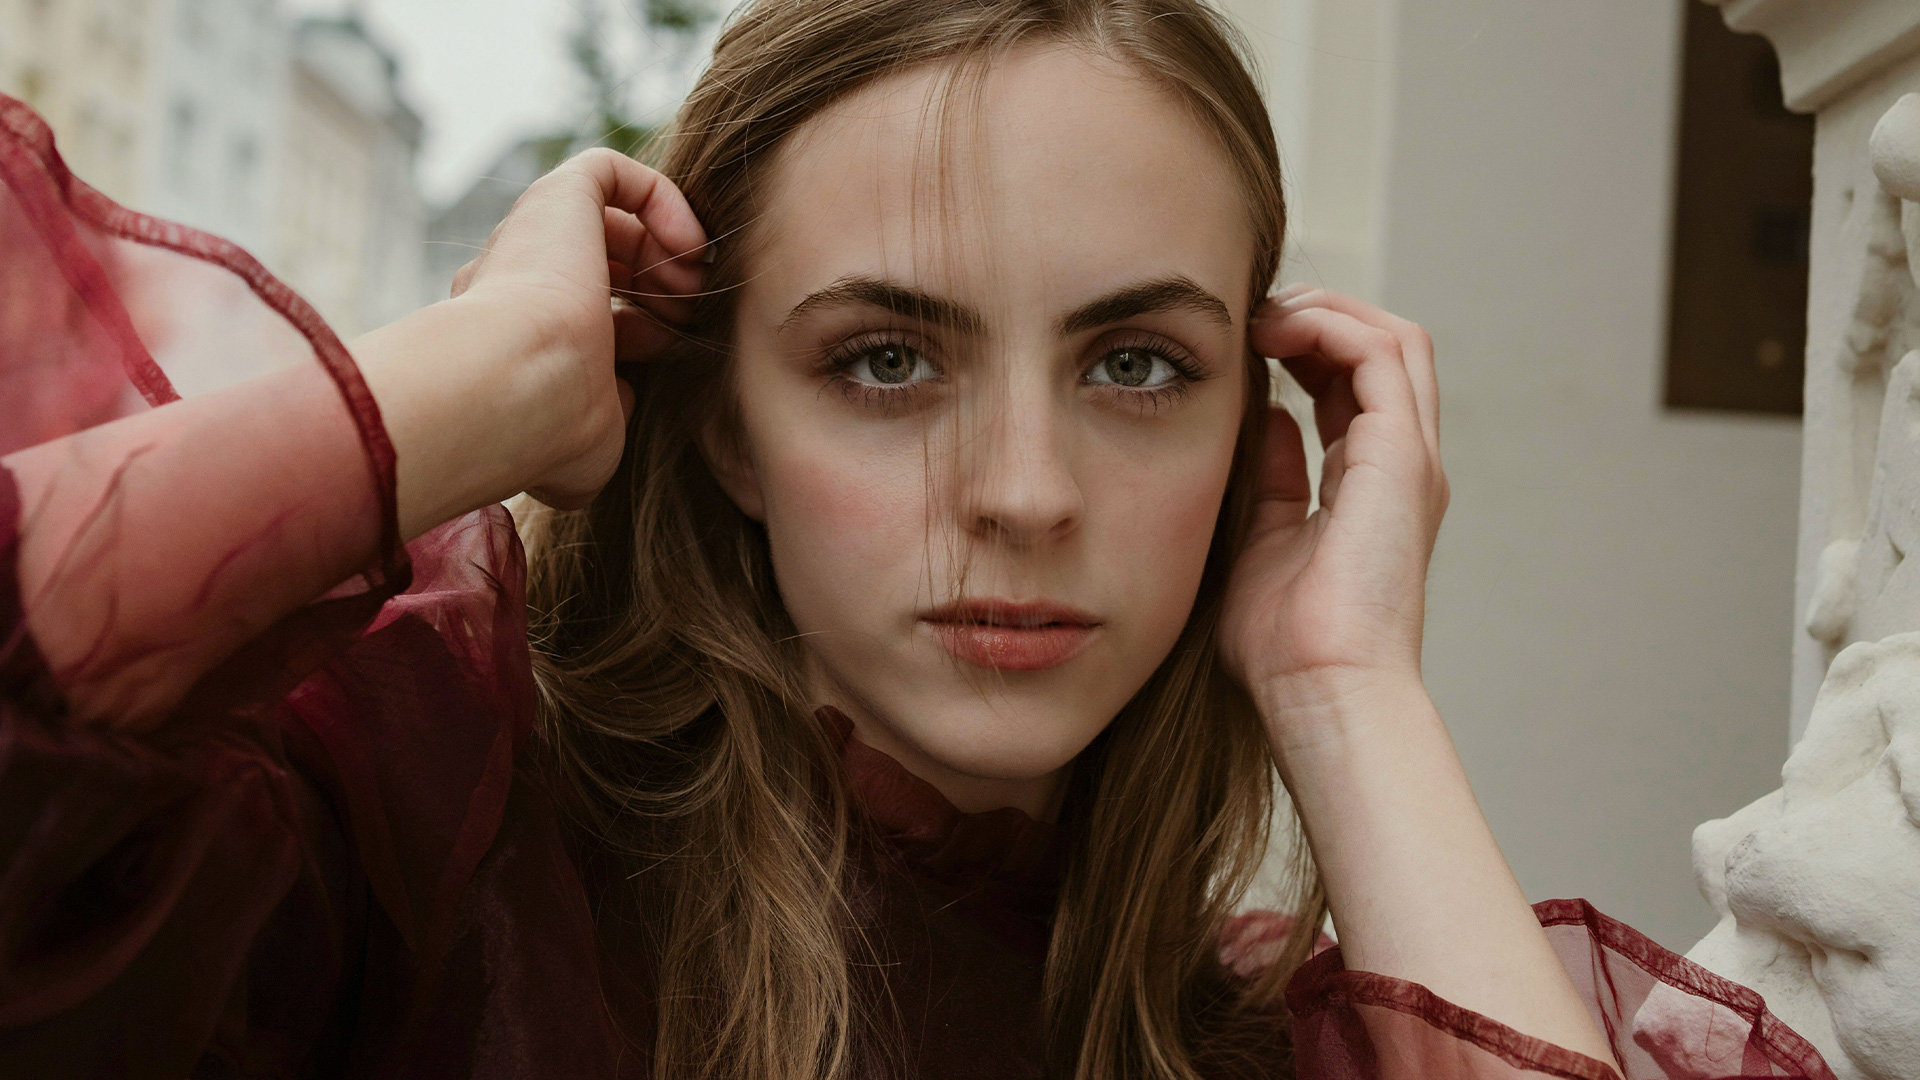
AFTER
BEFORE
Color Correction Made Easy
Knowing how to color correct your images it’s an important step in your editing workflow. It can fix issues like incorrect white balance from the original shoot or simply enhance an image where the colors don’t look quite right. This guide, based on the transcript, will walk you through the process of using the Camera Raw filter in Photoshop to quickly and effectively color correct your images.
Convert to Smart Filter
Before you begin, it’s a good idea to convert your image to a Smart Object. This allows you to apply the color correction as a smart filter, which means you can easily turn it on or off at any time. To do this, go to Filter > Convert for Smart Filters. This will add a small icon to your layer in the Layers panel, indicating that it is now a Smart Object. This step provides flexibility and is particularly useful for non-destructive editing.
Use the Camera Raw Filter
he main tool for color correction is the Camera Raw filter. You can access it by going to Filter > Camera Raw Filter…. If you’re working with a raw photograph, it will automatically open in this filter when you import it into Photoshop. Once inside, navigate to the Color section. You have two primary methods for color correction: using the White Balance tool or the Auto feature.
Choose Your Method
The White Balance tool is an eyedropper icon. Select it and then click on a target neutral—something that was truly gray in your original image. The filter will then adjust the colors to make that point perfectly neutral, which in turn corrects the overall color balance of the image. A perfect gray card can be used for this. If you don’t have a specific neutral point to click on, you can simply use the Auto feature. This surprisingly effective tool analyzes the entire image and automatically adjusts the color temperature and tint for you. The transcript notes that this works well on both JPEGs and raw images. Once you’re happy with the results, click OK.
That’s all there is to it! Now that you know how to correct the colors in your photos, you can ensure they look natural and true to life. Join us again tomorrow when we’ll move beyond correction and learn how to color grade your images, adding interesting and creative color to the highlights, midtones, and shadows.


