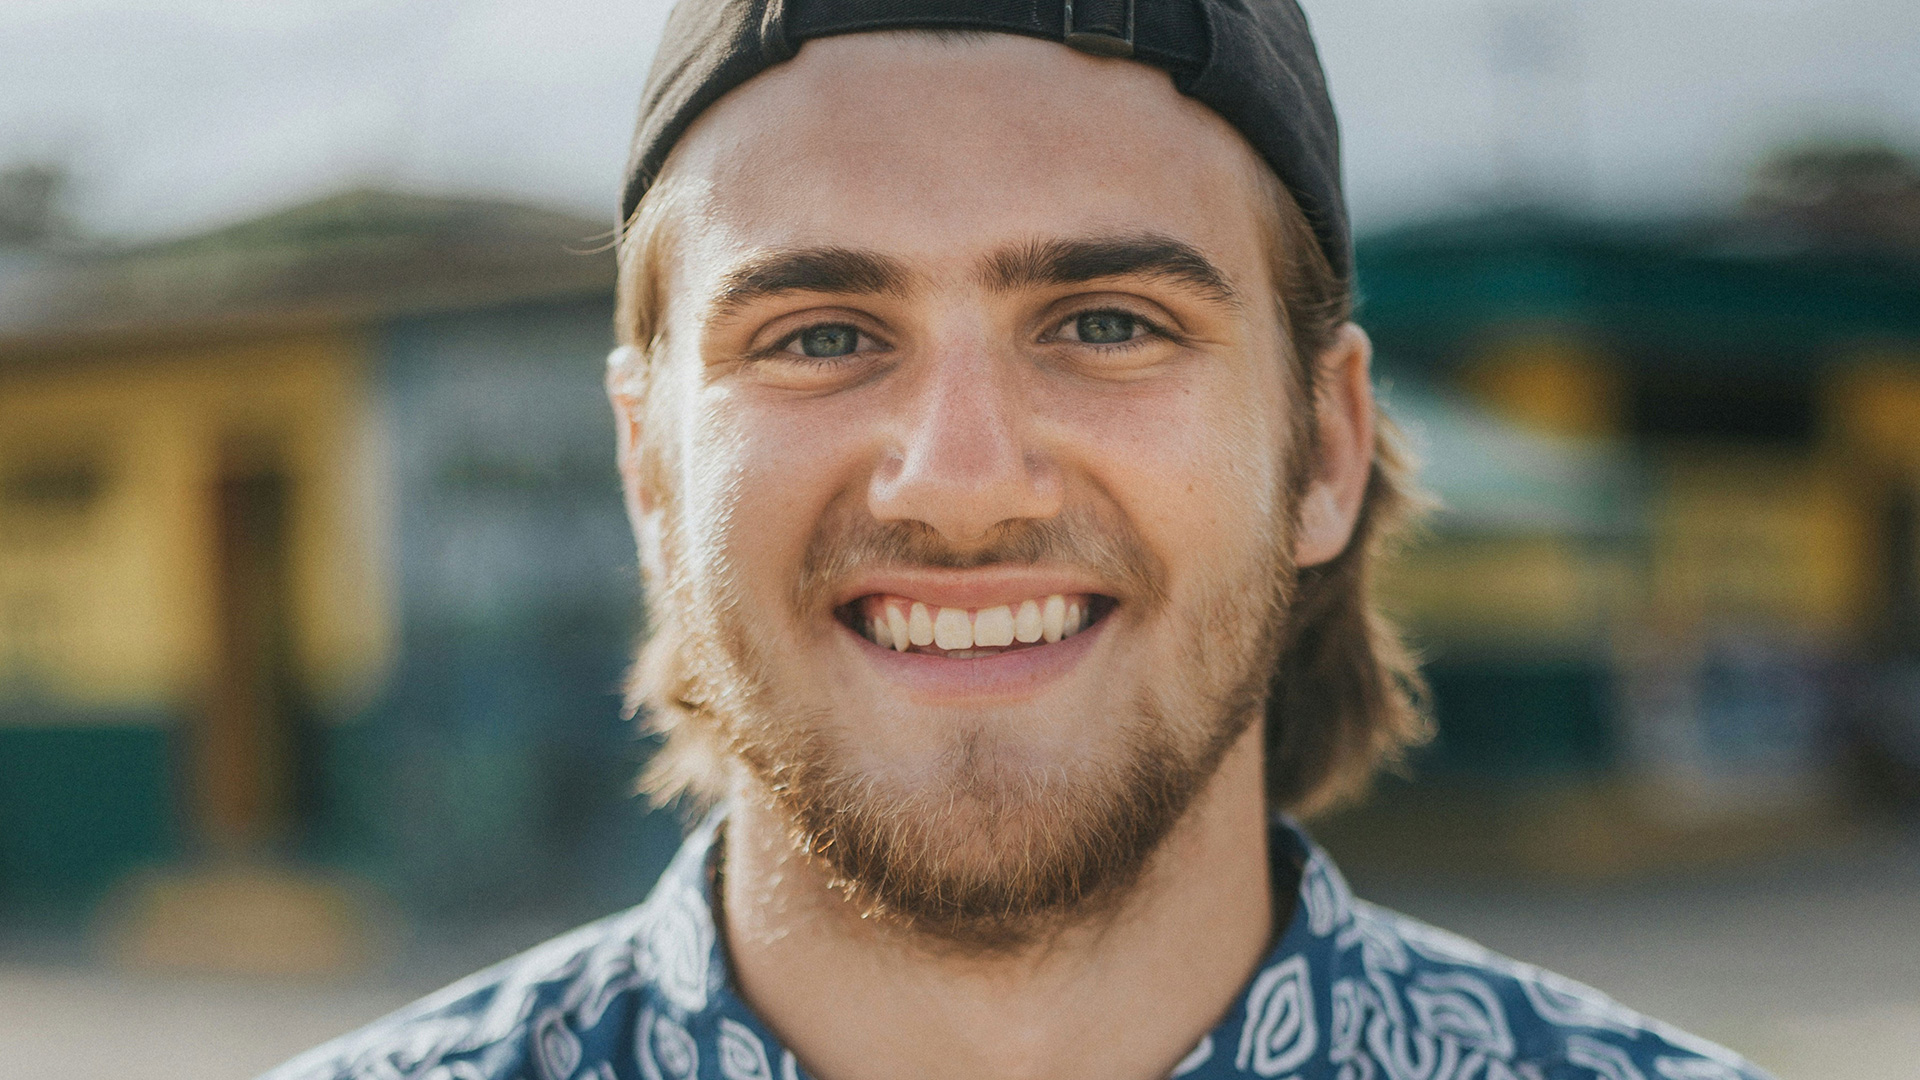

Download Assets
Download Assets
This tutorial includes 1 sample image and 1 sample PSD. Downloads are free with a PHLEARN account.
- Download the sample images and PSDs from every free tutorial on PHLEARN
- New free tutorials published every week
- One free account — sign up once, then download anything
Watch the Full Series
30 Days of Photoshop · 2025 EditionOur most-watched series, updated for 2025 — watch all 30 free
description
Retouch a portrait in the right order and the work gets easier. Clear the distractions first, then correct the color, then shape the light — do it the other way round and you end up redoing work you have already done.
This lesson runs that whole sequence on one portrait using the Remove tool, a precisely targeted Hue/Saturation layer and two Brightness/Contrast layers, and every step of it stays editable afterwards.
This is Day 23 of 30 Days of Photoshop, 2025 Edition — our most-watched series, rebuilt from the ground up for today’s tools.
Continue Watching 30 Days of Photoshop
JOIN 30 DAYS OF PHOTOSHOP (FOR FREE!)
Ready to jump in? Sign up and we’ll email you a printable calendar and daily class schedule so you can get started right away!
Image Source
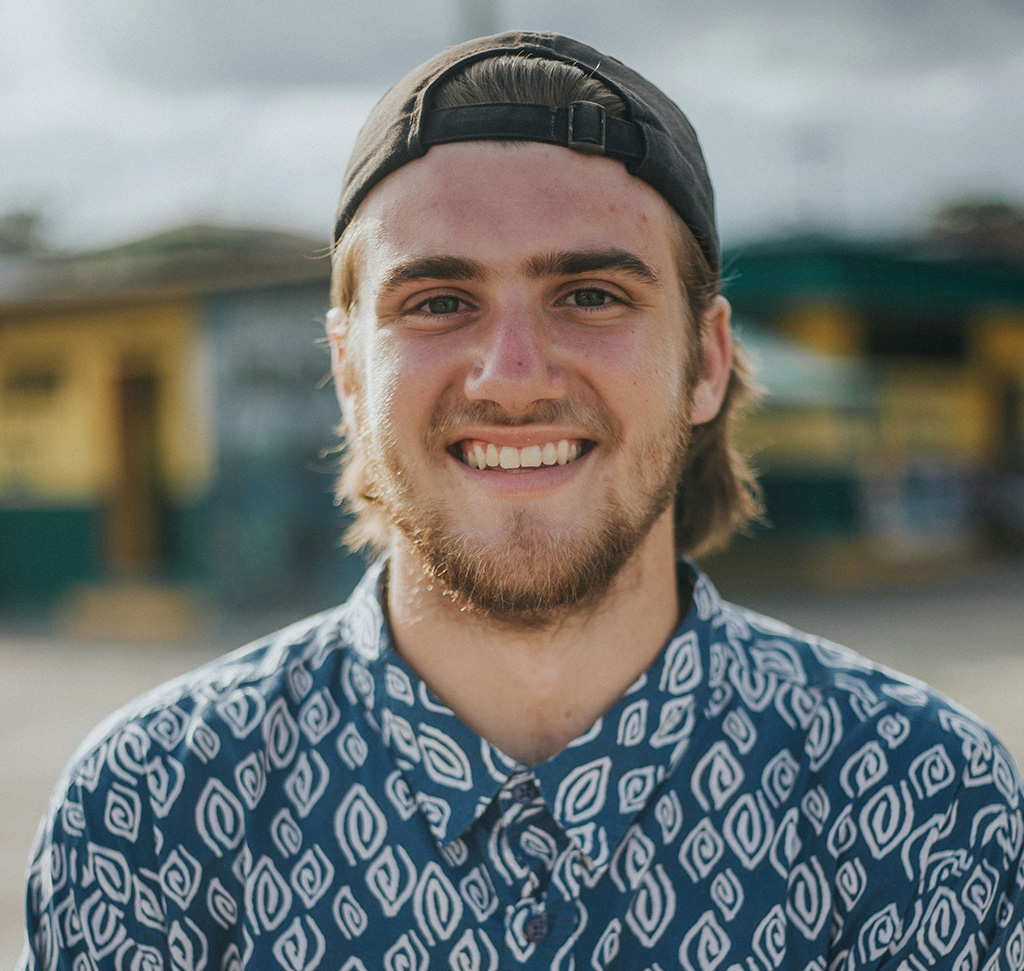
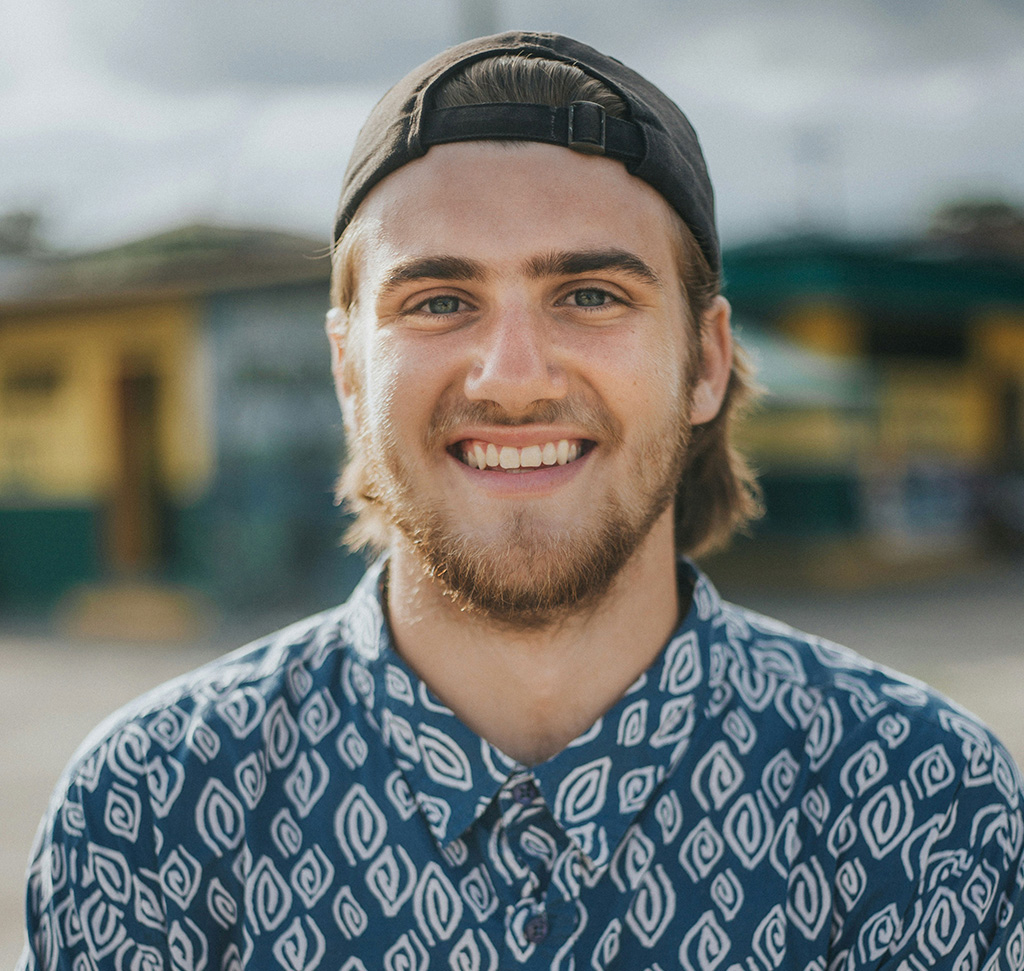
Retouch a Portrait in the Right Order
Basic portrait retouching is not one technique, it is three small jobs done in a particular order: take out the distractions, correct the color, then shape the light. Almost everything that looks overdone in a retouched photo comes from doing those jobs in the wrong sequence, or from doing all of them with a single heavy-handed tool.
The version in this lesson uses three layers and about fifteen minutes. A blank layer for removals, one Hue/Saturation layer aimed at exactly one shade of red, and two Brightness/Contrast layers painted in by hand. Nothing is baked into the pixels, so every decision can be revisited later.
Retouch a Portrait in This Order
Do the removals first. If you correct color and brightness before you have cleaned up the skin, every blemish you take out afterwards will be sitting under adjustments that were built around the old pixels, and you will end up redoing the correction.
Removals, then color, then brightness. That is the whole workflow, and it is worth committing to memory because it holds true for far more than portraits.
Remove Blemishes on a Separate Layer
The Remove tool has been rebuilt around generative AI and it is now good enough that most light cleanup takes a couple of minutes.
-
Create a New Empty Layer
Click the new layer icon at the bottom of the Layers panel. Working on a blank layer means every removal you make can be switched off in one click, and you can compare before and after without touching the original.
-
Pick Up the Remove Tool and Set Mode to Auto
With the Remove tool active, go to the options bar and set Mode to Auto. Auto lets Photoshop reach for generative AI when a patch needs it and use the faster local method when it does not.
-
Change the Overlay Color if You Cannot See It
The default brush overlay is magenta, which is close to useless on skin. Open the tool settings and switch it to something like chartreuse so you can actually see what you have marked.
-
Paint Over Everything You Want Gone
Brush across spots, flyaway hairs, a bright specular hotspot, anything distracting. You do not have to work one blemish at a time — mark them all in one pass. Use the bracket keys to resize the brush as you go.
-
Commit the Whole Pass at Once
Press Enter or click the check mark in the options bar. Photoshop fills every marked area in one go and drops the result onto your empty layer. Toggle the layer to see exactly what changed.

Decide What to Remove and What to Leave
This is the part no tool can decide for you. Temporary things — a spot, a scratch, food in a beard, lint on a jacket — are fair game and nobody will miss them. Permanent features are different. A mole someone has had their whole life is part of what they look like, and removing it without asking is a decision made on their behalf.
If you are retouching for a client or a subject, ask them what they want left alone before you start. It takes one question and it saves an awkward conversation later.
Target One Exact Red With Hue/Saturation
Redness in skin is the most common color problem in portraits, and the usual fix — dropping saturation across the whole face — makes everything look grey. Hue/Saturation can be aimed at one specific red instead, and the trick is in how you set it up.
-
Add a Hue/Saturation Adjustment Layer
From the Adjustments panel, or Window > Adjustments if it is not open. The properties for the new layer appear straight away.
-
Switch From Master to Reds
Use the dropdown at the top of the properties panel. Master affects every color in the image; Reds narrows it down to the range you care about before you have even sampled anything.
-
Sample the Actual Red You Want to Fix
Click the eyedropper, then click on the reddest part of the face — usually the nose or the cheeks. Photoshop redefines the range around exactly that color.
-
Push Hue and Saturation to the Extremes
Drag both sliders all the way up. The face will turn a lurid green. That is the point: you now have a visual read-out of precisely which pixels the adjustment is touching.
-
Narrow the Range With the Color Bar
At the bottom of the properties panel sit two color strips with sliders between them. Drag the inner markers in and out and watch the green area on the face grow and shrink. Tighten it until only the genuinely red areas are affected.
-
Reset Hue and Saturation to Zero
Double-click each slider, or type 0 into the field. The green disappears and you are left with a perfectly aimed selection and no adjustment applied to it yet.
Now Make the Correction
Nudge Hue slightly to the right and the reds shift toward orange, which is what reads as natural skin. Going left pushes them toward magenta, which is almost never what you want. Then use Saturation to take a little intensity out and Lightness to lift the red areas if they are also sitting darker than the rest of the face. Small numbers on all three.
Paint the Lips Back Out
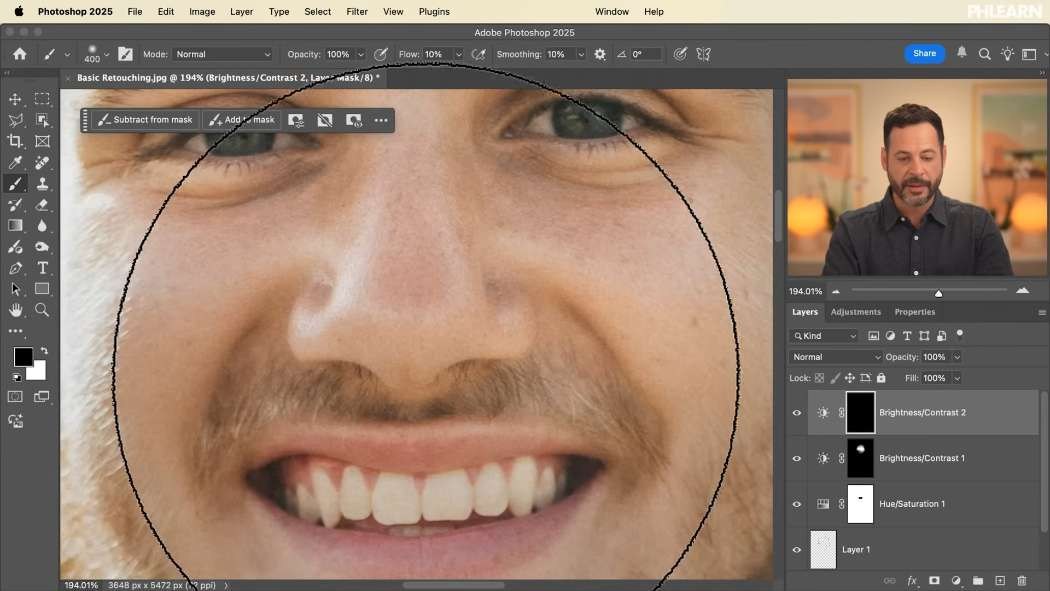
Lips are red, so any red-targeted adjustment will hit them too and they will look wrong. Click the layer mask on the Hue/Saturation layer, press B for the Brush, set the foreground color to black, and paint over the lips. Black on a mask hides the layer, so the lips return to their original color while the rest of the correction stays. If masks are still shaky for you, Day 6 covers layer masks in full.

Brighten Around the Eyes
The area around the eyes almost always sits a little darker than the rest of the face. Lifting it is what makes a subject look rested rather than retouched.
-
Add a Brightness/Contrast Layer
Raise Brightness until the area you care about looks right, and drop Contrast a touch. Ignore the fact that the whole image just got brighter — that is about to be fixed.
-
Invert the Layer Mask
Click the mask and press Ctrl/Cmd + I, or use Invert Mask from the three-dot menu on the contextual task bar. The mask goes black and the adjustment becomes completely invisible.
-
Set Up a Soft, Low-Flow Brush
Press B, then D for default colors so white is in front. Right-click on the canvas and drop Hardness to 0%. In the options bar, take Flow down to around 10%.
-
Paint the Brightness Back In
Brush over the area around the eyes. At 10% flow the effect builds gradually with each stroke, so you can stop the moment it looks right instead of overshooting on the first pass. Let go and start a new stroke when you move to a new area.
-
Take It Back Where You Went Too Far
Press X to swap the foreground and background colors and paint with black. Black erases what you painted, white paints it back. You can go back and forth as many times as you like.
A Second Pass Just for the Eyes
Add a second Brightness/Contrast layer, push the brightness higher than before, invert its mask, and paint white in a small upside-down U along the lower half of each iris. That is the shape catchlight naturally falls in, and following it keeps the result believable.
Restraint matters more here than anywhere else in the edit. A little light in the eyes reads as a good portrait; too much reads as an effect. If you want to see exactly what you painted, Alt/Option-click the mask thumbnail to view the mask itself in black and white.
Fix It Later Instead of Undoing
Every one of these adjustments is a live layer, which changes how you should think about mistakes.
Reopen the Properties Panel
Double-click any adjustment layer thumbnail and its sliders come straight back. Painted the eye brightening too strong? Do not undo the painting — just lower the Brightness slider and the whole masked area comes down together.
Edit the Mask, Not the Layer
If the problem is where the adjustment lands rather than how strong it is, the mask is the answer. Paint black to remove it from an area, white to add it back, and the adjustment itself never changes.
Group the Layers When You Are Done
Shift-click every retouching layer in the Layers panel and press Ctrl/Cmd + G. You get one folder you can toggle for a clean before and after, and it keeps the panel readable once you start stacking color grading and other work on top. Press F to cycle into full-screen mode for a proper look at the result without any interface around it.
Retouch a Portrait of Your Own
Download the sample image and PSD and run the sequence yourself: blank layer and Remove tool first, then the targeted Hue/Saturation pass with the lips masked back out, then two Brightness/Contrast layers painted in at low flow. Open the PSD alongside your own version to see how each mask was painted.
Yesterday, Day 22 covered correcting exposure, which is worth doing before any of this. Tomorrow, Day 24 moves on to advanced retouching and gets down to individual pores. For the full professional workflow, our PRO course Ultimate Guide to Retouching takes this considerably further.
For portrait retouching taught in order, our PRO Portraits Learning Path is where to go next.
Quick Reference: Keys, Menus and Settings
- Remove blemishesNew empty layer, Remove tool with Mode: Auto, paint over every spot, Enter to commit
- Brush size[ and ]
- Target the redsWindow > Adjustments > Hue/Saturation, Reds, eyedropper on the skin, narrow the range, Hue to the right
- Protect the lipsB, paint black on the Hue/Saturation mask
- Invert a maskCmd/Ctrl + I, or Invert Mask in the Contextual Task Bar menu
- Paint light inD for default colors, Hardness 0%, Flow about 10%; X swaps white and black
- Group and reviewShift-click the layers, Cmd/Ctrl + G; F for full screen
Free Downloads
Follow Along on the Same Photo
Get the portrait to retouch and the layered PSD with the removal layer, Hue/Saturation fix and painted brightness layers kept separate. Free with a PHLEARN account.
Basic Portrait Retouching: Common Questions
What order should I retouch a portrait in?
Removals first, then color, then brightness. If you remove blemishes after correcting color, the corrections sit on top of the old pixels and you end up redoing them.
Why use the Remove tool on a new empty layer?
Every removal lands on that layer instead of the photo. Switch the layer off and on to see exactly what changed, and delete it if you don’t like the result.
Which Remove tool settings should I use for blemishes?
Set Mode to Auto in the options bar, which uses generative AI only where a patch needs it. Paint over every spot in one pass, then press Enter or click the check mark to remove them all at once.
I can’t see where I painted with the Remove tool. What do I change?
The default magenta overlay is hard to see on skin. Open the tool’s settings and change the overlay color to something like chartreuse.
Should I remove moles and birthmarks?
Ask your subject first. Temporary things like spots, lint, flyaway hairs or food in a beard are fair game, but a mole someone has had their whole life is part of how they look.
How do I reduce redness in skin without making it gray?
Add a Hue/Saturation layer, switch to Reds and click the eyedropper on the reddest spot. Push Hue and Saturation all the way up, narrow the range with the color bar sliders until only the red areas change, reset both to 0, then nudge Hue to the right toward orange.
Why did my subject’s lips change color?
Lips are red, so the red correction hits them too. Click the Hue/Saturation layer mask, press B and paint black over the lips to bring back their original color.
How do I brighten the eyes naturally?
Add a Brightness/Contrast layer, raise Brightness and invert the mask with Cmd/Ctrl + I. Paint white with a soft brush at 0% Hardness and about 10% Flow, and for the irises paint a small upside-down U along the lower half.
What if I brightened too much?
Don’t undo. Press X and paint black on the mask to take it back in places, or double-click the adjustment layer and lower the Brightness slider for the whole area.
Are the sample files free?
Yes, with a free PHLEARN account. You get 1 sample image and 1 sample PSD: the portrait to retouch and the finished file with every retouching layer kept separate.
Master Photoshop, Lightroom and Photography
Join PHLEARN PRO for $12.99 a month or $99.99 a year. Cancel anytime, with a 100% money-back guarantee.





