
Download Assets
This tutorial includes 1 PDF guide. Downloads are free with a PHLEARN account.
- Download the sample files from every free tutorial on PHLEARN
- New free tutorials published every week
- One free account: sign up once, then download anything
Free PDF Guide · 3 Pages
This Tutorial as a Step-by-Step PDF
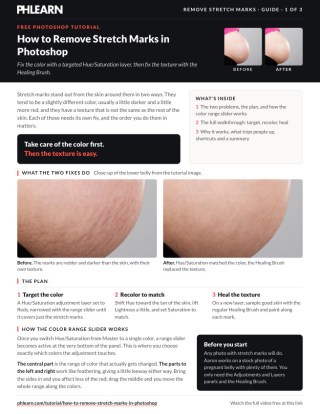
This guide walks through fixing color first, then texture: a Hue/Saturation layer set to Reds, narrowing the range slider onto the marks, shifting Hue, Lightness and Saturation to match the skin, then healing the texture with the Healing Brush on a new layer. Use it on your own photos.
description
Stretch marks differ from the skin around them in two ways, color and texture, and each needs its own fix. This tutorial narrows a Hue/Saturation layer down to just the reddish tone using the color range sliders, shifts it to match the surrounding skin, then clears the remaining texture with the regular Healing Brush and a hand-picked sample point.
Enjoying This Free Tutorial?
We publish a new free tutorial every week, each one with sample images and PSDs you can download and follow along with. Sign up and they land straight in your inbox, along with early word on sales, events and subscriber-only offers.


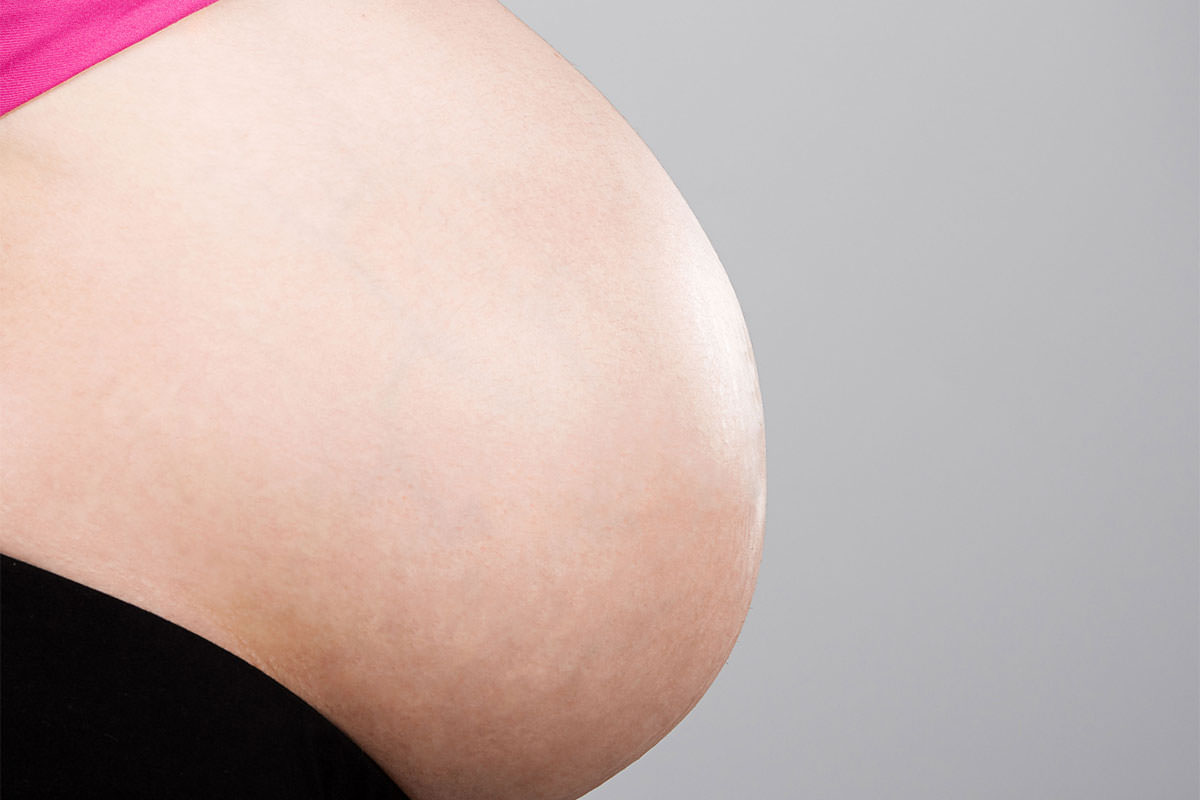
Stretch marks tend to differ from surrounding skin in two separate ways: they’re usually a slightly different color, often more red, and they carry their own visible texture. This tutorial uses a targeted Hue/Saturation adjustment to isolate and recolor just that reddish tone, then finishes with the Healing Brush tool to remove the leftover texture.
Targeting the Stretch Marks’ Color With Hue/Saturation
A Hue/Saturation adjustment layer set to a specific color range, rather than Master, makes it possible to affect only the reddish tone of the stretch marks without touching the rest of the skin.
-
Add a Hue/Saturation Adjustment Layer
Go to the Adjustments panel and choose Hue/Saturation to add a new adjustment layer.
-
Switch From Master to a Specific Color
Change the dropdown from Master to a targeted color, such as Reds, so the adjustment only affects that range instead of every color in the image.
-
Raise Saturation Temporarily to See the Effect
Boost saturation heavily on the selected reds so it becomes clearly visible which parts of the image are being affected.
Narrowing the Affected Range With the Color Sliders
The color range sliders at the bottom of the panel narrow exactly which reds get affected, separating the stretch marks from the rest of the surrounding red-toned skin.
-
Spread the Range Sliders Apart
Click and drag the two inner range markers apart to get a wider view of what’s being affected before narrowing it down.
-
Drag the Feather Handles Inward
Click and drag the outer feather handles on both sides inward to narrow the range of red being targeted.
-
Slide the Whole Range to Isolate the Stretch Marks
Drag the entire narrowed range left or right along the color wheel until the heavily saturated preview lands specifically on the stretch marks and nothing else.
Why Boosting Saturation First Makes Targeting Easier
Trying to narrow the color range while the adjustment looks subtle makes it hard to tell exactly which pixels are actually being affected. Temporarily pushing saturation to an exaggerated, even ugly level turns the affected area into something clearly visible, making it much easier to fine-tune the range sliders until only the stretch marks themselves fall inside the targeted color, before dialing the effect back down to something natural.
Recoloring the Stretch Marks to Match the Surrounding Skin
With the color range narrowed to just the stretch marks, adjusting Hue, Saturation, and Lightness together shifts that isolated color to match the surrounding tan skin.
-
Reset Saturation Back Toward Zero
Bring the saturation for the targeted red range back down to zero from the earlier exaggerated preview.
-
Shift Hue Toward the Skin’s Tan Tone
Drag the Hue slider until the isolated red shifts toward the tan color of the rest of the skin instead of staying red.
-
Raise Lightness Slightly
Increase Lightness a little so the recolored stretch marks match the brightness of the surrounding area.
-
Fine-Tune Saturation to Match
Bring saturation back up gradually until the recolored area blends naturally with the rest of the skin’s saturation level.
Removing Texture With the Regular Healing Brush Tool
Once color is handled, the regular Healing Brush tool, with a manually chosen sample point, copies clean skin texture over the remaining raised or indented texture of the stretch marks.
-
Create a New Layer
Press Shift+Option/Alt+Cmd/Ctrl+N to create a new layer for the healing work.
-
Select the Regular Healing Brush Tool
Choose the standard Healing Brush tool rather than the Spot Healing Brush, since the regular tool allows manually choosing the sample point.
-
Set the Sample to Current and Below
Set the tool’s sample option to Current & Below so it pulls texture from the layers underneath the new empty layer.
-
Sample Clean Skin
Hold Alt/Option and click on an area of skin with good, clean texture to set the sample point.
-
Paint Over the Stretch Mark Texture
Paint directly over the stretch mark, following the same direction the mark runs, to copy the clean texture over it.
Why the Spot Healing Brush Isn’t Used for This Effect
The Spot Healing Brush automatically chooses its own sample point, which can easily land on a different stretch mark instead of clean skin. The regular Healing Brush tool requires manually Alt/Option-clicking to set the sample point, giving full control over exactly which area of skin gets copied over the texture being removed.
Grouping the Layers and Reviewing Before and After
Grouping the finished adjustment and healing layers together keeps the effect organized and makes it easy to toggle the whole edit on and off to compare the result.
-
Group the Adjustment and Healing Layers
Select the Hue/Saturation adjustment layer and the healing layer together and group them.
-
Toggle the Group Off and On
Turn the group’s visibility off and back on to compare the original stretch marks against the finished result.
Why Color Has to Be Fixed Before Texture
Trying to heal the texture first while the stretch marks are still a visibly different color would leave a patch of skin with the right texture but the wrong tone, making the edit obvious. Handling the Hue/Saturation recoloring first means the Healing Brush only has to solve the texture problem, since the color already blends naturally into the surrounding skin.
Why This Approach Works
Targeting a specific color range with Hue/Saturation, rather than adjusting Master, is what allows the stretch marks’ reddish tone to be recolored without shifting the color of any other skin in the frame. Temporarily exaggerating saturation while narrowing the range sliders turns an otherwise invisible adjustment into something clearly visible, making it far easier to isolate exactly the right pixels. Fixing color before texture is what keeps the final retouch looking natural, since a texture fix alone would still leave behind the tell-tale reddish tone.
Final Thoughts
Removing stretch marks comes down to two separate problems, color and texture, and solving them in the right order with the right tools makes the whole process quick, generally just a couple of minutes of actual work. The same Hue/Saturation targeting and Healing Brush combination works on other skin texture and color inconsistencies too, not just stretch marks.
Quick Reference: Keys, Menus and Settings
- Target the colorHue/Saturation adjustment layer; menu from Master to Reds
- Preview the rangeSaturation way up while you set the range
- Narrow the rangeBottom sliders: bring both sides in, then drag the middle onto the stretch marks
- Match the skinSaturation to zero, Hue to the right, Lightness up a little, Saturation back to taste
- New layerShift + Alt/Option + Cmd/Ctrl + N
- Fix the textureHealing Brush, Sample: Current & Below; Alt/Option-click clean skin, paint along each mark
- CompareGroup the layers, toggle the group off and on
No AI, no generative credits.
Free Downloads
Take the Guide With You
Get the PDF guide with each step, from targeting the reds with Hue/Saturation to healing the texture with the Healing Brush. Free with a PHLEARN account.
Removing Stretch Marks: Common Questions
Why are stretch marks hard to retouch?
They differ from the skin in two ways: color, usually a bit darker and redder, and texture. Fix the color with Hue/Saturation first, then the texture with the Healing Brush.
Why not just use Master in Hue/Saturation?
Master changes every color in the image, including the shirt and the rest of the skin. Switch the menu from Master to Reds so only that range changes.
Why turn the saturation way up first?
It is only a preview. Exaggerated saturation shows exactly which pixels the Reds range affects, so you can narrow it onto the stretch marks; then you bring it back down.
How do the color range sliders at the bottom work?
The center part is the range that gets changed and the outer parts work like feathering. Pull the slider wide, bring both sides in to narrow it, then drag the middle along the bar until only the stretch marks light up.
How do I make the stretch marks match the skin?
Set Saturation back to zero, drag Hue to the right toward the tan of the skin (left turns them purple), raise Lightness a little, then bring Saturation back up until the area stops looking gray.
Why the Healing Brush and not the Spot Healing Brush?
The Spot Healing Brush picks its own sample and may pick another stretch mark. With the regular Healing Brush you Alt/Option-click clean skin to choose the sample yourself.
Why does the Healing Brush do nothing on my new layer?
It is sampling only the current, empty layer. Set Sample to Current & Below in the options bar.
How should I paint over the texture?
Paint along the line of each stretch mark, resampling good skin with Alt/Option as you go.
Does the order of the steps matter?
Yes. Fix the color first. Healing texture while the marks are still red leaves a patch with the right texture but the wrong tone.
Is there a free download?
Yes, with a free PHLEARN account. You get 1 PDF guide that walks through the Hue/Saturation color targeting and the Healing Brush texture fix.
Master Photoshop, Lightroom and Photography
Join PHLEARN PRO for $12.99 a month or $99.99 a year. Cancel anytime, with a 100% money-back guarantee.





