Retouching 101-301
-
Add to
favorites
-
DifficultyMedium
-
Length30.5 hours
-
Videos30
-
Software
description
Many of us struggle for hours and hours to retouch just one image. If retouching is such an important part of our lives, there must be a better way to do it.
With Retouching 101-301 is the most comprehensive, effective, and easy-to-follow retouching tutorial ever published!
THIS COURSE INCLUDES
- 49 Sample Images
- 2 Photoshop Brushes
- 3 Photoshop Actions
Share
Table of Contents
-
01 - Introduction: Photoshop Setup & Advice10:58m
-
02 - Retouching Tools in Lightroom43:58m
-
03 - Retouching Tools in Photoshop37:01m
-
04 - Blemish Removal30:51m
-
05 - Dodge & Burn42:34m
-
06 - Eyes40:01m
-
07 - Lips & Mouth53:39m
-
08 - The Liquify Tool37:43m
-
09 - Studio Portrait Retouch (Exercise 1)1:27h
-
10 - Studio Portrait Retouch (Exercise 2)1:34h
-
01 - Introduction: Culling in Lightroom18:54m
-
02 - Body Retouching1:07h
-
03 - Combining Exposures30:41m
-
04 - Frequency Separation38:58m
-
05 - Swapping Heads & Faces33:30m
-
06 - Recover Highlights & Shadows34:52m
-
07 - Portrait Sharpening34:32m
-
08 - Retouching Backgrounds1:04h
-
09 - Complete Portrait Retouch (Exercise 1)2:35h
-
10 - Complete Portrait Retouch (Exercise 2)2:22h
-
01 - Introduction: Color Correction & Color Toning15:53m
-
02 - Retouching Child Portraits31:52m
-
03 - Retouch Clothing1:22h
-
04 - Color Tone Portraits1:00h
-
05 - Makeup Techniques1:34h
-
06 - Matching Skin Tone1:18h
-
07 - The Face Aware Liquify Tool14:33m
-
08 - Retouch and Shape Hair1:55h
-
09 - Conceptual Portrait (Exercise 1)2:22h
-
10 - Portfolio Headshot (Exercise 2)1:28h
Master the Art of Retouching
Save Time – Learn Retouching Tools
Photoshop is an expansive program, and it can be difficult figuring out where to start. With so many options for photo editing, which tools are the best? Learn the right tools for the job and save time by focusing on what works.
Learn Proper Retouching
We have all seen photos that look “too retouched,” they have lost the details that make people look real. Learn to make people look their best while maintaining texture, detail and color.
Blemish Removal
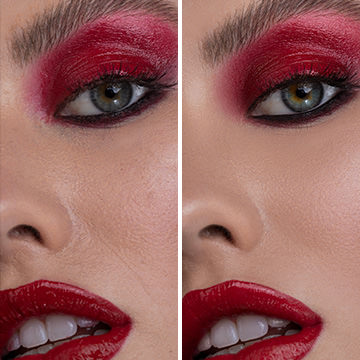
Ever been asked to remove a pimple in Photoshop? It seems that everyone wants to be blemish-free in photos these days. Learn the right way to remove blemishes while maintaining skin texture and detail.
The Phlearn Method Dodge & Burn
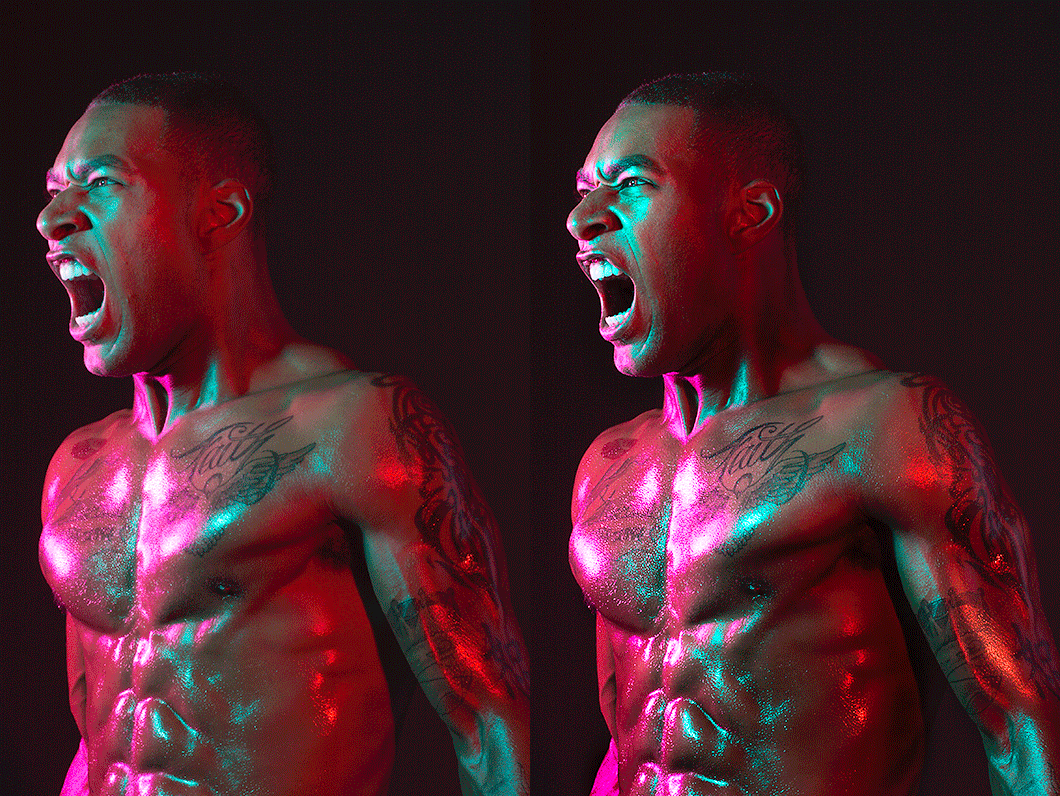
Dodging and Burning is perhaps the most important part of retouching. Learning to Dodge & Burn correctly will make a huge difference in the portraits you take, and your subjects will love you for it. Save time and increase accuracy by using the Phlearn Method Dodge & Burn – integrating new keyboard shortcuts and custom brushes.
Learn Culling in Lightroom
After a photo shoot, you have hundreds or thousands of images review and choose the picks from the rejects. This process is called ‘Culling” and is an essential part of every photographer’s workflow. Learn the Phlearn Method for culling and quickly narrow down your selection of winning images. Use “Comparison” and “Survey” views to refine your choices quickly.
Combine Multiple Exposures to Increase Dynamic Range (HDR)
Ever taken a photo and the sky was too light or the shadows were too dark? A camera is limited by its dynamic range and can only capture a certain amount of information. Learn to combine multiple exposures to increase the dynamic range of an image, saving detail in the highlights and shadows.
Frequency Separation
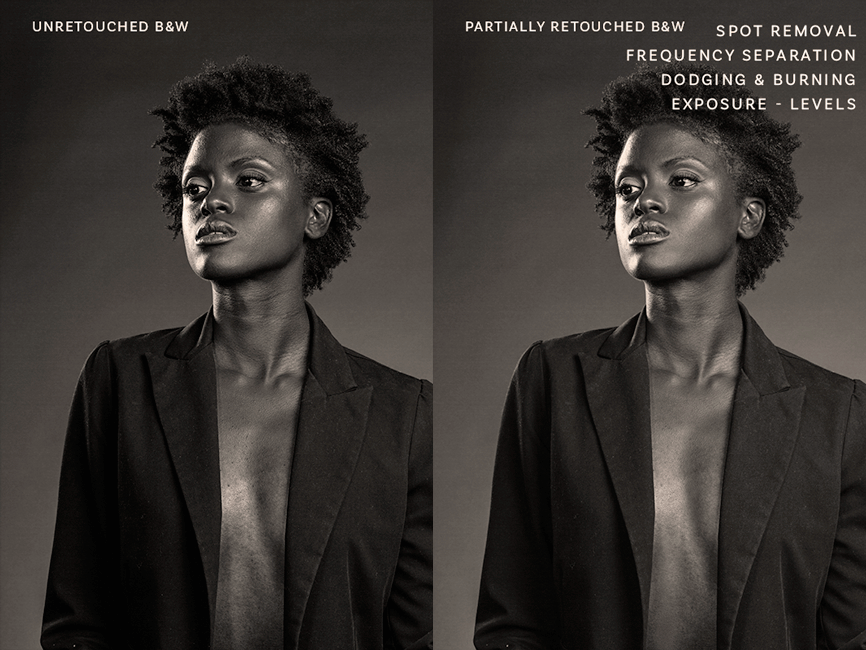
Frequency Separation is a revolutionary retouching technique that allows you to separate skin texture from skin color—and edit each separately. Learn from the #1 resource for Frequency Separation, while using custom actions created precisely for skin retouching. Smooth skin underneath pores with ease.
Eyes
Eyes are the window to the soul, learn how to make them sparkle like never before. Add color, enhance details, remove veins, enhance eyelashes, and learn the right way to sharpen eyes.
Lips & Mouth
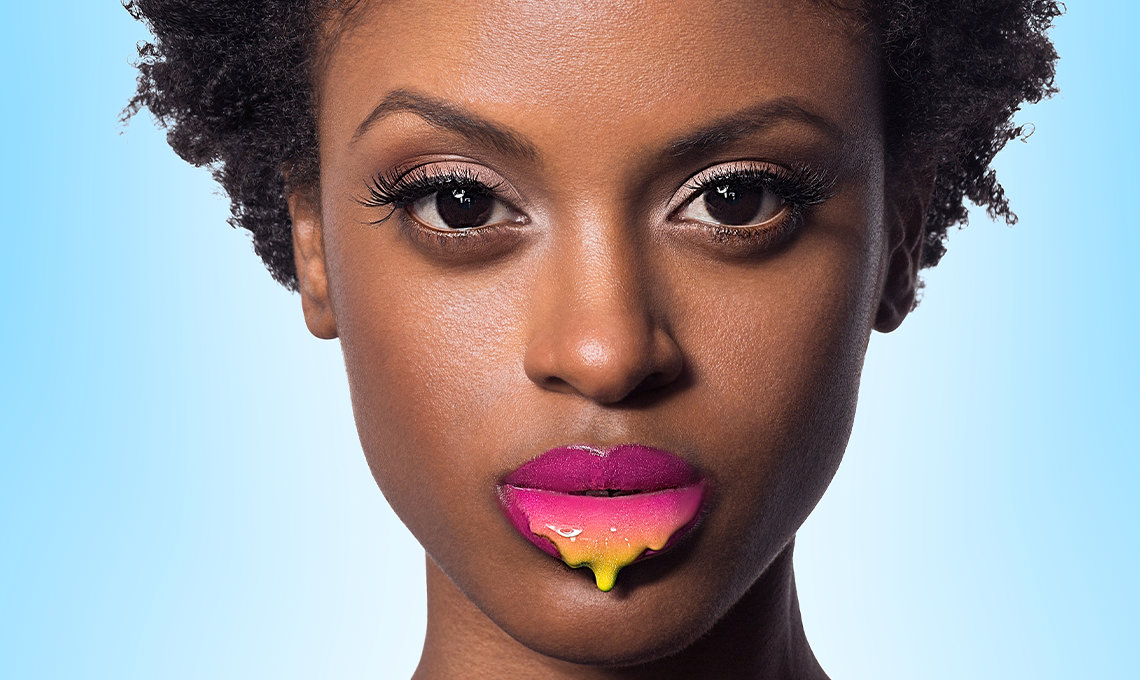
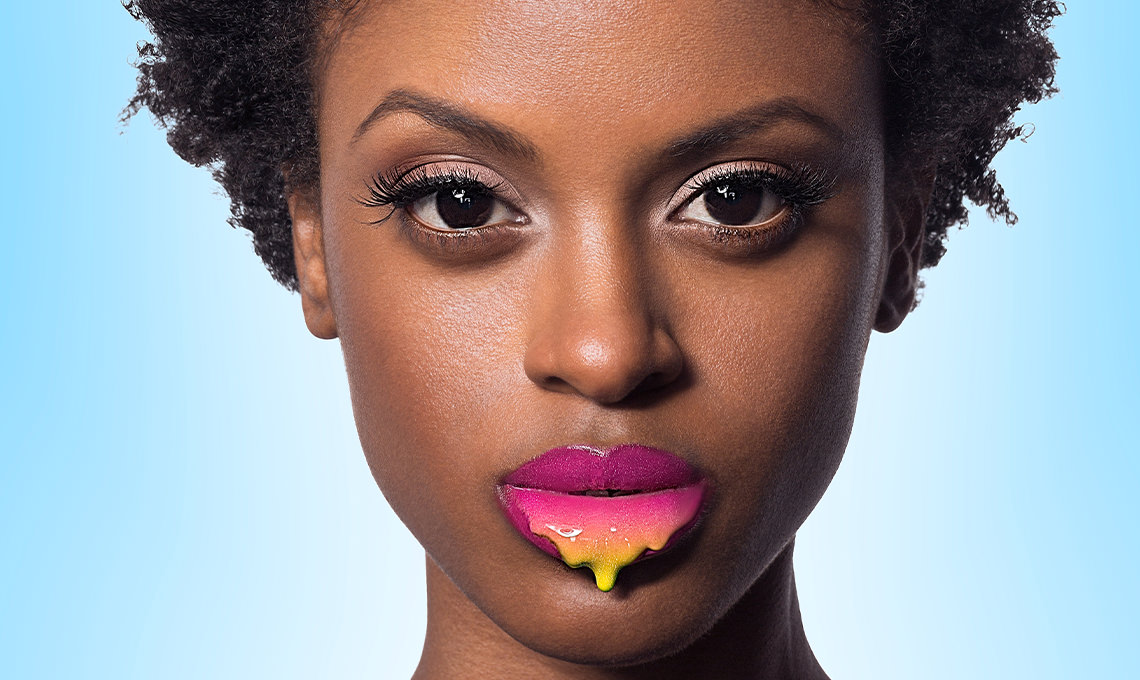
Lips get chapped, cracked, dried out and lose color. Learn how to repair skin damage and add natural color. Also, learn to add shine and smooth skin for the best-looking lips!
Transform Shape with Liquify
Not many people like the way they look in photos, help them out a little by making them look their best. Learn to reshape hair, skin, muscles, fat, and clothing to bring out the best in a portrait.
Two Complete Retouch Exercises
Combine everything you learn from sections 1-8 to retouch two portraits from start to finish. Where do I start? How do different techniques tie together? What don’t I know? Follow along the entire retouching process from Camera RAW to Exporting the Final Photos.
Professional Tools & Techniques
The Complete Retouch Process
Join Aaron Nace for two complete retouching examples. Follow along and learn every step of the process, in-depth.
How to Properly Work with Color
Retouching 301 begins with a discussion on color. What is proper skin tone and how can you make sure your images aren’t too red or too green? We teach you how to use the included Skin Tone Chart to analyze and correct skin tone. Learn workflow tips and tricks to achieve better color in your portraits!
Included Skin Tone Chart & Color Swatches
Skin tone can be tough to perfect, a little too much red or green and skin starts to look weird. The included Skin Tone Chart & Swatches provide you with a quick-reference guide on proper skin tone. Compare highlights, mid-tones, and shadows to achieve proper color.
Children
Children don’t tend to have many of the skin blemishes that adults do—acne and wrinkles haven’t had time to leave their mark. When retouching children, it is mostly about correcting light and color. We show you how to use Lightroom and Photoshop to add style and focus to children’s portraits.
Perfect Hair Retouching
Learn how to keep hair under control by following along with the entire retouching process. Create individual strands of hair using special Photoshop Brushes and remove hair from unwanted areas.
Swap Heads from Different Photos
Ever take a photo that was near perfect – the only thing is the person’s eyes were closed? It is possible to change different parts of a photo including parts of the subject. Use the techniques in this lesson to repose, replace, and re-purpose.
Recover Highlights and Shadows
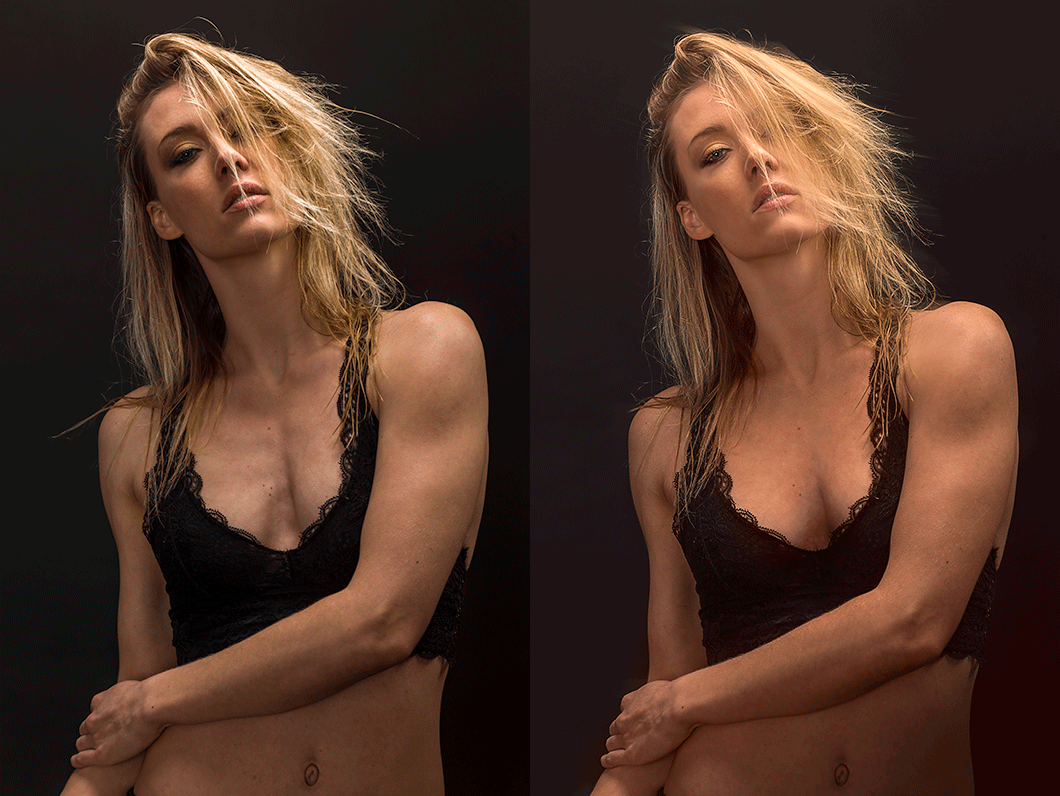
Skin looks great when lighting is even and consistent. Often times dark shadows on a person’s face can magnify imperfections. Light that is too bright causes light patches in the skin. Learn how to get highlights and shadows under control!
Advanced Sharpening for Faces
Learn to draw more attention to specific areas of a photo using advanced sharpening techniques.
Background Retouching & Clean-Up
Most photos include much more than a person’s face, so why neglect those areas when retouching? Spending a couple of minutes cleaning up a background can make a huge difference in an image. Learn special techniques focused on retouching and simplifying backgrounds.
Retouching Clothing
A great portrait will only go so-far if the person is wearing wrinkled, stained, or misfitting clothing. Learn tips-and-tricks for transforming clothing into a thing of beauty. Re-create collars, sleeves, colors and weaves in the lesson dedicated to retouching clothes.
Add “Digital Makeup” in Photoshop
Having a world-class makeup artist on every shoot would be nice, but that is not always the cast. Learn to use the same principles a makeup artist uses to add and enhance makeup in Photoshop. We show you how to analyze photos of makeup and all the tools required to apply it digitally.
How to Match Skin Tones
Ordinarily, your subject’s face, hands, and body are nowhere near the same color. Learn how to fix this often overlooked misfortune of mismatched skin tones.
Reshape and Retouch the Body
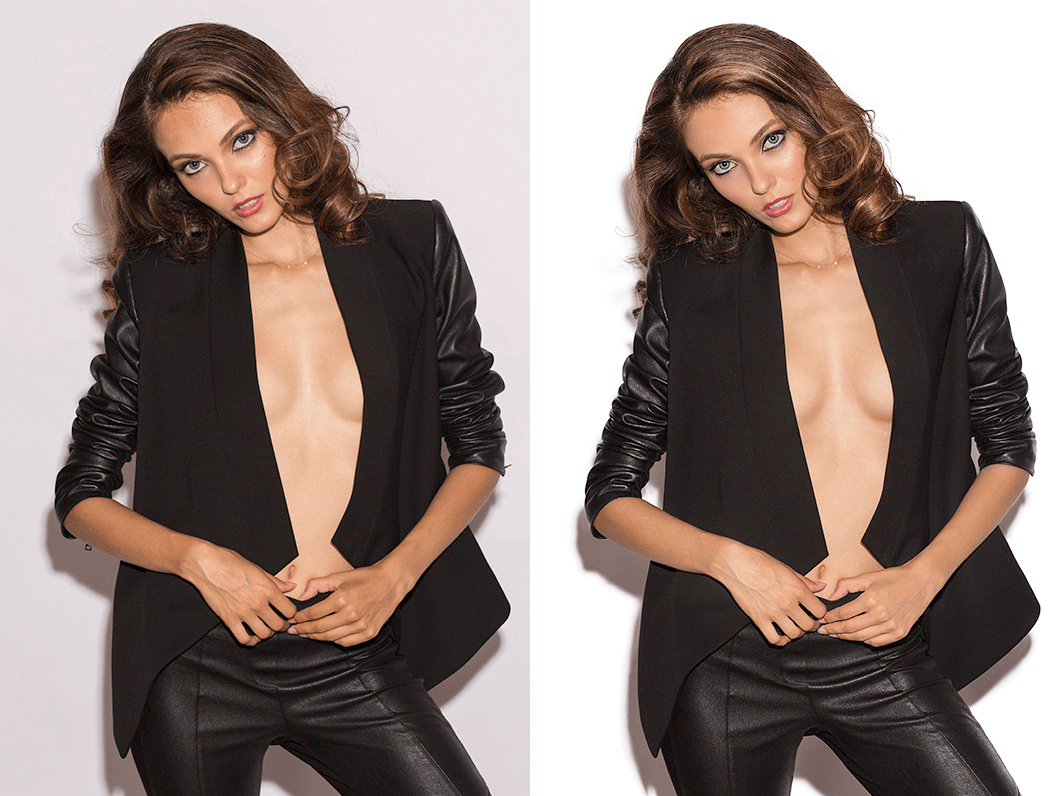
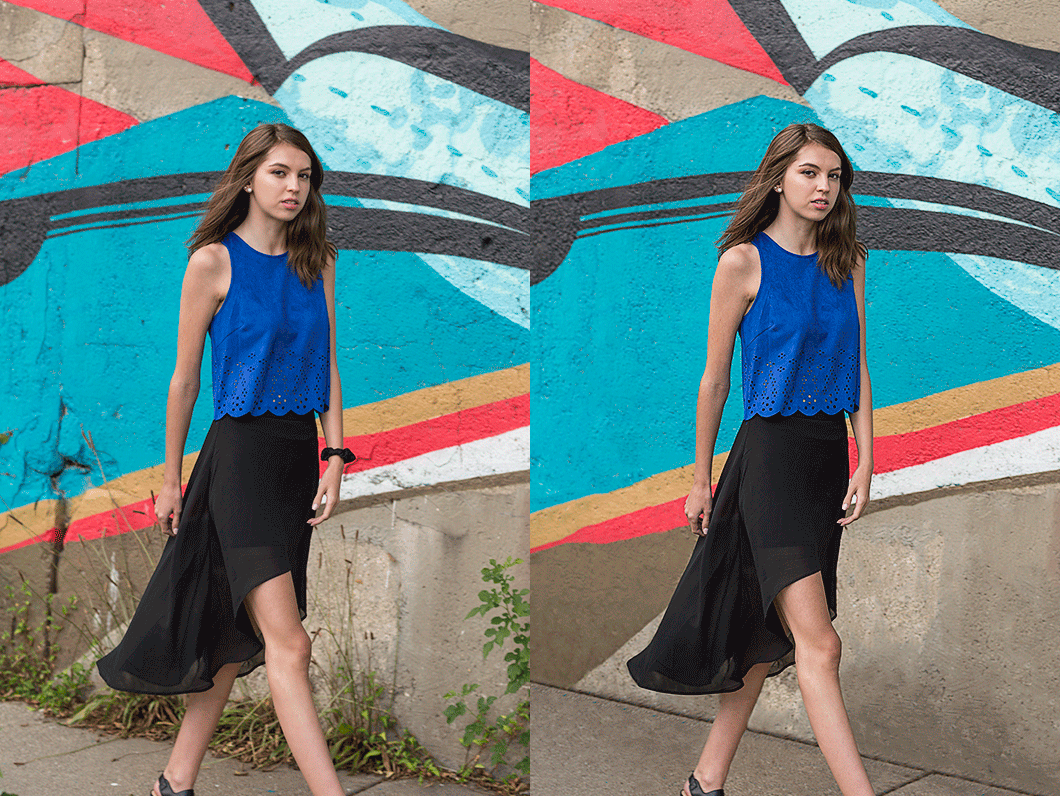
Most people think about faces when the word “retouching” is mentioned, but in full-body photos, retouching is often applied to the entire subject. Learn to smooth skin inconsistencies and re-shape the body create a more flattering photo.
Color-Tone Portraits
Portraits can be retouched in several ways. You can focus on realism, or you can go for style. The easiest and most effective way to add style to a portrait is through color-tone. We show you how to add color to highlights, mid-tones, and shadows separately for more impact. Learn how to use Gradient Maps to color-tone and how to load color-toning presets.
Face-Aware Liquify
New to Photoshop CC 2015, Face-Aware Liquify gives you the ability to transform and enhance facial features to an incredible degree. Make changes to eye height, size, width, tilt and distance using simple sliders. The tool also includes enhanced control over the nose, mouth, forehead, chin and face shape.
Reviews
New & Popular Tutorials
Training Site in
the World
Tutorials!
Ratings
and Counting
Subscribers










I was always hesitant to get deeper into Photoshop because I thought it would be way too complicated for me. However the more I learn and study with PHLEARN the more I want to learn. I can’t get enough of all the tutorials that Aaron offers and he teaches in such an awesome way!! My true goal is to be a photoshop and composite master and I 100% feel that goal is now in reach because of PHLEARN. Thank you thank you thank you
I thought “why should I watch Retouching 101 segment when I’m semi-pro already” and I wanted to start from 201 or even 301, but somehow I just started watching 101 series, I thought “I’ll just watch, I don’t need to spend time doing exercises” and man I’m glad I did it. Aaron gives a lot of productivity tips and after a couple of 101 topic I realised that I wasted a lot of time doing some things when I could do it 2 or even 10 times faster 😀 It’s amazing. I don’t need to even comment on the quality of 201 and 301 series, they are simply amazing.
Hellou! Where can I find a quick way to do dodge and burn. My workflow doens’t need all this perfection. Thank’s 🙂
This course blew me away. I am new to retouching and felt that this course gave me a very good depiction of what retouching actually is, how far you can take it, and the proper way to execute certain techniques to make your images look their absolute best. I feel 100% more confident in retouching in Photoshop after this course as well as how to handle my RAW files to get the most out of them. Out of all things I have been doing to up my photography game (lighting equipment and techniques, lenses, etc) subscribing to Phlearn was by far the best money I’ve spent and what I got out of this course alone proves it. After this course I essentially feel like I could make fantastic images with just about any camera and lens combo. Really great course and literally worth its weight in gold. Thanks Aaron!
Thanks Aron for your lovely explanation and tips. Would you please consider making advanced tutorials for color grading & Toning techniques.
Aaron, thank you for Phlearn. I love your platform! Can you please do tutorials about lightning (in studio and outdoor). I am sure lot of people struggle with this 🙂
Love Phlearn and Aaron is amazing a teaching. In Retouching 101, 04 the brief part of dodging and burning had turning the blend mode to Luminosity but in 05, the section on Dodge and Burn leaves the blend mode in Normal as well as the Action. Should both the burn and dodge curves layers be in Luminosity or Normal?
A fantastic in-depth set of tutorials which have provided me with so much new Photoshop knowledge. The fact that the tutorials use images that have models of different complexions and skin types really helps to build a well rounded set of retouching skills. Aaron is engaging, entertaining and carries out the tutorials at a manageable pace. As a concept artist, I regularly have to create photo composites and this has made me more confident in my ability to deliver great work. I recommend this set of tutorials for all photoshop users!
Wow!! finally went thur the complete retouch. Amazing love it. Learned so much and what a good teacher you are. Great to have the images to work along with you. Fantastic is all I have to say thanks a million
An excellent series of tutorials — informative and entertaining! I found myself taking plenty of notes. Highly recommended!
Thanks a lot Aaron for this absolutely brilliant course!
Fantastic tutorial!! Finished 101 and the results are awesome!! the skin looks completely natural and i found the lips part very cool how you can reshape them to clean the edges. Thanks Aaron and the team at Phlearn!
Cool 🙂
Its great Tutorial… but I have a question, how it is been decided to use either Frequency separation and how does it different from the dodge and burn that was there in Retouch 101
Absolutely perfect. I learn so much. Thank you
I confess that I was pretty happy with my retouching techniques before following this course. I have been using Photoshop for years and had a good idea of how to use most of the tools. After taking the course I have come to realise how much I was missing. Even for a reasonably adept user of Photoshop Aaron explains beautifully how to combine techniques to come up with beautiful edits. The subtle use of colour variation to really make portraits pop was a huge learning point for me. As always Aaron makes the learning of new skills fun and enjoyable. I really recommend this course, it is fabulous.
Awesome! So happy to know that even experience Photoshop users can get a lot out of this tutorial. Thank you for taking the class.
Amazing tips there with the dodging and burning! Thank you!
Thank you!
These tutorials are great but unless I’m missing something the layout is terrible. All the video is one big series don’t seem to be broken down into chapters. What happens after a couple hours of watching…you have no idea where you left off. Each section should have its own video.
Love this Tutorial!!!
Very informative and easy to follow. I’m learning a ton. Thank you Aaron.
Simply some of the best teaching instruction about Photo Editing & Retouching – EVER! Aaron never comes across with any kind of superior attitude toward his abilities while truly making the learning both FUN and makes you, the student feel that these skills are obtainable with some practice and effort. I look forward to hearing Aaron continue demystify many of the techniques that were once held secretly by most professionals and offering them up in a most friendly, knowledgeable manner. Bravo to you Aaron and the growing staff at PHLEARN! James Rowan – Toronto, Canada
Now With the subcription format, its really amazing the access to all tutorials. but really, specially on this tutorial, worth to buy. its like a good book, you can solve quickly any doubt. the first time, many techniques I seemed complicated or meaningless, but when you start using, you need go back and see tutorial again with a bigger understanding of photoshop. its really a must and a text book for any who takes photoshop and photography serious. thanks Aaron and all the team.
Seriously, worth the money to learn from Phlearn! Top notch information and has helped me take my editing skills to the next level. I look forward to reviewing all of the other course content available to me!
Indeed it’s a blast. I have been learning from PHLEARN since 2012 and I believe I will continue the learning with everyone. The best part of Aaron is he is a funny guy with lots of talent. You can relate the friendly touch in his editing lessons. Everyone can easily understand the lessons. I highly recommend Retouching 101-301. Thank you Aaron & whole Phlearn team!
I absolutely love Aaron’s teaching style. It’s fun to watch but incredibly detailed. I’m constantly amazed at how in-depth these tutorials are, and Retouching 101-301 is no exception. I can’t wait to try out these techniques on my own images.
This is your 3rd Pro tutorial that i have learned. As always no words can describe your techniques & detail for these tutorials. You are just MASTER, Aaron. Thanks YOU!!!
I have now gone through the entire set, and it still gets a 5 star rating The tools that Aaron introduces are fantastic. When I went through the tutorial on hair, I thought that I would never use it but, I had to do so two weeks later!! I would never have been able to do this if I had not gone through the tutorials What is valuable, is that you can see Aaron think through the process. I recommend sitting through the entire tutorial set. Every minute of them, because it gives you an idea of the kind of work that is required. Plus, he keeps giving you tips through the process. Brilliant!
I am 67% of the way through the bundle. I did review Retouching 101, and it is really fantastic. Now, onto 201. This is superb. At one point during the exercises, I did consider Aaron’s invitation to skip ahead if I wanted. Then, I decided to sit through the entire process of blemish removal / dodging & burning etc. Why? One, it gives a student a very good idea of the level of patience required, to retouch, and the extent of the detail down to which a retoucher goes. Two, Aaron keeps giving tips through the process, and this is not something that you would like to miss What I also like, are the constant reminders of the keyboard shortcuts. Also, the fact that she shows you how to create an action, like sharpening etc. This is invaluable. Definitely, a series that is worth keeping and revisiting from time to time
Hey there PHLEARNers, I recently ordered the Retouching 101-301 course and have just finished 101. I can’t believe how informative and fun this course is! Aaron Nace is a wonderful, engaging, incredibly knowledgeable teacher, and he makes every minute of this course a pleasure. I’m only a third of the way through and I can’t believe how many valuable skills I have learned already. It feels like being jacked into The Matrix. I know Kung-Fu!
It is like a Good Book – You are sad when you see the Final Chapter.
Thanks very much Phlearn! My skills of retouching and designing a photo is much improved after learning 101-301 tutorials. Now I am going to teach my friends photoshop. Phlearn helps me and my friends improve the skills we need!
I have been following PHLEARN on youtube for some time now. I had a fairly good knowledge of photoshop but I knew I was missing quite a few details on retouching so I decided to jump on this. All I can say is thank you for such a comprehensive and detailed tutorial. It is very easy to follow, never feels like there is too much information thrown at you at one time and most importantly, no matter if you are just starting 101 or ending with 301, every single step taken is repeated including the keyboard shortcuts.
If there is a lesson that you were not sure if you took best advantage off, you can be sure that in the next one you will repeat it again, with steps and shortcuts included while you are moving on to the next step. By the time you finish a whole section, you would of practiced all the lessons a few times over to drill it in your head. Aaron is a very charismatic tutor and transfers knowledge with ease.
Once bought these tutorials are yours to keep and you can practice techniques on pictures provided by PHLEARN or on your own. Worth every penny!
I’ve been following Phlearn for a while now, prior to registering to the site. I picked up photography about two years ago, and I love taking pictures and have thought many times about doing it as a side job for fun and to make a little extra money. These videos are well made and has taught me quite a bit. The key is using the videos to learn the steps and then with the supplied photos, PRACTICE!. I highly recommend these videos for beginners and intermediate Photoshop users. I have also learned so much from the free tutorials, and if you haven’t already I would recommend subscribing. The little mini lessons are great tips for people who just do Photoshop for fun to give that little extra something to a fun photo.
OMG! I just bought this on 12/31/16 and I have watched the entire 101 session. I am blown away! I am very new to PS and didn’t realize the many tools and how they are used could make a picture go from good to amazing. I was on the fence about getting this because I just purchased the PS 101-301 series; so glad that I went ahead and took a leap of faith and got this. Plearn (Aaron) you are great at what you do and your tutorials are easy to follow and understandable. Thank you for such a wonderful product.
I recently bought Photoshop and have to say it was the best Boundle ever!:) It was exciting and instructive new retouching techniques that Aaron shows through the courses, amazing work Aaron!…now to action, so inspired to put all I learned into practice:) Looking forward to next Pro Tutorial, it’s like Christmas present every time:))
Big thanks to you Aaron and your team for all the hard work you put in to this!:)
After watching the videos and going back to photos that I’ve previously had retouched and applying the methods you show, it was a night and day improvement over the previous techniques that I had learned. You have just upped my game! Thanks so much for this tutorial!
I seriously just started (I’m on part 103) and this has been SO HELPFUL!!! My mind is blown by some of these tips. You rock, Aaron.
now this is good
I have also the “old” package that made stand out from “totally ignorant” to “almost pro”. Thanks to a special offer I got this new one. This entire new bundle is MONUMENTAL. Highly recommended. I am Italian and although I speak fluent English, I encourage all non English mother-toungue people to buy it. Aaron Nice speaks a very clean English and his method of teaching stands to highest level of all the online courses you could ever step into.
quick question can i be delivered anywhere in the world?? (i’m from tunisia)
I love all Phlearn videos, Pro Tutorials or not. I love the Pro tutorials more though because they are longer and more in depth. These retouching tutorials really gives one an understanding of what retouching is and what it is not. If you are into retouching photographs and you want to be better and learn new techniques then definitely get Retouching 101-301. You will learn methods taught nowhere else. Thank you Aaron and the guys and gals of the Phlearn team!
A friend gave me the image below and wanted to know if there was anything I could do to make it into a “good” photo.
Hi Team, This tutorial is absolutely first class. By showing all the techniques Photos are starting to look a whole lot better even though they were good before. I have watched 101 and 201 so far and I love it. Aarons mind and teaching style show things I would never have thought of. Please keep up the excellent work.
Having already watched the Ultimate Guide to Retouching, I was afraid that Retouching 101-301 would overlap in some areas. However, that was just my initial impression. As I delved deeper into the incredible amount of videos in this package, I quickly realised that there was so much more to learn. And for things I already knew, it either simply strengthened my basics, or I found a new, different approach to it!
The tutorials are broken down into a nice 10 chapters for each retouching level, totalling to 30 completely different tutorials in all. The progression and learning curve is very appropriate for each level. By learning the individual techniques in the first couple of chapters, you really get a detailed look at how to retouch it specifically. Finally, in the last 2 chapters, everything is combine in a full length retouch, to truly test what you have learned so far.
Not only are there videos, but the DNG files for you to practice retouching the same image, which is very useful. Actions, colour swatches and a skin tone chart are nice additions too!
In conclusion, the Retouching 101-301 tutorial is a must have for anyone interested in perfecting their images. From beginners to experienced retouchers, everyone has something to gain from this. I must thank the Phlearn team for constantly providing us with quality content. Looking forward to the next one guys!
As an experienced user of Photoshop I would say, that whether you are a beginner or an advanced user of Photoshop who wants to be even better and even may want to drop some old habits, then Phlearn’s Retouching 101-301 is your solution. These tutorials gives you a better workflow, better techniques and better tools. I highly recommend Retouching 101-301.
Well where do i start… Folks if your new to retouching or just starting out this series is for you there is something for everyone here! I have gone from zero to hero from just watching and following this through once, let alone having the ability to restart and re attempt these tutorials time and time again!
These tutorials are perfect for anyone that understands photoshop or is just starting out, Arron gives full detailed instruction on how to use the tools, in plain simple language that any user would understand and be able to follow. All the way through you feel like your getting a one on one session with Aaron, and if you feel things are moving to quickly its a simple rewind or pause.
My images are already getting some amazing feedback, i have gained some much experience and confidence from completing this set of tutorials.
This series really allows you to get in Aarons head and understand how to get that end result, he arms you with not only his preferred method of doing things but ALL methods allowing you to make your mind up which works best for you! Also you get to see what happens when you don’t quite get the end result you wanted and how to go about best getting it, there truly are multiple ways to do the same thing in Photoshop but all weird differing results.
It truly has been an amazing experience completing these tutorials and I’m really enjoying all the positive responses I’m getting already from social media and images I’m entering into competitions.
All the brushes and and actions have quickly become a apart of any edit i do, not just on retouching people but landscapes and many other things!
Thank you Aaron and the team