Snow Photoshop Brushes
-

-
Add to
favorites
-
Software
-
Photoshop brushes7 Snow Brushes
-
DepthFar Snow to Soft Flakes
-
Made fromPhotos of Real Snowfall
Install Guide
How to Install Your Brush
A short PDF that shows two ways to install this brush in Photoshop, what to do if something looks wrong, and three tips for better results.
DESCRIPTION
Falling snow turns an ordinary winter photo into a moment, but it is hard to catch in camera. The PHLEARN Snow Brushes are cut from photos of real falling snow, so every flake has the soft, irregular shape a camera records.
The pack holds 7 brushes: Far Snow for tiny distant flakes, Falling Snow and Wind Snow for the main flakes around your subject, three Soft Flakes for out-of-focus flakes near the lens, and the classic PHLEARN snow brush. Paint them in Lighten mode with the color sampled from the photo.
One zip holds the brushes in a single .abr file, a How to Use guide with a worked example and the common mistakes, the install guide and a practice photo.
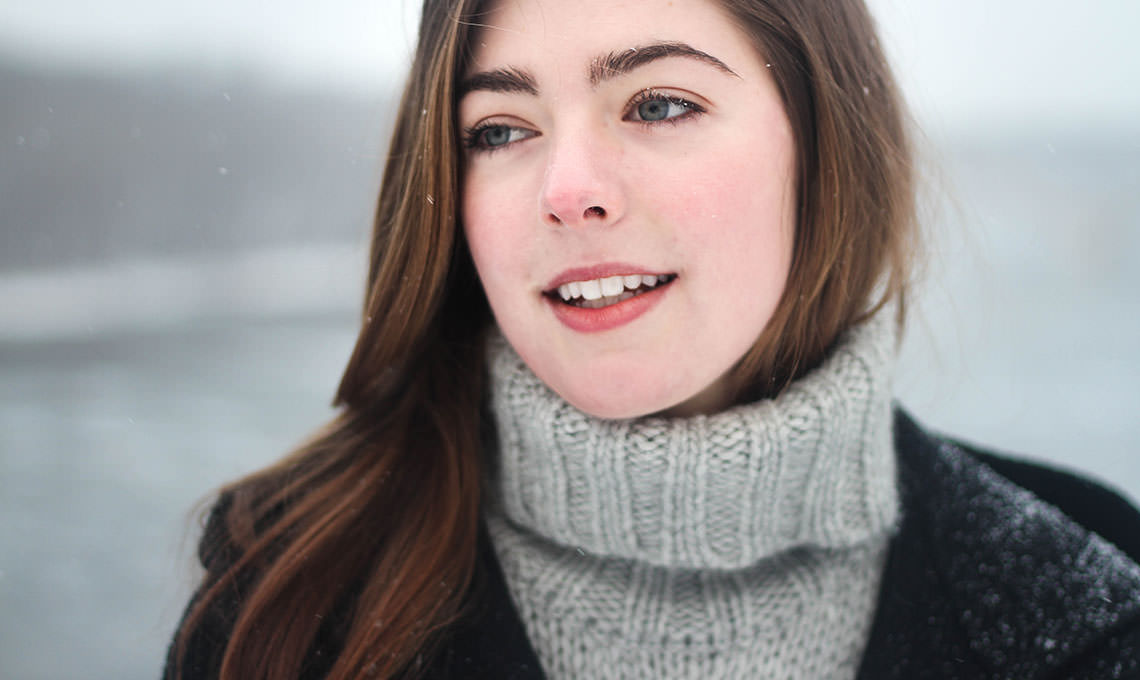
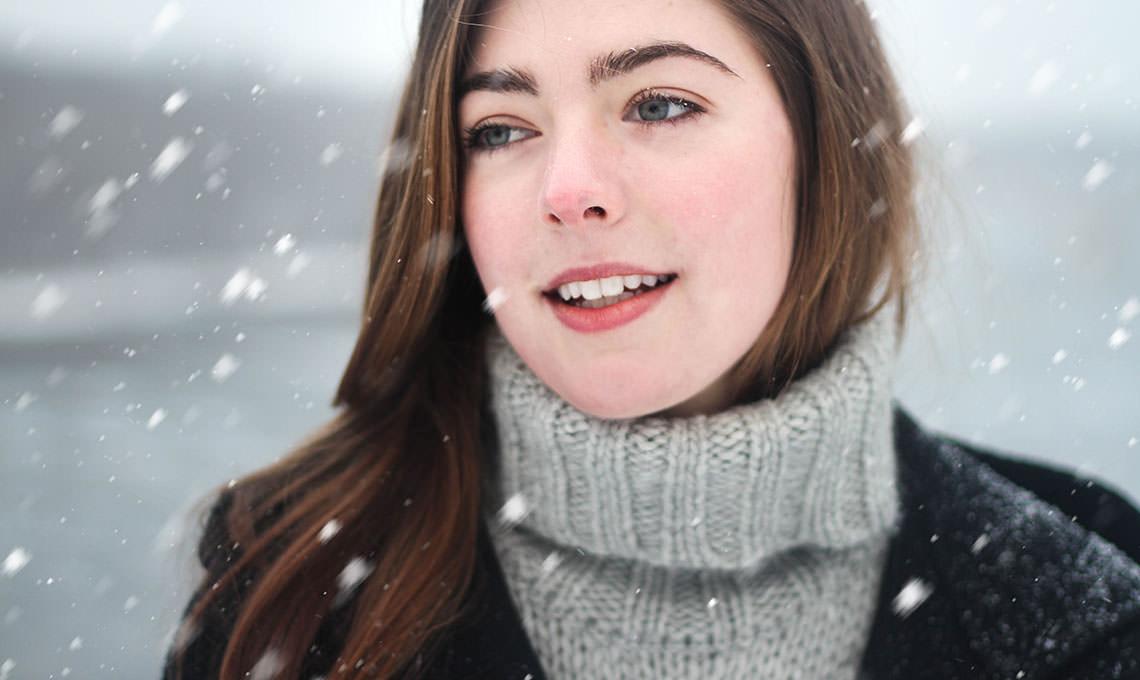
PHLEARN PRO · Photoshop Brushes
Snow Photoshop Brushes
7 snow brushesCut from real snowfallHow to Use guidePractice image
Snow Brushes · How It Works
Snow That Falls at Every Distance
Seven brushes cut from real falling snow: tiny and soft far away, crisp around your subject, big and faint near the lens.
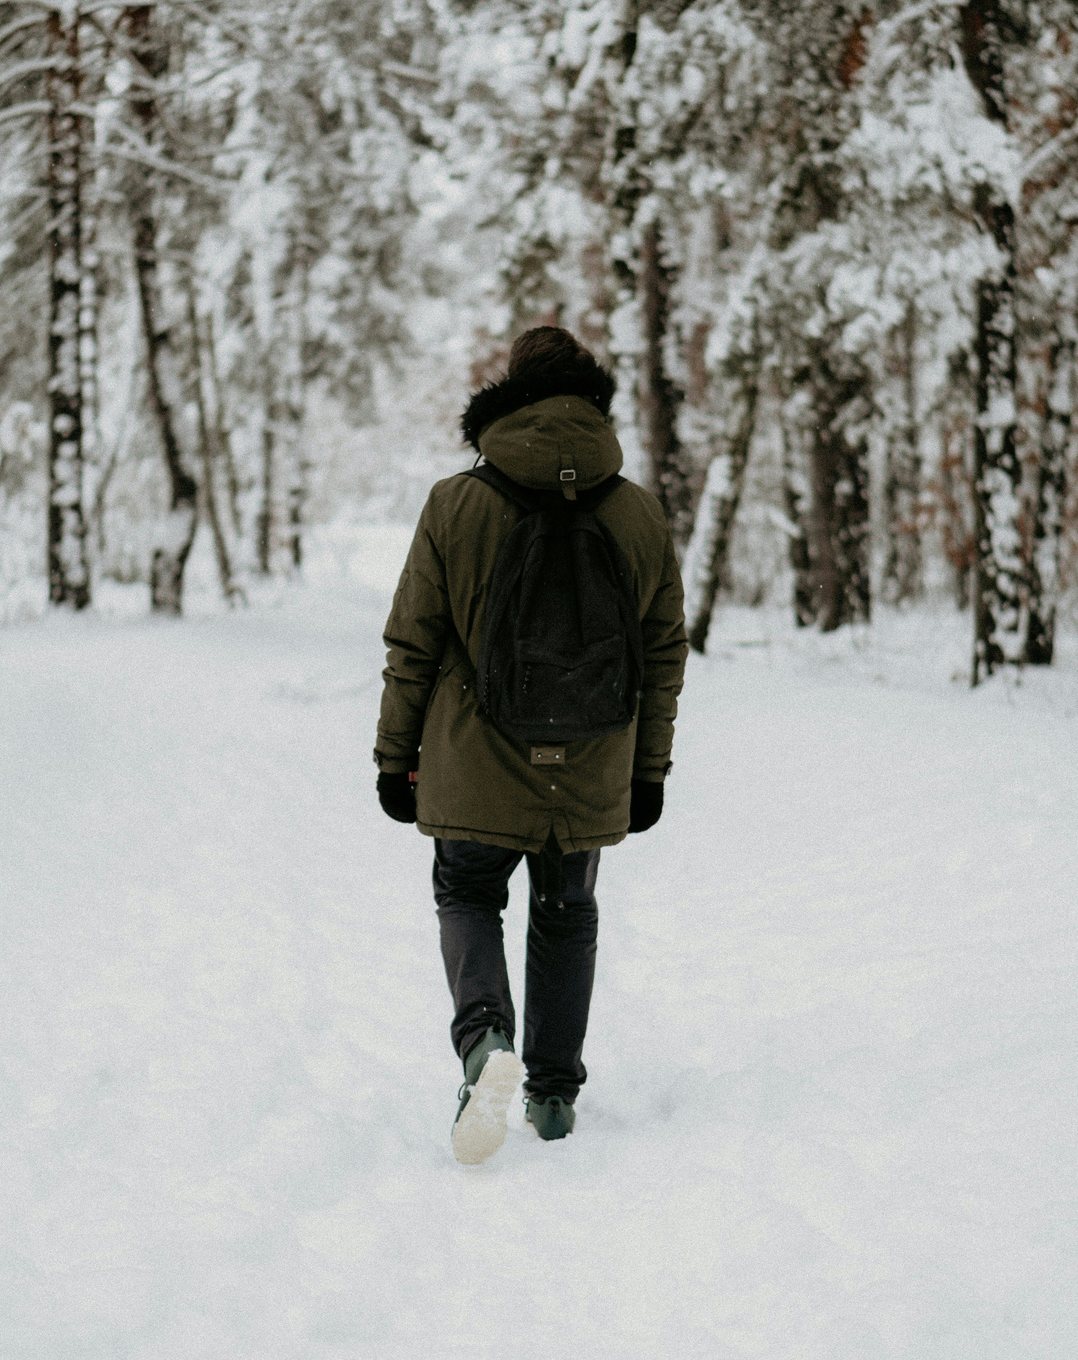
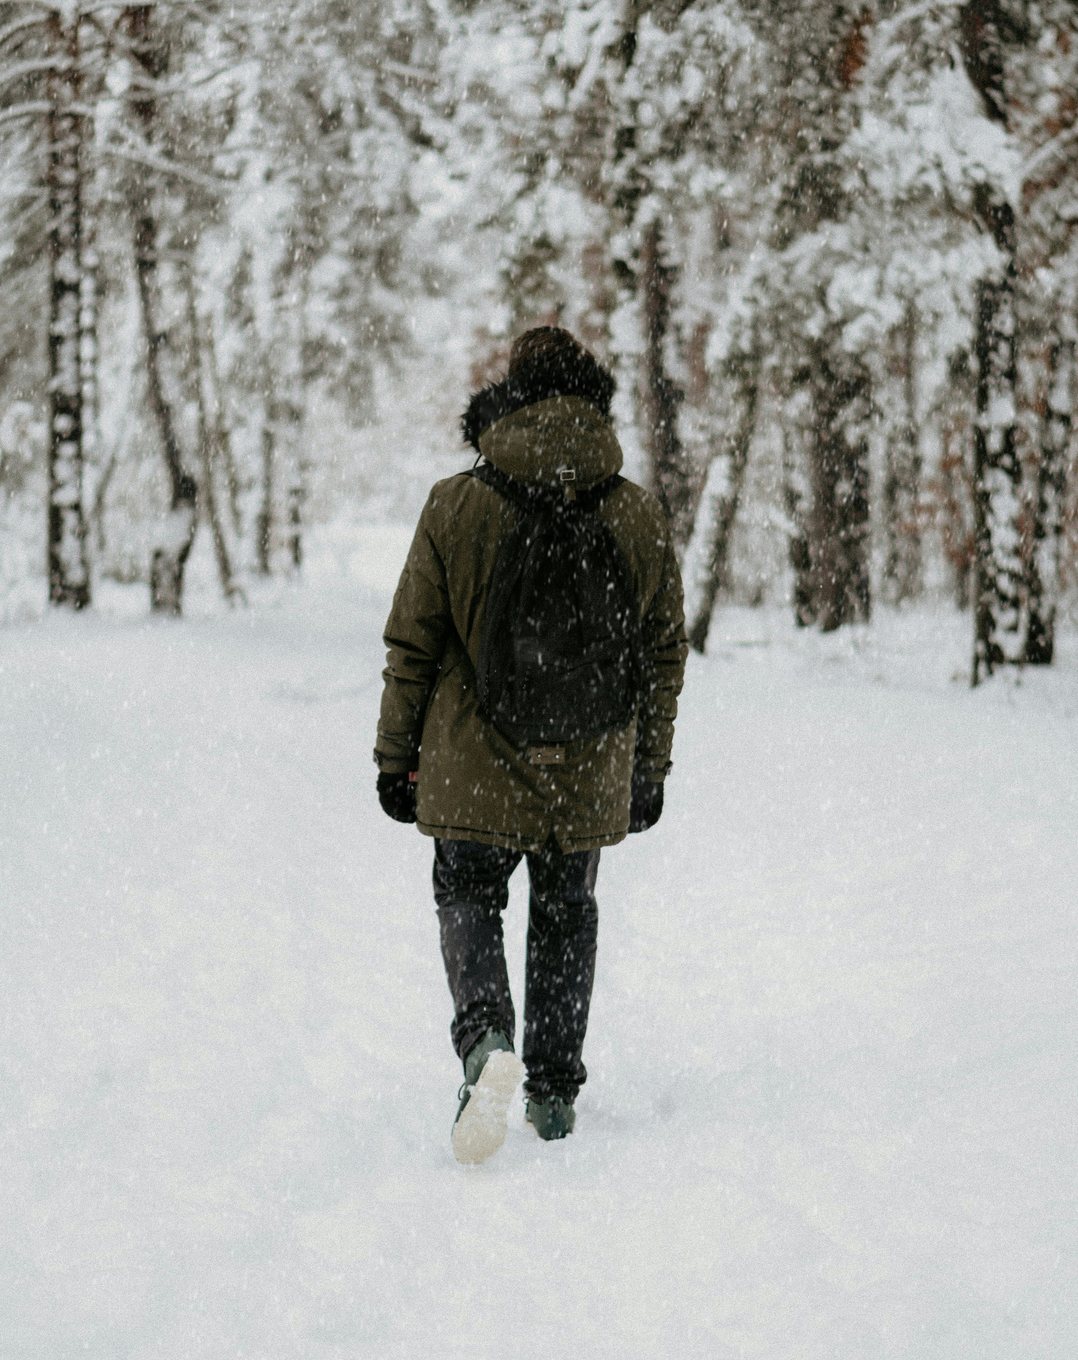
Walking Into the Snowy Woods
The snow brushes are cut from real photos of falling snow, so each flake has the soft, irregular shape a camera records. Here they are painted in three depths: tiny soft flakes far behind the walker, medium flakes at his distance and a few big, out-of-focus flakes close to the camera. Every layer has a little Motion Blur.
Use Lighten, Not Screen
Set each snow layer to Lighten and sample the snow color from the brightest highlights in the photo. Lighten only brightens what is darker than the flake, the way real snow shows against dark trees and disappears against a bright sky.
Keep the Far Snow Behind Him
Choose Select > Subject, invert the selection and paint the far layer inside it, so the smallest flakes stay behind the walker and the larger ones can pass in front.
Best on: winter forests, walking shots, outdoor portraits and snowy trails.
Brushes used: Far Snow, Falling Snow, Wind Snow, Soft Flake 1, Soft Flake 2.
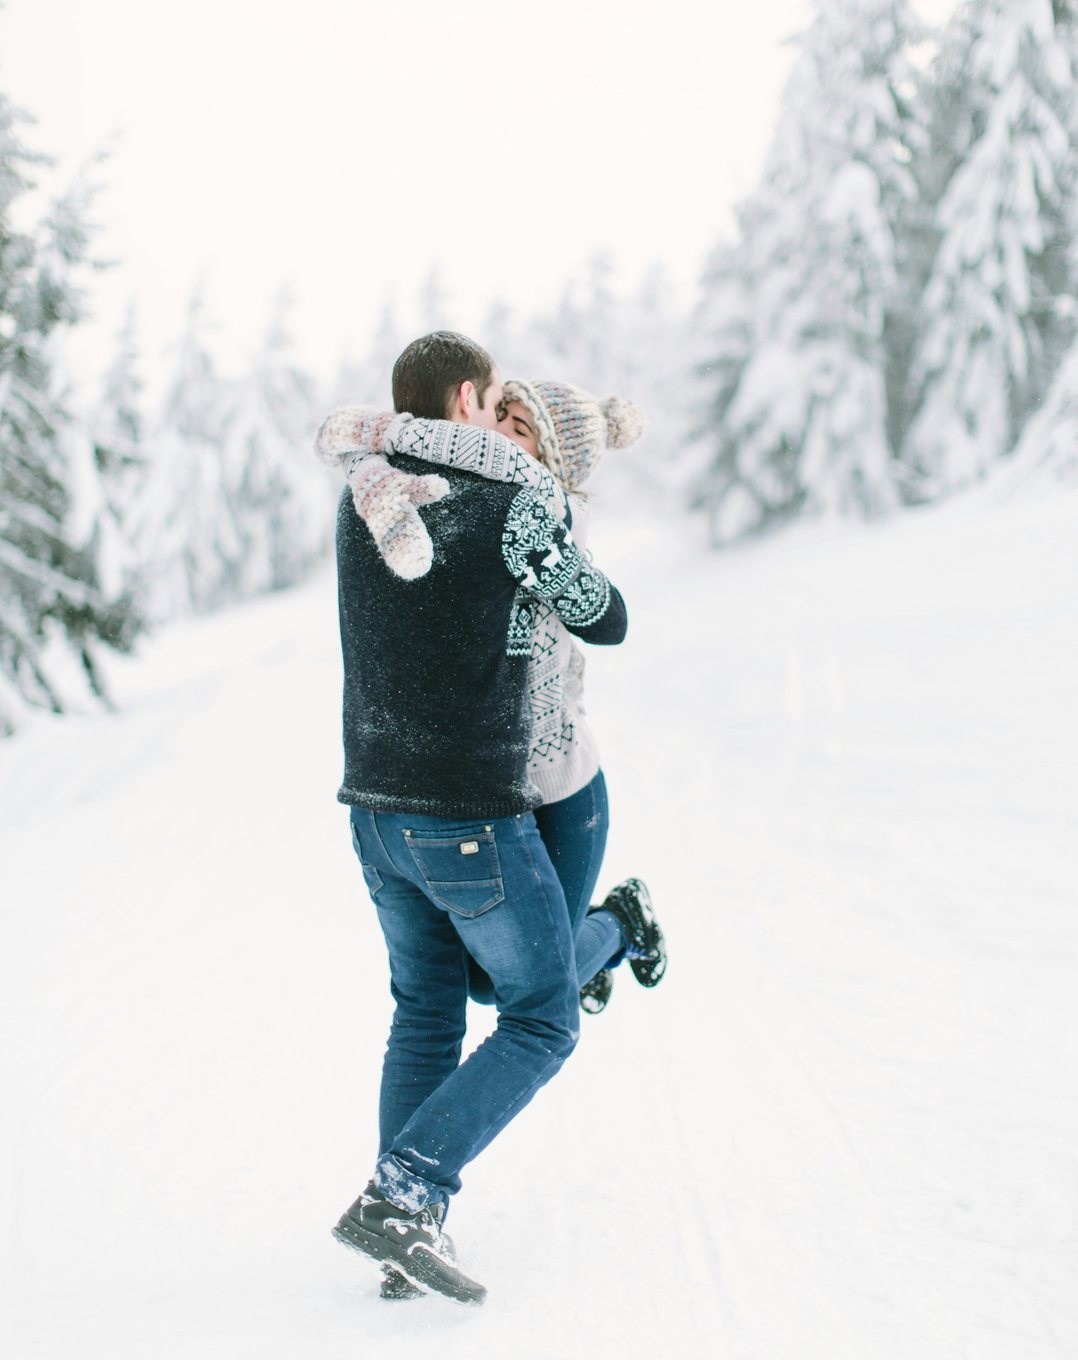
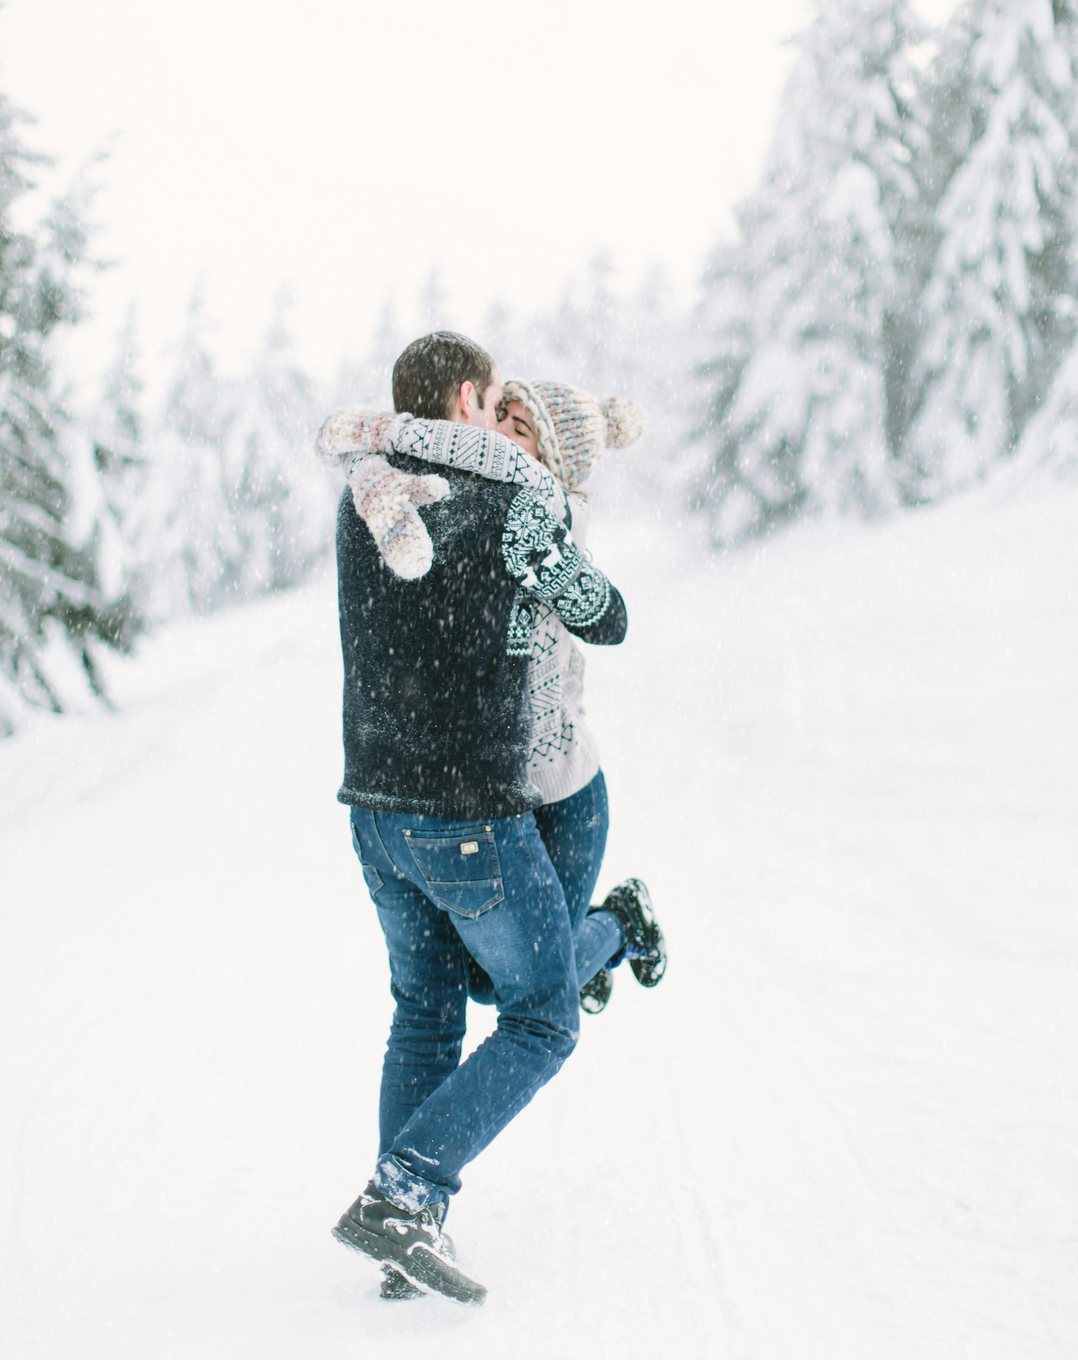
A Hug in the Falling Snow
A bright, white scene is the hardest place to add snow, because white flakes vanish against white snow. Painted in Lighten mode, the flakes show up over the darker parts of the frame, the trees, the coats and the jeans, and stay invisible over the bright ground, which is exactly how real snowfall photographs.
Three Depths of Snow
Paint tiny soft flakes far behind the couple, crisper medium flakes at their distance and only a few big out-of-focus flakes near the camera. Give the far and near layers more blur than the middle one.
Keep Faces Clear
A flake on an eye or a lip pulls attention. Keep the far layer behind them with an inverted Select > Subject, and erase any near flake that lands on a face with a soft Eraser.
Best on: winter engagement and couple sessions, bright snowy scenes and family portraits.
Brushes used: Far Snow, Falling Snow, Wind Snow, Soft Flake 1, Soft Flake 2.

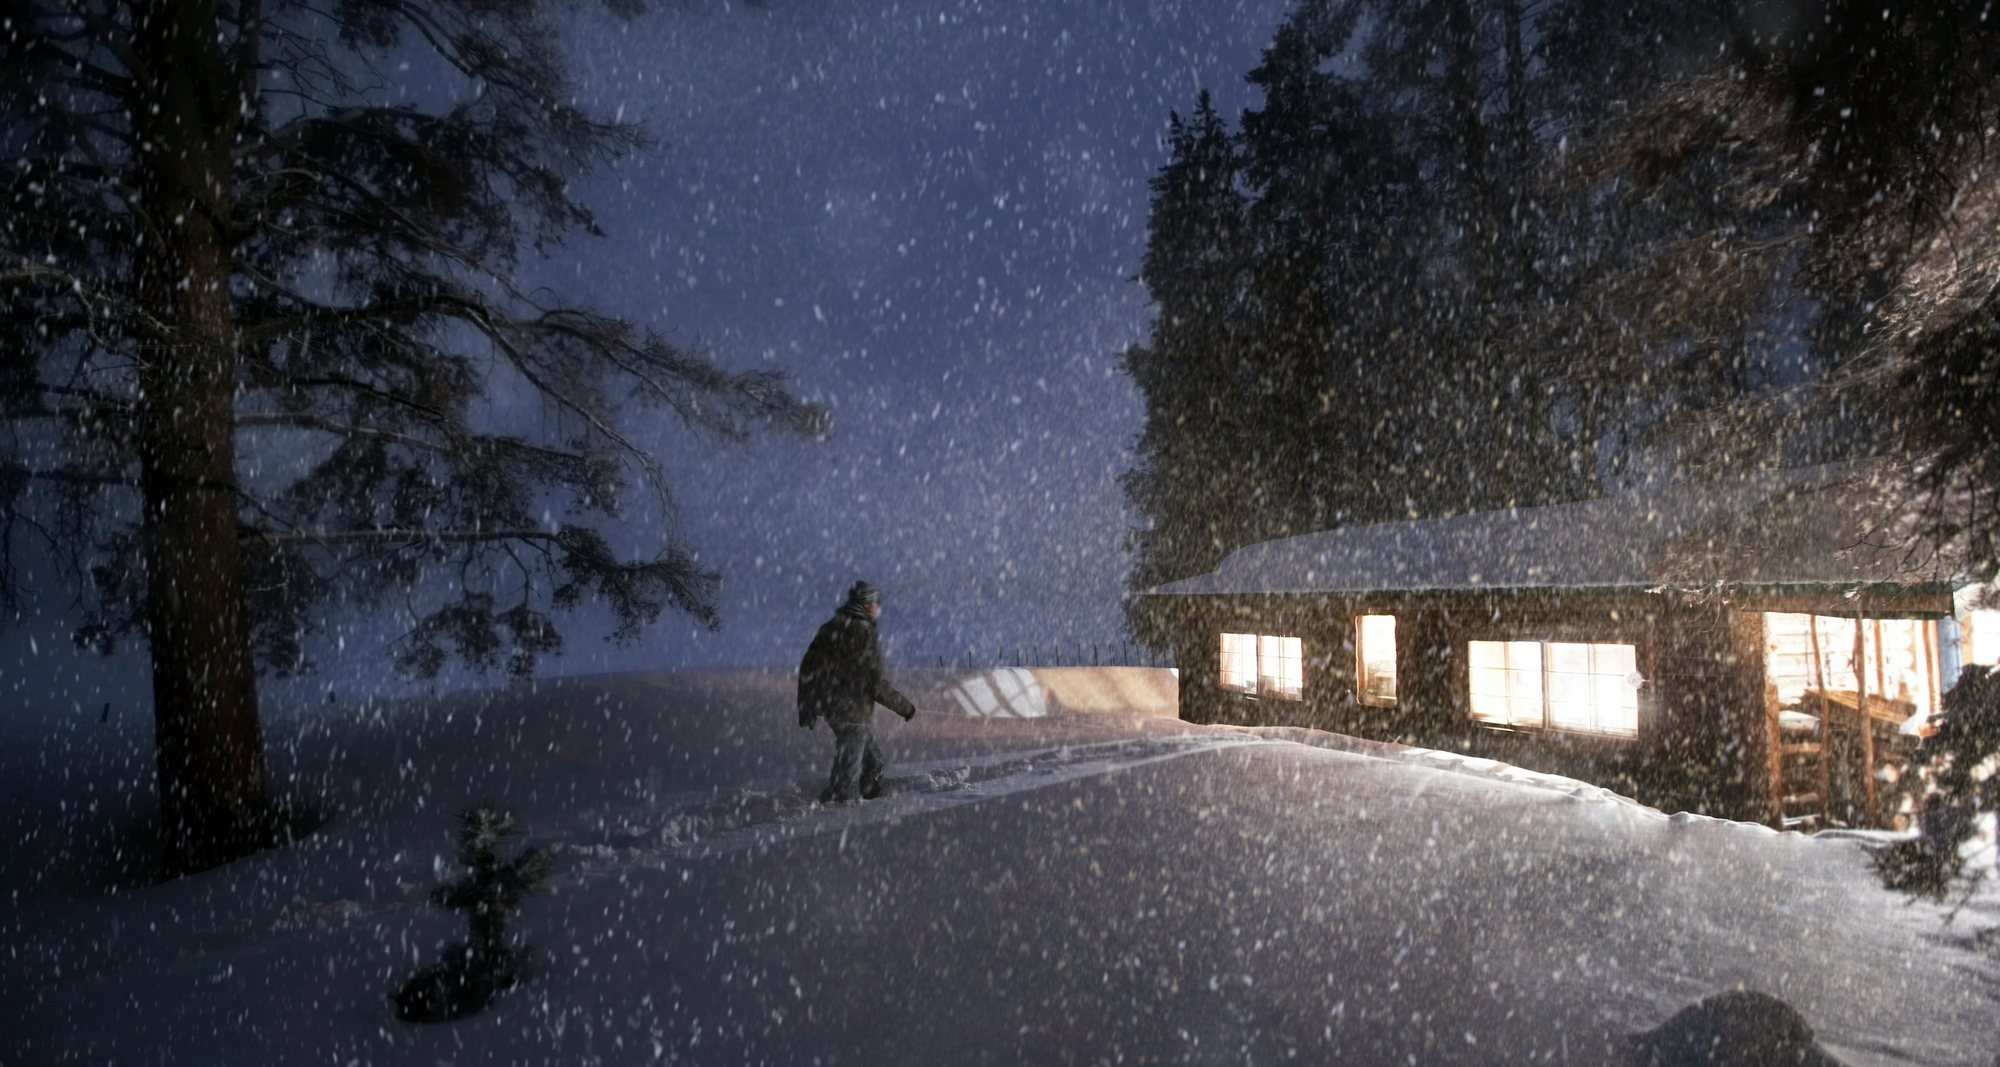
Snowfall by the Cabin at Night
At night, snow takes on the color of the light it falls through, so this scene gets cool flakes in depth and warm flakes at the windows.
Blur Near and Far
Give the nearest layer a strong Gaussian Blur and the farthest a mild one, and add a little Motion Blur at a near-vertical angle so the snow reads as falling.
Three Depths of Snow
Tiny soft flakes far away, crisp flakes at the walker’s distance and a few big blurred flakes near the camera. Each depth gets its own layer and its own amount of blur, all in Lighten mode.
Warm Flakes Near the Windows
Paint a separate layer in a warm color sampled from the window light, and mask it with a soft, feathered selection so it fades as the snow moves away from the light. Sample the rest from the cool highlights.
Keep the Walker Clear
Choose Select > Subject, invert it and paint the far layer inside the selection, so the smallest flakes stay behind him and only the nearest ones pass in front.
Best on: night scenes, cabins, porches, street lamps and holiday photos.
Brushes used: Far Snow, Falling Snow, Wind Snow, Soft Flake 1, Soft Flake 2.
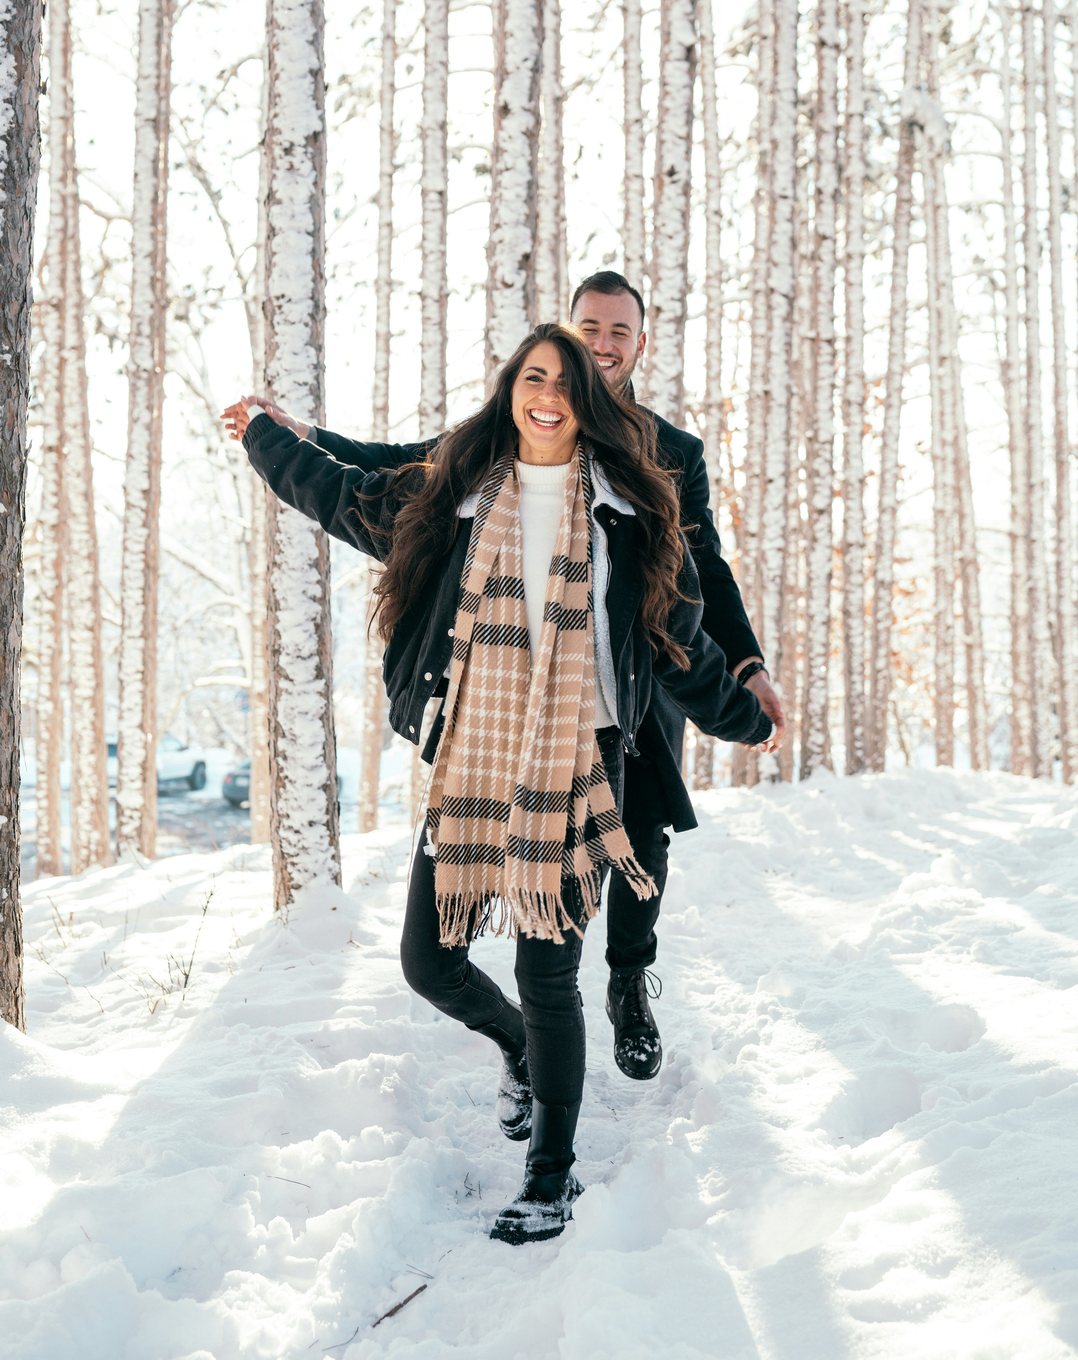

Running Through the Birches
The birch trunks give the snow something dark to show against. Tiny soft flakes sit far back between the trees, crisp flakes fall at the couple’s distance, and only a few big, soft flakes drift close to the camera, kept faint so they read as snow in the air rather than spots on the lens.
Go Easy Up Close
Giant flakes right in front of the camera rarely look natural. Keep the nearest snow layer at a low opacity, around 15 percent at most, with a strong Gaussian Blur and Motion Blur, and use only a handful of flakes.
Add Motion
Falling snow photographed at a normal shutter speed leaves short streaks. Give every layer a little Motion Blur at a near-vertical angle, more on the closer layers.
Best on: couples and families outdoors, birch and pine forests and action shots in the snow.
Brushes used: Far Snow, Falling Snow, Wind Snow, Soft Flake 1, Soft Flake 2.
What’s in the Download
7 brushes cut from real snowfall
Unzip it and load the .abr file in the Brushes panel. The brushes show up in a group named PHLEARN Snow Brushes 2026.
- ABRPHLEARN Snow Brushes 2026.abr7 brushes: far snow, falling and wind snow, three soft flakes and the classic brush
- PDFHow to Use (2026)PHLEARN Snow Brushes – How to Use (2026).pdf: the brushes, a worked example and the common mistakes
- PDFInstall Guide (2026)PHLEARN Photoshop Brushes – Install Guide (2026).pdf: two ways to install the brushes
- JPG1 Practice ImageThe snowy forest path from the How to Use guide
- Classic
- Far Snow
- Falling Snow
- Wind Snow
- Soft Flake 1
- Soft Flake 2
- Soft Flake 3
Photoshop Brush Questions, Answered
What’s included in the Snow Photoshop Brushes download?
One .abr file with 7 brushes cut from photos of real falling snow: Far Snow, Falling Snow, Wind Snow, Soft Flake 1, 2 and 3, and the classic PHLEARN snow brush. The zip also has a How to Use guide, the install guide and a practice photo.
How do I make the snow look real?
Paint three distances on separate layers: tiny, soft Far Snow behind the subject, crisp Falling Snow around them, and a few large Soft Flakes near the lens. Add a little Motion Blur to every layer, because falling snow always moves.
Which blend mode should I use?
Lighten, not Screen, with the color sampled from the brightest highlights in the photo. Lighten only brightens what is darker than the flake, the way real snow shows against dark trees and disappears against a bright sky.
Why do my close flakes look like blobs?
They are too strong. Keep the near-camera layer to a few Soft Flakes at about 15% opacity, with a Gaussian Blur around 5 px and Motion Blur around 10 px.
Do I need a depth map?
No. You can paint each layer’s mask by hand with a big soft brush, which works in every version of Photoshop. A depth map just makes it faster: duplicate the photo, choose Filter > Neural Filters > Depth Blur, turn on Output depth map only, and paste the gray map into the layer mask. The How to Use guide in the download shows both ways.
Are Photoshop Brushes included in my PHLEARN PRO subscription?
Yes. A PHLEARN PRO membership includes every Photoshop Brush, plus PRO Tutorials, Lightroom Presets, LUTs and Photoshop Actions.
How do I install a Photoshop brush?
Unzip the download, open Photoshop, then double-click the .ABR file. Photoshop shows no confirmation, but the brush is now at the very bottom of the Brushes panel (Window > Brushes), named after the .ABR file. You can also choose Import Brushes from the Brushes panel menu. Every method is on our Photoshop Brushes install guide.
What version of Photoshop do I need?
Double-clicking the .ABR file works in current versions of Photoshop. In an older version, go to Edit > Presets > Preset Manager, set Preset Type to Brushes, click Load, select the .ABR file and click Done.
Why is the brush so big (or so small)?
Brushes load at the size they were built. Press [ or ] to resize, or hold Control + Option (Mac) or Alt + right-click (Windows) on the canvas and drag left or right.
The brush paints the wrong color or barely shows up. What do I do?
Press D to reset your colors, then check Opacity and Flow in the options bar at the top.
Photoshop says it could not load the brushes.
The download is still zipped or incomplete. Unzip it, or download it again.
My brush disappeared after an update.
Choose Edit > Presets > Migrate Presets, or install the .ABR file again.
What is the best way to use the brush?
Paint on a new, empty layer rather than on the photo itself, so you can move, fade or erase it later. Set that layer to Screen for bright brushes and Multiply for dark ones.
Terms of Use
These Brushes are licensed for personal and professional use by the individual who purchased or downloaded them. The license does not extend to companies or partnerships, and the files may not be resold, loaned, gifted, shared, copied or redistributed. All PHLEARN Brushes are copyright protected.
Master Photoshop, Lightroom and Photography
Join PHLEARN PRO for $12.99 a month, or $99.99 a year (save 36%). Cancel anytime, with a 30-day money-back guarantee.