25 Tips for Perfect Photography Composition
“You don’t take a photograph, you make it.”
– Ansel Adams
Perfect composition is something every photographer is after in 2020. So how do you take what Ansel Adams said and put it into practice for your photography? Put simply – you master composition. If you’re trying to learn to master composition in photography, read on to learn the best tips, tricks and best practices.
This guide is designed to help you start consistently taking better photographs, no matter what subject you are photographing.
Together, we are going to learn to balance two aspects of photography: technique and creativity. Composition is the bridge between those two. Composition is the most critical piece of gear you have – more so than that expensive camera or lens in your bag.
By practicing and applying any of composition tips below, you’ll learn to guide your viewers to those feelings that you want to evoke and finally match what you envisioned with what you captured!
This guide will show you how to:
- Guide your viewers into and through your photo.
- Showcase the most critical elements of what you want to capture.
- Eliminate anything that distracts the viewer and takes away from your photo.
- Avoid common mistakes that ruin countless photos.
- Build a repeatable process that you can use every time.
Apply the Rule of Thirds
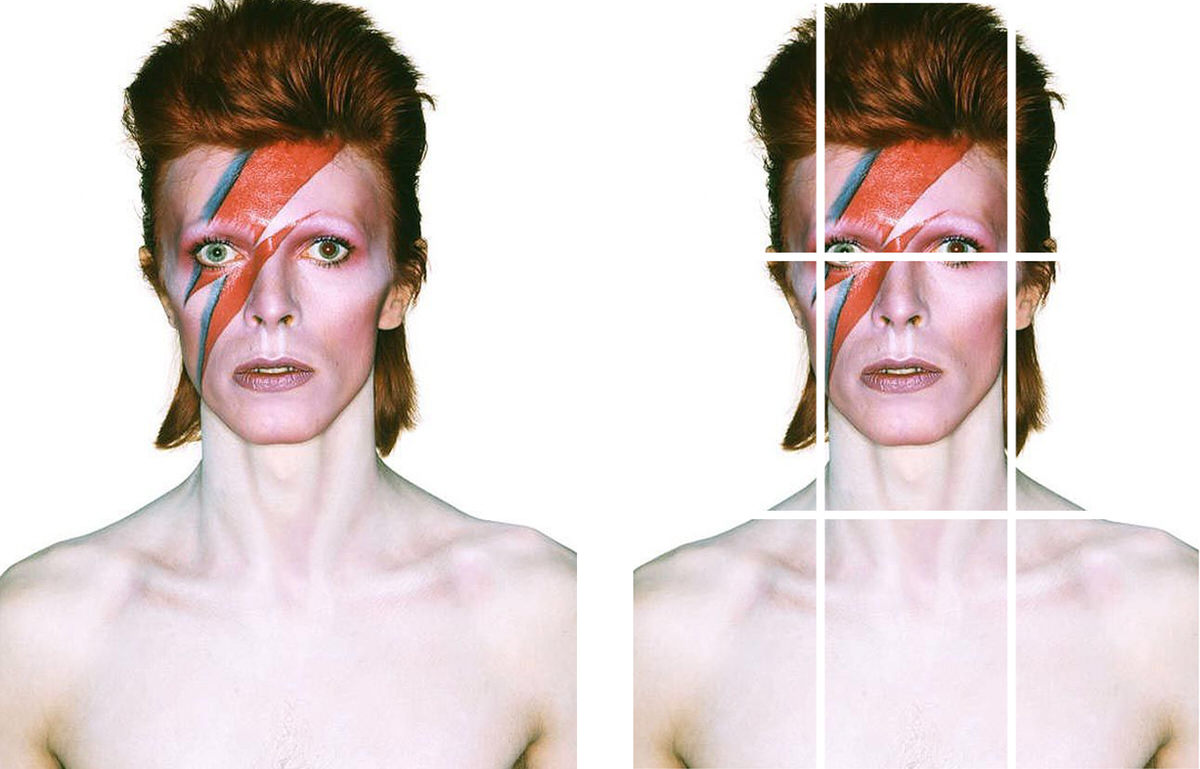
No better place to start than the #1 all-time classic composition technique. The Rule of Thirds is dividing up your image with two horizontal and two vertical lines that intersect, which divides your image into nine boxes of equal size. The lines will intersect at four points and since the viewers’ eyes are naturally drawn to those points, the Rule of Thirds says that you should place your subject or the most important elements of the scene along one of the lines or on one of the points. More examples ->
Center Your Subject
The Rule of Thirds is a powerful compositional technique, but sometimes, just placing your subject right in the center of your photo is the perfect spot. Three ideal scenarios for centering your subject:
1. When you’re taking a close-up shot in which your subject occupies most or all of the frame.
2. When there’s nothing in the background to distract from your subject.
3. When you’re specifically looking to present some kind of symmetry.
Look for Triangles
Triangles have a strong visual impact and you don’t need to photograph literal triangles to achieve this effect. All you need are three visual points that exist in a somewhat triangular formation. The viewer’s imagination will connect the dots and tie all elements of the photograph together! The imagined triangle may extend out beyond the edges of your photo as well, so don’t worry if it’s not completely confined inside the frame.
Consider Framing
Use frames when you want to draw attention to a specific area of your image. Shooting one object through a hole or space in another is a classic way to add interest, balance, and depth to your photos. Frames can be natural, such as overhanging tree branches or rock formations, or they can be man-made objects, such as doorways.
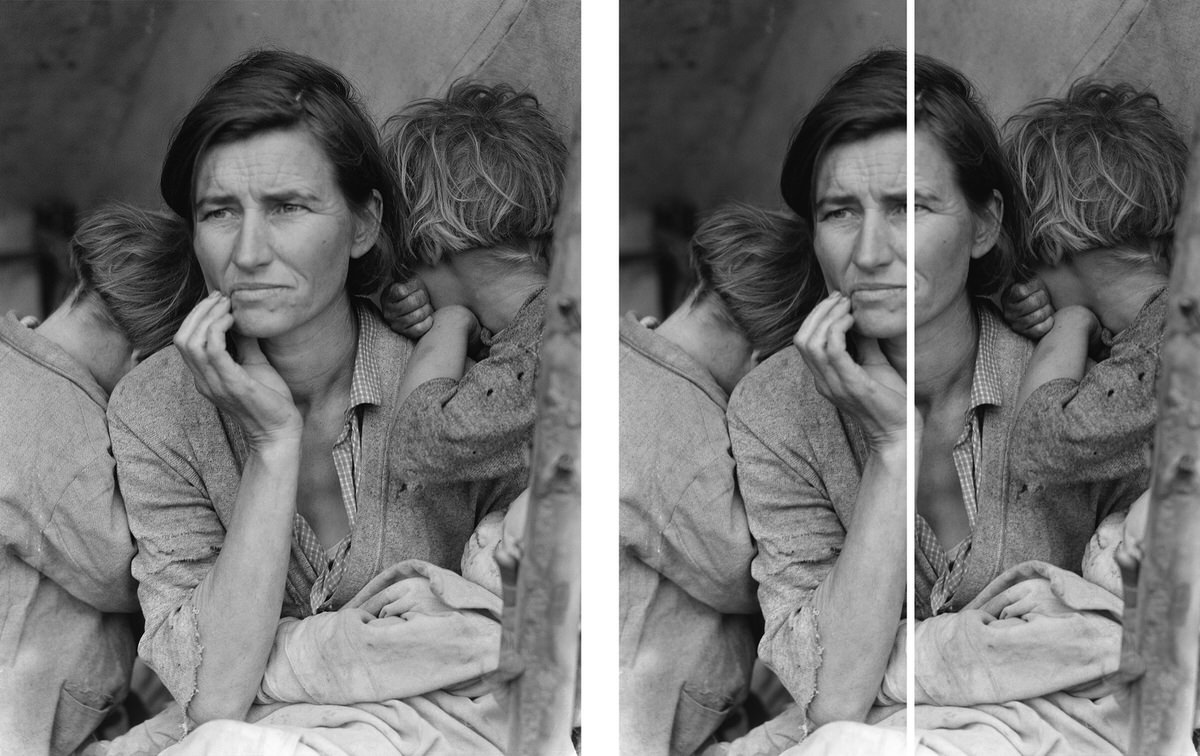
Look for Symmetry
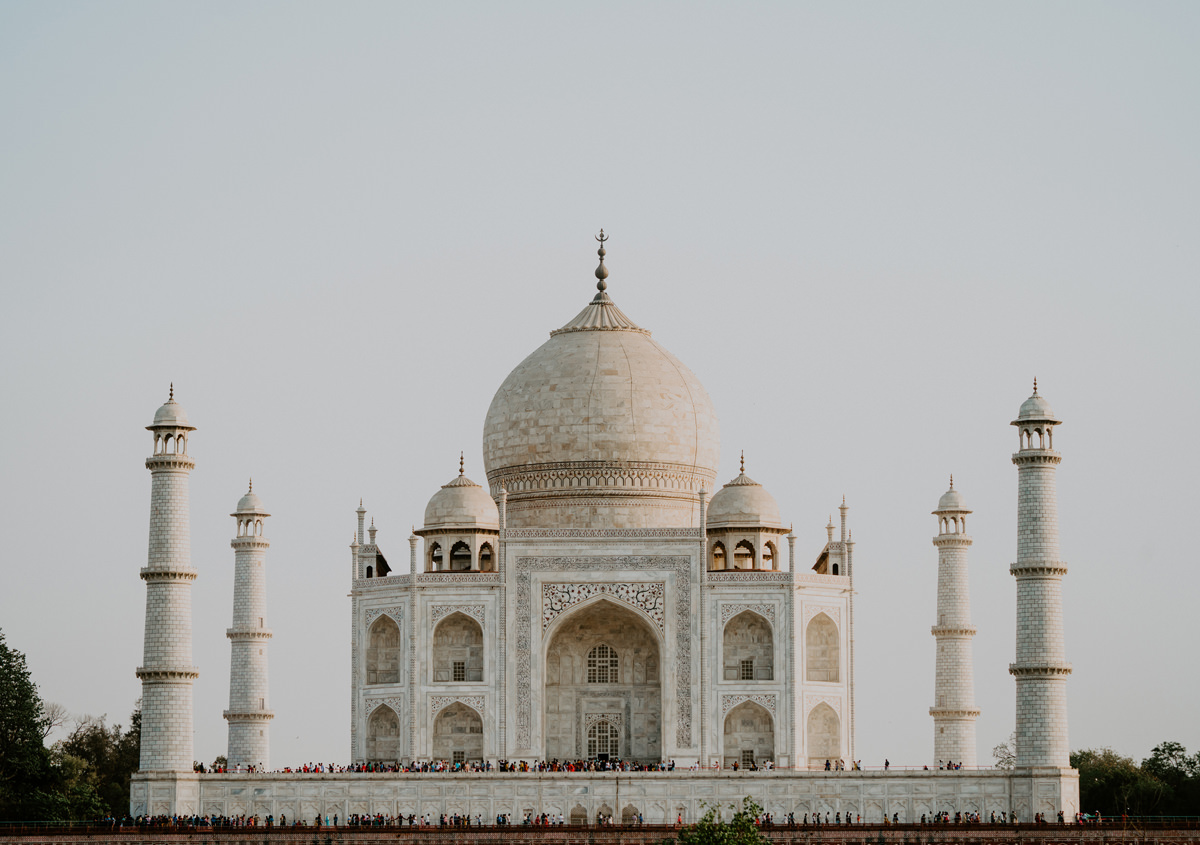
Symmetry is the all about finding balance in your image. The most simple type of symmetry is dividing the scene in half either vertically or horizontally where both halves have a very similar structure to them, like the image of the Taj Mahal below. Unlike other composition techniques, symmetry is based on minimizing contrast. To master the art of symmetry, you must consider size, shape, color, line, and texture as elements to balance. Here is a helpful set of illustrations to better explain those.
Use Juxtaposition
In many ways, this is the opposite of symmetry. In juxtaposition, you want to create contrast within your frame using non-symmetrical elements. The most common way to achieve this is to place or arrange objects in adjacent or opposing locations to highlight their differences. However, placement of the subjects isn’t critical to the effect, as long as the comparison is evident and the contrast vivid. The key is to be clever and effective.

Look for Leading Lines
Leading lines literal or implied lines create a path for the viewers’ gaze to follow. They can also come in many different forms. The lines can lead viewers to the subject or off into infinity. They can be straight, curved, or angular. A photograph may have one leading line or it may have a bunch that converge on the subject from different angles. When exploring this composition technique, remember where you want your viewer’s gaze to go, and keep re-composing the frame until the lines lead there. Try to keep in mind that lines can come in so many different forms.
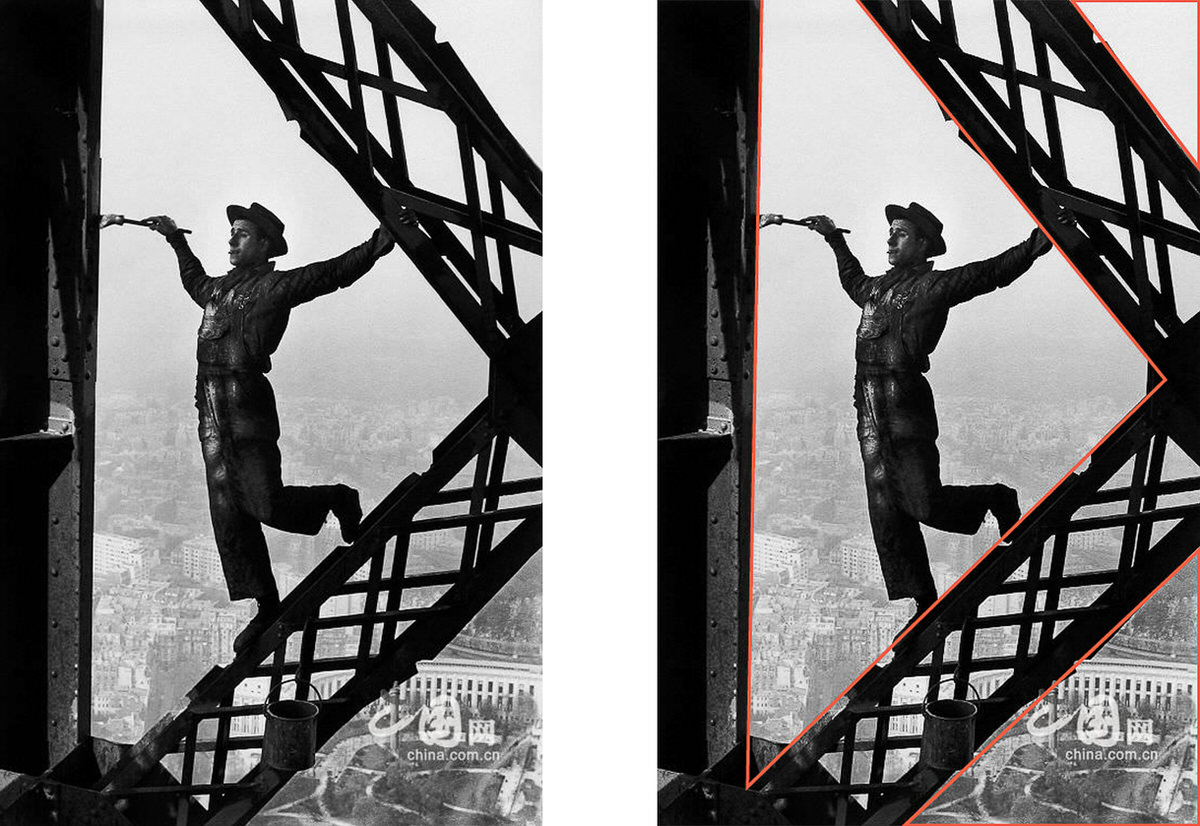
Use Diagonal Lines
Diagonal lines convey strength and motion. They can extend from one side of a photograph to the other, or like the image below, they can stop short the edges as well. Use them to take photographs that are dynamic in appearance or incorporate multiple diagonal lines to establish a pattern. Sometimes the best time to use a diagonal is when there is a distinct contrast between two areas of your framing.
Incorporate Curves
Curving lines soften an image and convey a natural organic look that lends itself perfectly to landscape, architecture, drone, and urban photography. You can use curves to convey a sense of calm or to take the viewer on a journey whose destination lies beyond the photograph. They are great at invoking a sense of wonder or wanderlust in your photos.

Keep the Background Simple
There will be countless times where you want to isolate and emphasize a subject while eliminating distractions in the background. It’s common in portrait photography, that the most important characteristics of your subject are lost if the background is too noisy. The most common technique is to simply blur the background (like the image below), but that’s not the only way. Consider things like a cloudless sky (or a completely grey day). Maybe a subtle repeating pattern like a brick wall or open space like a wide open field or parking lot. You can even use clever angles to control the background by shooting from below or above.
Let the Background Show Context
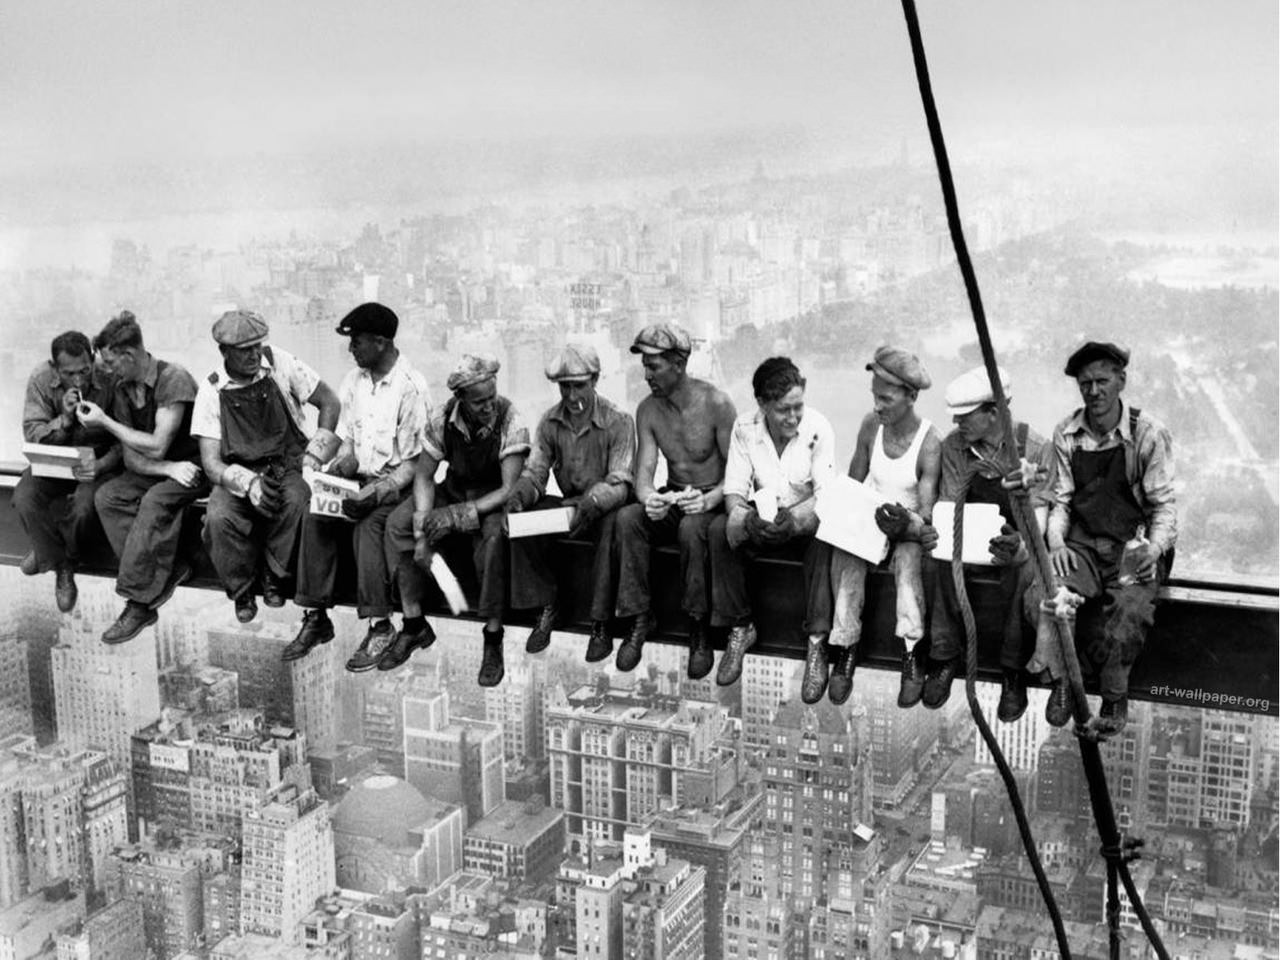
Sometimes, you don’t want a simple background, but rather one that builds upon your subject to tell an even more vibrant story. You’ll want the action in the background to be visible but also not be so distracting that it overwhelms the subject and spoils the composition. Let the background explain a key part of the overall story the subject doesn’t by itself. Maybe no image in history did it better than the iconic V-J Day photo.
Use a High Horizon Line
Use a high horizon line in your composition when you want to emphasize the foreground. It can also be used to create a profound sense of distance, pulling the viewer into the image and making them feel as though they’re gazing across a vast expanse.
Use a Low Horizon Line
If you want to emphasize the sky, use a low horizon line. This technique can be used to convey the vastness of the heavens or the insignificance of your subject.
Add Depth by Including Objects at Different Distances
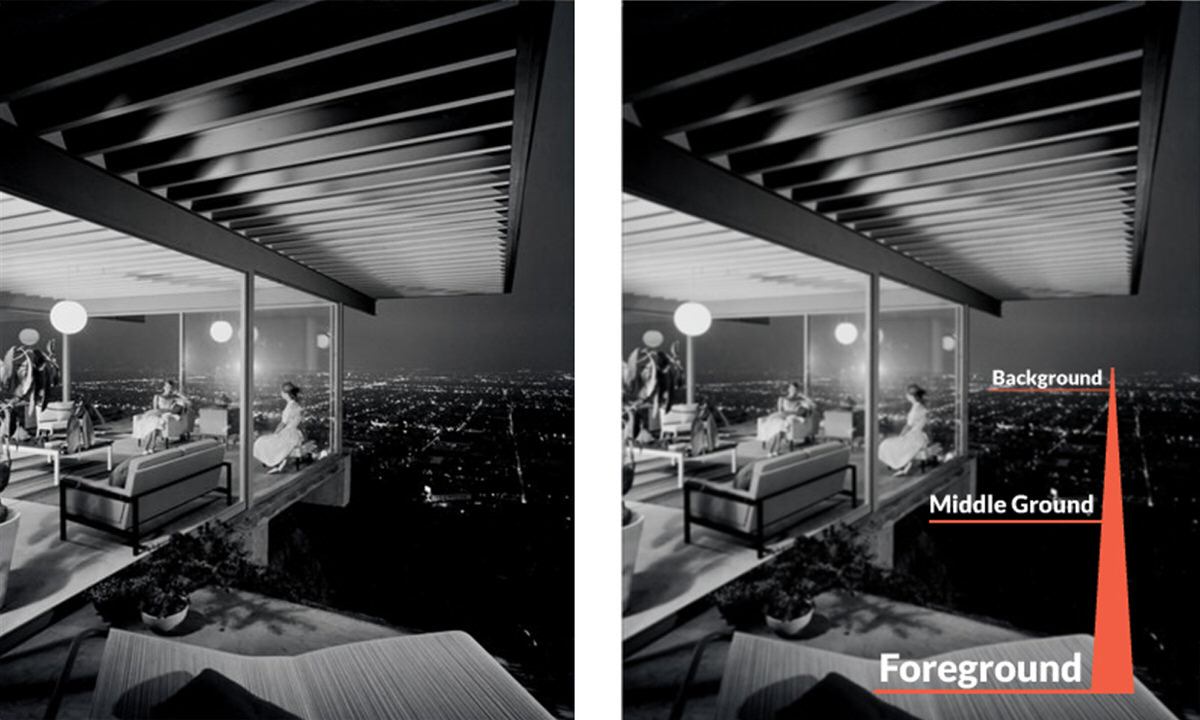
Having a point-of-interest in the foreground, the middle ground, and in the far distance is a great technique for adding depth to any composition. The key is that these three sections should have enough defined contrast to be easily distinguishable from one another, otherwise your photo may turn out too messy.
Include a Person or a Familiar Object in a Landscape to Show Scale
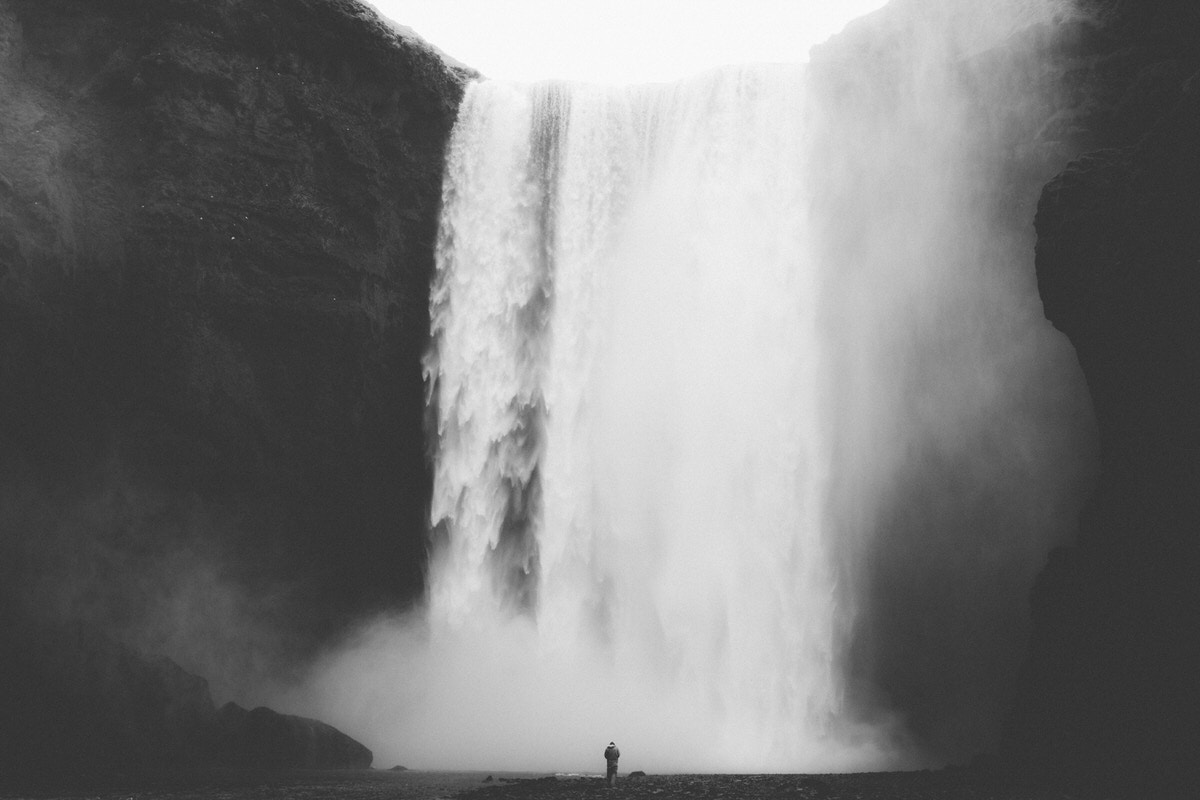
A person or an object can make a landscape more dazzling by illustrating the size and scope of the image. The object should be large enough to be discernible and catch the viewers’ attention but not so prominent as to distract from the landscape.
Shoot from an Unusual Vantage Point
Add interest by shooting from an unexpected place. Consider vantage points that aren’t usually seen, and take viewers on a unique journey. For example, drones are a popular way to gather previously unseen angles. Shooting from some locations may require advance planning, so consider if you’ll need any special tools, permission, or assistance. Just please remember to stay safe and don’t break the law!
Use Contrast to Add Interest
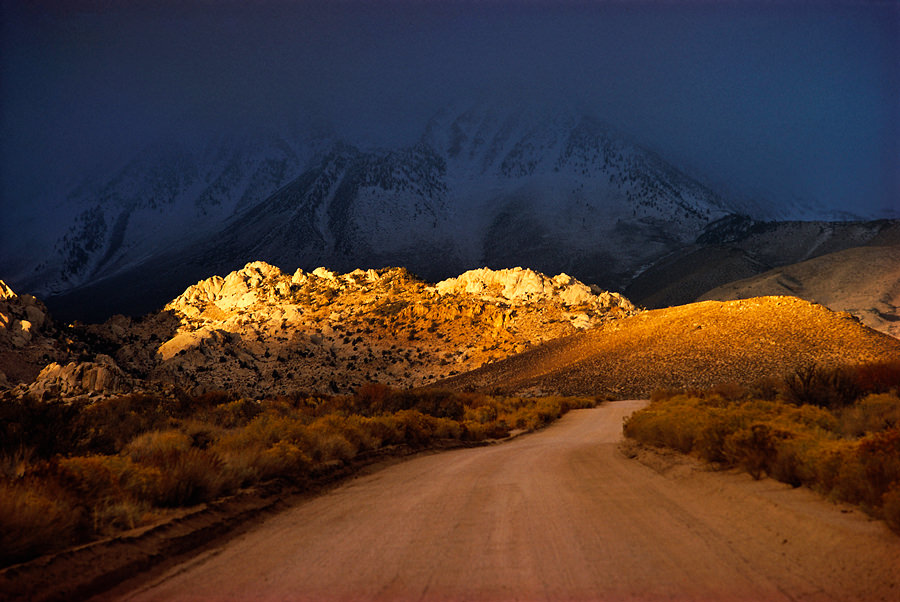
Contrast is the key to avoiding “flat” images that look dull and one-note. Contrasting colors can energize a photograph, but so can big differences in light and shadow. For instance, you can shoot at dawn or dusk and take advantage of the effects of the slanting sunlight. Also, variations in texture can be used to add dramatic elements to your photos.
Use Repetition to Your Advantage
An object or shape that repeats can create a dominant pattern. Capitalizing on these patterns can create a calm, rhythmic feeling or create complete abstractions with common objects. The more repeating objects you have in your photograph, the more likely you are to capture stunning abstractions and optical illusions.
Beyond the Edge of the Picture
When an element of your subject is offstage, your viewers want to know more. Draw them into the deeper into the story with what they can’t see outside of the frame. This technique takes advantage of the dynamics of “implied lines” which we’ll explore next.

Use Lines That Aren’t There
Did you notice the line leading out of the frame in the previous example photo? No? That’s because there wasn’t a physical line. Nevertheless, there was a definite dynamic created by the line of sight of the people in the shot. This is an excellent example of “implied lines” in composition. There are several types of implied lines that can be exploited to pull or push your viewers where you want them to go.
The simplest forms are things like a pointing finger, a sign, or the direction someone of someone’s gaze. More advanced techniques would be someone’s apparent motion. These “invisible” lines can often be even more effective than “real” lines in adding dynamic energy to your shots. You can use them to lead to a subject or add depth, just as you’d use physical lines.
Show Your Subjects in Motion
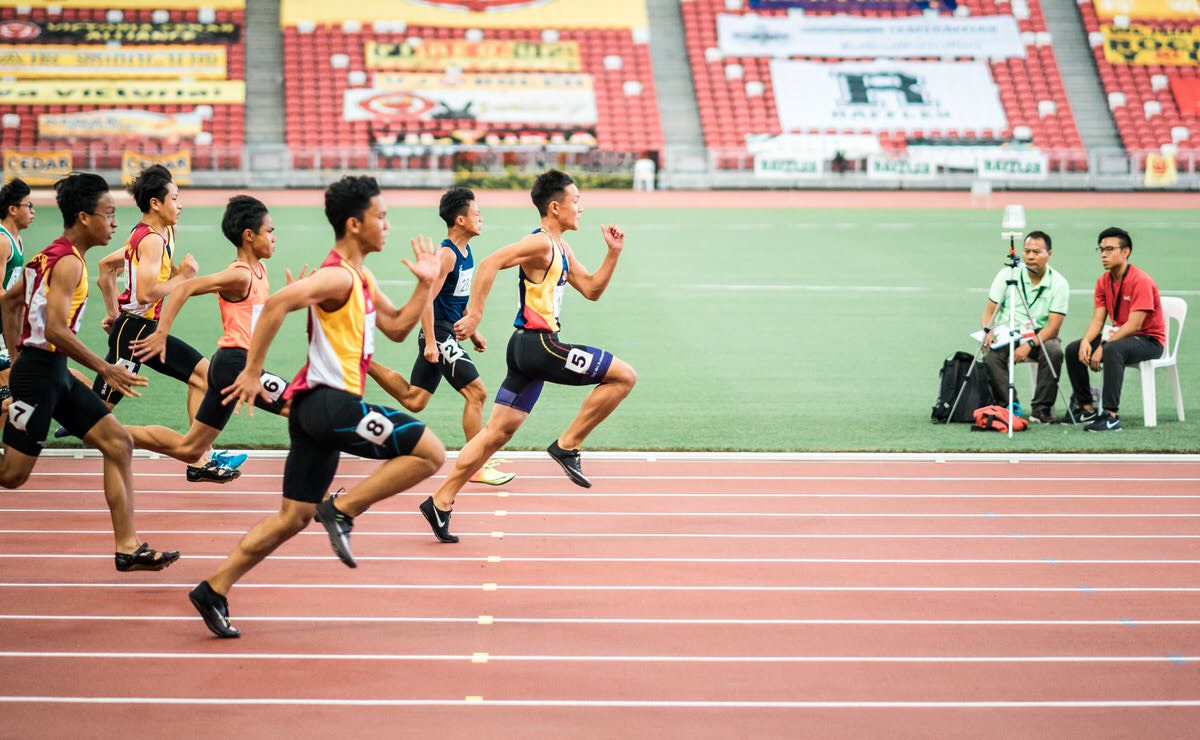
Motion can be implied as well as a sense of direction. For example, when you pan along at the same speed as your moving subject, the background blurs while the subject itself is relatively “frozen”. This adds visual tension and causes the subject to “pop” out of the composition. You can do the opposite effect as well to show motion.

Leave Space for Motion
When the main subject in your frame is in motion, it’s important that it has somewhere to go. Pushing a moving subject too close to the edge of the frame can ruin its dynamic value. You can amplify the sense of motion by leaving negative space in the direction the subject is moving. This also works well when the motion is implied or anticipated, such as an object on a slope.
Get Very Close
As the legendary photographer, Robert Capa used to say, “If your photographs aren’t good enough, you’re not close enough.” To get the composition you need, sometimes you have to get close… really close.
1. Moving in close to foreground subjects in landscape, street, and similar types of photography can add incredible depth to a photo. In most cases, you’ll want to shoot at a small aperture to maximize depth of field in the resulting image.
2. Macro photography can reveal a strange and beautiful world that can never be seen with the naked eye. For best results, use a macro lens with a focal length ranging from 50mm to 200mm.
Show Interaction
Dynamics in composition extend beyond the realm of physical motion. The interaction between subjects, whether living or manmade, produces a sense of “being in the moment”. Remember that your photo is a story and there are characters and an environment. How you choose to show interaction and frame it leads to a success or failure of a composition.
Interaction comes in many forms. Eye contact, apparent motion with or against one another, moving in unison or opposite, and so many more. The fun part is figuring out how you are going to capture the interaction that best encapsulates the feeling you want to convey.

Rethink What It Means to Take a Portrait
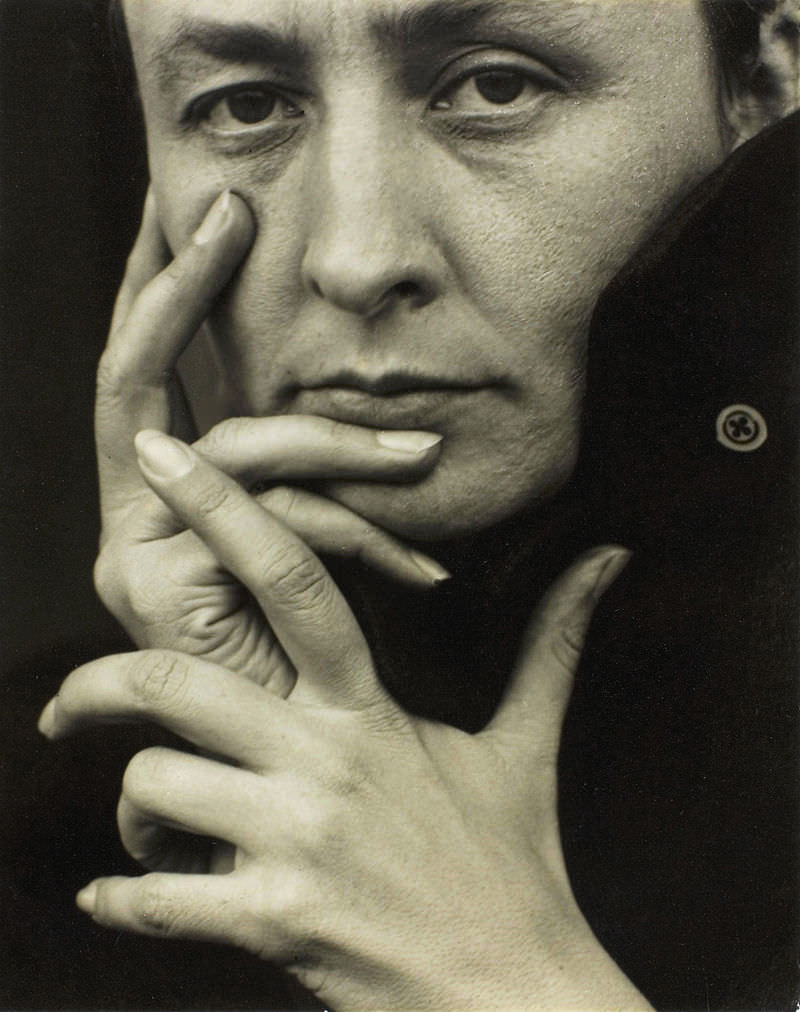
The focus of most portraits is the subject’s face. However, the face is not the only expressive part of the body! Look for other ways of showing your subject’s personality. It could be their hands, the subtle roll of soft shoulders, or a bent back. Find that detail that can be used to project a better sense of the person in front of your lens.
Break the Rules!
We just outlined 25 tips for better composition. None of these are actual “rules” regardless of the fact that one is called the “Rule of Thirds”. While the “rules” of visual composition are numerous and often hard to understand, they are meant to be broken. There is no perfect way to compose a photo. It’s all about experimenting constantly and through that process finding your own unique style that sets you apart from the rest.
Search out avant-garde photographers that you really like – photos that portray styles, looks, feelings that you want to portray in your own work – and learn from them. Try to mimic the techniques that stand out to you and then build off them. Follow cutting-edge emerging photographers to see how they continue to push the boundaries of contemporary photography.
Remember, these tips are not intended to comprise a complete lesson in composition. Many of the greatest photographers of previous and current generations were self-taught. They continuously messed with composition, settings, and post-processing until they got something that consistently felt right.
These 26 suggestions are offered here to give you a head start at creating more energetic and meaningful images. By following these suggestions, you should find yourself both expanding your creativity and the impact of your images.
Who knows, maybe one day we will write about the composition technique you pioneered!
We hope you enjoyed this guide and please share it with any friend you think may enjoy it.
