How Navid Baraty Creates Realistic Cosmic Photos… with Food and a Scanner
Navid Baraty has always had a fascination with space. Ever since he was a child, he’s imagined being part of a prestigious space program, exploring the cosmos. He’s also an avid photographer who has worked with the likes of NatGeo, The Planetary Society, and NASA.
He doesn’t only focus on astrophotography, but Navid does make it a point to shoot important space-related events like rocket launches and the public viewing at Times Square when the rover, Curiosity, landed on Mars. So, since he hasn’t actually had the chance to hop a shuttle out of this world, it only makes sense that he’d look for alternative ways to explore the cosmos here on solid ground.
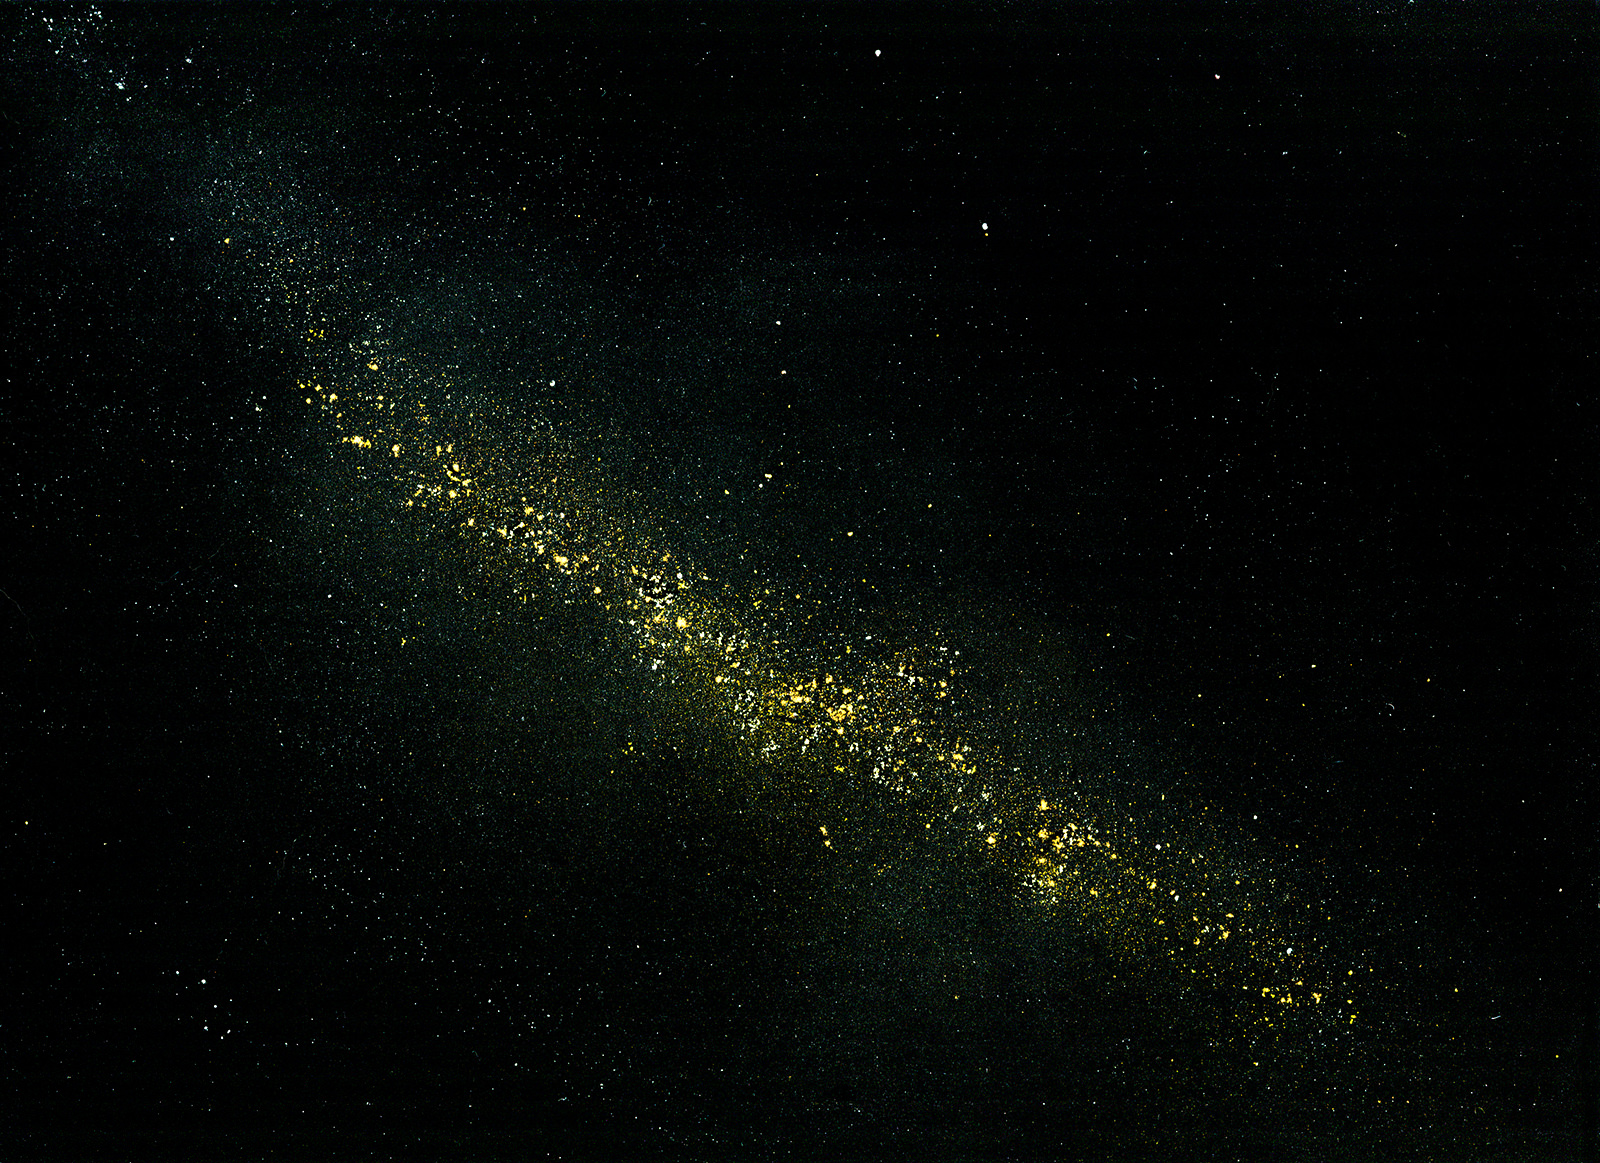
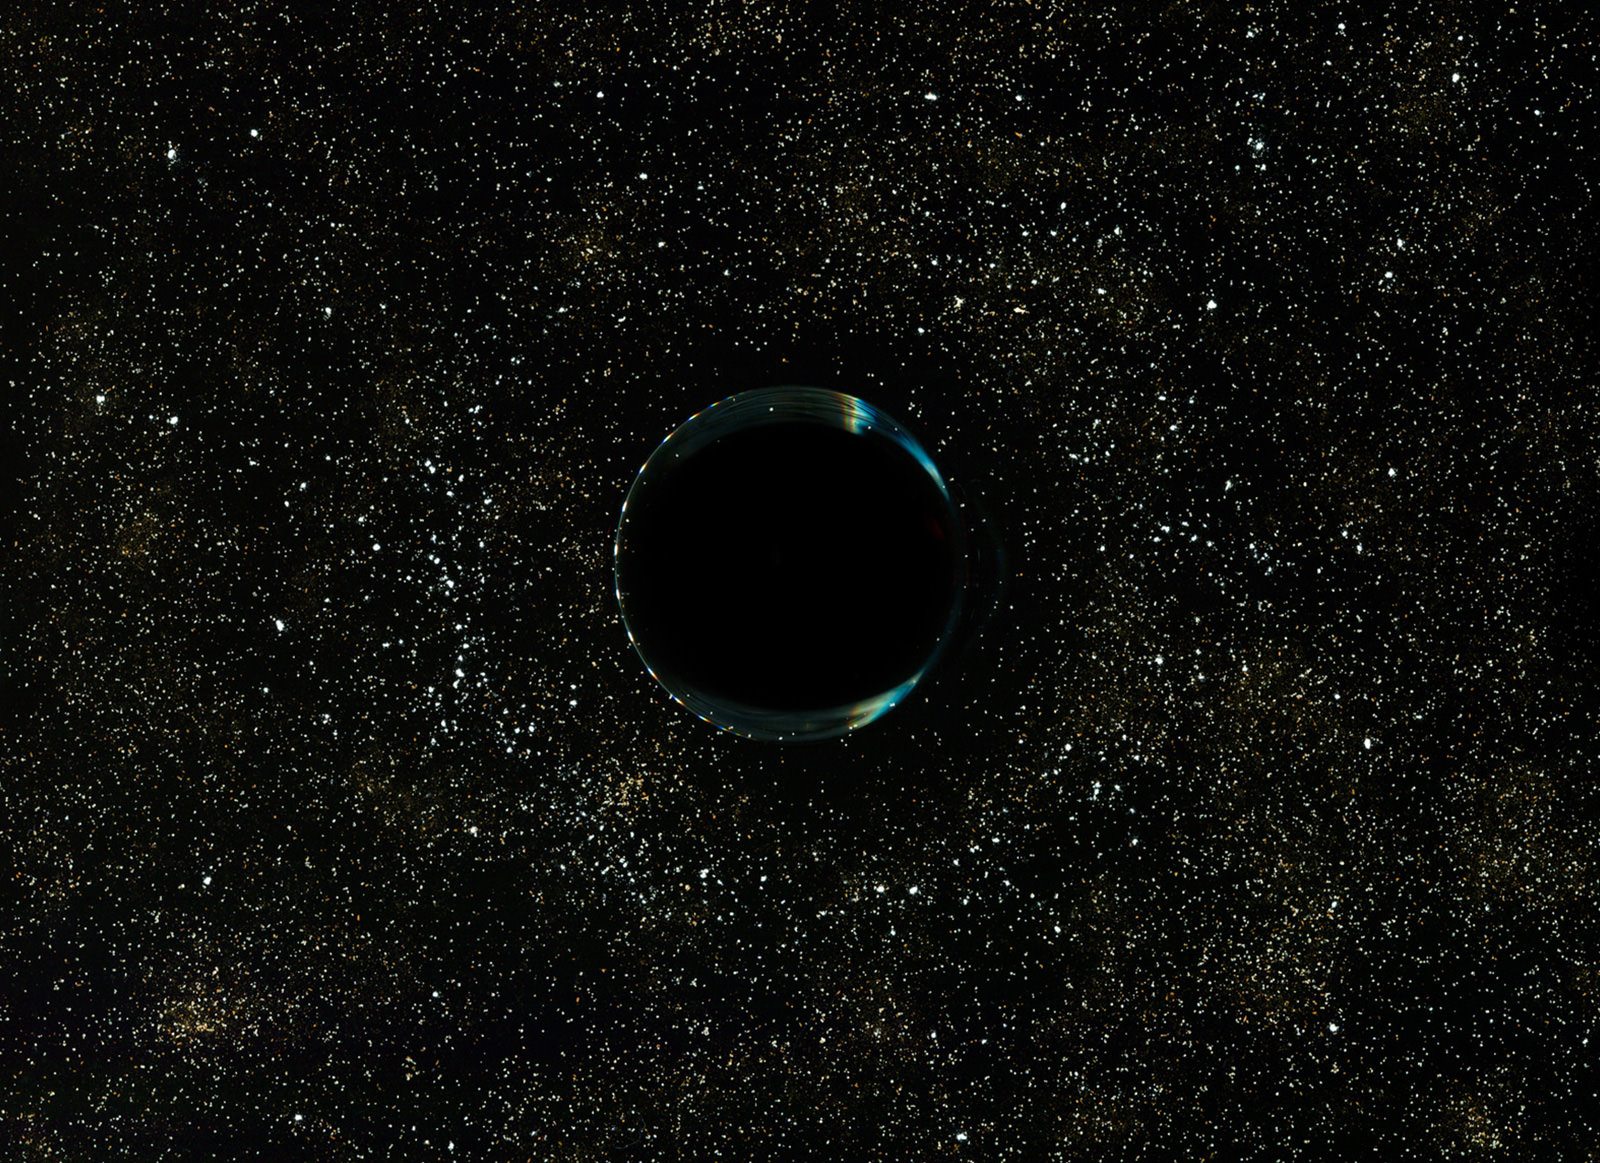
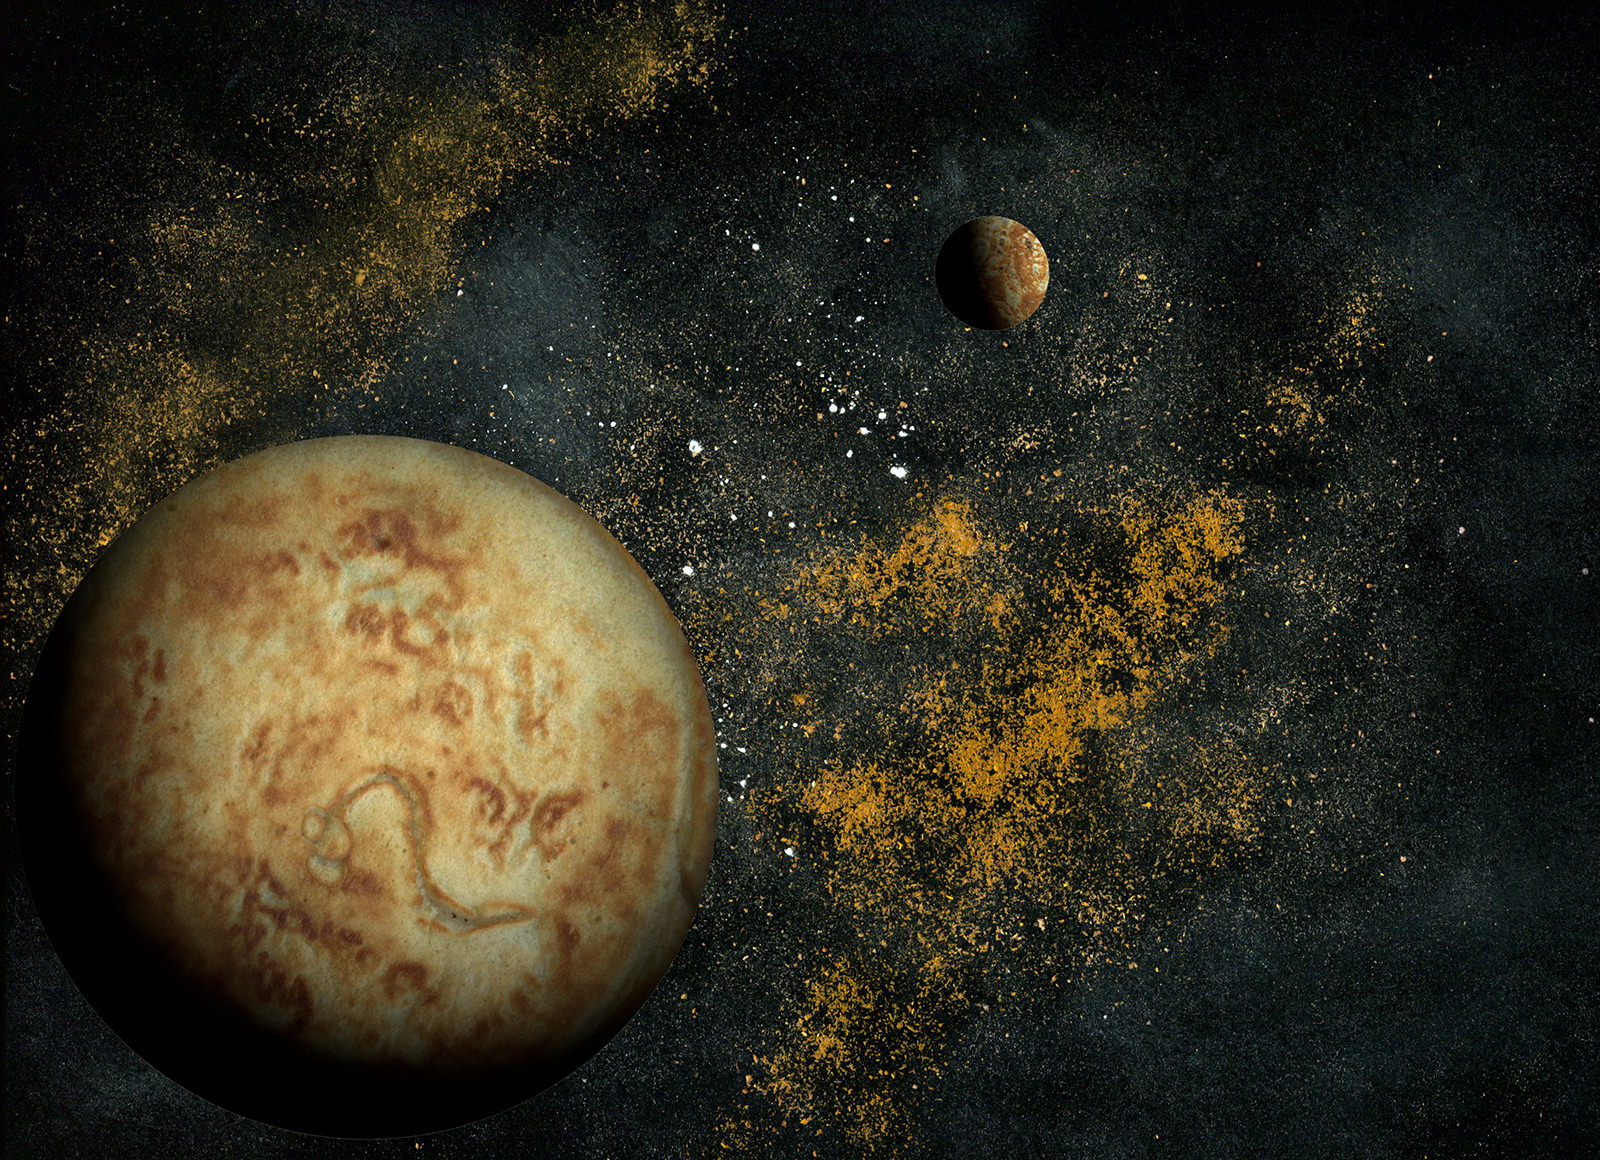
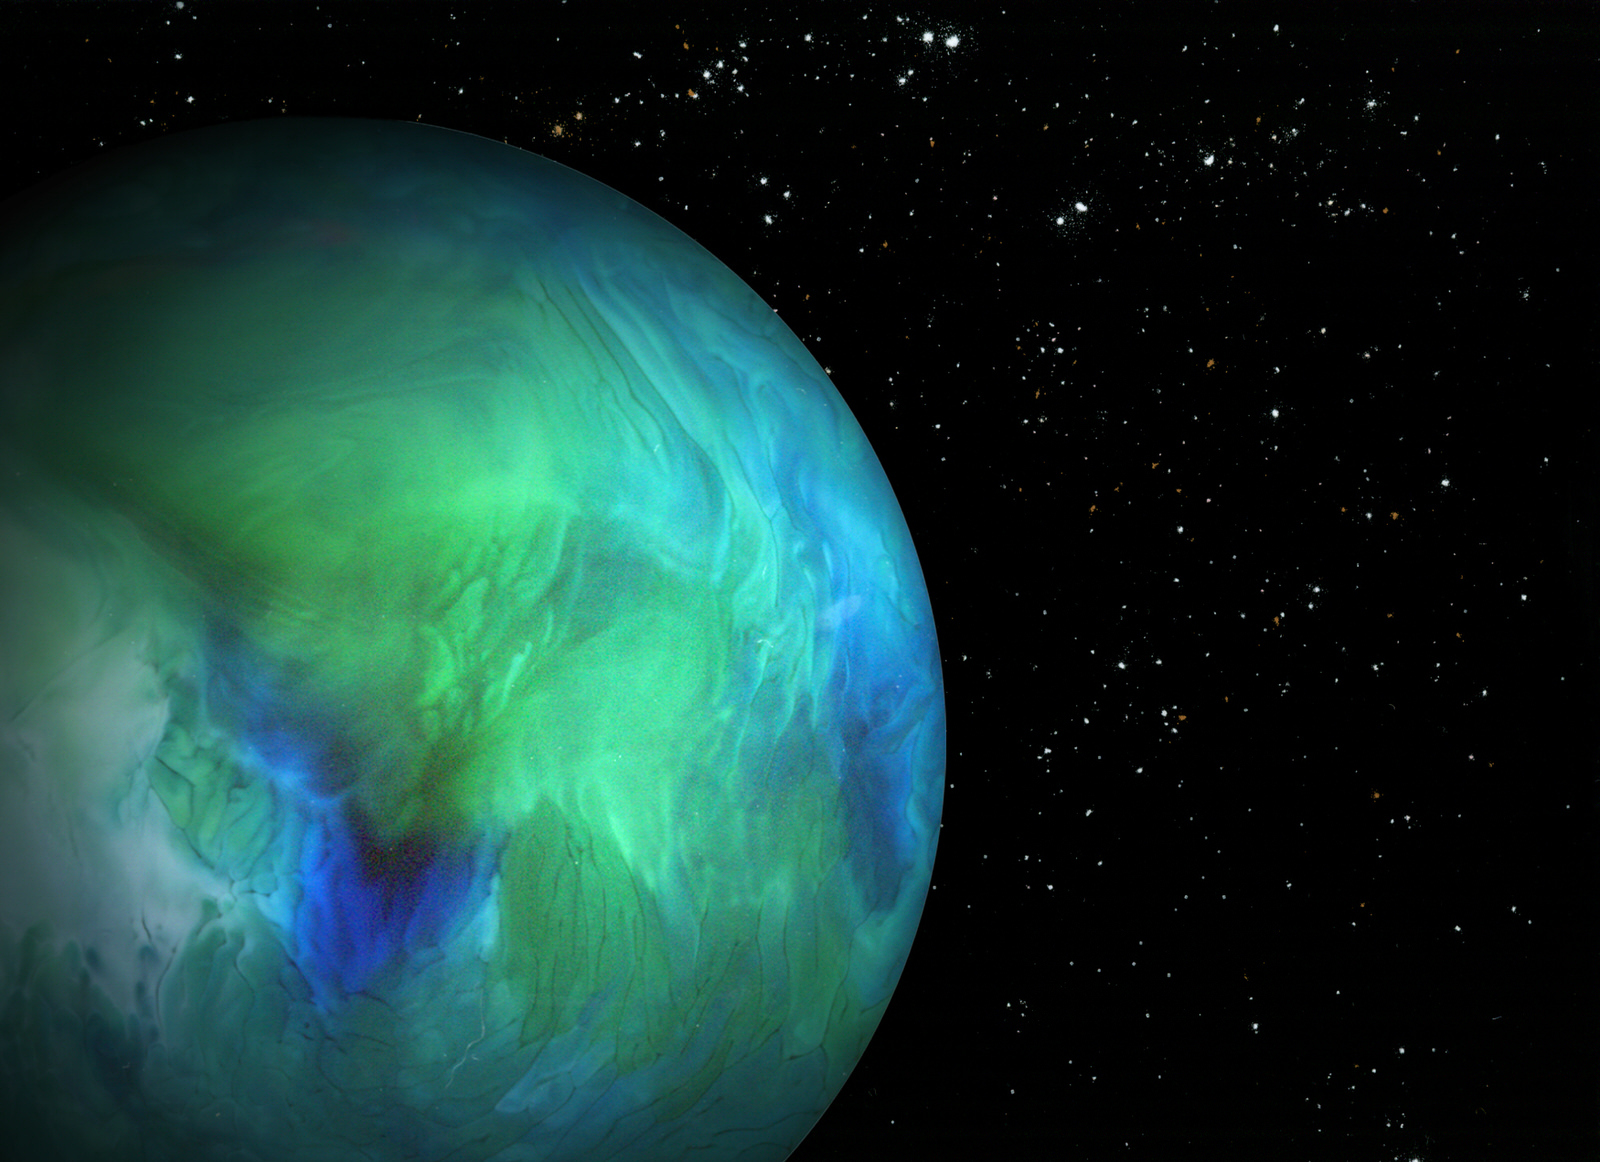
Combining his love of photography and the awe and wonder he has for space, Navid created his photo project, Wander Space Probe. The kicker is the images are all created using common food products and a photo scanner. And they’re beyond stellar!
We were lucky enough to get the inside scoop on how Navid creates the cosmos. Here, he explains his process and reveals his secret!
I use a flatbed photo scanner and I make all the scans with the lid open. By doing that, it creates the black background that you see. And then from there, I sprinkle just random spices on the scanner or use various food objects. So sometimes the planets are made out of either pancakes or I have a photo that’s an asteroid made from a potato.
Some of the planets with the swirls are actually made by combining a whole bunch of liquids inside of a glass or a big beaker, and then I scan the bottom side of the beaker to make the circle cross-section that you see. It’s really just a big experiment of me playing around with what looks good on a scanner.
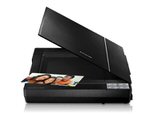
There’s no camera at all. It’s just all done on an Epson Perfection V37 scanner. I connect that to my laptop and use Lightroom for the processing.
A lot of time, I try to do my scan in as dark of a room as possible because they look the best in low light. But sometimes I need to drop the blacks down in the background to make the background even more black, to make the spices and the stars really pop, so I’ll do that in Lightroom.
Really, the only Photoshopping I do is adding some shading around the edges of the planets that I make from the glasses, because it looks more realistic when there’s a little shadow around the edge than when there’s not. It makes it look more three-dimensional, I think.
Some of the photos don’t require much at all, like the ones of just spices and stars. It’s mostly the ones that are the liquids, like the planet liquid ones, that require editing. I just do basic stuff, visually.
There’s a lot of trial and error. Sometimes it’s pretty challenging to create a realistic feel to the photo. Sometimes, even different temperatures of water will make more swirls, like if I drop the coffee cream and the food coloring in the water, it will make it more swirly than if it’s cold water. So sometimes it’ll take me hours to create one that I’m happy with. I’ll be putting spices on the scanner and I’ll start blending them together with a brush, and then I’ll scan it and it won’t look good. So I’ll just have to clean it all off and start over.
But other times, it’ll be 15 minutes and I’ll get one I’m really happy with. It’s just really hit or miss. It’s just a lot of experimentation, what looks best, like different liquids, different spices or mixing oils in it, or even with the planets when I do the glasses and liquids.
Navid has been working on the project for years, and they remain hugely popular online. If this is the first time you’re seeing them, you definitely need to see them in the making. The pictures are amazing, but the process behind them is even more intriguing and inspiring! Take a closer look at how Navid creates realistic planets and stars with everyday kitchen items:
You can keep up with the project on Instagram or see more from the series on Navid’s website. And, if you want to find out more about Navid’s other projects, read our interview with him here.
