Creating a Movie with Lightroom and Photoshop
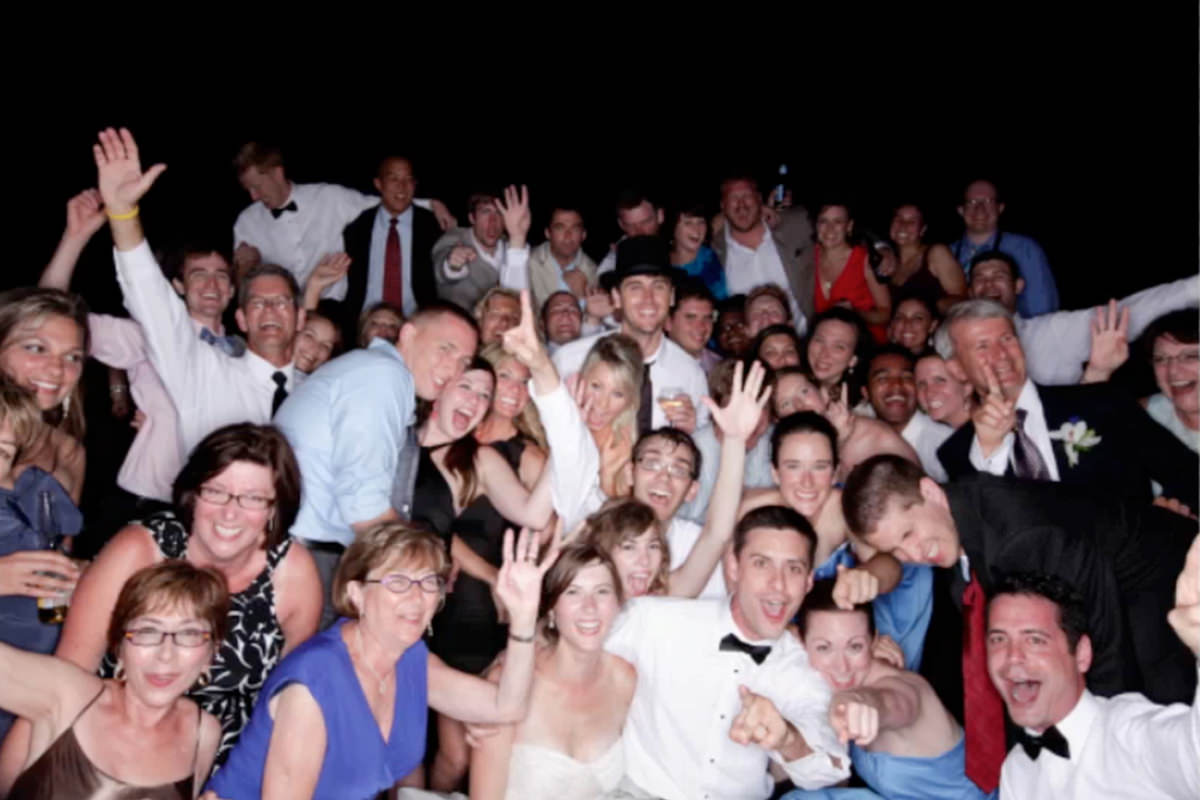
Today I’m going to show you how to create a movie out of still images, and in this case, how to make a movie out of photos from a photobooth.
Exporting from Lightroom
First I open Lightroom and pick out the photos I want to use in the video. Use shift + click to choose the photos you would like. Once you have all of the photos you want to use selected, right click, go down to export. An export window is then brought up. We’re going to check the box that says “Put in subfolder” and we will call that folder wedding. Then click on the drop down title that says File “Naming”, and we’re going to rename these photos. We do this so that the photos stay in order so that Photoshop can recognize the image sequence. So we check the box that says “Rename to:” and leave the setting to “Custom name – sequence” and we will label the custom Text “wedding”.
Since we will be making a video with over 100’s of photos we’re going to resize the photos. Check the box underneath the title “Image Sizing”, then check the box “Resize to Fit:”. I’m going to select long edge, and set the pixels to 1400. We’re also going to slide our quality down to 50. Then click export. We’re done in Lightroom, moving onto Photoshop.
Creating a Movie with Photoshop
We’re going to go to File, then down to Open, and go to the folder with the images you want to use. We then click on the first photo we want to use, then check the box that says “Image Sequence”, then click open. Once this is done a window will pop up for you to select a Frame Rate. We’re going to go with 24, and then click OK.
A Timeline should be brought up at this point, and if it’s not just go to Window, then down to Timeline. Then you can just click play and watch your video in Photoshop. When you first press play, it’s going to play slower than you want it to, it won’t stay like that, Photoshop is just trying to Render it out. If you want to add an audio track to your movie, you can simply press “Audio Track” which is in the bottom left of your Timeline.
Now we’re going to export our video. To do this you go to File, Export, then to Render Video. A dialogue box will then pop up with a bunch of options available to pick. I just recommend going with the options that are already there in the Preset. You then click Export, and we’re done!
Question of the Day
What music should I add to this movie? What music would fit with this kind of video?