How to Capture Stunning Water Drop Photography with Corrie White
My name is Corrie White. My website is Liquid Drop Art, and some of you may be familiar with my type of photography, which is water drops. I started doing water drop photography in January of 2009. I first became aware of these when I came across the liquid sculptures of Martin Waugh. I was completely fascinated by them and decided to learn all about these beautiful creations and how to do them for myself. At that time there was not much information on the internet, so experimentation and trial and error became necessary.
For the first year, I used only a medicine dropper and in March of 2010 I started using The Time Machine which opened up a whole new world for me and allowed me to make several new discoveries in water drop formations. In September of 2013, I was using the MJKZZ water drop kit and advanced to using three valves which was much more of a challenge.
It’s been an exciting journey so far!
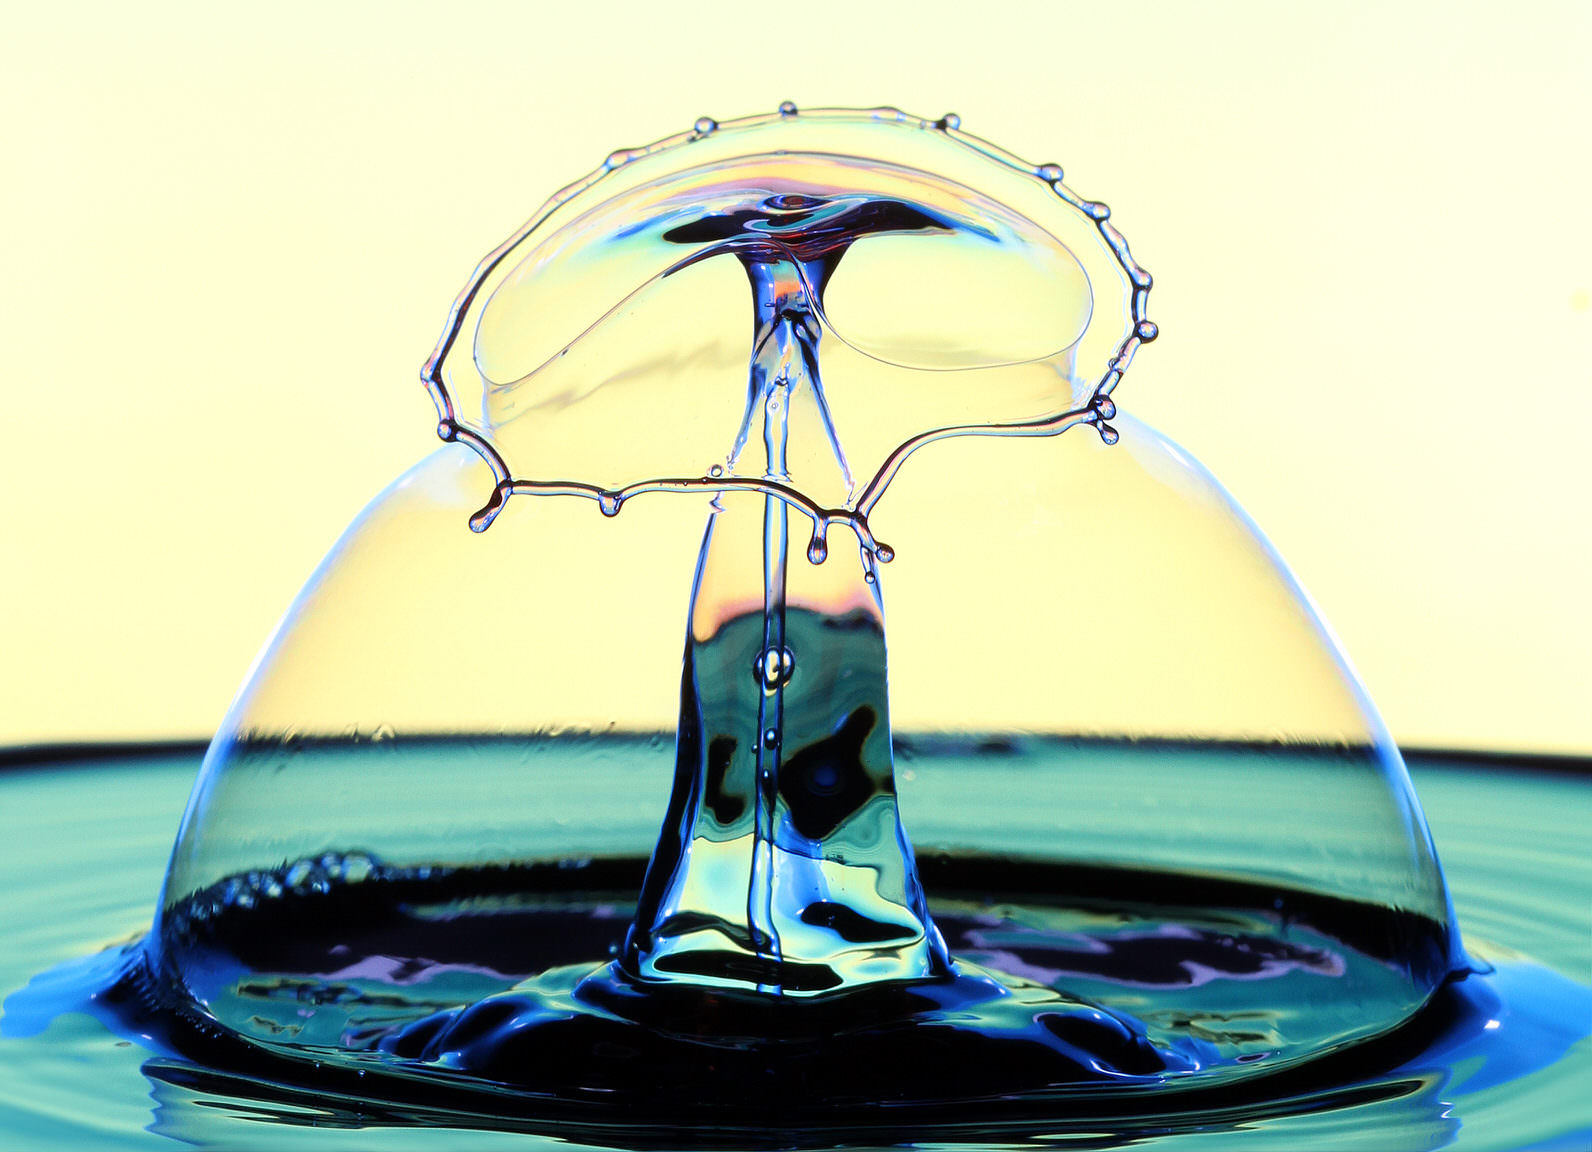
For this behind the scenes look at how I got the shot, I have chosen a water drop inside a bubble (featured above). The basic water drop consists of two drops of water very close together to form an umbrella or mushroom type of shape. In the image, the first drop is quite large to form a vase type of shape with the second drop to form an umbrella on top of it.
Bubbles are made with regular soap bubble mixture with a bit of glycerine added to make it last longer. If I need to move the bubble, I can do this with a wet finger to try to place it in the drop zone. This particular drop was created by using the setup you see here.
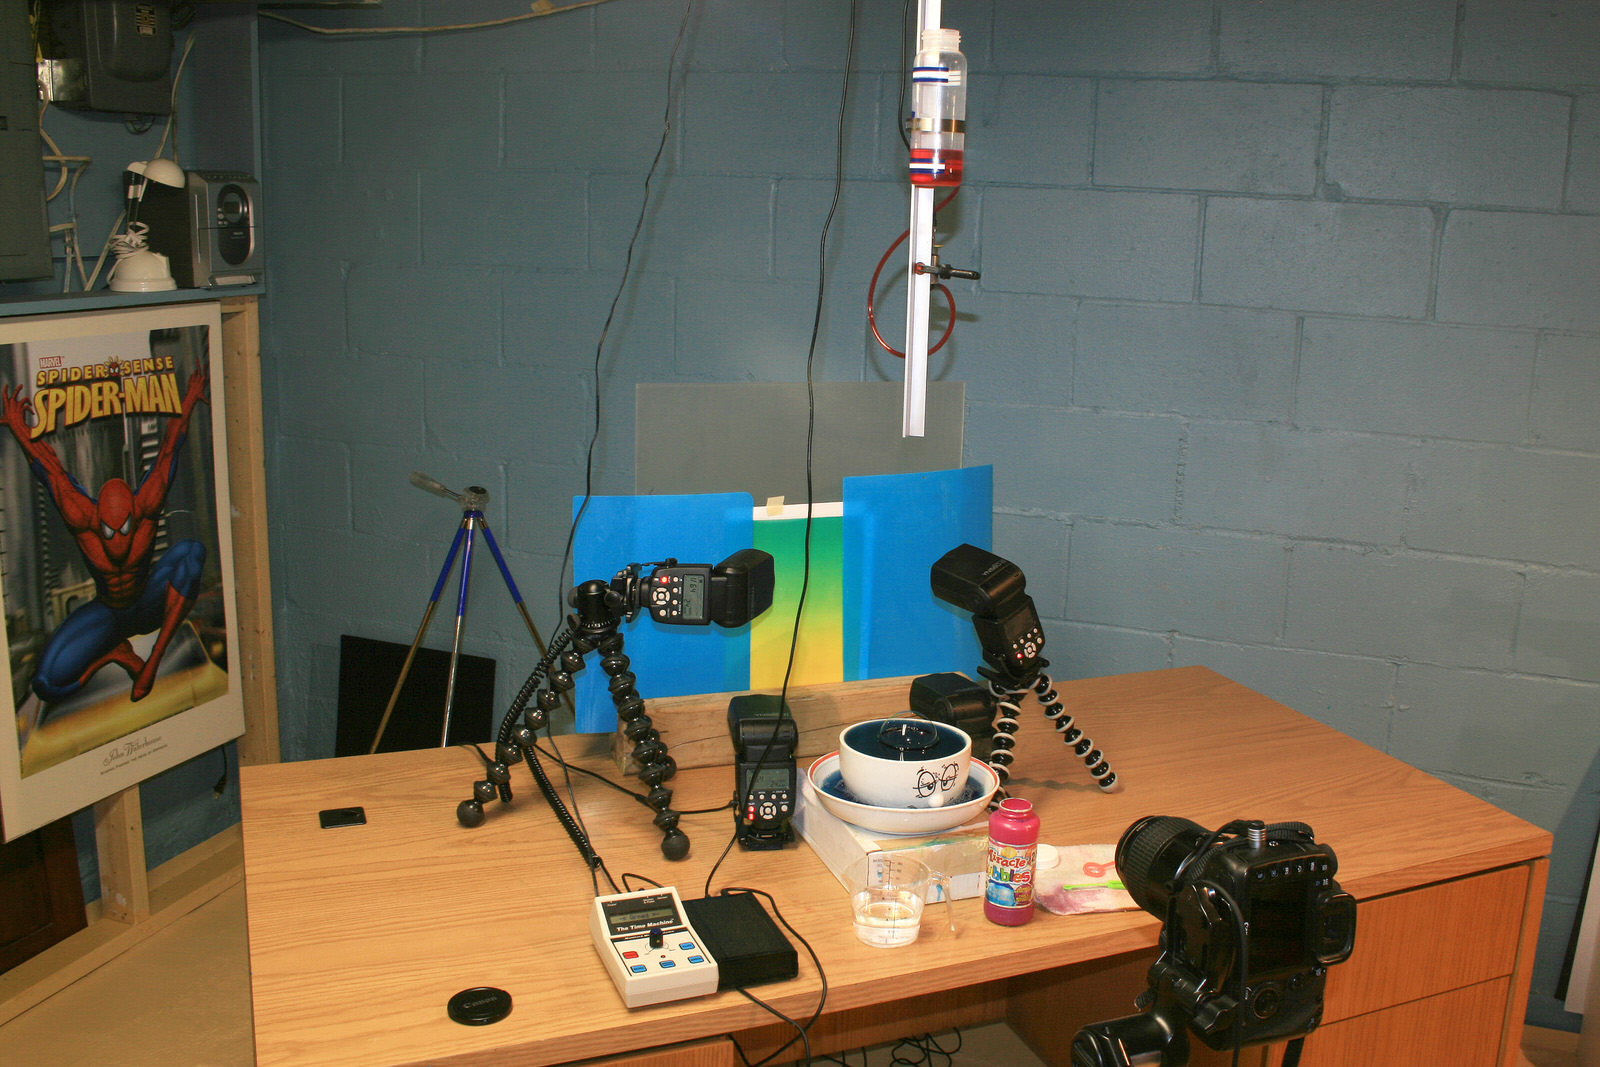
The Setup:
4 Yongnuo YN560 III flash guns, 2 on Joby GorillaPods to light the dropzone
Equipment & Settings
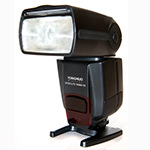
Yongnuo YN560 III
Speedlite flash with integrated 2.4-GHz receiver for Canon, Nikon, Pentax, Olympus cameras
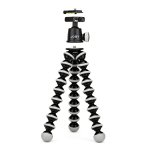
Joby GorillaPod
Flexible tripod with ballhead bundle for DSLR and mirrorless Cameras, holds up to 3kg (6.6lbs)
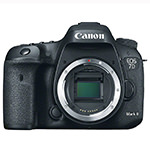
Canon EOS 7D Mark II
20.2MP APS-C CMOS sensor, dual DIGIC 6 image processors, high speed continuous shooting and HD video
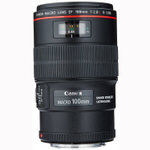
Canon EF 100mm Macro
100mm f/2.8L IS USM macro lens for Canon digital SLR camera, EF-Mount, full-frame format
There are four Yongnuo YN560 III flash guns in front to try to cover the whole of the drop zone. For two of these, I use Joby GorillaPods. These flashes are set at 1/64 which interprets as about 1/20,000th of a second. This is adequate to freeze the motion.
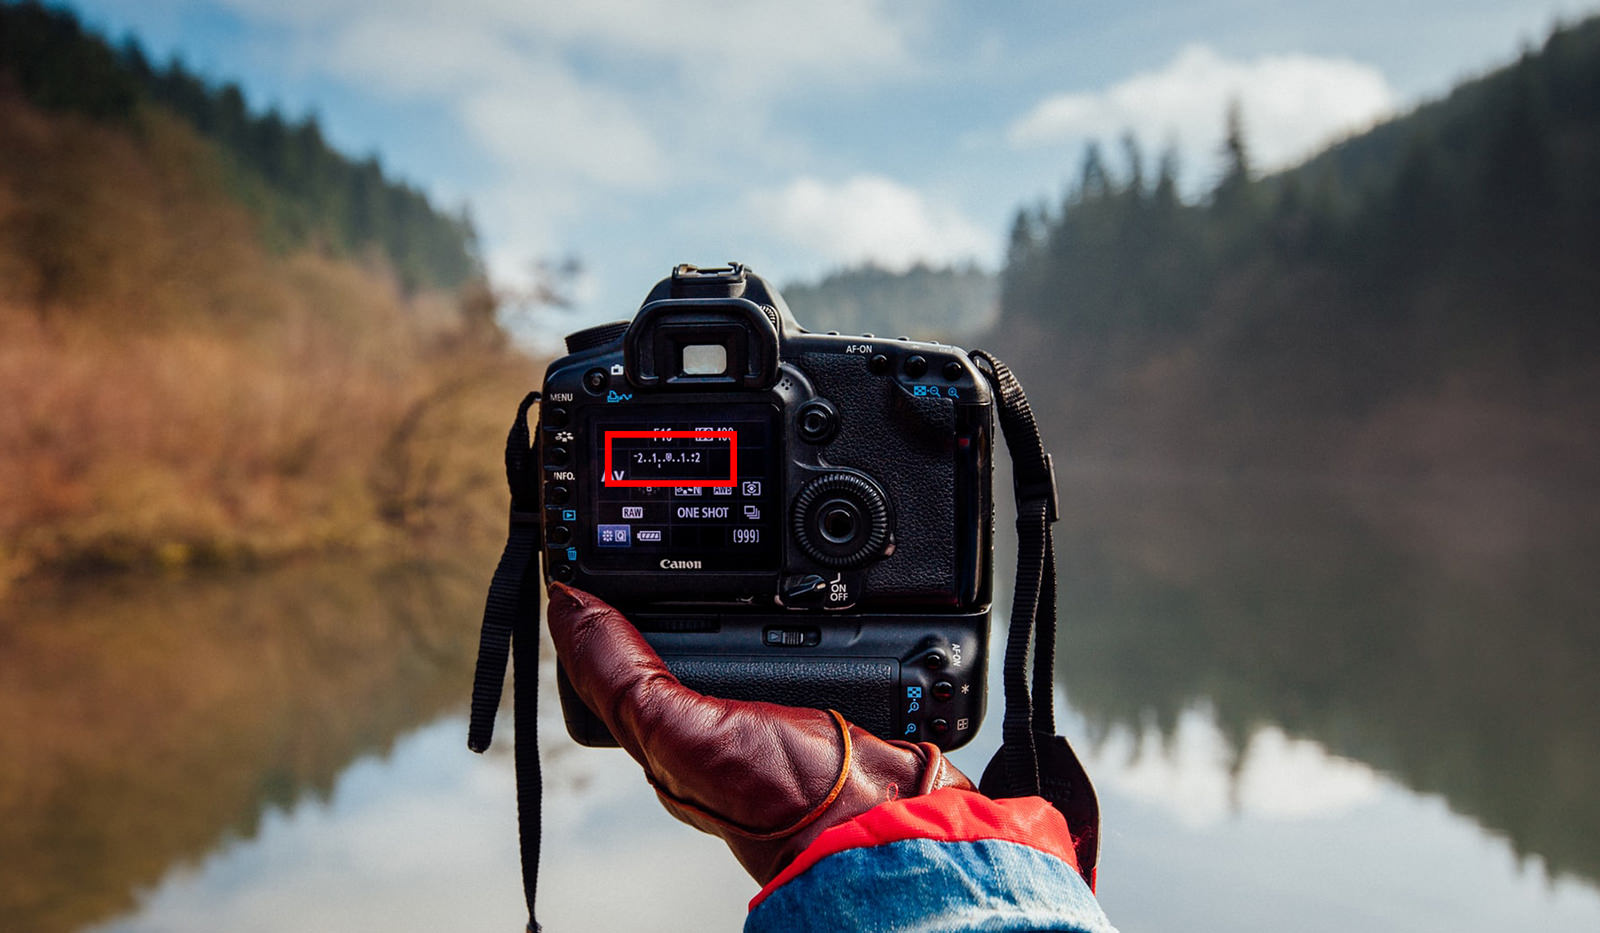
The camera used for this is a Canon EOS 7D. Settings are ISO 200, f/16, 1/2 second exposure.
I use a Canon EF 100mm macro lens. The exposure is at 1/2 second because The Time Machine I am using is set up to first open the shutter, execute the drop sequence, and then fire the flashes.
Post processing consists of light levels and removal of stray drops, bubbles and dust bunnies.
How You Can Make Water Drop Art
Basic needs for water drop photography are a DSLR camera with manual settings, flash guns, sturdy tripod, a true macro lens (which is preferred), a shutter cable, as well as all the associated paraphernalia.
It is not the shutter speed of the camera that stops the action, but the quick burst of light from a flash gun. This fires at approximately 1/20,000 of a second which is adequate to catch the splash. Anything much lower than this will leave light trails or blurred drops.

To explain how a basic umbrella shape is made, you need two drops of water falling perhaps 1/4 to 1/2 inch apart. The first drop comes up in the shape of a long stem called a Worthington Jet, and then the second collides with this to form the umbrella or mushroom shape. One drop will form a crown, whereas two form the umbrella shape. For coloring, I use regular food coloring or acrylic paint. Water or milk is the usual base for water drops. Water on its own moves very quickly, so I use guar or xanthan gum to thicken the water to slow down the action and get a nicely formed shape. Also, it is necessary to use a surfactant to break down the tension on the surface of the water.
To get a drop inside a bubble, I simply use regular bubble liquid with a bit of glycerine to make the bubble last longer. Blow a bubble on to the surface of the water and gently move it with a soft breath of air or a wet finger to move it to the drop zone. The hardest part is getting it to have the splash centered inside the bubble. I would recommend not putting food coloring in the bubble mixture. I tried this for extra effect and ended up with a blue area around my mouth.
For anyone interested in trying out water drop photography, I recommend my eBook which is very helpful in getting started and takes away a lot of the guesswork about various methods.