Set Design 101
It all started earlier this year. I had a meeting with an art director to help me work on my portfolio. When she asked, “what area of photography do you specialize in?” I responded “commercial fashion.” Her answer was simple: “I see nothing commercial or fashion in here.” It was difficult to hear. This was my first portfolio review. I wasn’t expecting a blue ribbon or anything, but to be told nothing in my portfolio was on track was disheartening.
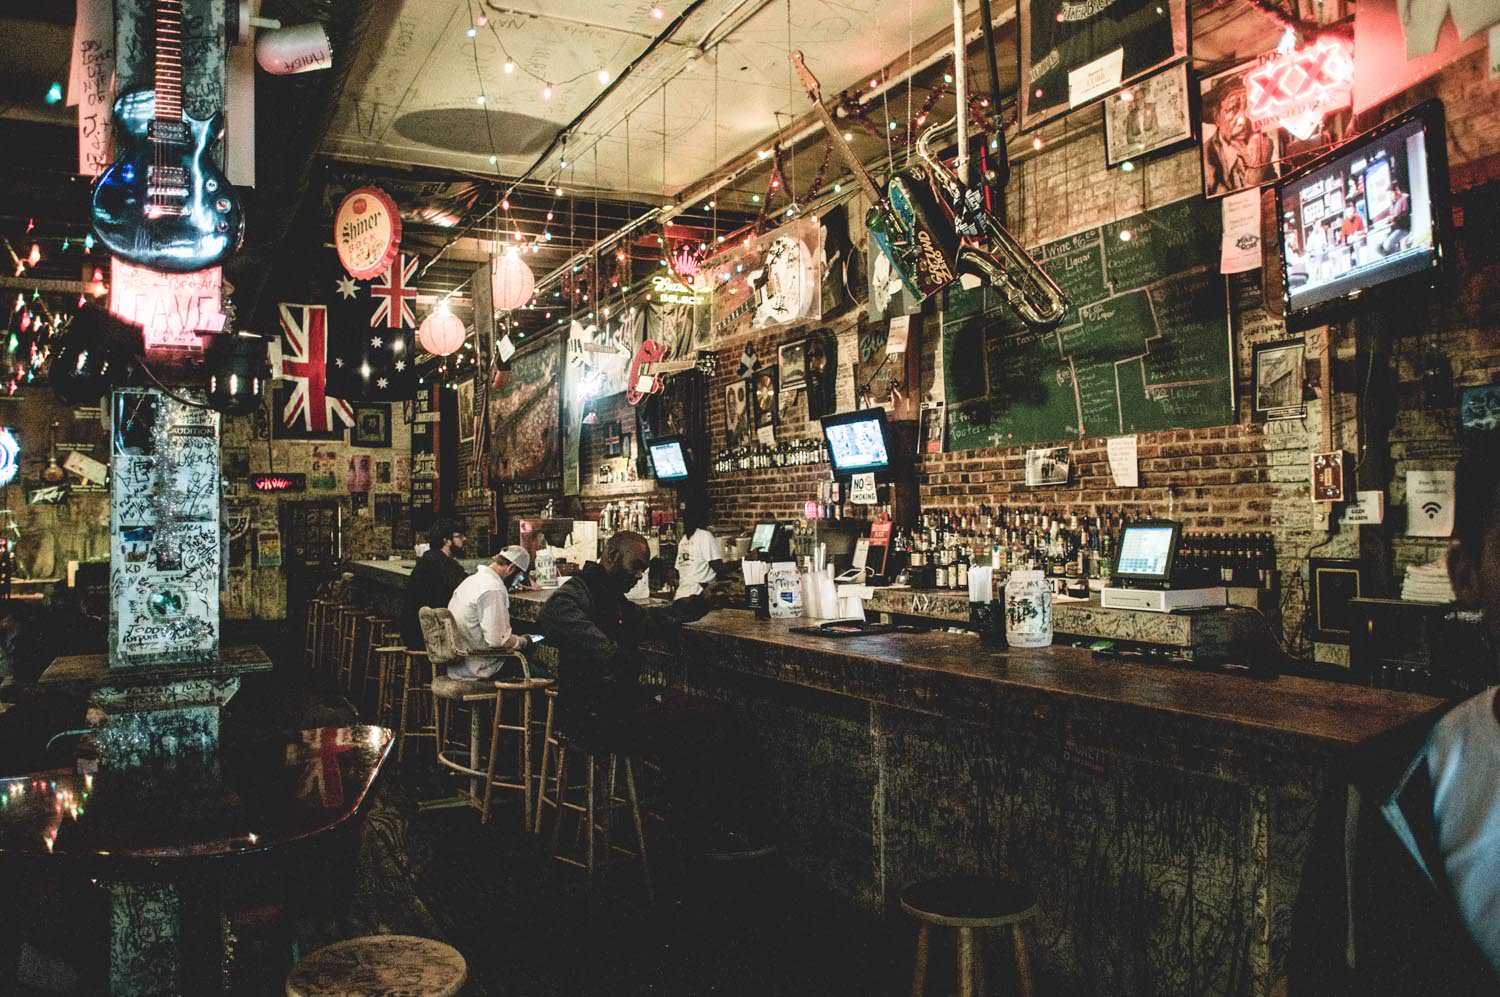
The consensus of that meeting was that I needed to step up the production level of my shoots. I tried to come up with a project idea for weeks, but to no avail. One night I was out with some friends and I saw a band playing in a little bar. I glanced in the window and the bassist motioned for me to come in and watch (they were definitely in need of some more spectators that night). After I had been sitting there for about 20 minutes, it hit me; this is where I want to photograph.
So the first thing I learned was that sitting on my bedroom floor, staring at a notebook, wasn’t very creatively stimulating. All I had to do was get out, relax, and go somewhere new.
Here is the photo of the space I took on my phone that night:

Excitedly, I contacted the bar the next day, proposing a fashion stylized shoot for the next weekend. No response. I went into the bar the next day to speak with them. I was assured that they had gotten my email and would contact me. No response. Meanwhile, I had found models, a hair stylist, and wardrobe stylist in a Facebook group for creative people in the area. With the shoot day fast approaching, I knew I had to come up with something else. Maybe I could find another bar to use, there were a lot nearby. But try to come up with a new direction for the project (only about 5 days away at this point)? All hope seemed lost. My first shoot was doomed. But the answer finally came as I remembered the words of master architect (and Nickelodeon star) Bob the Builder: “Can we build it? YES. WE. CAN.”
It couldn’t be that hard to replicate…right? I made a list of what I would need:
- A space (my living room, the only space I had)
- A TON of cardboard boxes
- Band equipment
- A plant or two
- A rug
- *bonus* a neon sign (if I could find one)
- Other random bar-looking things I could find at the thrift store
Now, if any of you are wondering what this looks like all together, it looks like this:
I set a budget of $50. After three straight days of dumpster diving, frantically comparing rugs on Craigslist, and a few trips to the thrift store I had everything I needed for a total of $47. I also came across a neon Adidas sign (my favorite shoe brand) for an extra $50. I justified the expense because, honestly, I probably would have bought it to hang in my room regardless. So the total production cost was $87.
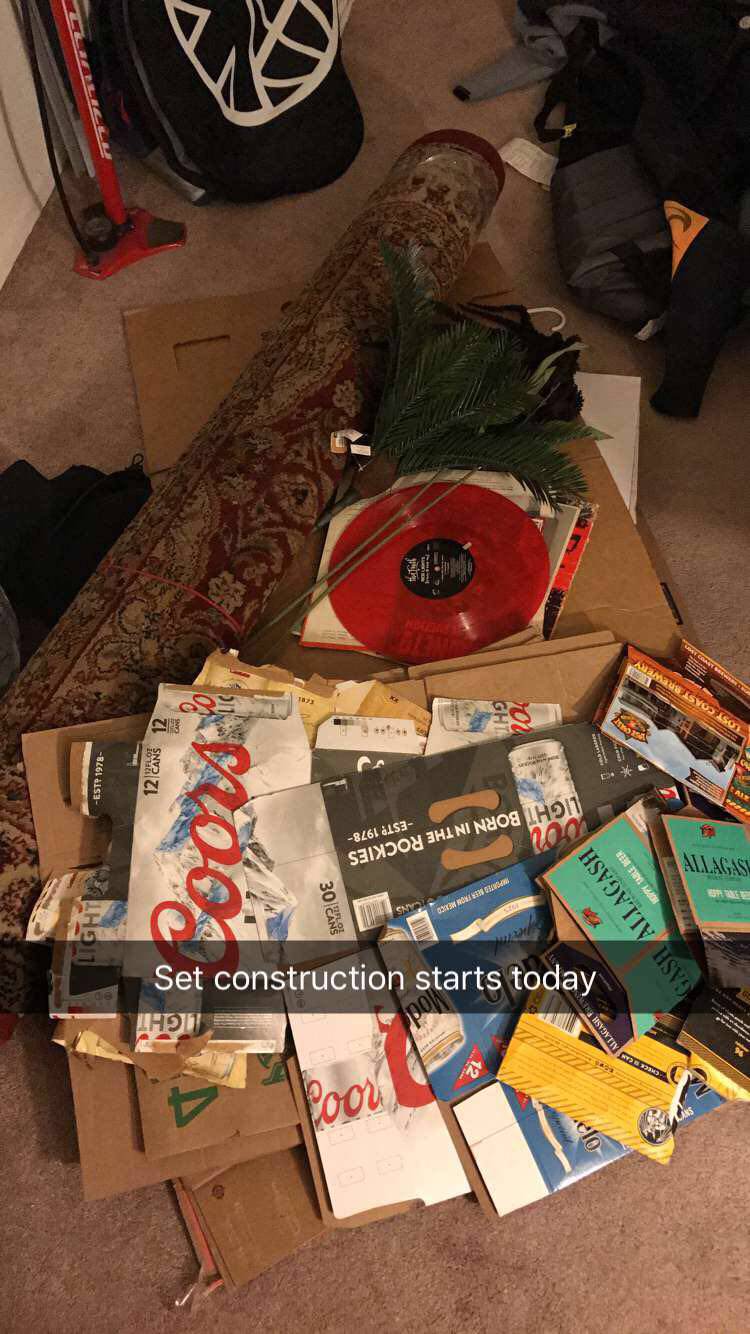
So this is where I learned the second major lesson of this project. Panic always sets in at the 11th hour. We had scheduled the shoot for 10am on a Saturday, and this is what the set looked like Friday night at 11:30PM.
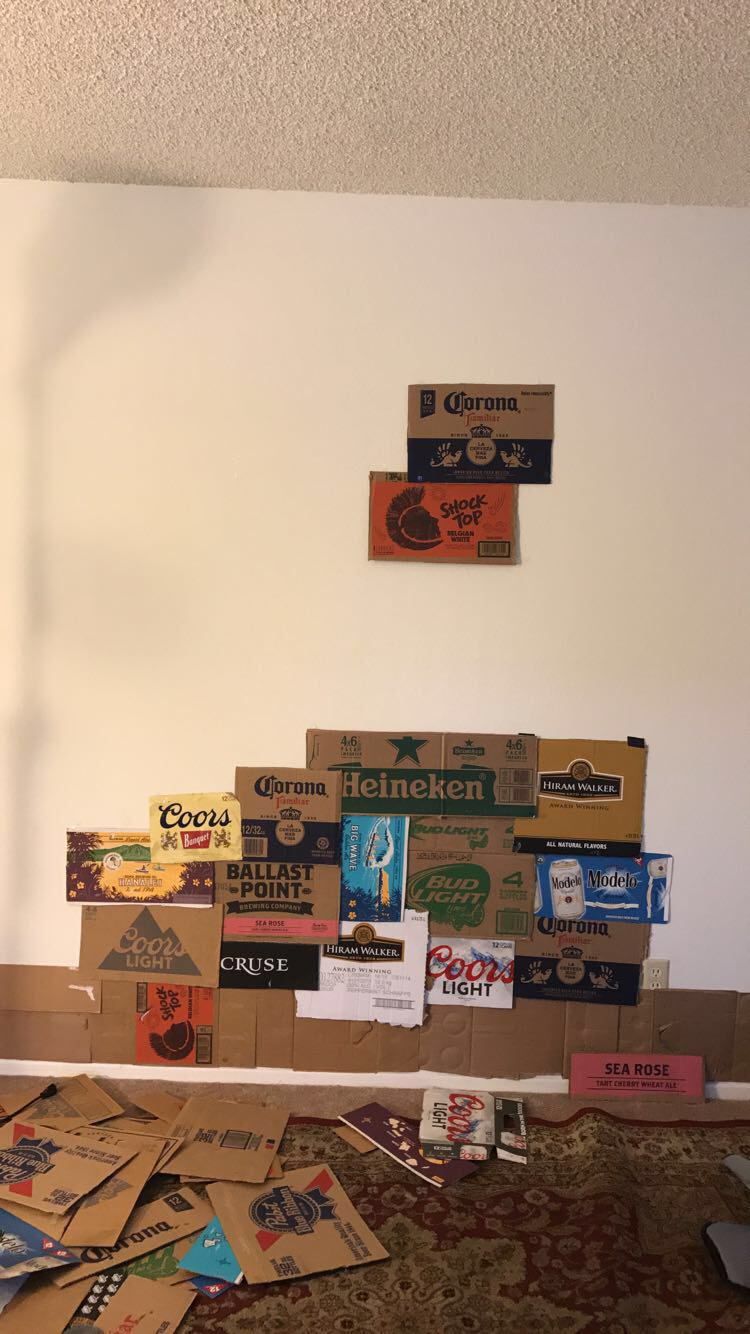
At this point, if I didn’t have six people coming from LA in less than 12 hours, I probably would have just decided that this was not a good idea. Because, as I’m sure you noticed, this looks NOTHING like the bar I was trying to replicate. So what I learned in hindsight: JUST KEEP GOING. This has happened to me on every shoot since. I look at it the day before and think, this isn’t going to go well. Just trust your vision and see it through. You’re right, it won’t end up how you’re envisioning it exactly, but it’ll turn out awesome.
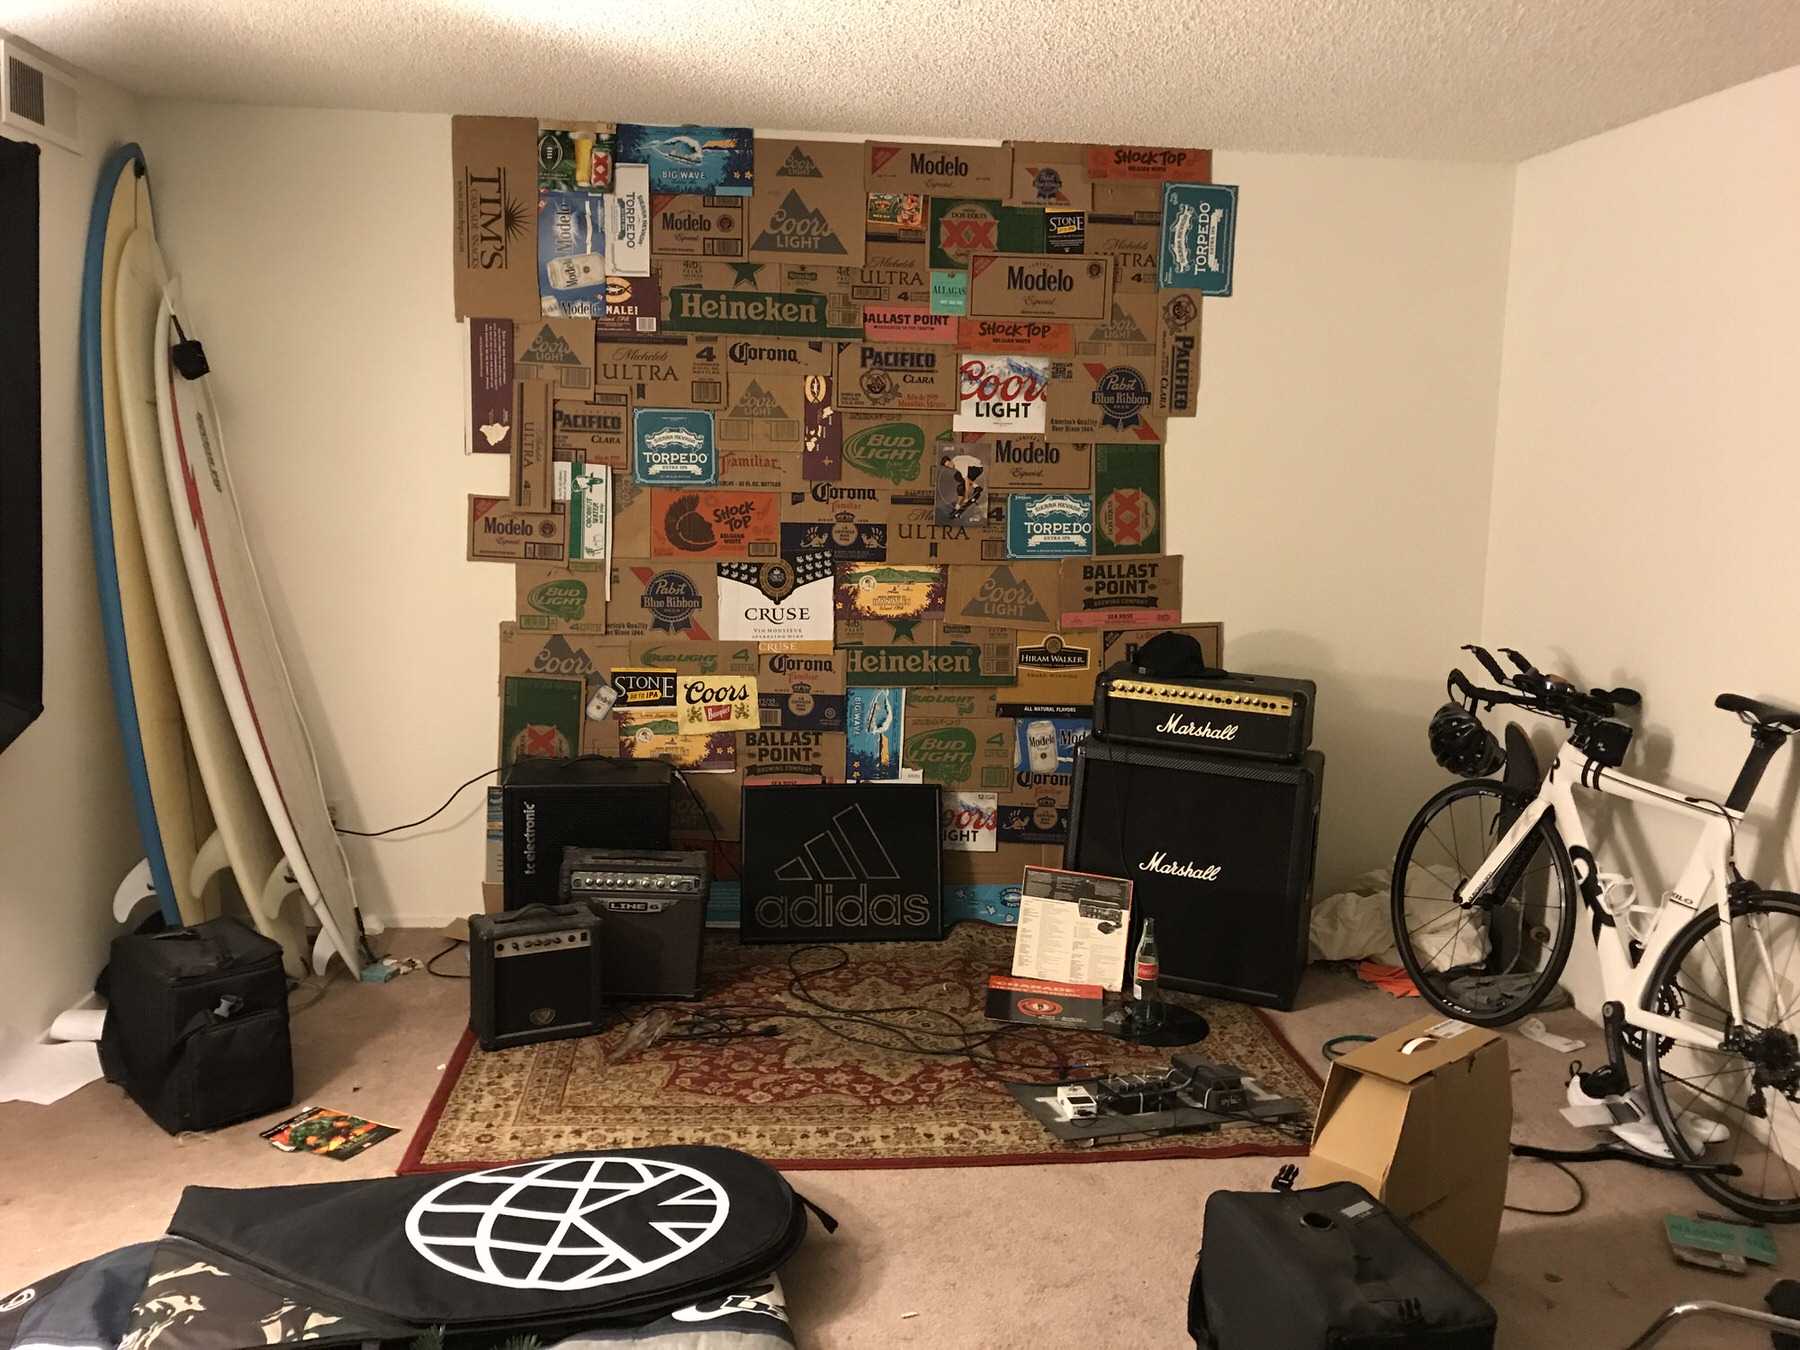
I got all the cardboard up. Borrowed the music gear from my roommate, and a plant from my neighbor. Everyone showed up and we went to work.
Here is what the almost-finished set looked like in my living room.
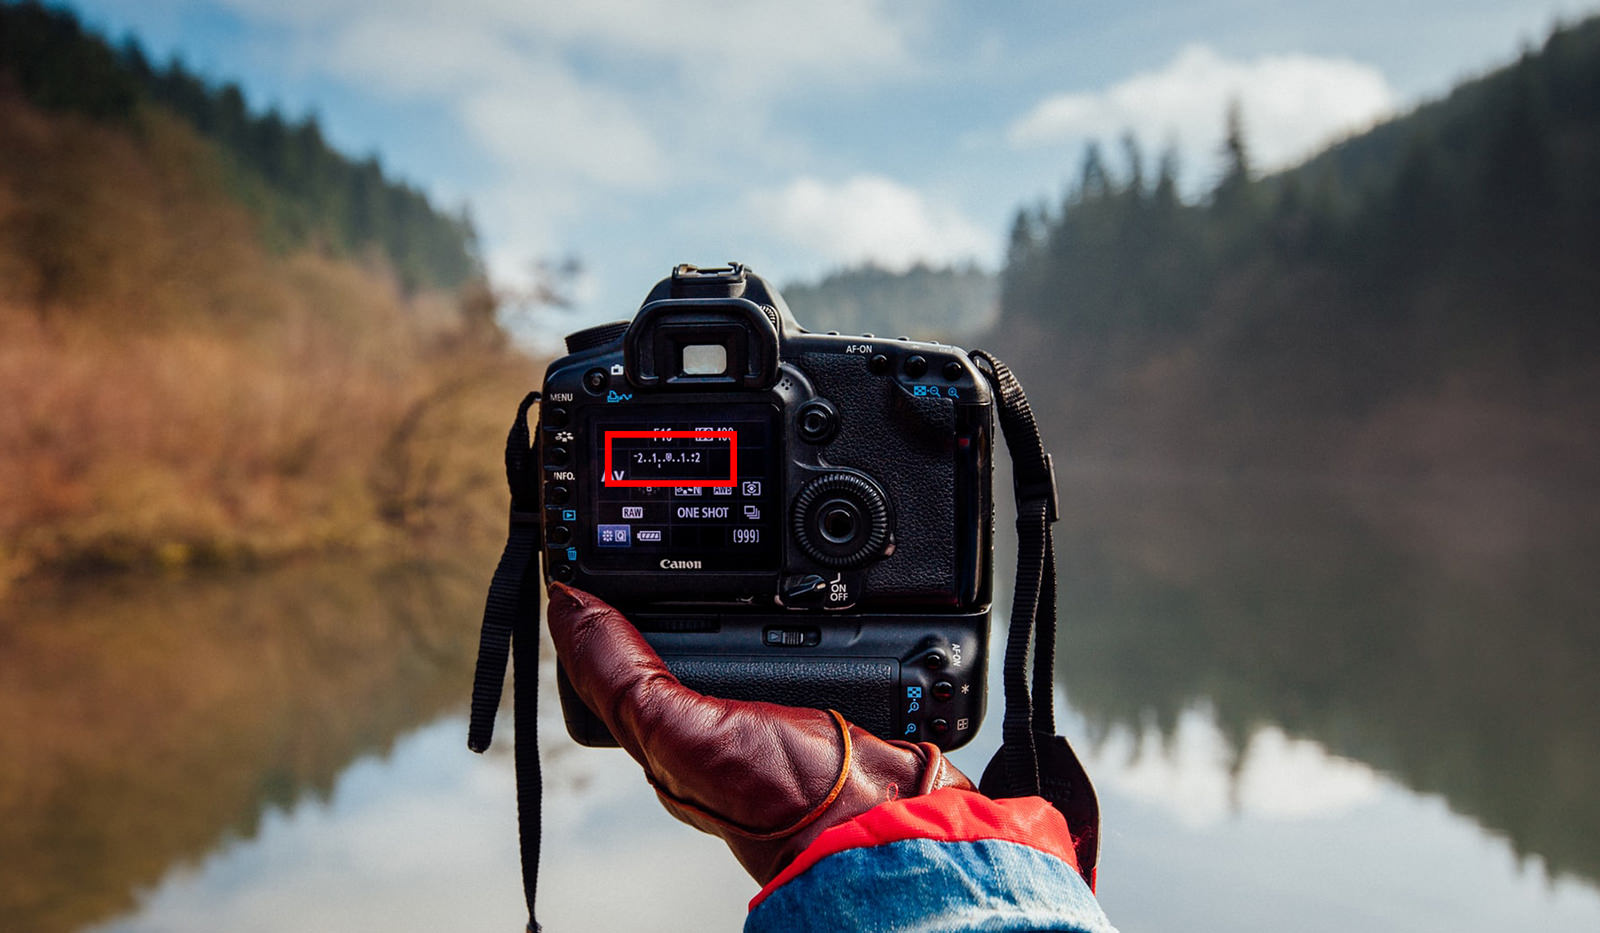
For all of the shots I used a Canon 24-105 f/2.8 lens. (Tip: after going through these images for review with some photographers they suggested paying closer attention to the aperture. I shot at f/2.8 and was reminded it’s generally better to have everything for commercial work nice and sharp.)

I used a 20” white beauty dish with a honeycomb grid for all the shots. The beauty dish/grid combo was great to replicate stage lighting without being too harsh. When needed I had a 3×4 soft box lighting the background, and used a speed light with a gel to create a flare for one image.

I ended up being really happy with the images, and found something new that I really enjoyed, set design. Every project I’ve done since I confront a lot of similar feelings but I always remember:
- When lacking inspiration, get out and do something new
- If your original plan doesn’t work out, there’s another way
- Follow through with the idea. Go with the flow when things change, and trust your vision to the end.
- Have fun!


You can see more of Nathan’s work at his website.