Download Sample Image & PSD
description
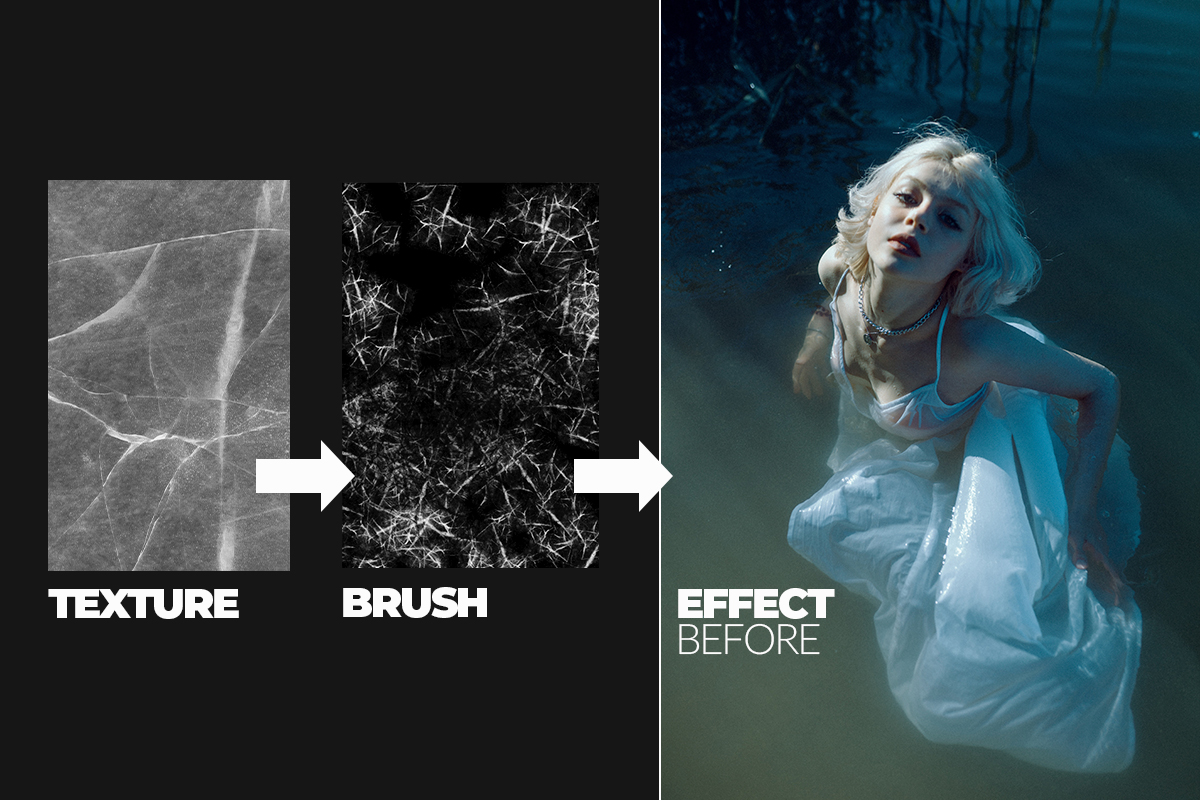
Learn how to turn a photographed texture into a custom Photoshop brush, and then use that brush to add subtle vintage textures to your own photos!
Looking for more Photoshop brush inspiration? Check out our collection of custom Photoshop brushes and effects!
Share

Add Custom Textures to Your Photos
Create Your Own Brushes in Photoshop
Some of the best effects you can create in Photoshop come from making your own custom brushes. Whether you want to make rain, snow, fog, or even hair, custom brushes are both powerful and versatile.
In this tutorial, we’re going to focus specifically on creating grunge and vintage effects using brushes made from real, photographed textures.
Let’s see how it’s done!
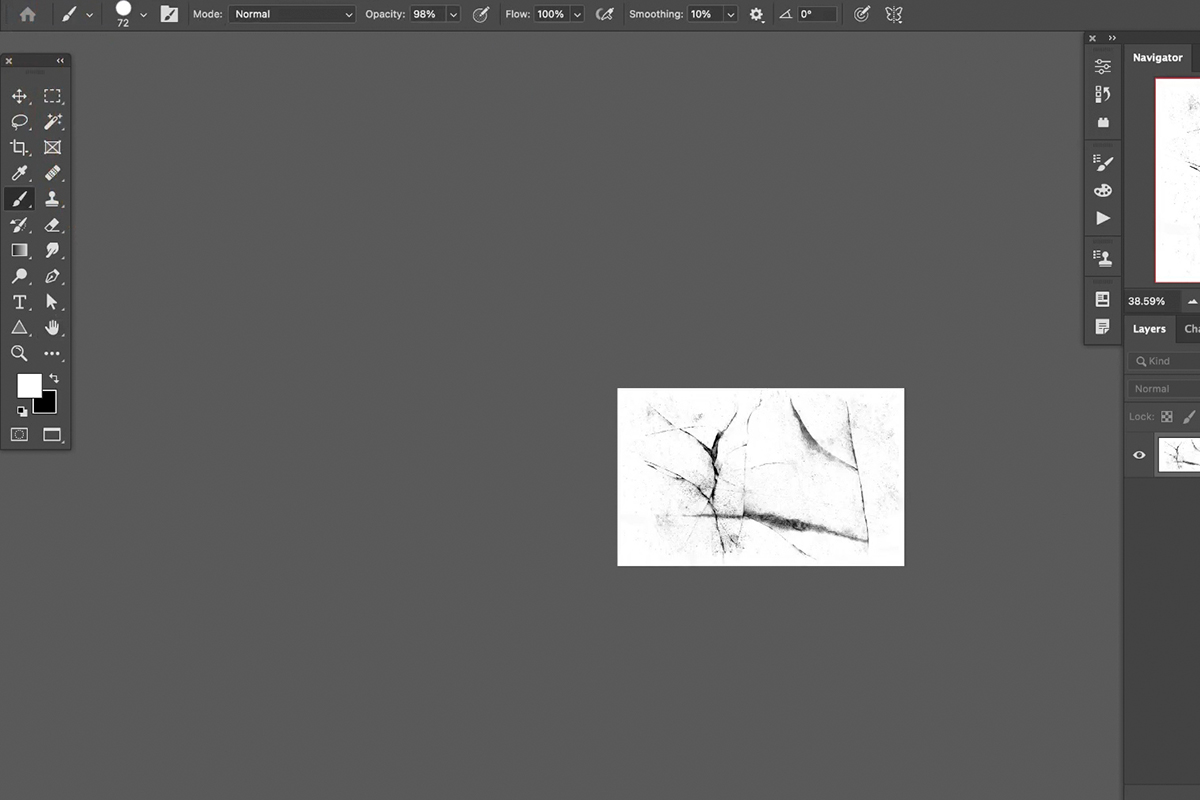
Preparing a Photographed Texture
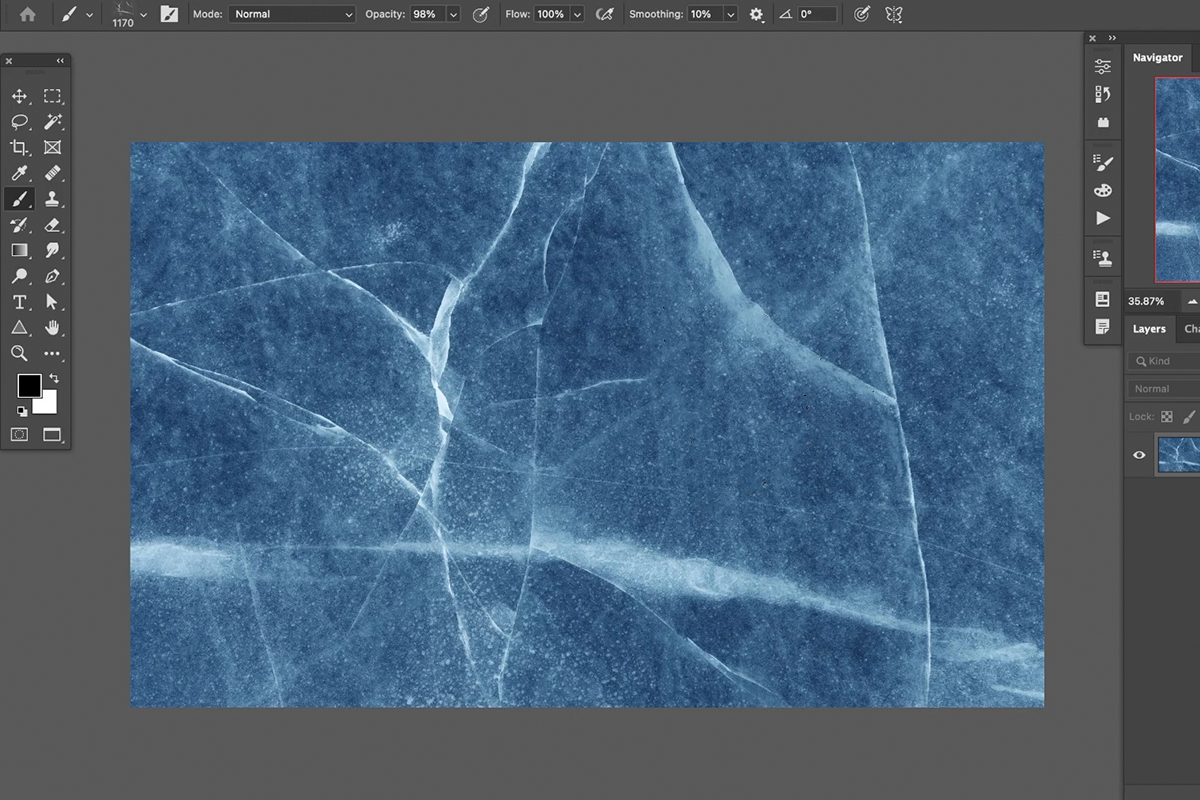
To start, we’ll need a photograph of the texture that we want to convert to a custom brush. We’ll need to make several adjustments to increase contrast, remove color, and convert the texture into elements that are only pure white or pure black.
Hit CTRL or CMD + L to open the Levels dialog. Move both the highlight and shadows sliders inward.
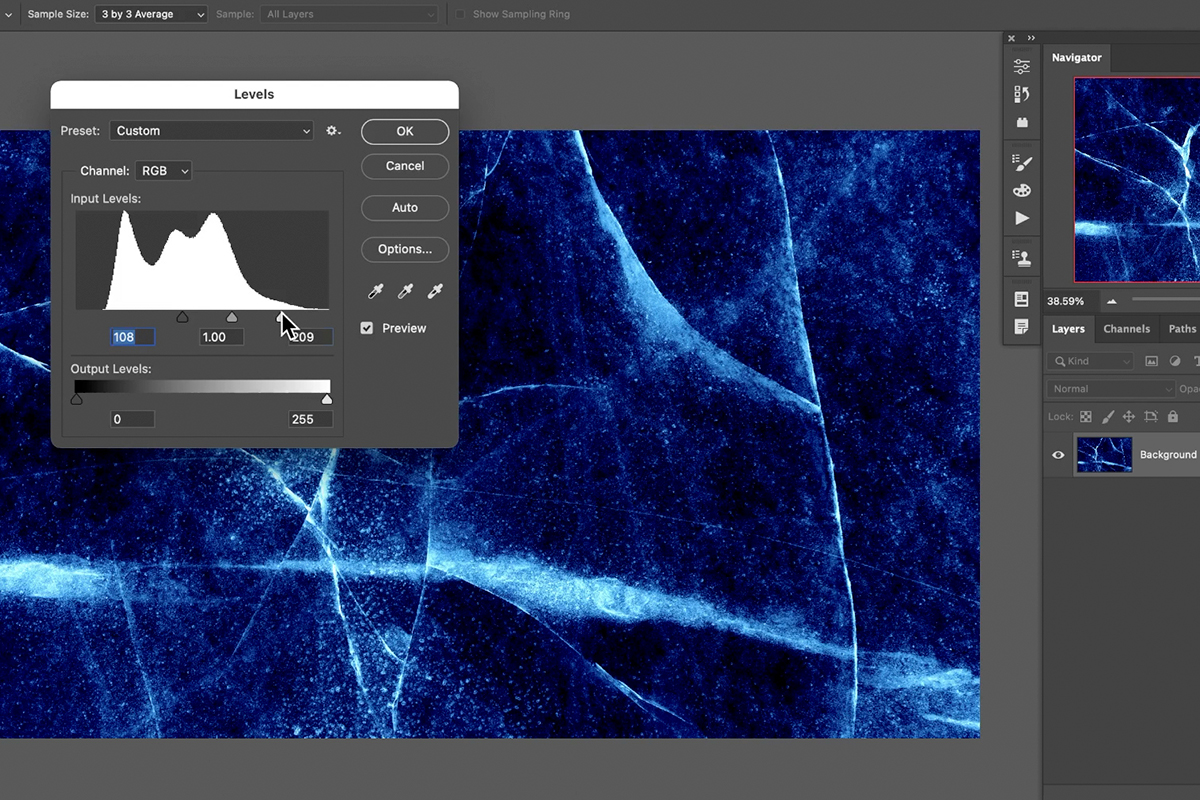
This will increase the overall contrast of the image, pushing the middle tones to either light or dark.
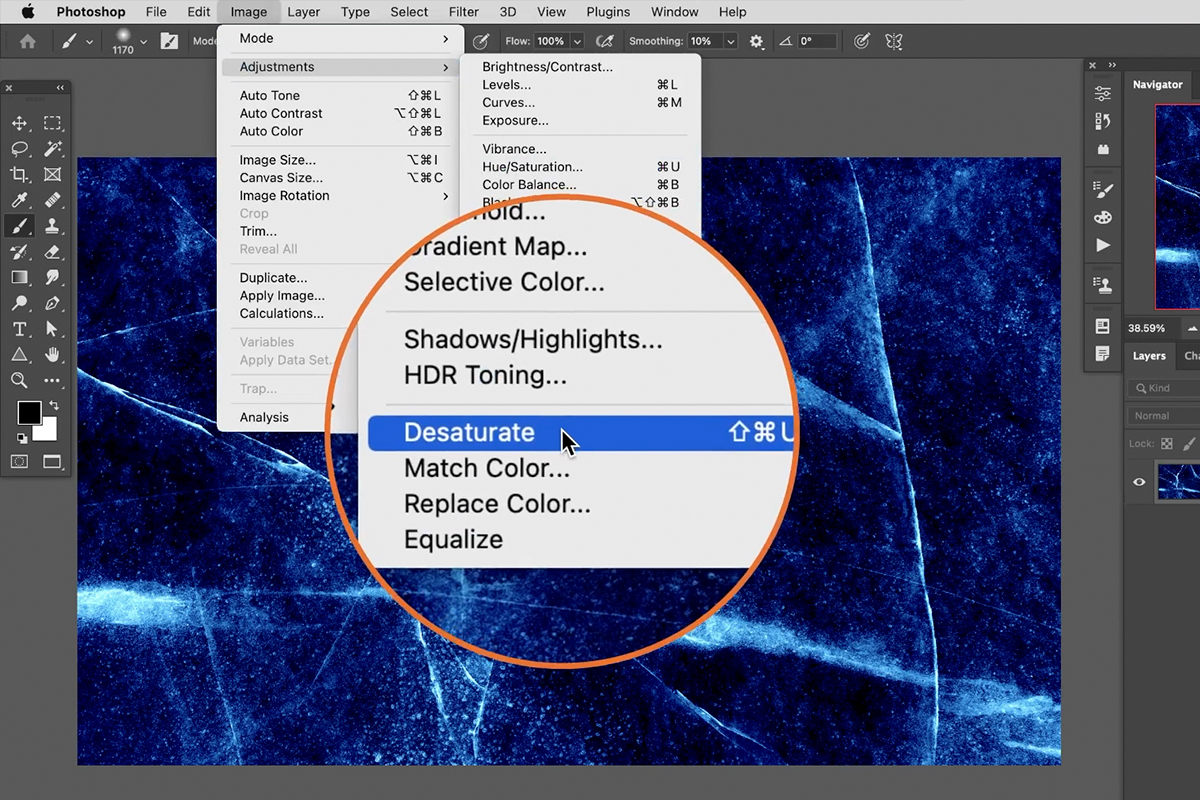
Open the Image menu, select Adjustments, and then select Desaturate. This will remove color from the image, leaving us with only grayscale light and dark information.
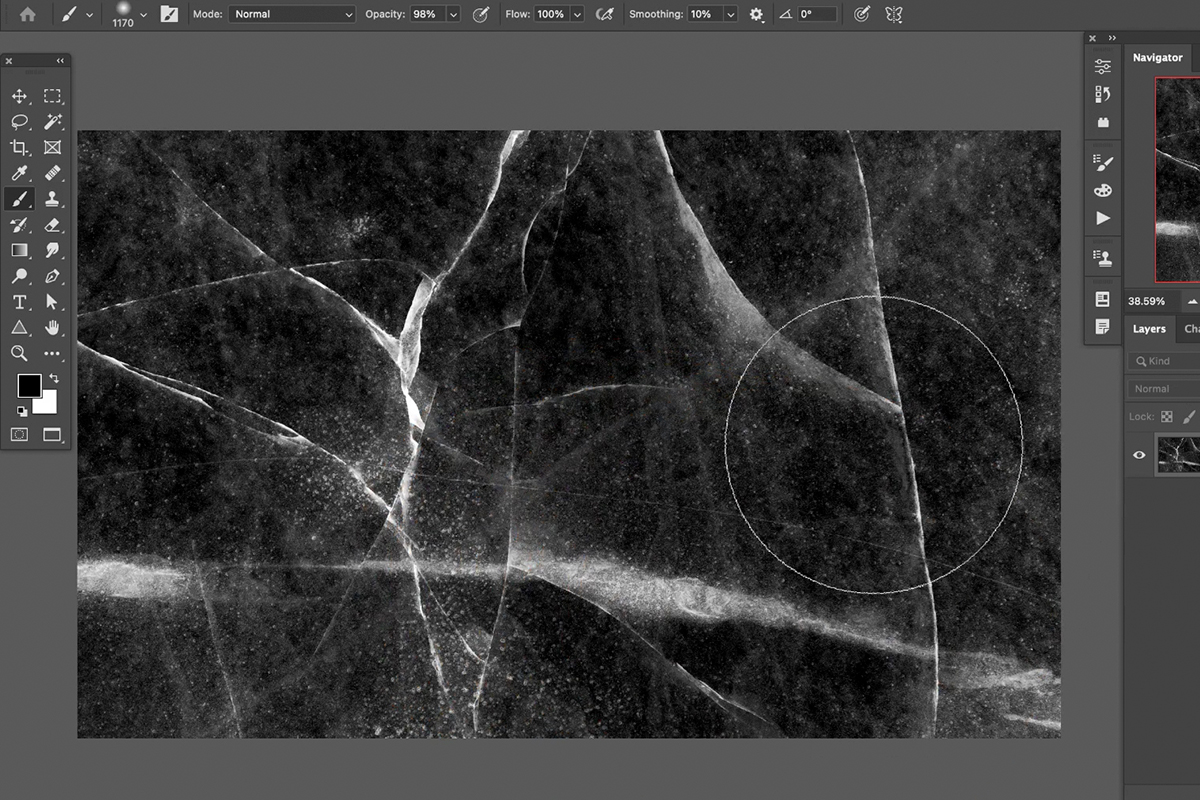
We’re getting close! For a Brush Preset, you generally want the the texture areas to appear black on top of a pure white background. Right now, we have a mostly-black texture that would result in a muddy, low-detail brush.
Fortunately, this is simple to fix. Since we want the opposite effect, simply click on the image layer and hit CTRL or CMD + I to invert the image.
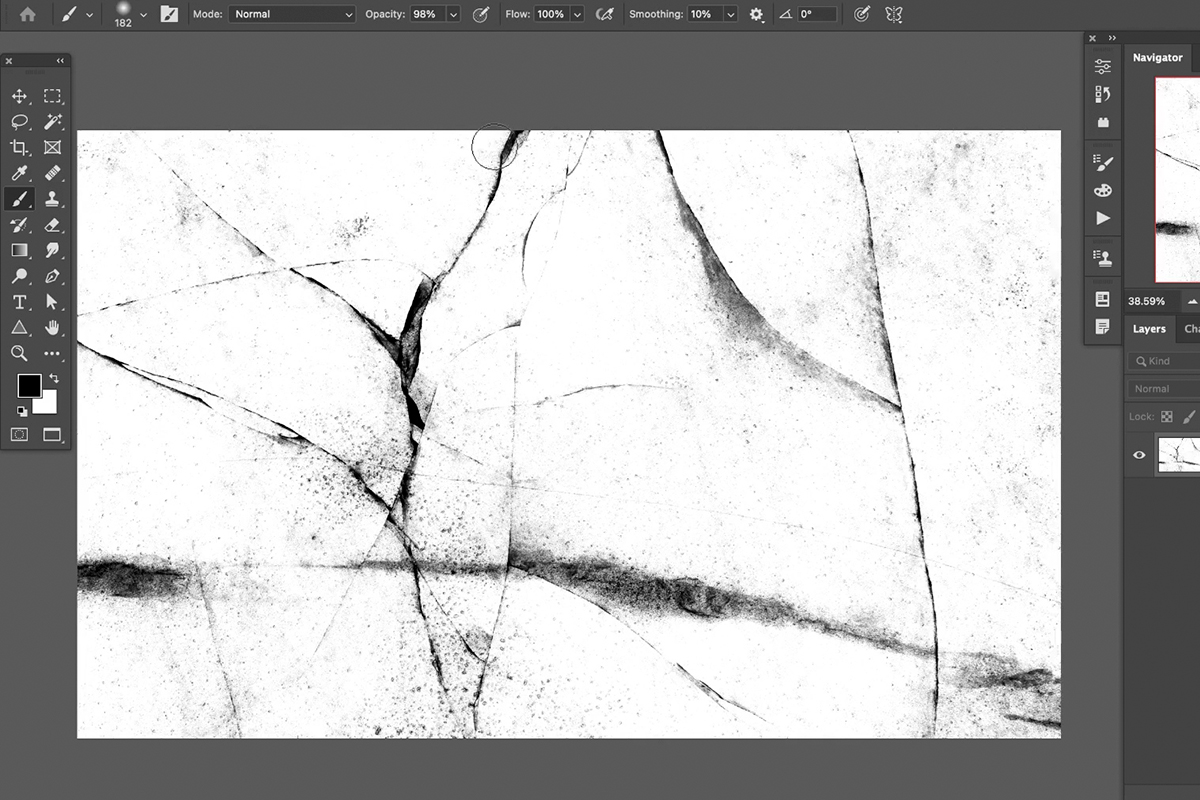
This is looking a lot more like a texture that we can use to create a brush. Create another Levels Adjustment to increase the contrast even further.
Then use the Brush Tool to remove some of the texture by painting with white along the edges. This will give the brush a more amorphous, organic feel once we start painting with it.
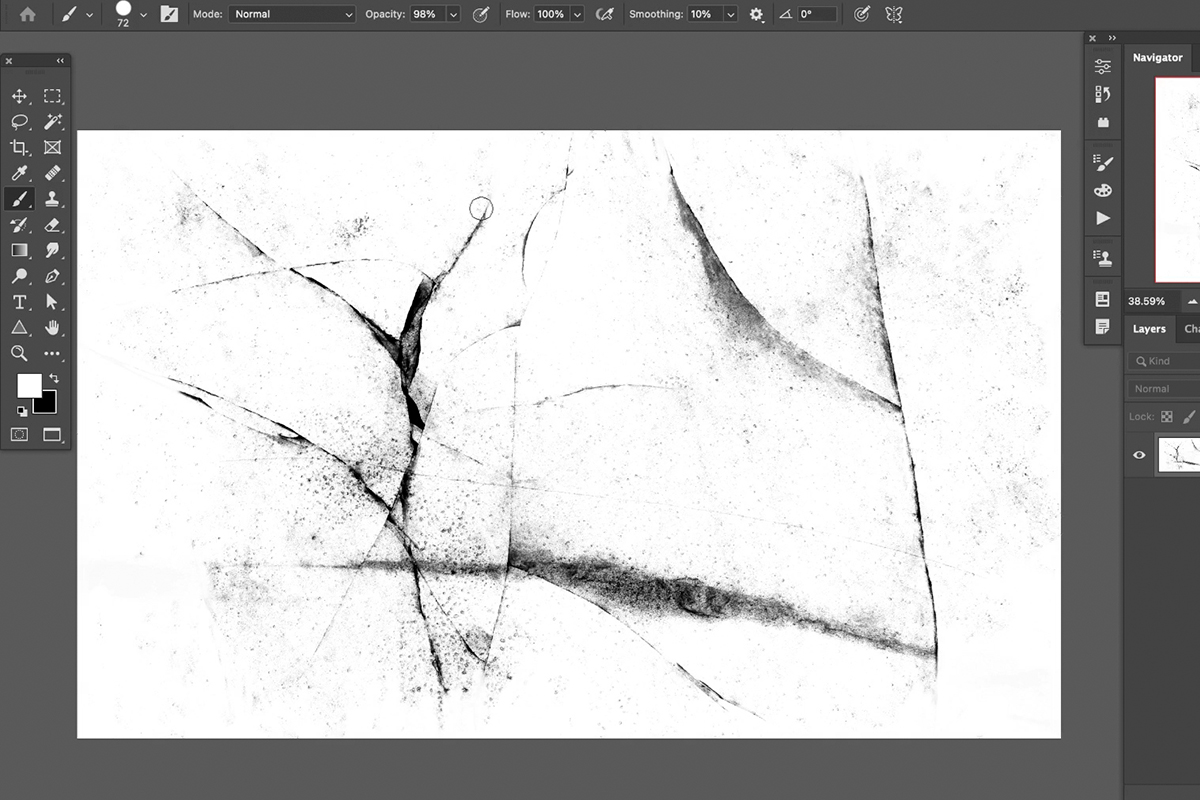
Depending on the size of the image you’re working with, it may be helpful to resize it if it’s large. We’re working with a fairly high-resolution image as our example, so we resized to 1500 pixels wide to make a little easier to process.
Creating a Brush & Adjusting Brush Settings
Now that our texture is ready, it’s time to convert it into a brush.
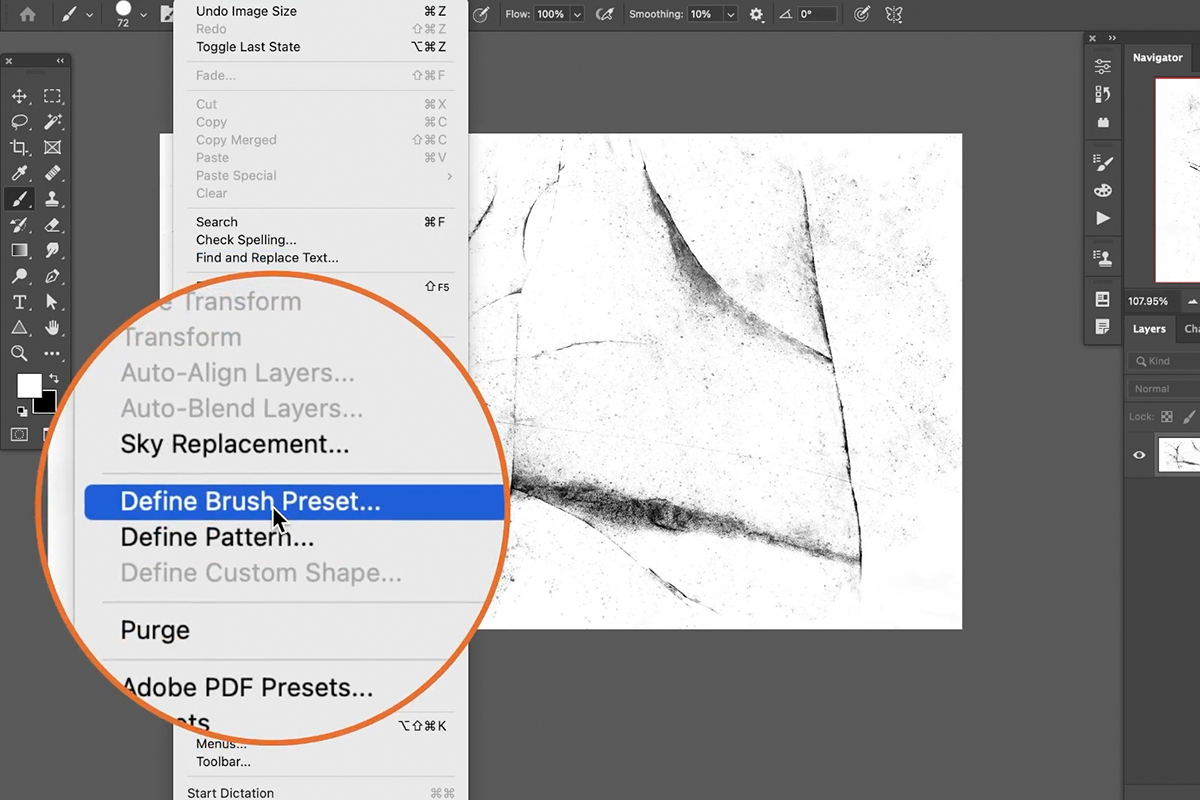
Open the Edit menu and select Define Brush Preset near the middle of the list.
You can name the brush, and then you’ll find it within the list of available brushes in Photoshop.
However, if you try to paint with it now, you’ll notice it doesn’t look or feel like a natural texture at all. We need to change some of the Brush Settings to add some much-needed randomness and variation to its appearance.
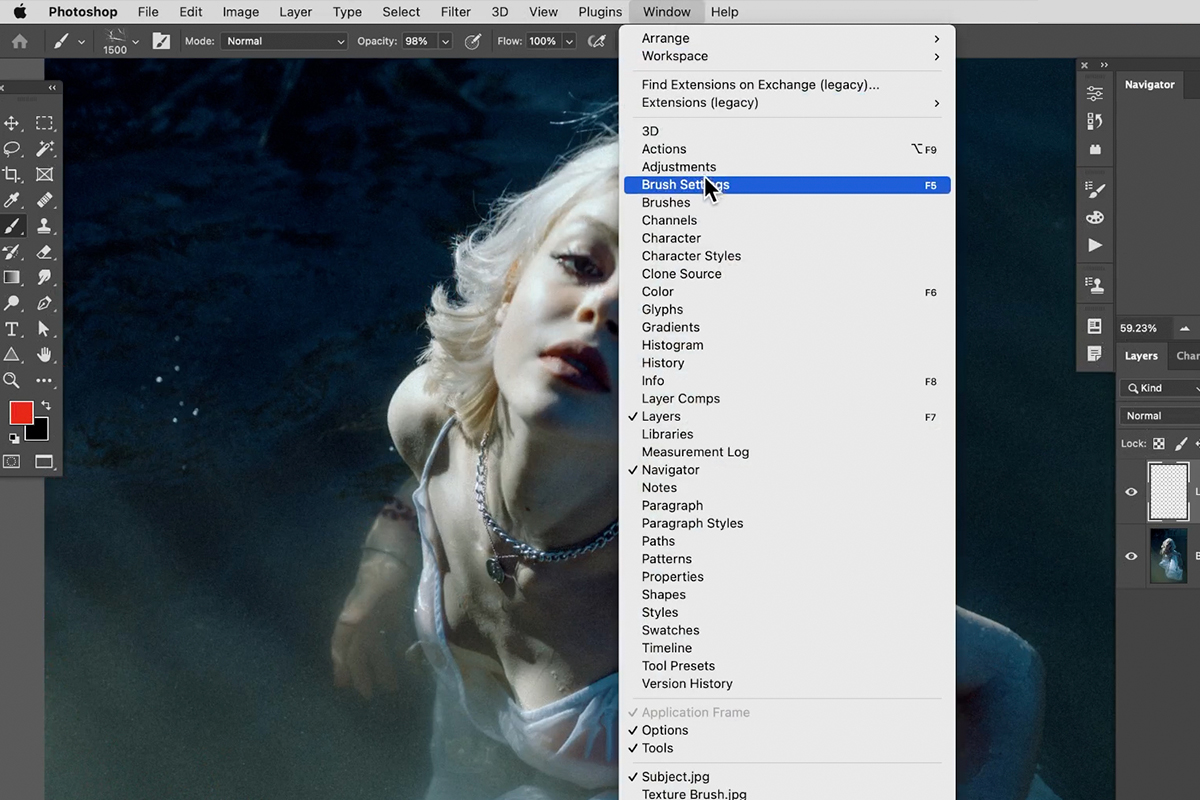
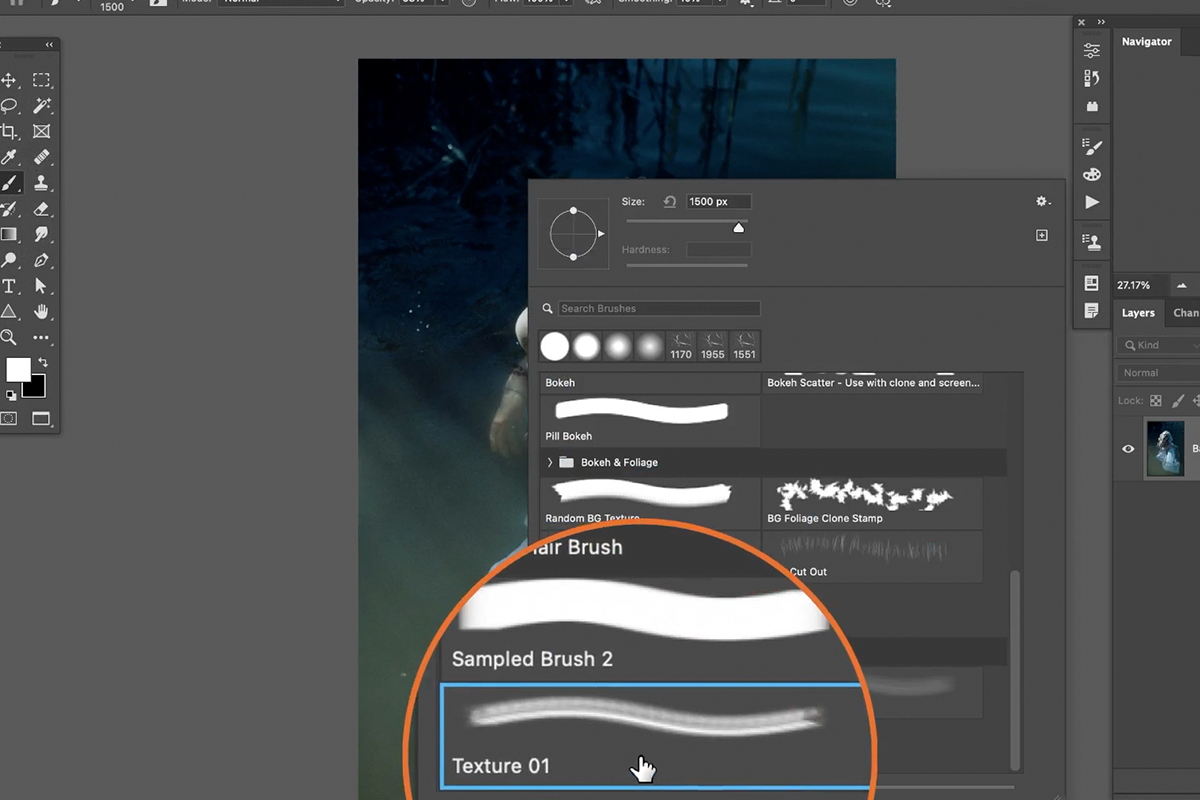
Open the Window menu and select the Brush Settings option. A dialog will open that contains a wide variety of options.
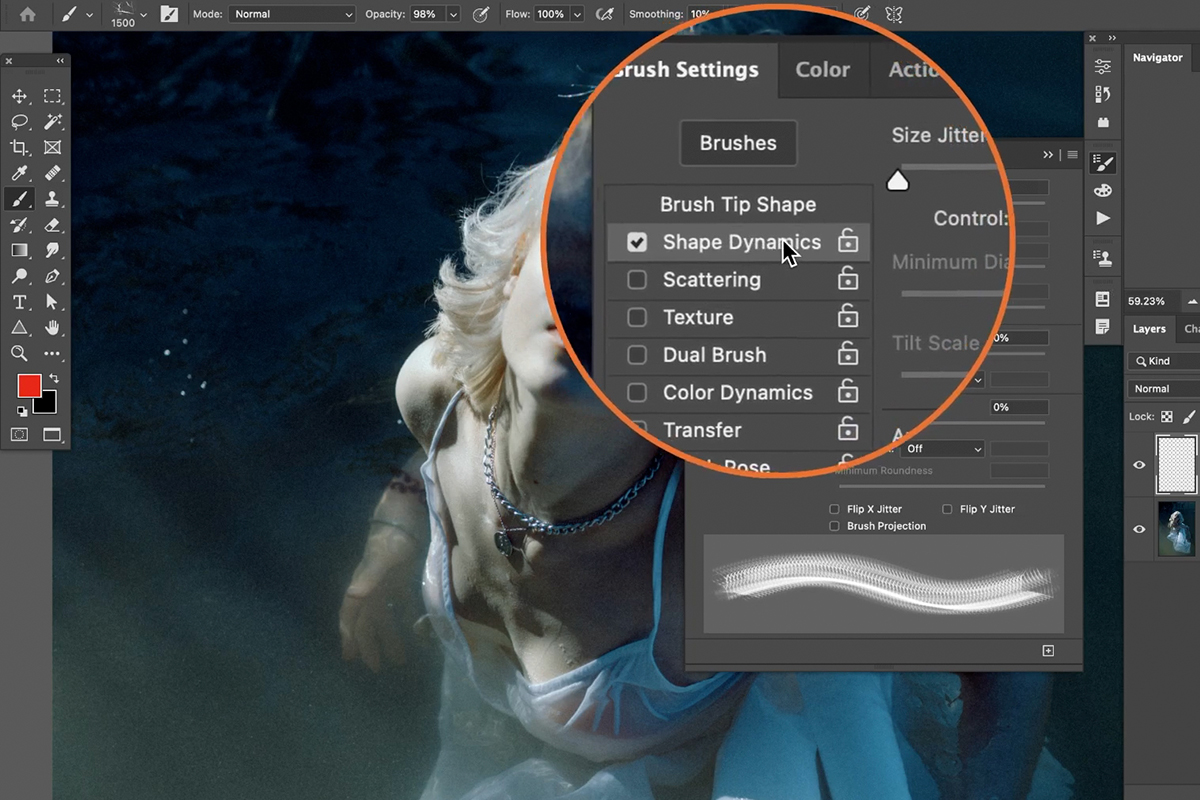
We’re only going to focus on a couple of the settings, but we encourage you to experiment with these using this brush and brushes of you’re own. Mastering these are the key to creating a wide variety of brushes and brush effects.

Check Shape Dynamics and push the Size Jitter and Angle Jitter sliders to 100%. Notice the effect it has on the brush in the preview window below.
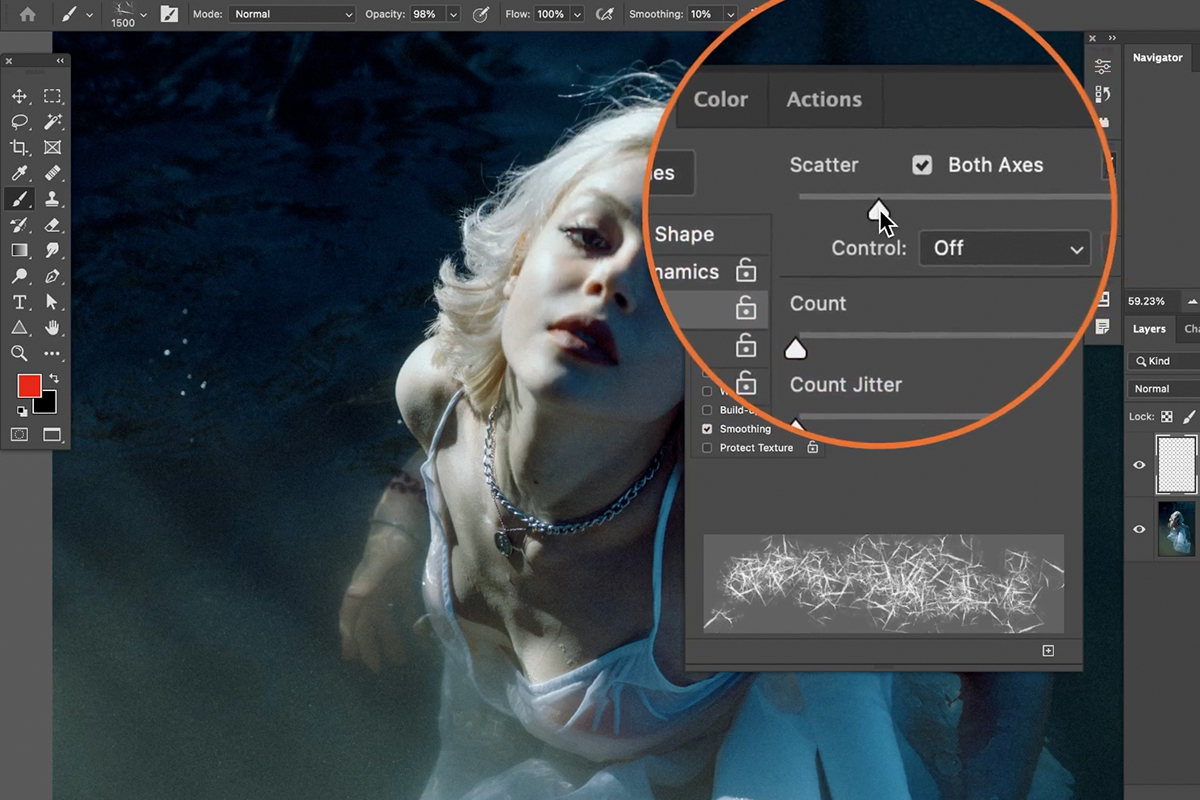
Next, check the Scattering option and move the Scattering slider up, taking note of the effect it has in the preview window.
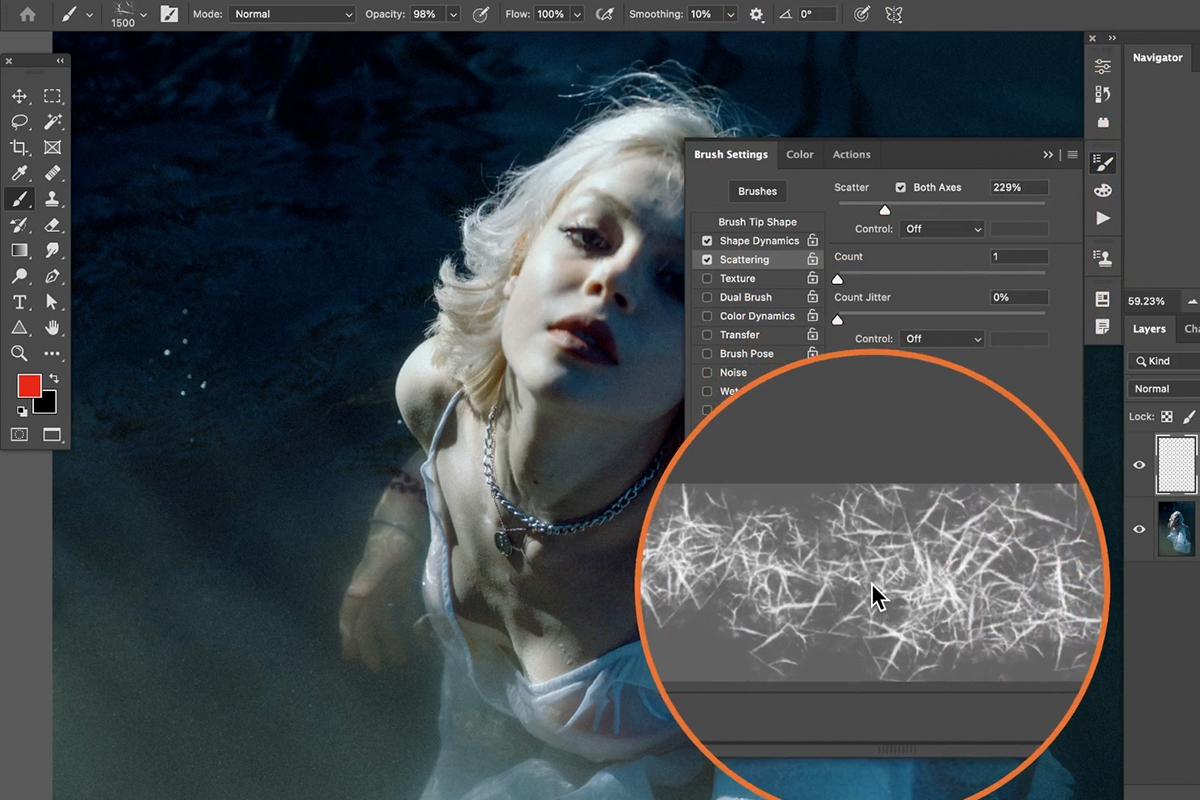
This is already looking a lot more natural! Only a couple more steps to go.
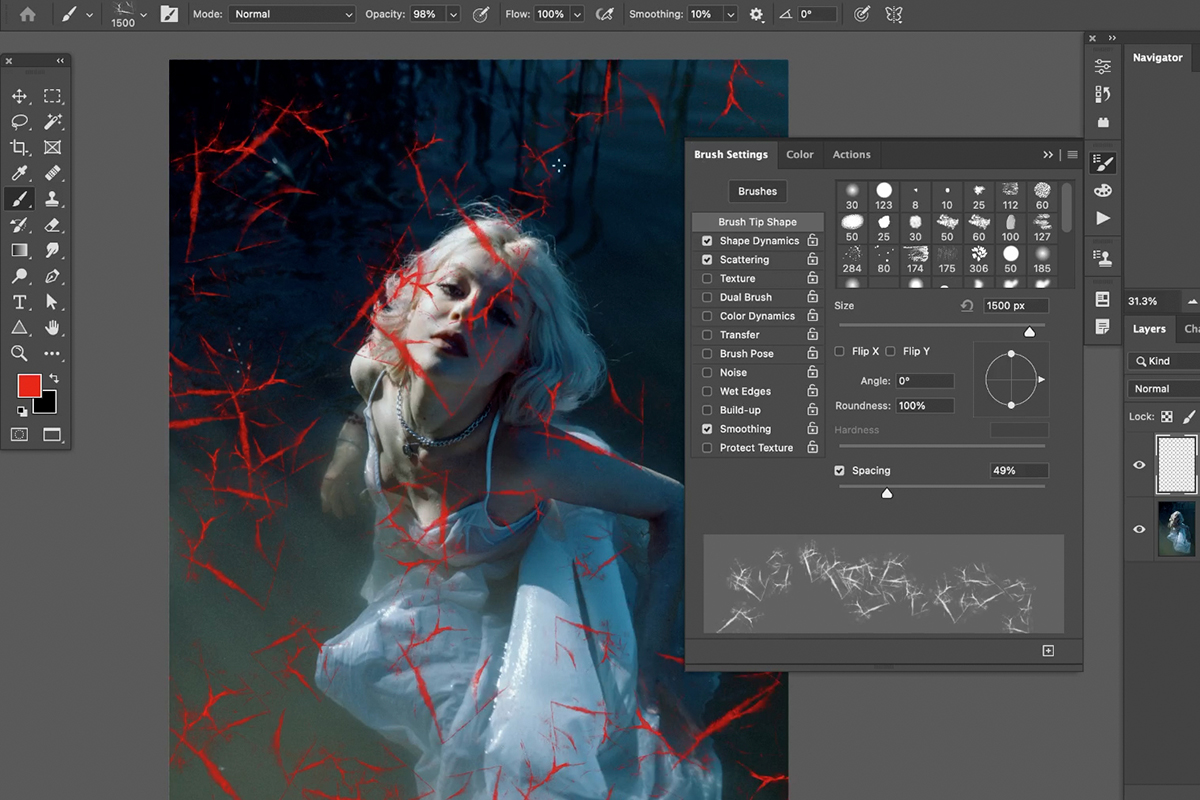
Lastly, click on the Brush Tip Shape option and increase the Spacing to about 50%.

Once the settings look good and you’ve tested the brush, click on the options icon in the top right corner of the Brush Settings dialog, and select New Brush Preset.
Give your brush a name that will help you remember what it does when you go back to use it later.
Adding Texture to Photos
Our texture is ready, now it’s time to see what it can do for our images.
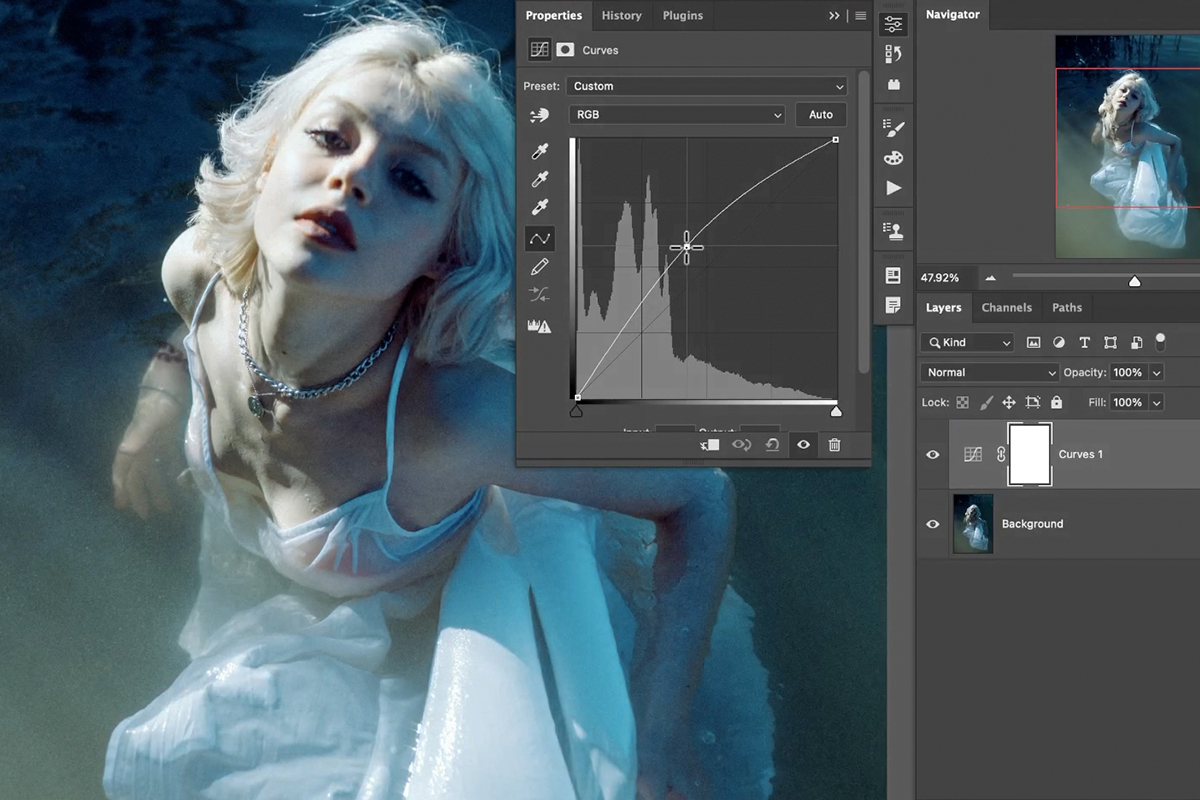
We recommend using Curves Adjustment Layers for this particular kind of effect, as they’re non-destructive, can be adjusted at any time, and create a more subtle effect.
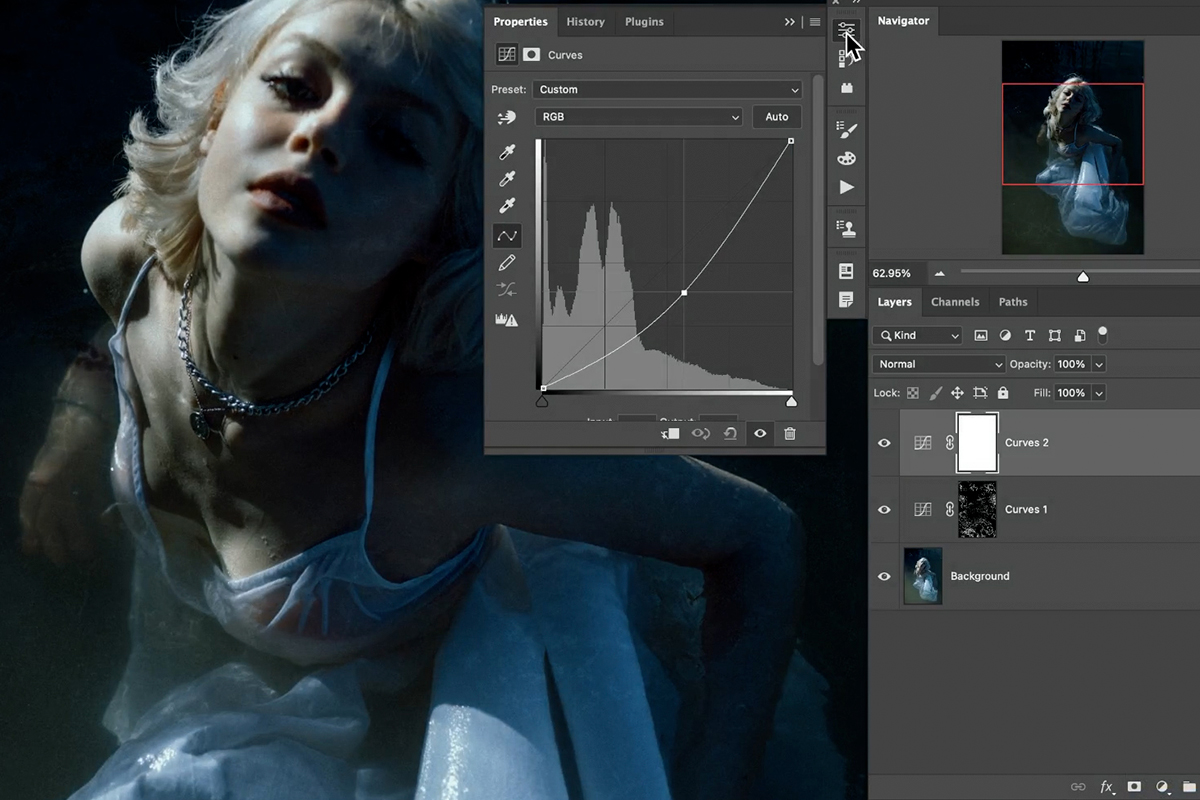
Create a Curves Adjustment Layer on top of the Layer Stack and pull the center of the line up into a gentle curve. Notice the entire image will get a little brighter.
Select the Layer Mask of the Curves Adjustment Layer and invert it by hitting CTRL or CMD + I. This will hide the entire Curves Adjustment.
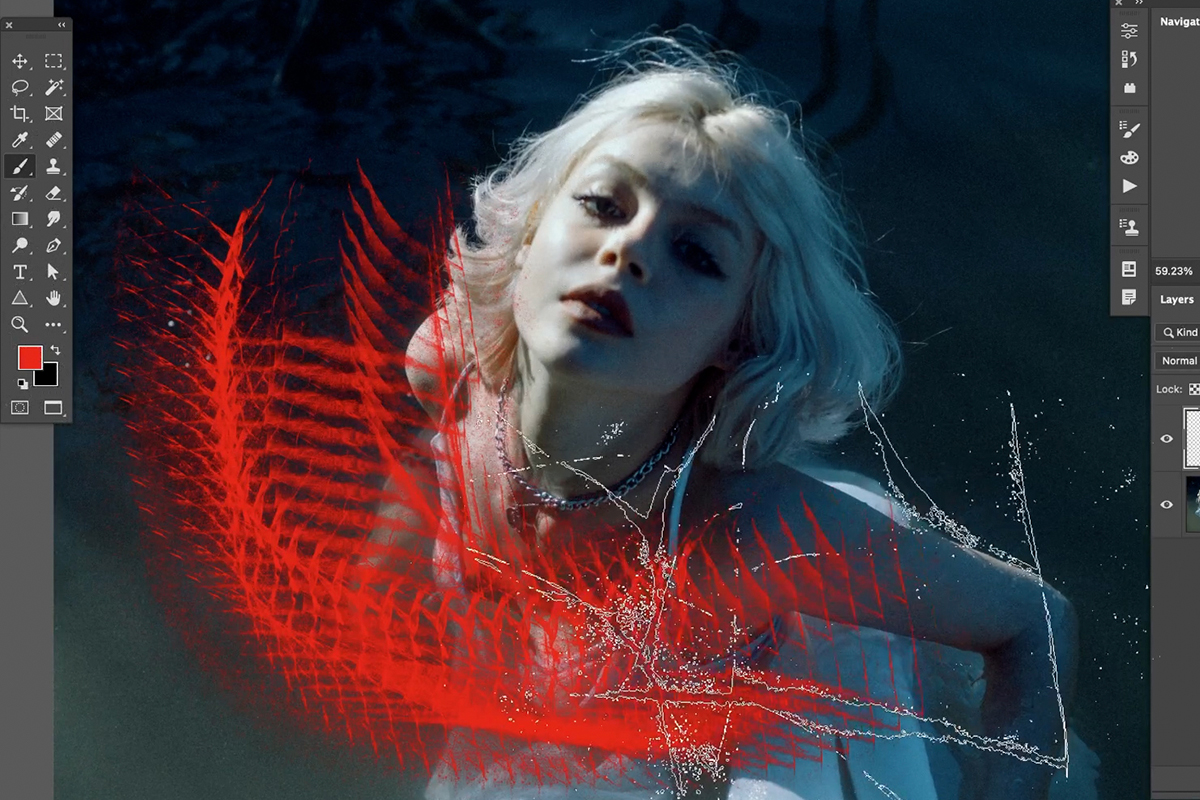
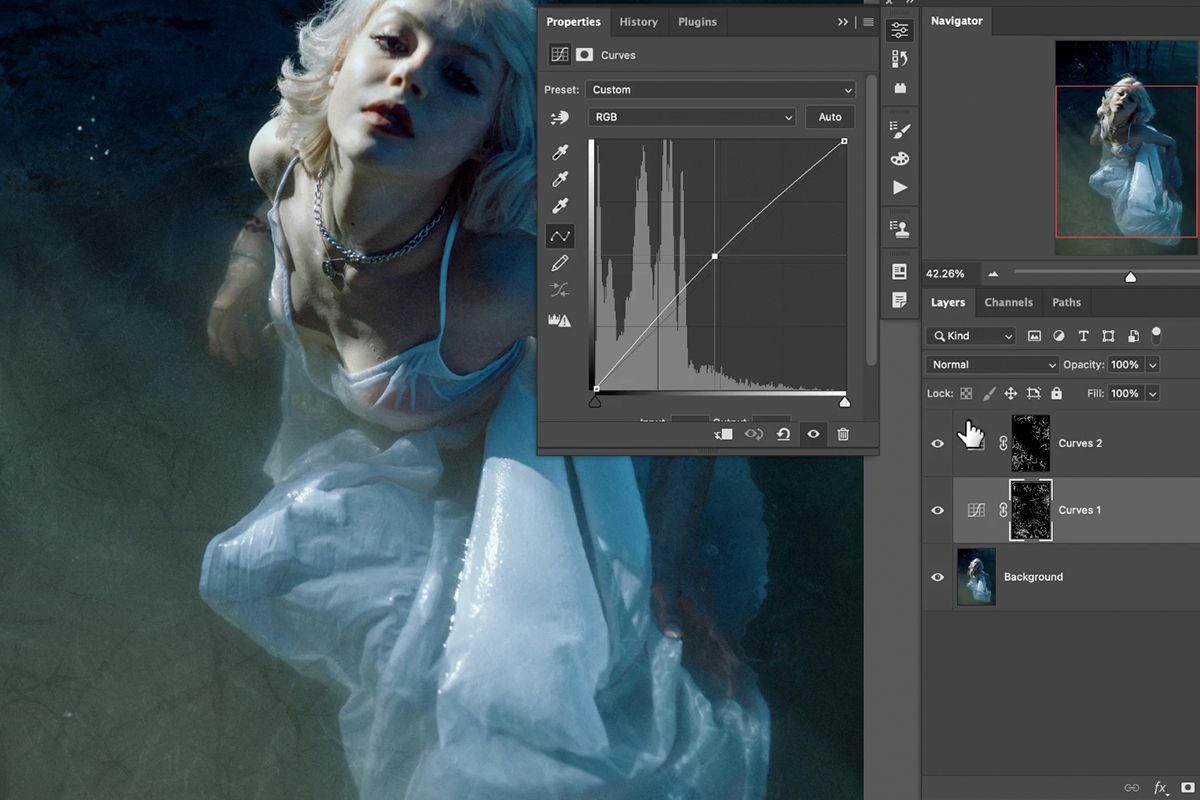
Then, using the Brush Tool set to our newly-created texture brush, paint with white on the Layer Mask of the Curves Adjustment. This will make the Curves Adjustment only visible where we paint, and it will appear in the form of our texture brush!
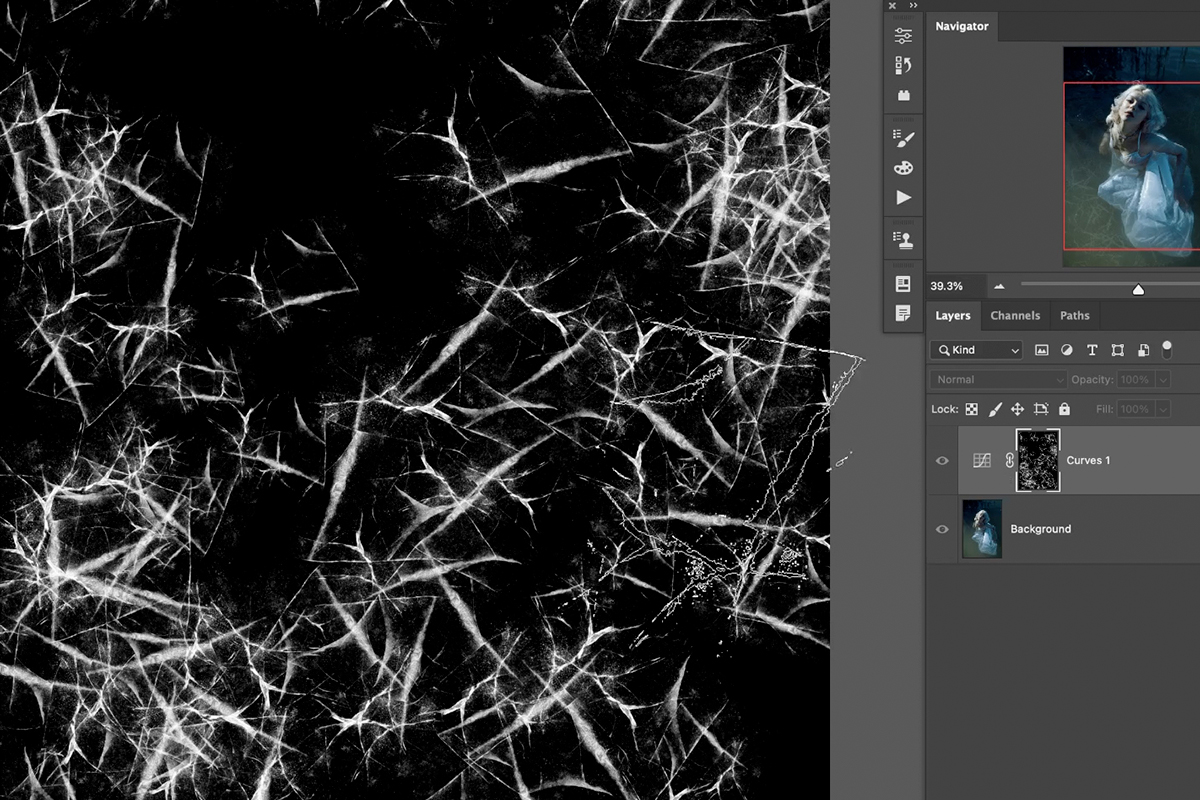
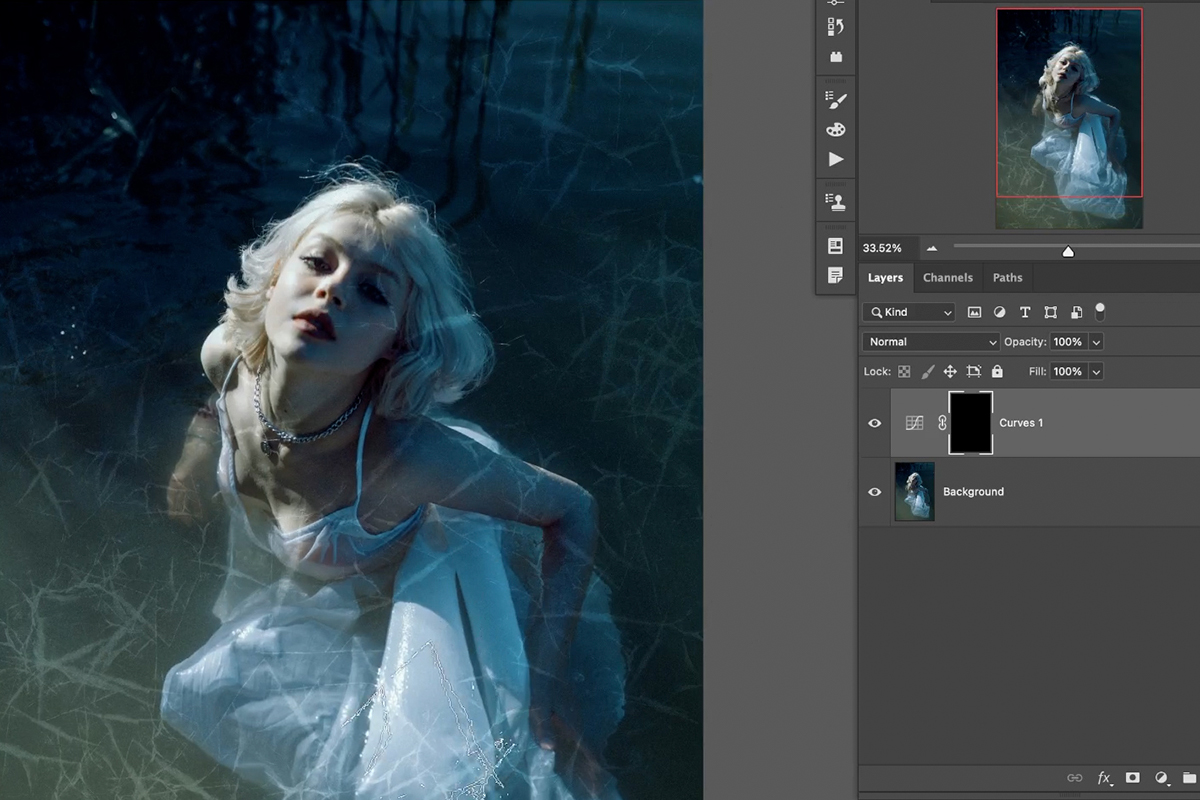
You can hold ALT or OPTN while clicking on a Layer Mask to view the Layer Mask. This is a great way to see what’s happening ‘behind the scenes’ of the texture effect.

And if you find that the effect is too strong, or appearing too much over important elements of the image, you can switch the brush color to black (but still using the texture brush!) to paint over areas to make the effect less visible.
For more variety, you can create a second Curves Adjustment Layer, but this time pulling the line down to make a darker effect. Repeat the same steps as above to apply additional, darker texture elements to the image.
And remember that you can double-click on a Curves Adjustment Layer at any time to change the effect its having.

Have fun and experiment! You can use this brush to add grunge and vintage textures to any photograph, and use this process to create your very own textures and effects.