Create a Graphic Composite in Photoshop – A Dragon’s Heart
-
Add to
favorites
-
DifficultyMedium
-
Length2 hours
-
Videos5
-
Software
DESCRIPTION
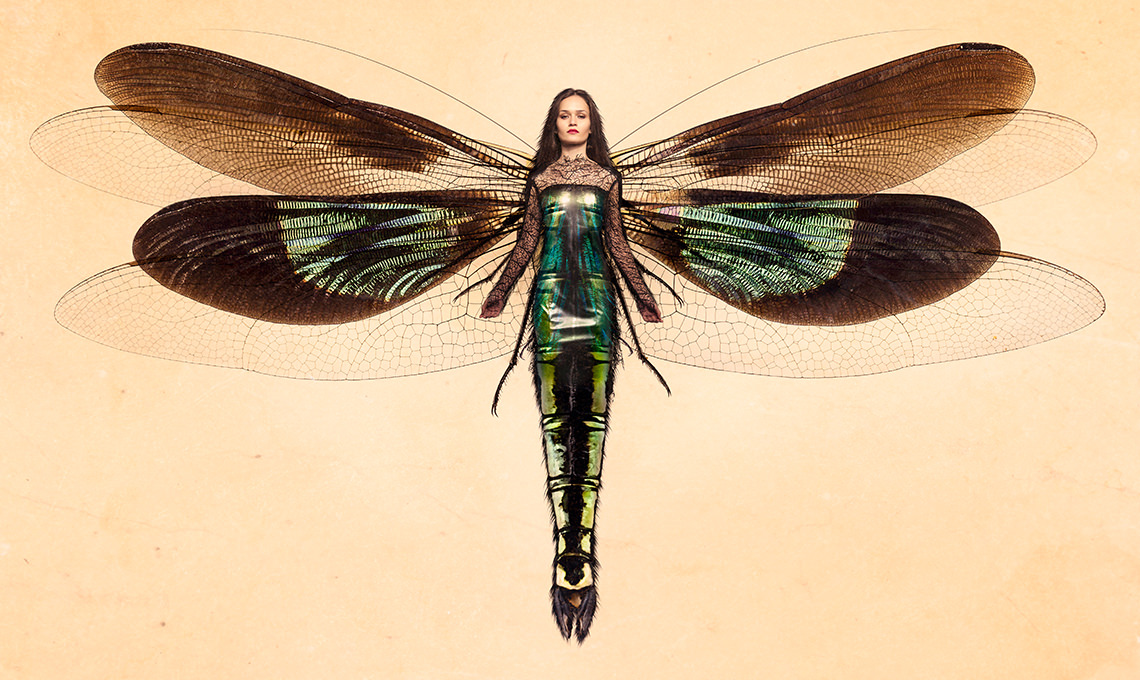
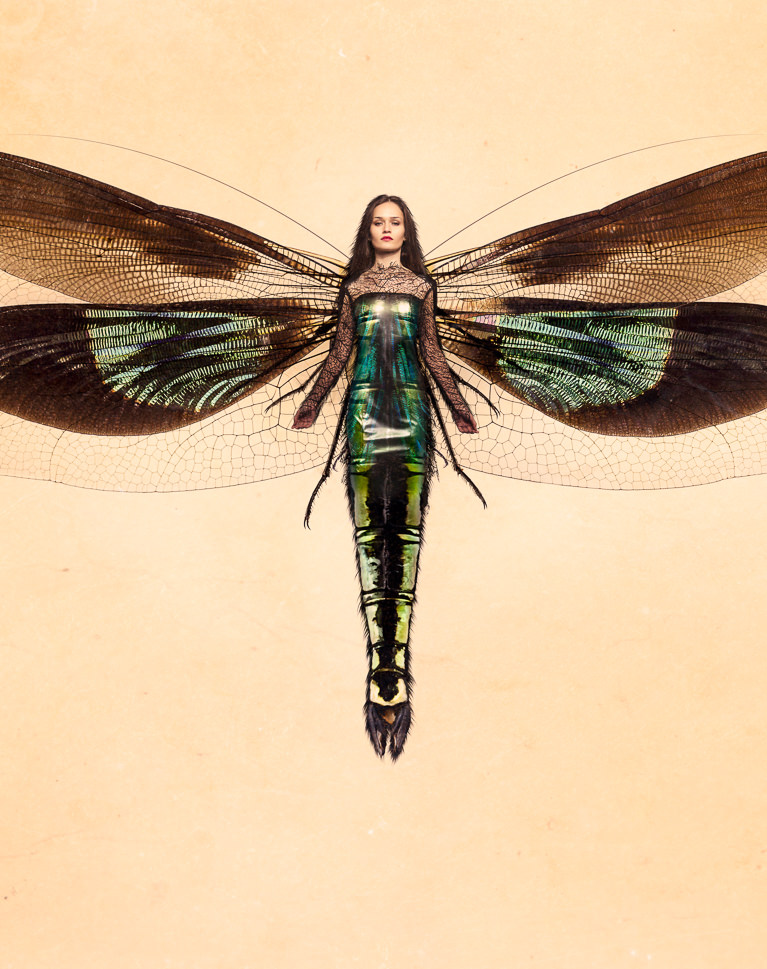
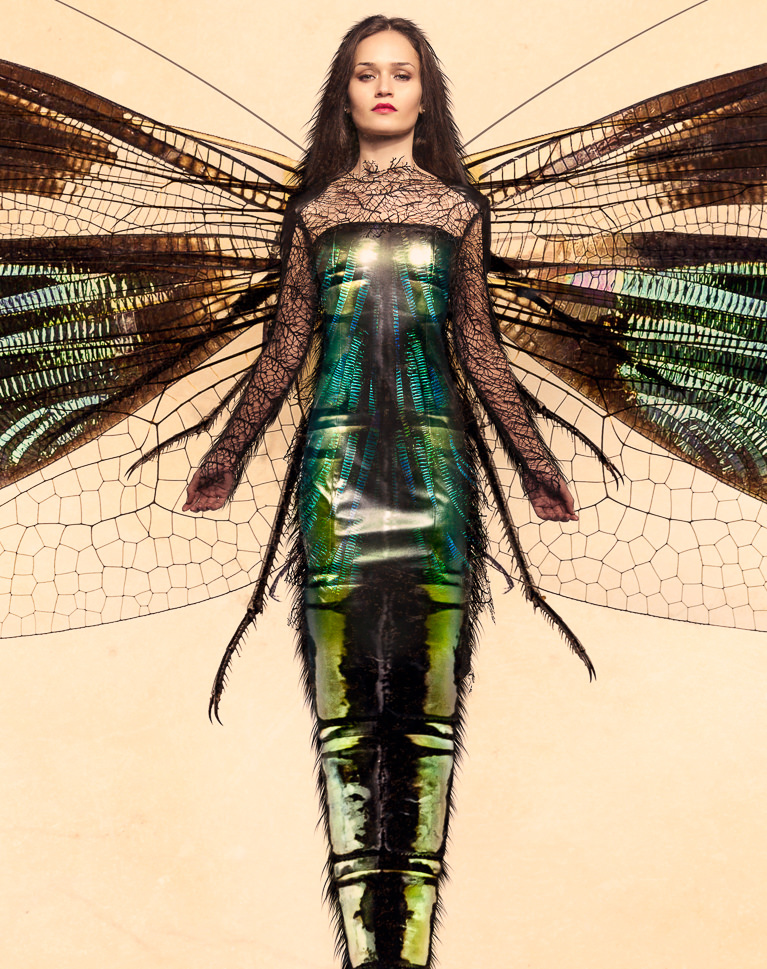
This Phlearn PRO Tutorial will show you more than just basic compositing. You will learn how to seamlessly integrate subtle traits, characteristics and personality into one cohesive being, real or imaginary.
THIS COURSE INCLUDES
- 3 Sample Images
- 1 Photoshop Brush
- 6 Custom Textures
Share
Course Downloads
Create a Graphic Composite.
Make Perfect Cutouts
Follow along as we explain the correct tools and techniques to cut out the subject for this image. In this tutorial you will learn the fastest way to create a perfect selection and remove subjects and other elements from their background.
Refine Edges
Discover how to properly use the Refine Mask tool in Photoshop to increase your subject and element extractions. This tool is essential for creating accurate selections when creating a composite quickly.
Liquify Tool Best Practices
Make your subject look their best without looking unnatural using the liquify tool properly. Use what you learn to dramatically alter the shapes and tone a person bringing attention to the right places.
A Dragon’s Heart
New to compositing? This is a great place to start. Learn how to cut out your subject, refine edges, and blend everything together using creative coloring and textures.
Add Amazing Details
Copy elements from one area of the image to another and transform them to feel completely original. Learn to identify areas that are too light, too dark or lacking in detail. Then, easily fix each of the problem areas.
Custom Photoshop Brushes
Learn to create Photoshop brushes so you’ll always have the right brush for the job. Custom brushes are excellent for advanced retouching and adding special effects to your images.
Create a Textured Background
Add texture and detail to the overall image to give a sense of scale and place. Use the included texture images to create your own textured background and enhance the detail and color on your subject. 6 textures are included for you to use on any image!
Use Blend Modes
Learn how to speed up your detail compositing by adjusting the layer blend modes instead of making time-consuming selections. There are a multitude of layer blend mode to choose from and we will show you the best ways to approach this.
Tone Your Color
Learn how to color tone the image to create a more cohesive, artistic feel. We show you how to adjust color in small areas of the photo to add style and authenticity.
Reviews
New & Popular Tutorials
Training Site in
the World
Tutorials!
Ratings
and Counting
Subscribers






That is an art Masterpiece! I am amazed and very grateful! 5 stars!
An excellent tutorial that will give you all the tools and knowledge you need to create an incredible composite image.
Loved this tutorial. I’ve learnt so many new skills. I did lose my way a few times. But the bonus of having purchased this is being able to listen and watch the steps over and over.
So here is my end result, i will apply these new skills to original work asap.
An Excellent tutorial, I’ve phlearned a great deal from it and I would recommend it to anyone who’s interested in creating composite images. Thank you Aaron and the Phlearn team. Keep ’em comin’!
I don’t know what I would do without you guys. The training is beyond what I ever expected. Aaron is incredible and too funny. You concepts are superb. I have an image that I shot recently that I want to add a 3/4 mask to her face on her right side. The model is hooded so it is a little mysterious and I thought to add a mask made of simple leather would add to the effect. The problem is keep running into is that even using a displacement map the leather is not really contouring to her face. I have provided the original image. Please HELP.
every thing is awesome