

THIS COURSE INCLUDES
- 10 Lessonsfollow-along
- 10h 20mof captioned HD video
- Intermediatesome Photoshop basics
- 26 Sample Images+ 2 actions
Join PHLEARN PRO for instant access to this course and every tutorial on PHLEARN.
- Stream in up to 4K on any device
- Closed captions and chapters on every course
- Download all sample images and PSDs
- New PRO tutorials every month
- Cancel anytime
DESCRIPTION
Welcome to part two of our best-selling series Retouching 101-301. Retouching 201 takes your retouching skills to the next level with professional techniques for dodging and burning and frequency separation!
* This tutorial is part of the Retouching 101-301 Bundle
What You’ll Learn
- Master frequency separation for flawless skin
- Shape and define the body with dodge and burn
- Combine exposures to bring out extra detail
Table of Contents
-
01 - Introduction: Culling in Lightroom18:54m
-
02 - Body Retouching1:07h
-
03 - Combining Exposures30:41m
-
04 - Frequency Separation38:58m
-
05 - Swapping Heads & Faces33:29m
-
06 - Recover Highlights & Shadows34:52m
-
07 - Portrait Sharpening34:31m
-
08 - Retouching Backgrounds1:04h
-
09 - Complete Portrait Retouch (Exercise 1)2:35h
-
10 - Complete Portrait Retouch (Exercise 2)2:22h
Course Downloads
Take Retouching to the Next Level.
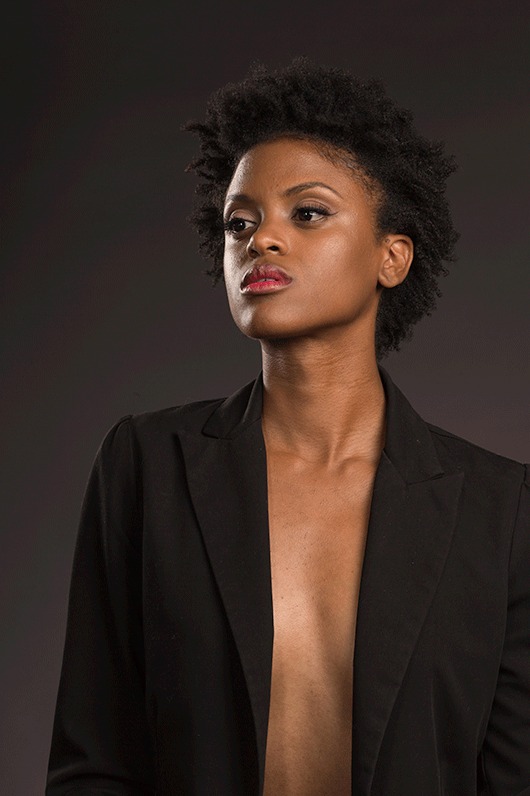
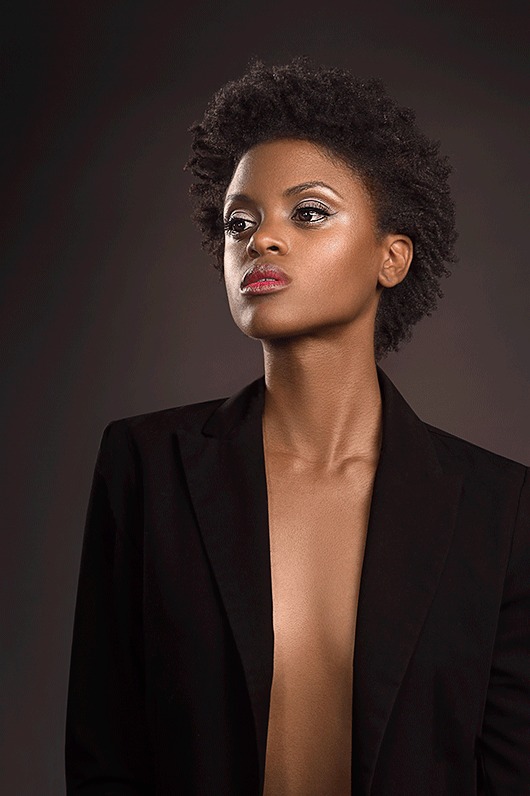
Retouching 201 Starts with Culling in Lightroom
After a photo shoot, you have hundreds or thousands of images review and choose the picks from the rejects. This process is called ‘Culling” and is an essential part of every photographer’s workflow. Retouching 201 teaches the Phlearn Method for culling and quickly narrow down your selection of winning images. Use “Comparison” and “Survey” views to refine your choices quickly.
Combine Multiple Exposures to Increase Dynamic Range (HDR)
Ever taken a photo and the sky was too light or the shadows were too dark? A camera is limited by its dynamic range and can only capture a certain amount of information. In Retouching 201, learn to combine multiple exposures to increase the dynamic range of an image, saving detail in the highlights and shadows.
Frequency Separation in Retouching 201
Frequency Separation is a revolutionary retouching technique that allows you to separate skin texture from skin color—and edit each separately. Learn from the #1 resource for Frequency Separation, while using custom actions created precisely for skin retouching. Smooth skin underneath pores with ease.
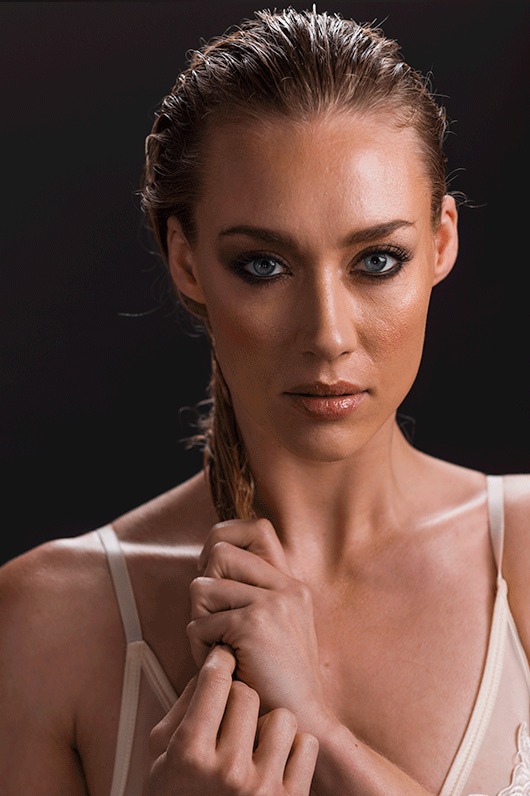

Swap Heads from Different Photos
Ever take a photo that was near perfect – the only thing is the person’s eyes were closed? It is possible to change different parts of a photo including parts of the subject. Use the techniques in this Retouching 201 lesson to repose, replace, and re-purpose.
Recover Highlights and Shadows
Skin looks great when lighting is even and consistent. Often times dark shadows on a person’s face can magnify imperfections. Light that is too bright causes light patches in the skin. Retouching 201 shows you how to get highlights and shadows under control!
Advanced Sharpening for Faces
Learn to draw more attention to specific areas of a photo using advanced sharpening techniques.
Background Retouching and Clean-Up
Most photos include much more than a person’s face, so why neglect those areas when retouching? Spending a couple of minutes cleaning up a background can make a huge difference in an image. Learn special techniques focused on retouching and simplifying backgrounds.

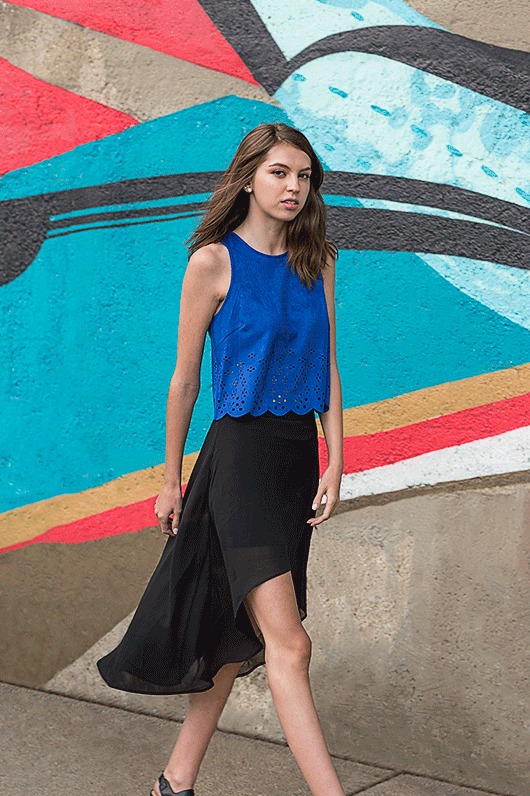
Reshape and Retouch the Body
Most people think about faces when the word “retouching” is mentioned, but in full-body photos, retouching is often applied to the entire subject. Retouching 201 teaches you to smooth skin inconsistencies and re-shape the body to create a more flattering photo.
Luminosity Painting
Luminosity Painting is a revolutionary Phlearn Exclusive technique that allows you to paint light – it is the perfect method for smoothing skin tone. When combined with Frequency Separation, you will have full control over skin texture and skin smoothing. The results of this Retouching 201 technique are stunning!
Two Complete Retouching Exercises
Combine everything you learn from Retouching 201 sections 1-8 to retouch two portraits from start to finish. Where do I start? How do different techniques tie together? What don’t I know? Follow along the entire retouching process from Camera RAW to Exporting the Final Photos.
Phlearn Actions and Brushes Included
When it comes to complicated processes like Frequency Separation and Dodging & Burning, there are many steps to remember and repeat properly. The included actions make it easier than ever to achieve these tasks at the push of a button!

Class Instructor
Aaron Nace
PHLEARN Founder & Lead Instructor
Aaron Nace is a photographer, digital artist, and the founder of PHLEARN. He has been teaching Photoshop, Lightroom, and photography since 2011, and has taught at Adobe MAX for more than eight years.
Aaron publishes a free tutorial every week and a new in-depth PRO course every month.
- 2M+YouTube subscribers
- 160M+video views
- 1,000+tutorials published
- 15years teaching Photoshop
Reviews
Master Photoshop, Lightroom and Photography
Join PHLEARN PRO for $12.99 a month or $99.99 a year. Cancel anytime, with a 100% money-back guarantee.






Amazing! I am close to the end of my second year with a Pro subscription, and watching this tutorial shows that there are still so many great techniques to learn. I am still experiencing a great many “I didn’t know you could do that with Photoshop” moments.
Thank you!!! I love the head swap composite video! Extremely straight forward to the point and saved me in editing time!
Aaron is awesome wish all the best
Amazing!! I love how the entire tutorial is split into relevant sections so you can jump in and out at your own leisure. Thanks, Aaron and thanks, Phlearn!