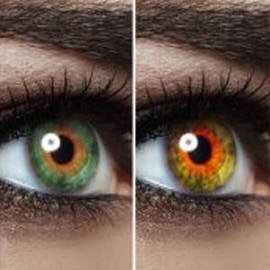
BEFORE
AFTER
How to Remove Wrinkles in Photoshop
Retouching wrinkles on someone’s Face can be a very *touchy* matter! Today we show you how to both completely remove wrinkles as well as reduce them in a more subtle way.
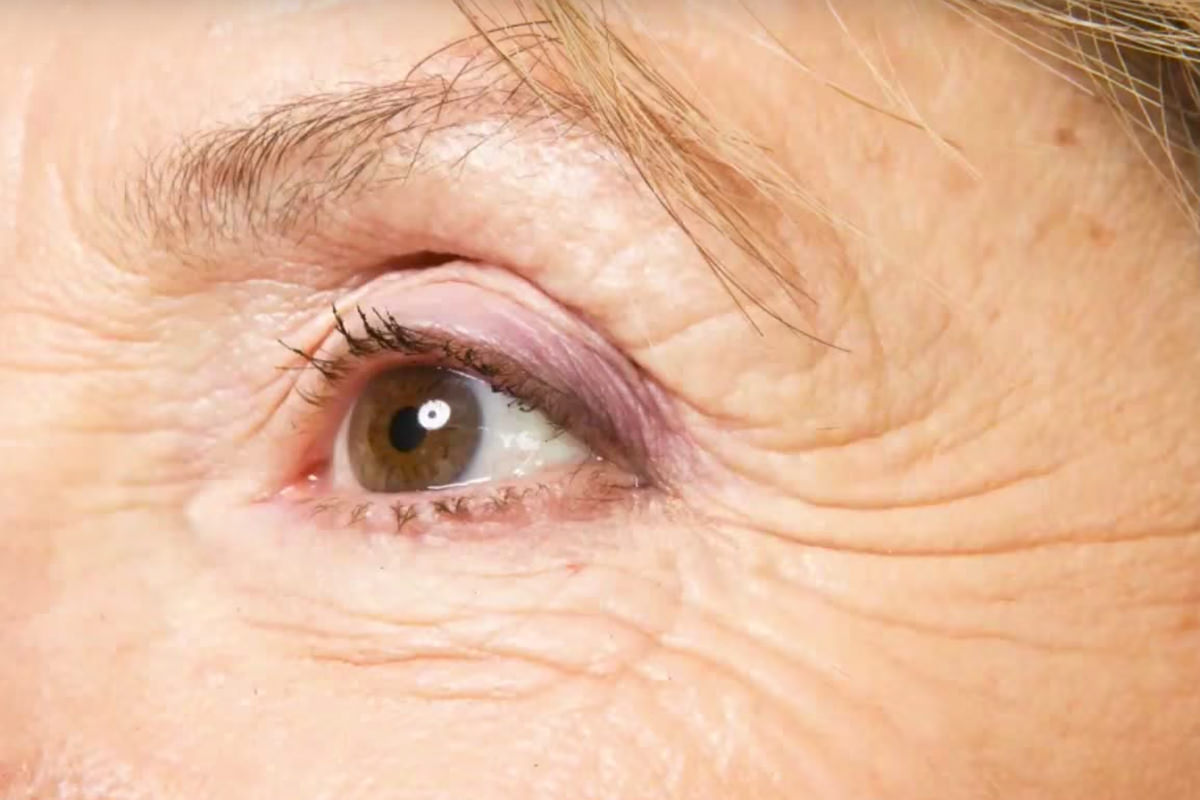
Complete Removal
The Healing Brush Tool is our best friend in terms of removing wrinkles! Be sure to use a Brush Size that is slightly larger than the wrinkle, and then sample a Color right below the wrinkle to paint over it (Alt/Opt + Click). Make sure to select “Current & Below” for the sampling.
This technique must be used very carefully, as it is easy to make an elderly Face look too smooth.
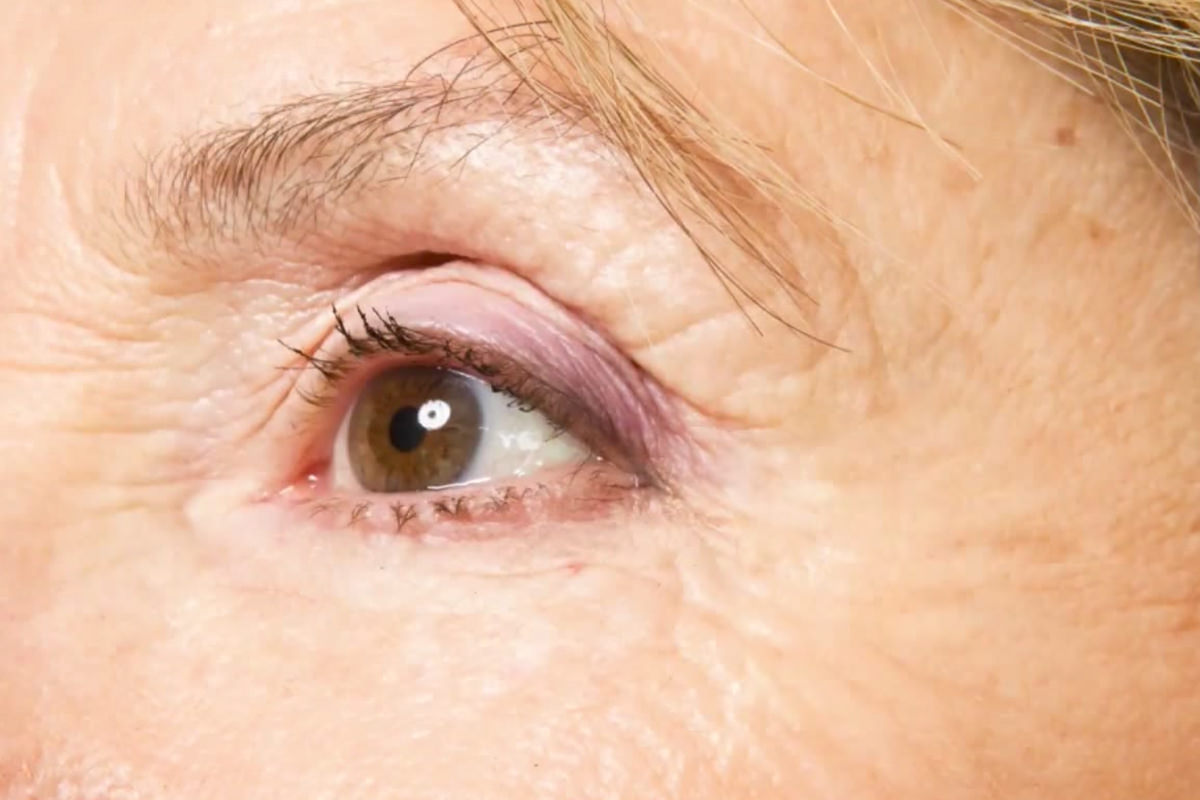
A More Subtle Approach
For a more natural approach, we can use the Clone Stamp tool. Duplicate the Background layer (Cmd + J) to work on a layer with pixels. If you are on a New Layer rather than a duplicated one, this technique will not work. Also, be sure to select the “Lighten” Mode; this paints over the wrinkle in a less obvious manner to conceal the lines.
This tends to be a quicker process than using the Healing Brush Tool, because it simply Lightens to darkest parts of the wrinkles and does not pull Skin Texture from other parts of the Face.