Retouching Tutorials
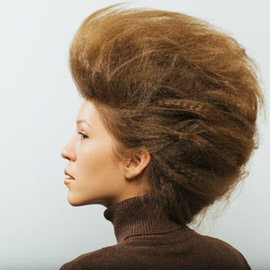
You are going to learn how to fix up a hairstyle in Photoshop using the Liquify Tool. There are a few different strategies to consider when reshaping something like Hair.
A new take on dodging and burning. Save yourself time and trouble!
Today we focus on removing distractions in Photoshop that you couldn’t change when you took the picture.
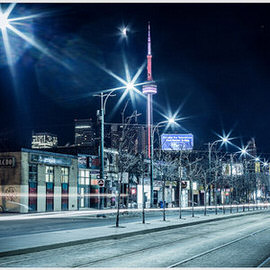
By creating a New Layer and making sure Content Aware has been checked, we can use the Patch Tool to simply select and remove the horizontal power lines.
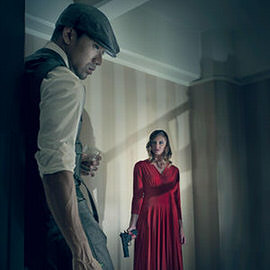
Sometimes people get in the way while you’re taking photos. In today’s episode we show you how to make it look like they weren’t even there with the Clone Stamp tool.
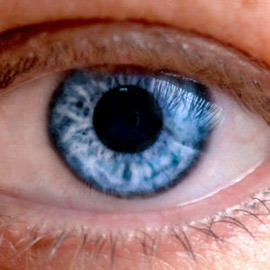
These minuscule, and red squiggly lines are usually very unnoticeable, but when there is an involvement of a macro shot such as this one by Fernando Braga, they can become a Distraction of interfering with your great eyeball shot.
We’re going to go over a quick and easy technique as well as a harder technique that has a more refined result.
For extreme speed-editing Exposure we’re editing this image by Aleksandar Jaredic, and we only have five minutes to do so!
Learn how to use the Brush Tool to apply makeup in Photoshop. We create a custom brush to achieve the exact look we need.
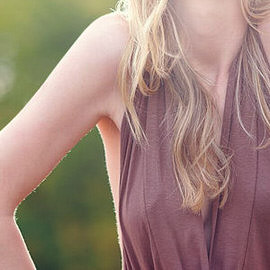
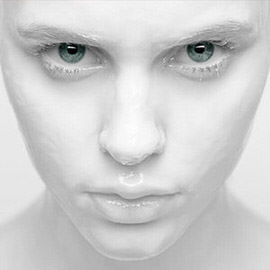
We’ve focused on Retouching a lot here at Phlearn, taking care of zits, applying Makeup in Photoshop, you name it. But we’ve never covered taking care of larger Scale blemishes and redness, such as rosacea or in this case red powder.
Through a couple easy techniques, you can use Clipping Masks, Smart Objects, and Filters to create your very own skin textures. Add seamless skin texture to you projects.
It’s always great to have shadows in your photographs to add definition, but sometimes they become too dark and Subtract from the detail in your image.
In order to make the existing Highlights in this image stand out even more, first we make the Lights and Midtones of the image darker using a Levels Adjustment Layer.
When you increase your ISO on a digital camera, your processor amplifies the signal it receives from the sensor to make it stronger, much like an amplifier on a stereo, it makes a quiet signal much louder.
Dan Winters is a great photographer who produces gripping work. He has a way of pulling emotion out of his subjects that will leave you breathless. Today we look at one of his famous portraits of Tom Hanks, and try to reproduce it.

Today we are completing this beer image in Photoshop. We cover the Lighting Effects as well as adding the splashes around the beer. The trick when doing this sort of Composite is to know how much masking needs to be done.
Yesterday we showed you the photoshoot and how to light beer, and today we are showing you exactly what happens when you bring those photos into Photoshop.