
Download the Sample Image
description
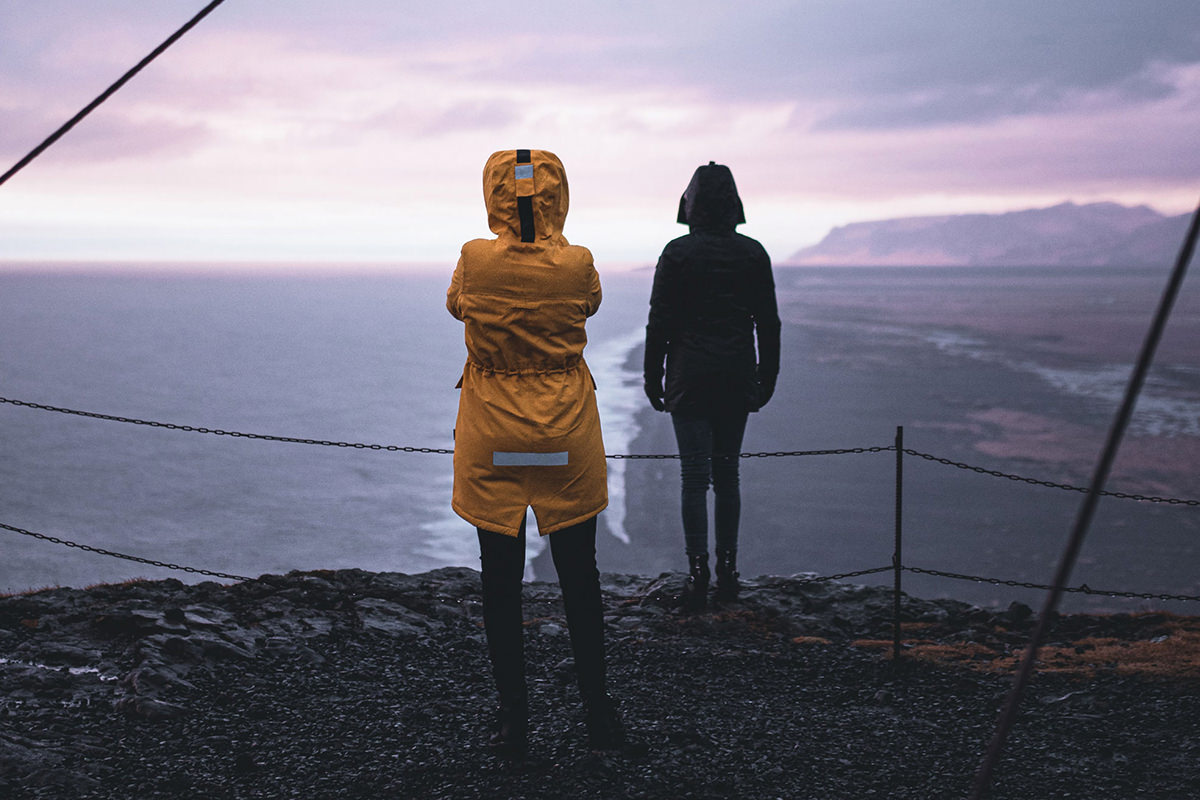
Whether its power lines, street signs, or the occasional friendly photo bomb, sometimes we end up with things in our photos that we don’t want. Learn how to use the Spot Healing Brush and the Clone Stamp Tool to seamlessly remove any distractions, keeping the attention on the things that matter most.
This is Day 16 of our 30 Days of Photoshop series. Follow along with all 30 episodes as we explore the magic of Photoshop together!
Watch Next
30 Days of Photoshop

Sign up to receive email updates to keep you going, sample images to follow along, and a printable calendar to keep track of your progress!
Share

REMOVE OBJECTS & DISTRACTIONS
BEFORE
Remove Distractions–Instantly!
How to Remove Distractions
When we talk about removing distractions from photos in Photoshop, we’re really talking about covering them up. Our process involves creating new, blank Layers, and then using object removal tools to paint over distractions to hide them from view.
Photoshop has a variety of tools that use information from elsewhere in a photo and use it to cover up anything we don’t want to see. For example, let’s say you have a landscape photo that you love, but there’s a plane in the sky that’s too distracting. You just need a way to cover up the plane, pulling information from the sky and clouds around it.
The Spot Healing Brush Tool
The Spot Healing Brush should be your go-to when you start any object removal. It’s an automated tool that usually make quick work of distractions that are on a relatively simple background (like a sky!) Using our plane example, we just need to make a new layer (remember to work non-destructively), and then paint over the plane. Photoshop will automatically detect and pull in color and texture information from the surrounding sky and use it to fill in the area over the plane.
This method will help you take care of a lot of small distractions on relatively simple backgrounds. But sometimes you might have some inconsistencies in color (or blotchiness) or the background has too much detail for the Spot Healing Brush to do a realistic job.
The Clone Stamp Tool
When the Spot Healing Brush doesn’t work perfectly, the Clone Stamp Tool can save the day. Now you can still use the Spot Healing Brush to get started, clearing out any major distractions. This oftentimes will give you a great foundation through which you can switch tools to finish the job.
The Clone Stamp Tool works by having you Sample an area of an image, and then allows you to paint with that information, creating an exact copy as you do. So when the Spot Healing Brush has trouble recreating color and texture details, you can swoop in with the Clone Stamp Tool after to add those textures and details back.


