
Download Assets
This tutorial includes 3 sample images, 3 sample PSDs and 1 PDF guide. Downloads are free with a PHLEARN account.
- Download the sample images and PSDs from every free tutorial on PHLEARN
- New free tutorials published every week
- One free account — sign up once, then download anything
Free PDF Guide · 4 Pages
This Tutorial as a Step-by-Step PDF
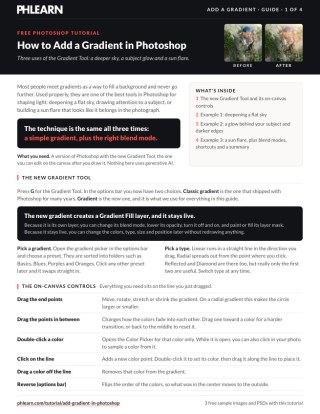
Walks through the new Gradient Tool and its on-canvas controls, then three effects: a sky selected with Select > Color Range and deepened with a linear gradient on Overlay, a white Foreground to Transparent glow on Soft Light with darker reversed edges, and a radial sun flare on Screen. Keep it next to your keyboard.
description
A gradient in Photoshop is how you add light and depth that was never in the frame: the Gradient Tool, a blend mode and a mask do the work. In this tutorial we’ll show you three different examples of how to use it to add depth, dimension, and visual interest to your images.
Enjoying This Free Tutorial?
We publish a new free tutorial every week, each one with sample images and PSDs you can download and follow along with. Sign up and they land straight in your inbox, along with early word on sales, events and subscriber-only offers.
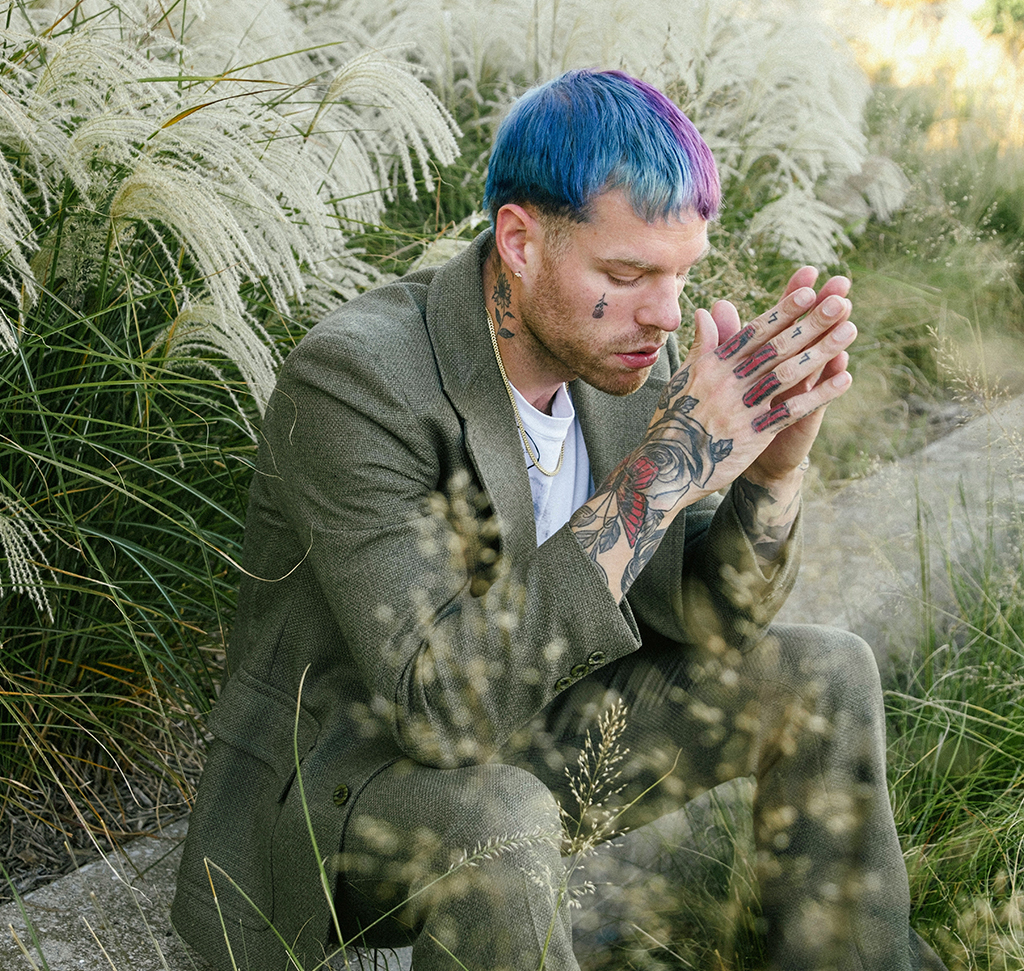
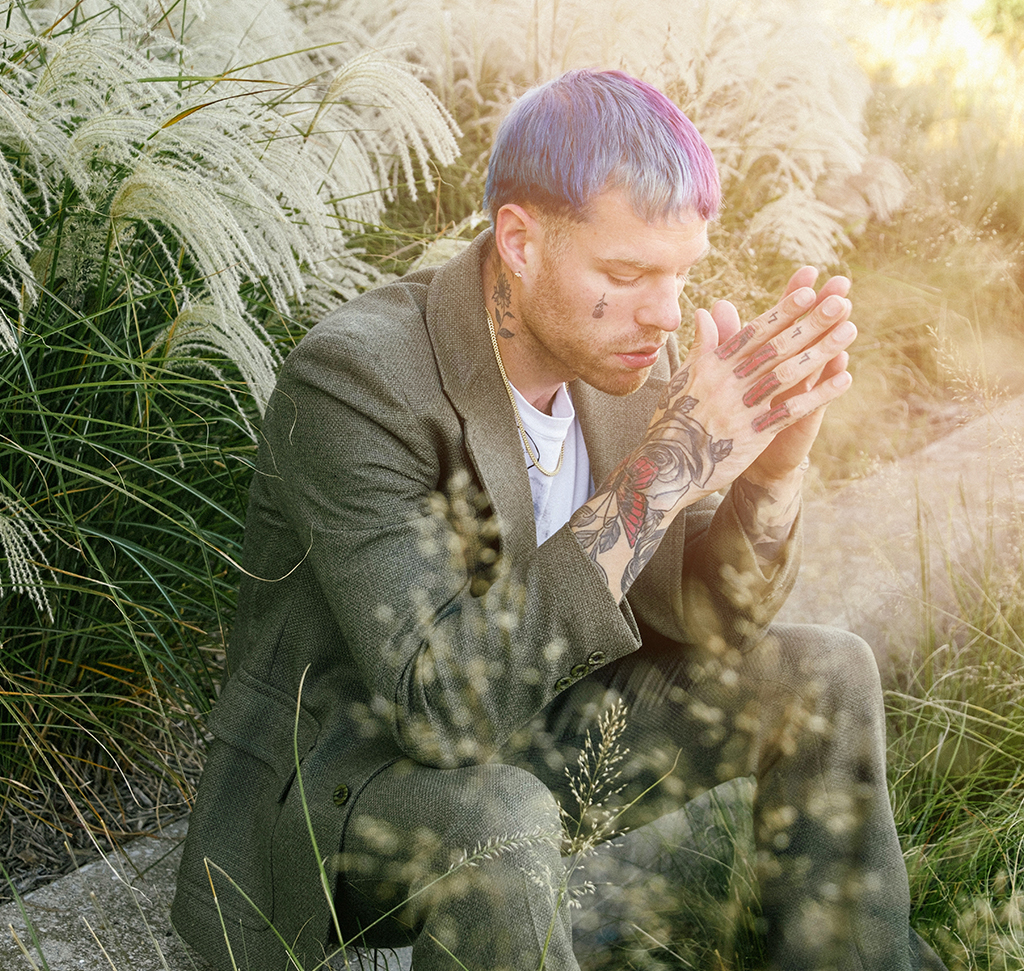
Image Source
How to Add a Gradient in Photoshop
Most people meet gradients as a way to fill a background and never go further. Used properly they are one of the best tools in Photoshop for shaping light — deepening a flat sky, drawing attention to a subject, or building a sun flare that looks like it belongs in the photograph.
The technique in all three cases is the same: a simple gradient, plus the right blend mode. The blend mode is what turns a colored smear into something that reads as light. This tutorial covers three practical uses; for the mechanics of the tool itself, see our guide to using the Gradient Tool in Photoshop.
Deepening a Flat Sky
Skies photograph paler than they look, particularly toward the top of the frame. A gradient restores the depth.
-
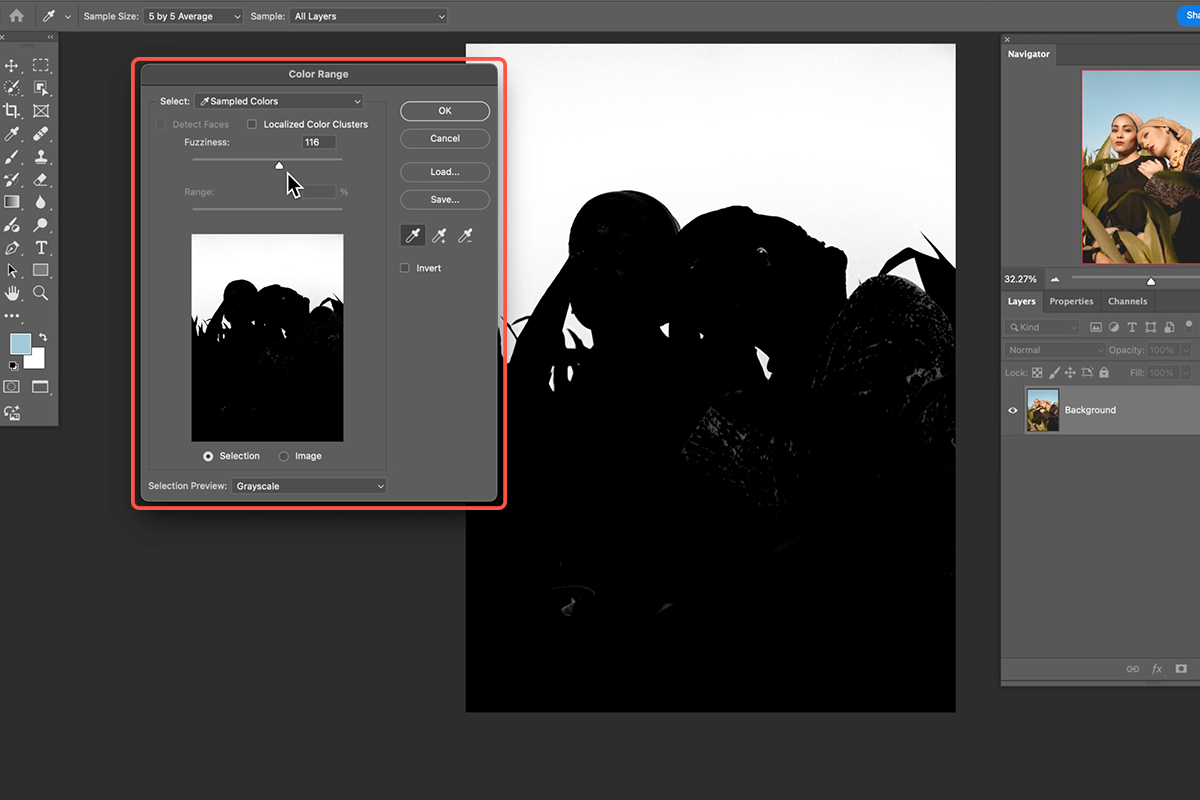
Select the sky with Color Range
Go to Select, then Color Range, and click the sky. Set the Selection Preview to Grayscale so you can see exactly what is being selected against the rest of the image.
-
Tune the Fuzziness slider
Raise it until the sky is fully white in the preview but the horizon has not started bleeding in. This is the whole accuracy of the technique, so take a moment over it.
-
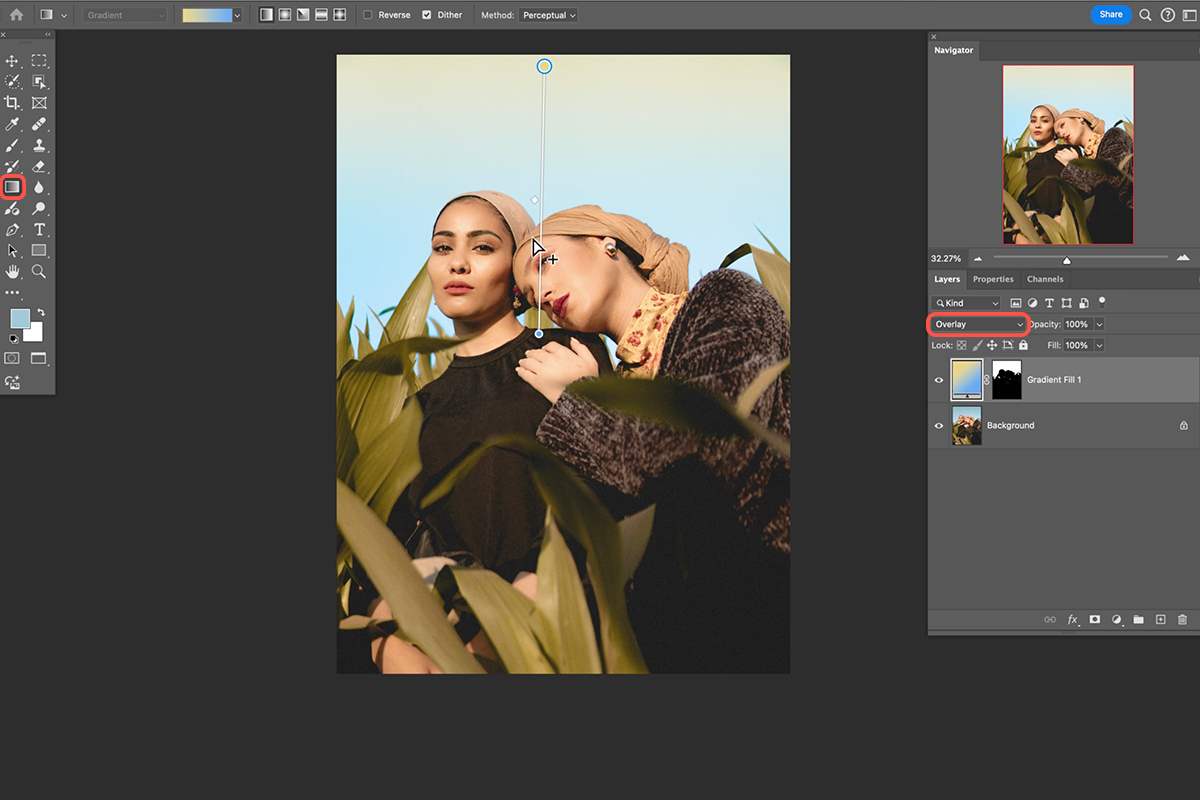
Press G and drag a blue gradient downward
Start at the top of the frame and release around the horizon. Because the selection is active, the gradient only lands on the sky.
-
Set the blend mode to Overlay
This is what stops it looking like paint.
Why Overlay rather than Normal
Normal mode covers the sky with flat color and destroys the cloud detail underneath. Overlay works with the existing tones — it deepens what is already dark and leaves the bright areas comparatively alone, so clouds keep their shape and the sky simply gains density.
Because gradients now stay live, you can double-click a color stop afterward and change the blue, or drag the endpoints to adjust where the deepening starts and stops, without redrawing anything.
Drawing the Eye to Your Subject
This is a more controlled alternative to a standard vignette. Instead of darkening the corners, you brighten around the subject and darken the outer frame separately, which gives you far more say over where attention lands.
-
Set the foreground color to white and choose Foreground to Transparent
Fading to transparent rather than to a second color is what lets the image show through.
-
Drag a radial gradient outward from your subject
Start on the subject and pull outward. You get a soft pool of light centered on them.
-
Set the blend mode to Soft Light
Soft Light brightens gently and keeps texture. Normal would wash the area out flat.
-
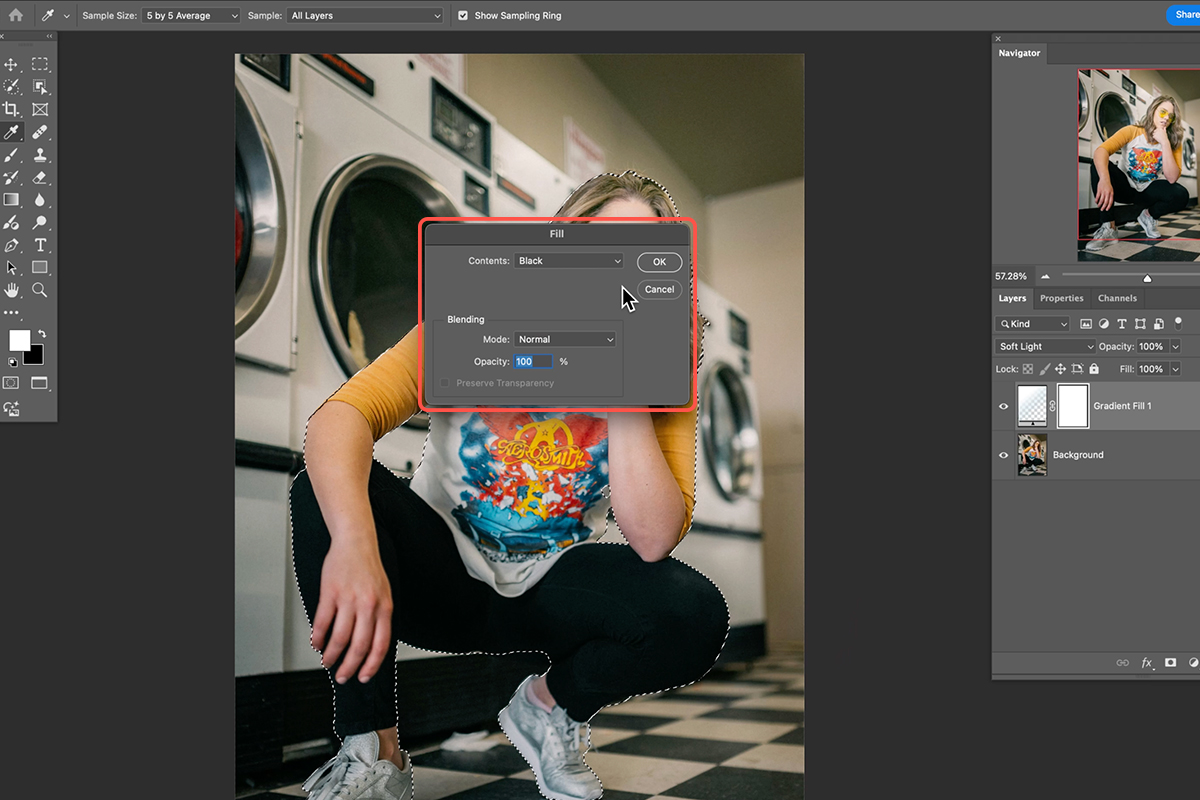
Mask the gradient off the subject
Run Select, then Subject, then fill that selection with black on the gradient layer’s mask. The glow now sits around them rather than over them, which is what makes it read as light in the scene rather than a haze on top of it.
-
Press Ctrl or Cmd + D to deselect
Then duplicate the layer with Ctrl or Cmd + J if you want the effect stronger.
For the outer frame, add a second gradient — this time dark, radial, running inward from the edges, also on Soft Light at low opacity. Group the whole set with Ctrl or Cmd + G so you can toggle and fade the effect as a unit.
Build it up in layers
Two subtle gradients stacked look considerably better than one strong one. Each pass adds a little, and duplicating a layer you already like is faster and more controllable than trying to get the intensity right in a single drag.
Building a Sun Flare
This is the most fun of the three and the one where the blend mode is doing the most work.
-
Pick warm colors
Orange and yellow. Sampling them from the existing highlights in your image keeps the flare consistent with the scene.
-
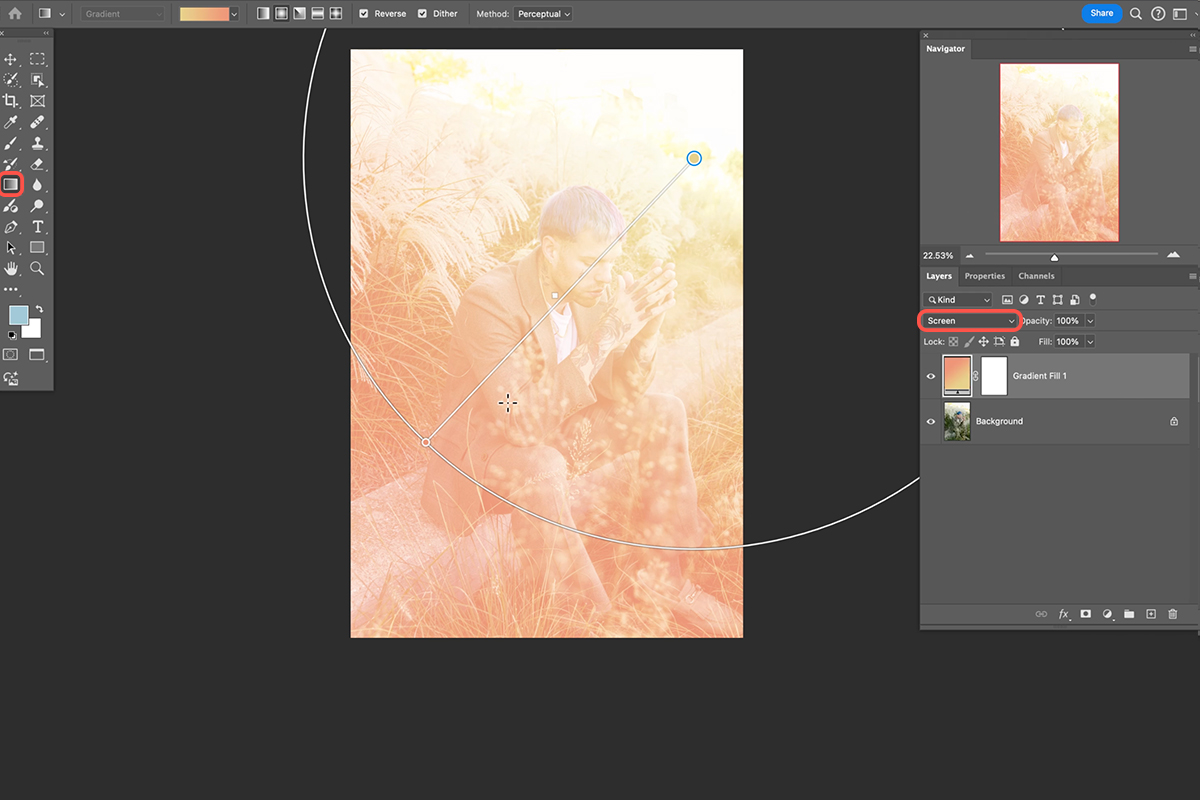
Drag a radial gradient outward from where the light source should sit
Usually just inside a corner or behind the subject.
-
Set the blend mode to Screen
Screen treats black as completely transparent, so only the bright parts of your gradient survive. This single property is what makes it the correct mode for anything that emits light.
-
Add color stops along the gradient
Click anywhere on the gradient line to add a stop, and drag one away to remove it. Several warm stops at different positions produce the banding and color shift that real flares have.
-
Reduce the opacity
Build it at full strength so you can see what you are doing, then pull it well back. Press Ctrl or Cmd + H to hide the on-canvas controls while judging the result.
Match the direction
A flare has to agree with the light already in the photograph. If the shadows fall to the left, the flare belongs on the right. Getting this wrong is the fastest way to make an otherwise convincing effect look pasted on — and it is worth checking before spending time refining the colors.
The Thread Running Through All Three
Every one of these techniques is an ordinary gradient made convincing by a blend mode:
Overlay deepens and intensifies while preserving detail — for adding density to something that already exists, like a sky.
Soft Light brightens or darkens gently with texture intact — for shaping attention without flattening the image.
Screen only ever lightens and drops black entirely — for anything that emits light.
Set any of these to Normal and you get a colored shape sitting on top of a photograph. That difference, rather than anything about the gradient itself, is what separates work that looks lit from work that looks filtered.
Keeping It Subtle
The common failure with all three is going too far. Gradients are easy to apply and the effect is immediately gratifying, which makes it tempting to push.
Two habits help. Build at full strength so you can judge placement, then reduce opacity until you are not quite sure it is there — that is usually the right level. And toggle the layer or group off and on regularly, because your eye adjusts to an effect within seconds of applying it and stops registering how strong it has become.
Quick Reference: Keys, Menus and Settings
- Gradient ToolG, then Gradient (not Classic gradient) in the options bar
- Select the skySelect > Color Range, Selection Preview: Grayscale, adjust Fuzziness
- Deepen the skyLinear, top to bottom, blend mode Overlay; double-click a color to change it
- Glow behind the subjectBasics > Foreground to Transparent, Radial, white, Soft Light; Edit > Fill, Contents: Black on the mask
- Start a new gradientShift-drag; black plus Reverse in the options bar darkens the edges
- Duplicate and groupCmd/Ctrl + J to duplicate, Cmd/Ctrl + G to group
- Sun flareOranges, Radial, blend mode Screen, outer color black; Cmd/Ctrl + H hides the controls
No generative AI and no generative credits.
Free Downloads
Follow Along on the Same Photos
Get the three photos, the three layered PSDs and the 4-page PDF guide to build the same sky, subject glow and sun flare. Free with a PHLEARN account.
Gradients in Photoshop: Common Questions
What is the difference between Gradient and Classic gradient?
Classic gradient is the one that shipped with Photoshop for many years. The new Gradient creates a Gradient Fill layer that stays live, so you can change its colors, type and position on the canvas after you draw it.
How do I select just the sky?
Select > Sky does a good job but can miss sky between blades of grass. Use Select > Color Range instead: set Selection Preview to Grayscale, click the sky and raise Fuzziness until the sky is white without the horizon bleeding in.
Why set the sky gradient to Overlay instead of Normal?
Normal covers the sky with flat color and hides the cloud detail. Overlay works with the existing tones, so the sky gains density and the clouds keep their shape. Soft Light and Hard Light are worth a try too.
How do I change, add or remove colors after drawing a gradient?
Double-click a color on the on-canvas line to open the Color Picker, where you can also sample from the photo. Click the line to add a color, and drag a color off the line to remove it.
How do I add a glow behind my subject?
Choose Basics > Foreground to Transparent, drag a Radial gradient, make the color white and set the layer to Soft Light. Then select the subject on the Background layer and use Edit > Fill with Contents: Black on the gradient layer’s mask.
Why does dragging edit my old gradient instead of making a new one?
With a gradient still selected, a plain click and drag edits it. Hold Shift and drag to create a new gradient.
How do I darken the edges with a gradient?
Shift-drag a new radial gradient from the center, make the color black and click Reverse in the options bar so it is transparent in the middle and black at the edges. Set it to Soft Light as well.
Why use Screen for a sun flare?
Screen makes black invisible, so with the outer color set to black only the bright orange parts show. Add colors along the line, place the flare where the light comes from and lower the Opacity.
How do I hide the gradient controls while I judge the result?
Press Cmd/Ctrl + H. The first time, choose Hide Extras, not Hide Photoshop. Press it again to bring the controls back.
Are the sample files free?
Yes, with a free PHLEARN account. You get 3 sample images, 3 sample PSDs and 1 PDF guide: one photo and finished file for each effect, plus a 4-page walkthrough.
Master Photoshop, Lightroom and Photography
Join PHLEARN PRO for $12.99 a month or $99.99 a year. Cancel anytime, with a 100% money-back guarantee.





