The Beginners Guide to Levitation
-
Add to
favorites
-
DifficultyEasy
-
Length5.5 hours
-
Videos11
-
Software
description
Follow along as we photograph and edit three different levitation images! This is the most comprehensive levitation tutorial out there, covering photography, Photoshop, and more.
THIS COURSE INCLUDES
- 13 Sample Images
- 3 Photoshop Brushes
Share
Table of Contents
-
01 - Levitation Photography29:52m
-
02 - Planning the Composite in Photoshop7:16m
-
03 - Cutting Out the Subject36:22m
-
04 - Light Rays & Color38:14m
-
05 - Dust Effect & Dodge and Burn27:55m
-
06 - Planning the Composite in Photoshop (Image 2)7:05m
-
07 - Compositing & Masking29:51m
-
08 - Extending the Background46:15m
-
09 - Planning the Composite in Photoshop (Image 3)7:48m
-
10 - Compositing the Background & Object Removal45:13m
-
11 - Coloring & Light Effects39:38m
Course Downloads
The Art of Levitation
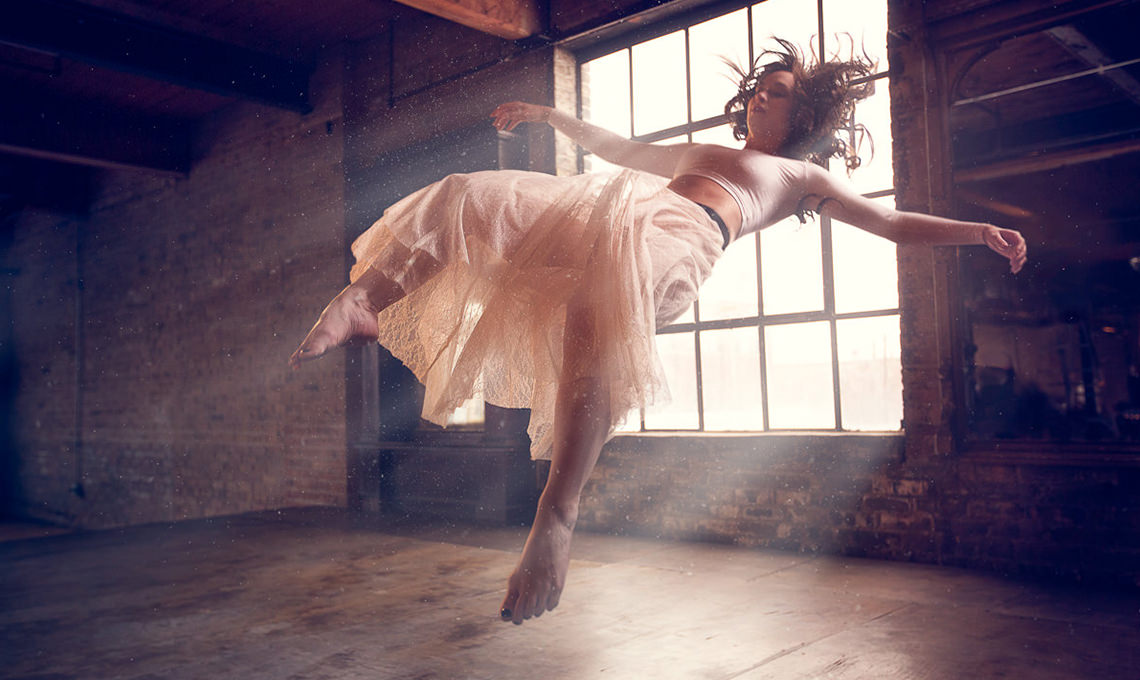
Create Light Rays from Scratch
Photoshop and Phlearn help you harness the power of the sun. Learn how the body effects light and how to make individual light rays for areas like hands and window panes.
Add Dust and Particles in the Air
With the included Phlearn Custom Photoshop Brush, you’ll be able to easily add natural dust and particles in the air to any image. Use this method to add glimmer and sparkle from light sources giving your photos that magical look.
Dodge and Burn
Learn how to dodge and burn to draw attention to your subject. Use what you learn to add style and interest to any image.
Liquify Tool Best Practices
Make your subject look their best without looking unnatural using the liquify tool properly. Use what you learn to dramatically alter the shape of the model’s clothing, hair and body bringing attention to the right places.
Own Your Pre-Production
We discuss how to choose the location, wardrobe, model, lighting and more. All of these decisions happen before the photo shoot. Getting them right will make your life easier and your final image stronger.
Set Your Camera
In order to create beautiful levitation photos you will need the right camera settings. Don’t just learn what settings to use, learn WHY to use them.
Become the Director
Learn different tips and tricks for posing your model to make them look amazing and create a truly convincing levitation effect.
Capture Every Frame
Creating levitation requires shooting multiple images for composite. Learn the details about each image you need to capture to create a stunning composite in Photoshop.
Photography & Photoshop
Instant Levitation
Levitation is one of the most popular effects in Photoshop and now learning it is easier than ever! This tutorial breaks down everything you need to know–from the photography to the Photoshop.
Plan Your Vision
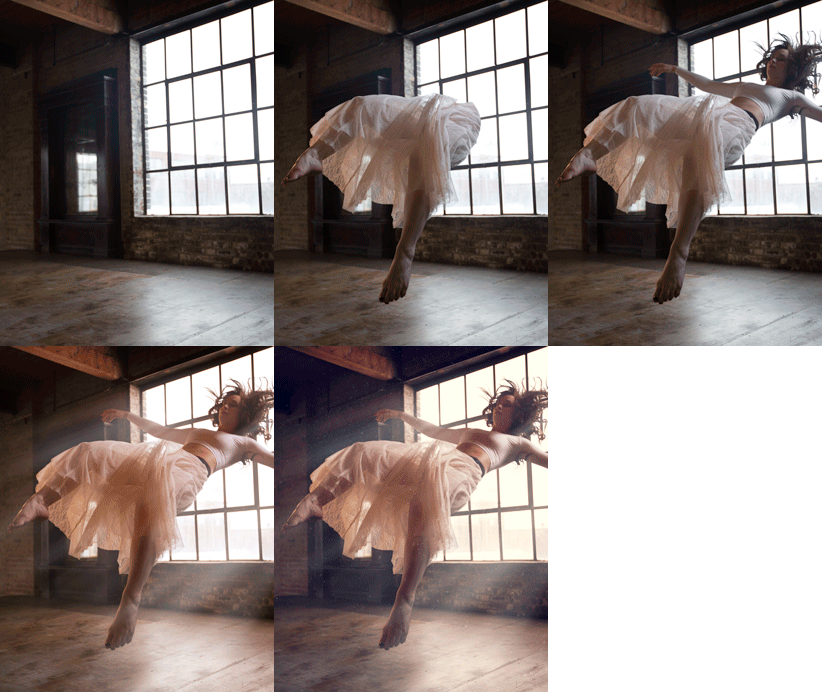
Every Photoshop project should start by creating a plan of action. This is extra important for composites. See how to identify what to keep, what to get rid off, what to combine and what to enhance.
Make Advanced Selections with the Pen Tool
Sometimes the best way to create advanced selections is on your own using the Pen Tool. This Phlearn PRO Tutorial includes a Bonus Pen Tool Video with in-depth instructions.
Create the Ultimate Composite
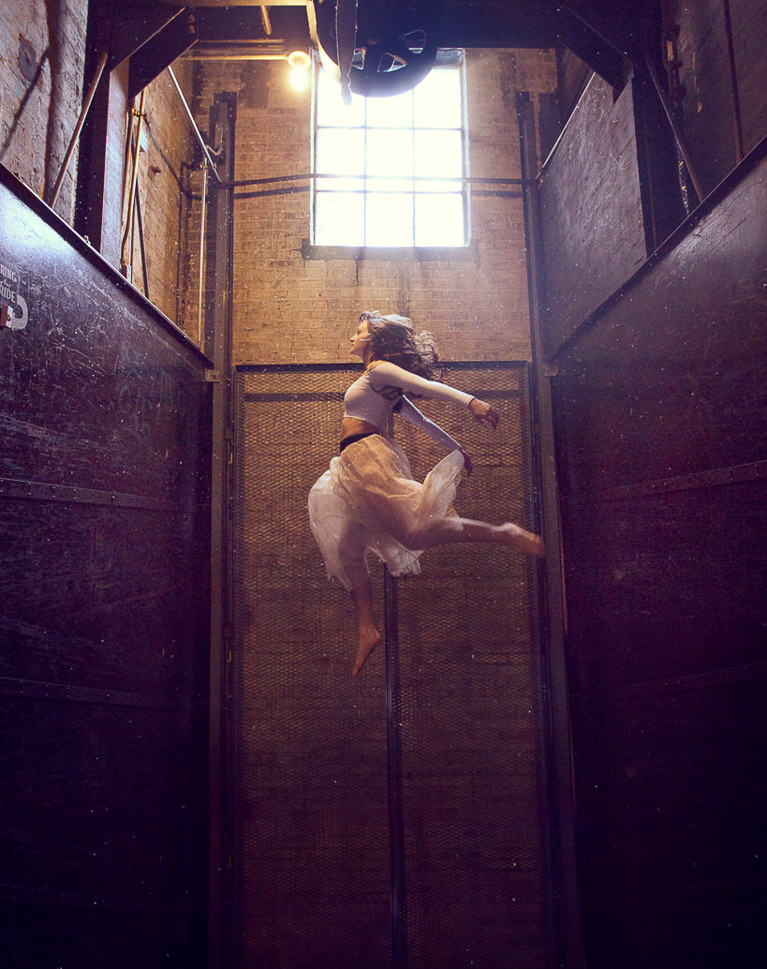
When creating a multiple image composite, you may encounter areas of your photo that require some special attention. Learn how to complete a complicated task by breaking it into smaller tasks that are more familiar.
Tone Your Color
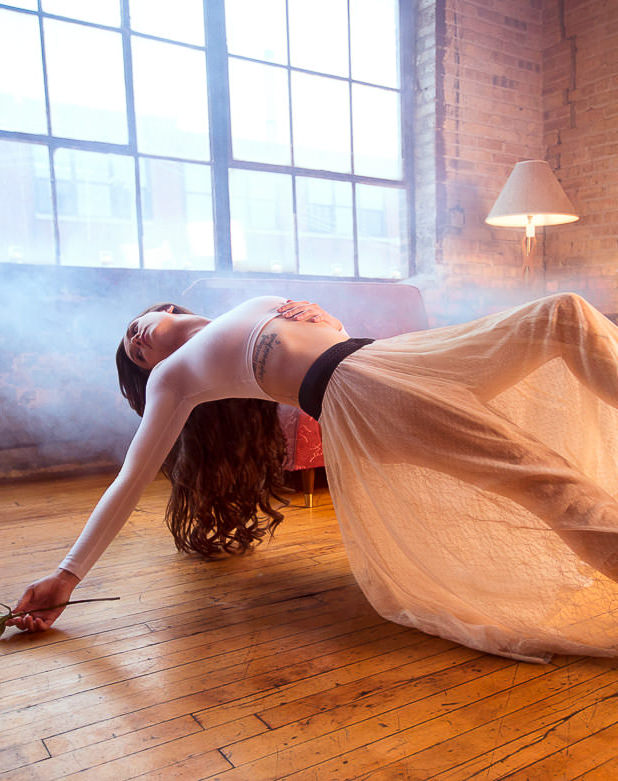
Learn how to color tone the image to create a more cohesive, artistic feel. We show you how to color small areas of the photo, like this rose, drawing attention and adding style.
Reviews
New & Popular Tutorials
Training Site in
the World
Tutorials!
Ratings
and Counting
Subscribers







Awesome, you make things look so easy. Extending the floor down in the second edit was mind blowing, light rays was another amazing part, and please don’t stop being silly. It what makes your tutorials so much fun
This looks amazing, but my teacher literally took this photo and said that he did it as an exercise for my Photoshop class.. I am so disappointed in him.
Tutorial praticable, I tested the tips during my shoot and I improved my own technic. Very Good!!!
Really interesting and fun, thanks for all your insights I feel like I know you already 😛
Brilliant Tutorial Aron ! loved it now to try it on my own work Thanks !
Great tutorials. Learning new Photoshop techniques thanks to you. However, keep wondering if the lightrays in Levitation 1 are not in the wrong direction; shadows on the floor from the window suggest the sun is coming from the other direction.
Wow, that’s a lot of jumping with mid air posing next level modeling. Hats of to you, well done 🙂
Superb Phlearn!
I bought the tutorial, but not full my expectations after having seen the others I’ve purchased and have been surprising. I am sorry.
I simply love levitation…………….
your work is beautiful………..
Levitation at The Stanley Hotel
I’m always watching your tutorials on YouTube and really like what you doing and how you really made me lough and understood at the same time.
This is simple photo done with very simple mobile camera just to test the idea you gave it to us… Hope it’s good
Aaron makes learning photogtaphy and Photoshop something easy, aproachable and fun! Thank you PLEARN!
I have bought this tutorial, but the only thing I care about is how you make those floating videos of your subjects?
You are the best. I love to use these thecniques.
😀
First try… such fun!!
This is great. Levitation 2 is the easiest for photoshop. Leviation 1 is the most fun, creating light rays. It’s wonderful for noob to photoshop, I didn’t get too lost. Sometimes I had to start over because I wasn’t getting it. The videos are great as I can rewind and see what I missed out.
Great tutorial! Worth every penny! here is my first try after watching this video, please share your SINCERE toughts… thanks phlearn team! 98% of this image comes from what i have learned with the phlearn team!
Truly amazing!!! Keep up the awesome work, Igor 😀
Thanks so much…You guys are such great teachers
this is my final images
Thank you, I enjoy your easy to understand Tutorial.it helps a lot.
Very good tutorial, thanks! This my final result.
OK, after a few tryouts I come up with the final result. Really happy with it ! I call it “The lovers”
This is my first project of levitation. The result is OK I think.
I love this pro tutorial! Pretty easy to do as well. I wish that Aaron had gone through a few more details about the actual shoot because I ran into some problems on my shoot that would have been nice to know ahead of time. I am grateful for Phlearn and all of their help!
this was so much phun it hurt……. ….. my PA272W-BK-SV; but who really cares in that color range..
it might be my first Kudos but thank you Aaron and team for such awesomeness. edits to continue.. keep posting, and I will continue buying..
Awesome stuff..Would recommend to Friends..
Your lessons are always fun, it’s an honor to be phlearned by you guys… Thanks for taking your time to make tutorials that help we the beginners.
You the best!!!
nice
Love it, Its something new and amazing LOVE it!
Simply Amazing
I haven’t even bought it yet, but I know it’s going to deserve those 5 stars if not more once I do actually watch it. I am mesmerized by the fantastical qualities all of your work has, especially these. Cheers!
Excellent course. I have never tried levitation photography and this is a great course to introduce someone to that style of photography. I have attached my results from the first lesson. I did a few things different (like adding the image in the mirror). I can not wait to shoot my own and try out these techniques. Thanks!
P.S. I, too, would like to see the After Effects composite technique explained some time in the future!
As always your teaching and videos are the best i have ever seen! For the final images I prefer ‘portrait’ orientated image. The image with the rose gives me the feeling that there is something pushing into her back, rather than the whole body levitating. The other image gives me the feeling the woman is going to fall to the floor rather than levitate, perhaps because the hair especially seems to be being propelled upwards by gravity. It might have been interesting to take photos of her with and without clothes, unclothed while falling, to give her natural balance to her posture, and then clothed while suspended to allow clothes and hair to fall as though gravity is affecting her the way it would if she was gently levitating, then combining the imagery within Photoshop.
Great tutorial, my results!
Simply Amazing , love the color tone s !! congratulations to your team for the amazing result that you have achieved ! cheers
PR LOVE YOUR JOB ESPECIAL ME
Excellent tutorial for levitation still images.
I would have given it 5 Stars if it included the After Effects workflow that you mentioned on CreativeLive, which really makes your composites come to life.
Maybe a follow up tutorial detailing the After Effects segment would be nice in the future, I’m sure there are many others that were memorised by this effect.
Thanks for tutorial. Regards from Poland. Also would like to see a tutorial on how you make the image move.
I cant wait to buy this tutorial, phlearn has made a big impact in my work, dont know what i would do without you guys.
i would like to see a tutorial on how you make the image move. was it done with adobe after effects?
Great tutorial! I would highly recommend
Interesting. How about the image motion in your trailers?
Moment of levitation here 🙂
Most of what we teach is manual so yes, but there will be features that are not available in CS5. We highly recommend updating to the Creative Cloud program and you can get the latest Photoshop and Lightroom for 9.99$ a month or lower!
This looks so cool. Can’t wait to check it out.
Cool will like to see your creativity with levitation photos. I did some levitation but only as test shots never done anything creative with them
Hi Aaron,
I must say I love your work and i’m delighted to see you do a levitation tutorial. I just purchased and watched the first part of the tutorial and immediately I had a question for you.
Where can I get a bean bag, or crash bag as you call it, that big? Could you post the link somewhere?
Thanks,
Arthur
Hello, awesome tutorial love it and gonna buy it! I have had some very hard time doing a “Vine” effect! It is like wrapping a wrist or body with a vine, can you please make a tutorial about it, even if it is a pro tutorial please make it!
Hello,
I am interested to buy this tutorial. but i dont have credit card or paypal account. so i will ask my friend to do that. so it is possible that someone else buy this and i will get this tutorial? . . also how i will get this? i mean dvd by shipping or any download link? also one more thing
Thank You
Hi Kailash!
You will need to have a credit card or paypal to make a purchase and all our Pro tutorials are digital downloads 🙂 If you have any more questions feel free to contact us at info@phlearn.com
you are the best.i love to use these thecniques.
Thanks so much!!