

Download Assets
This tutorial includes sample images. Downloads are free with a PHLEARN account.
- Free sample files with every tutorial on PHLEARN
- New tutorials published every week
- Unlimited downloads with your free PHLEARN account
description
A Hue/Saturation shift moves every tone by roughly the same amount, which flattens an object highlights and shadows. This Quick Tip uses a Gradient Map masked to the object instead, with two colour stops so highlights and shadows each get their own colour, and shows how to type an exact hex value and drag the stops until the recolour still looks three-dimensional.
Enjoying This Free Tutorial?
We publish a new free tutorial every week, each one with sample images and PSDs you can download and follow along with. Sign up and they land straight in your inbox, along with early word on sales, events and subscriber-only offers.
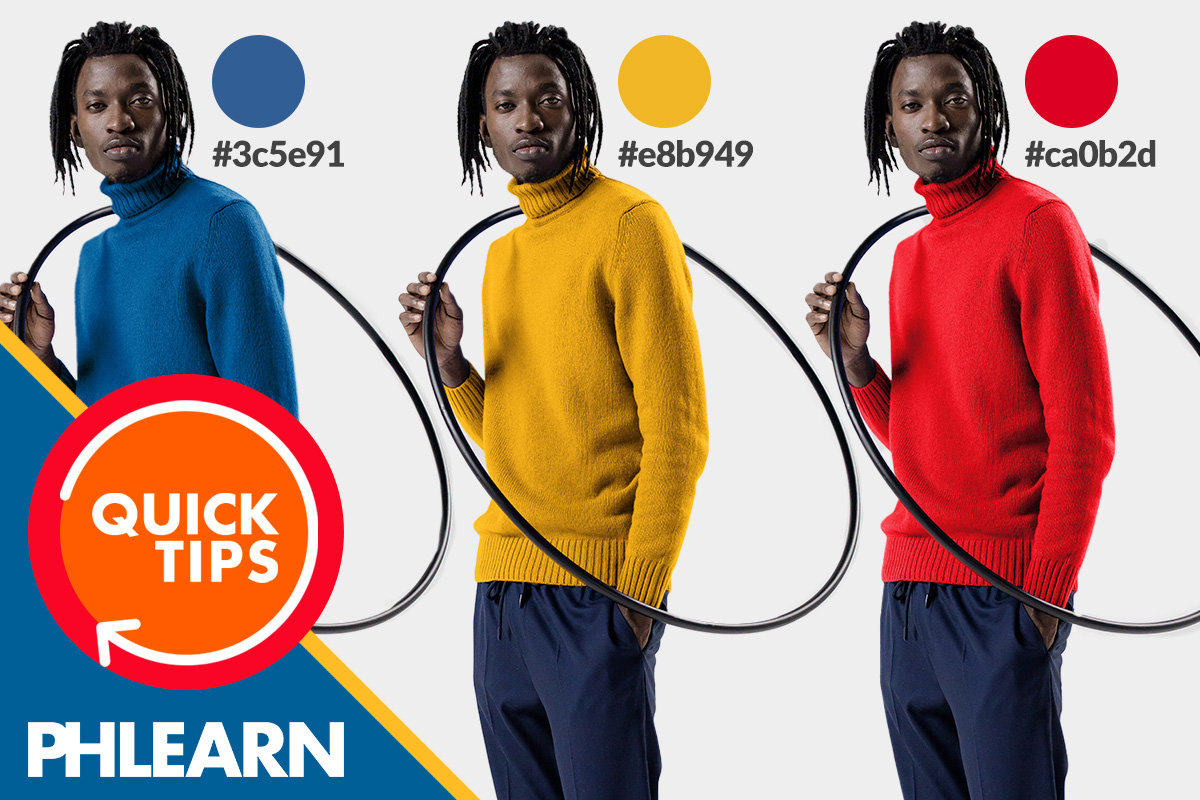
How to Change Any Color to a Specific Color in Photoshop
This Quick Tip recolors an object to a precise, chosen color using a Gradient Map adjustment layer masked to just that object, giving separate control over its highlight and shadow tones instead of applying one flat hue across the whole thing.
Selecting the Object First
Before anything else, the object that’s being recolored needs to be selected. That active selection is what determines where the Gradient Map’s effect actually shows up once it’s created.
Creating a Masked Gradient Map
With the object still selected, creating a Gradient Map adjustment layer automatically generates a layer mask that matches that selection, so the gradient map’s effect is contained to the object rather than spreading across the whole image.
Adding a Colored Stop to the Gradient
Clicking directly on the gradient bar in the Gradient Map’s properties adds a new color stop, and double-clicking that stop opens the color picker to choose any color, including a specific hex value.
An Example Color
In this video’s example, the color picker is set to the hex value f25e43, a warm coral-orange, demonstrating that any exact color code can be typed directly into the picker rather than eyeballing a shade.
Adding a Second, Darker Stop
A second stop is added to the same gradient and set to a darker color than the first, giving the gradient map two reference points instead of one to map the object’s existing tonal range onto.
Two Stops Instead of One
With only one color stop, a Gradient Map has nowhere to put the object’s darker tones; the second, darker stop gives those shadow areas a color of their own instead of forcing everything toward the same single hue.
Moving the Stops to Adjust Highlights and Shadows
Dragging the first stop along the gradient bar adjusts how the new color falls across the object’s highlights, and dragging the second stop adjusts how it falls across the shadows.
An Example Position
In this video’s example, one of the stops is dragged from around 70% along the gradient bar down to about 31%, shifting a noticeably larger share of the object’s midtone-to-highlight range over to that stop’s color.
Comparing with the Original for Realism
Toggling the Gradient Map layer to compare the recolored object against the original photo makes it easy to judge whether the new color still reads as believable, and the stop positions and colors are adjusted further from there until the result looks convincingly real rather than flat or artificial.
More Free Photoshop Tutorials
- How to Turn Black into Any Color in Photoshop
- Change a Color into a Gradient in Photoshop
- How to Color Match Objects in Photoshop
Why This Technique Works
A flat Hue/Saturation shift changes every tone in an object by roughly the same amount, which tends to flatten out its highlights and shadows. Mapping two separate colors, one for highlights and one for shadows, onto the object’s existing tonal range through a Gradient Map keeps that contrast intact, so the recolored object still looks three-dimensional instead of like a solid-colored cutout.
Final Thoughts
Masking a two-stop Gradient Map to a selected object, then tuning where each stop falls along the highlight-to-shadow range, is a precise way to change something to an exact color while keeping the lighting and depth of the original photo intact.
Related Tutorials
Master Photoshop, Lightroom and Photography
Join PHLEARN PRO for $12.99 a month or $99.99 a year. Cancel anytime, with a 100% money-back guarantee.





