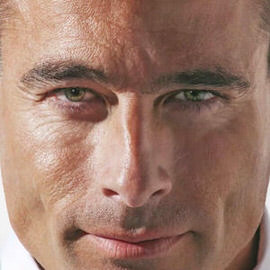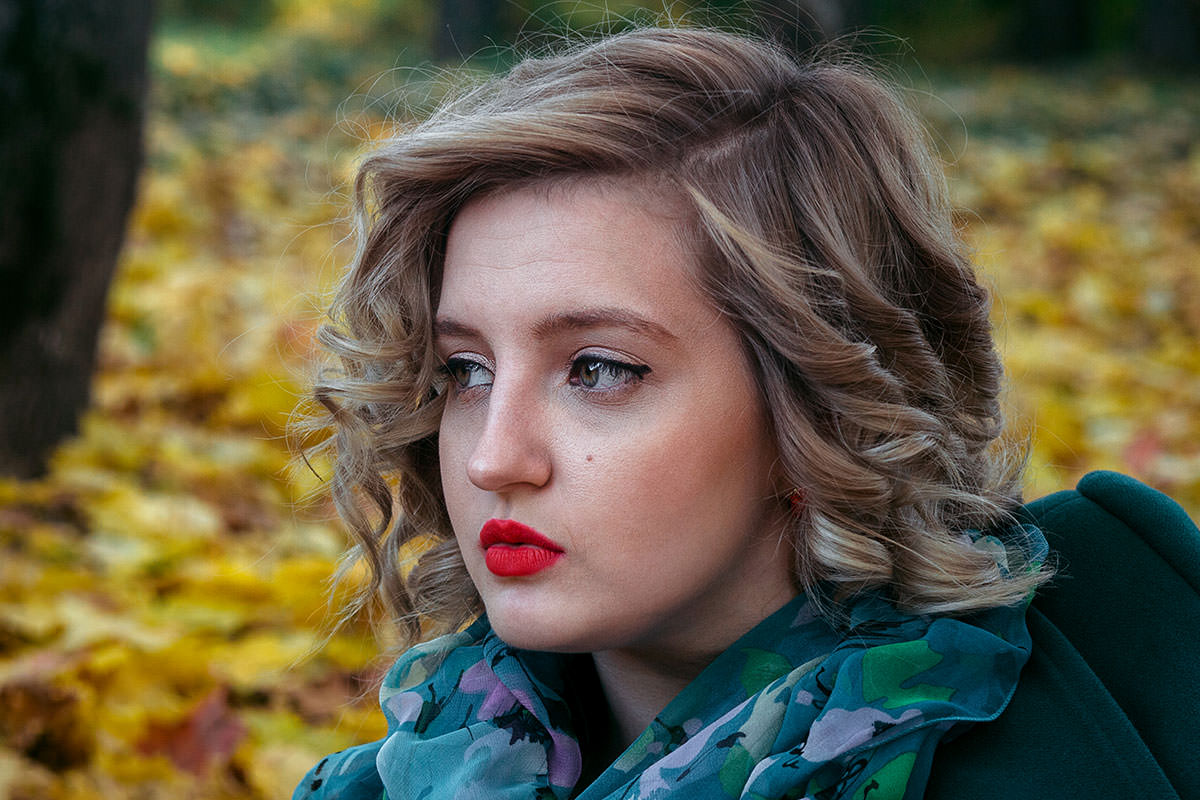
BEFORE
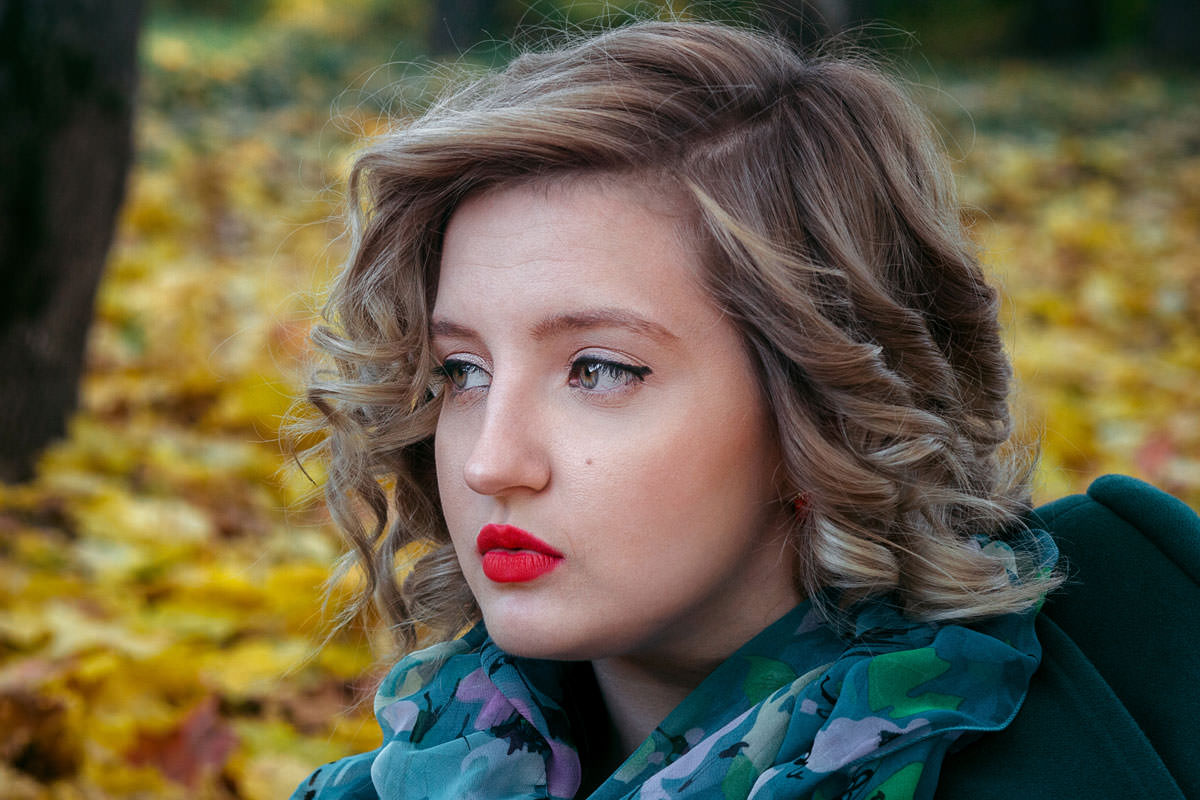
AFTER
Download Sample Images
Click the link below to download the sample images and follow along with this tutorial.
DownloadQuickly Adjust the Texture and Skin Tone of Under-Eye Areas
In this tutorial, we break down an easy process for reducing the dark circles that can often appear under eyes in a photo. Using Adjustment Layers, Layer Masks, and our old friend Blend If, you’ll learn how to target only the darker portions of the skin that need to appear brighter. Then we’ll show a quick method for rescuing some of the original skin color using the Brush Tool and Blending Modes.
Adding a Check Layer
Before we get started, we want to make it as easy as possible for us to be able to identify the transitions of highlights to shadows in the image. Our preferred method is to add a Black & White adjustment layer on top of the Layer Stack while we work. You can do this by going to the layer tab, down to New Adjustment Layer, and then to Black & White. Removing color will give us the ability to more easily identify areas of light and dark that may need adjustment.
This type of layer is known as a Check Layer. We can disable it at any time and it won’t be included when we export our final image – it’s simply there to help us check our work.
Shed Some Light
After you’ve added the Black & White Adjustment Layer, we can take the first steps to brightening the areas under the subject’s eyes. Once again, go to Layer, New Adjustment Layer, and then to Curves. Curves will allow us to adjust the overall brightness of the image. Since we only want this layer to affect a portion of the subject’s face, we’ll need to use Layer Masks to tell Photoshop which areas we want to adjust.
Click on the Layer Mask of the Curves Adjustment Layer and hit CTRL or CMD + I to invert it. This will fill the Layer Mask with black, making it invisible. Now we just need to use the Brush Tool (B) to paint white on the areas of our image that we want to be affected by the Curves layer.
Using a soft edge brush and Flow of about 70%, paint with white over the eyes of the subject. Don’t worry about being super precise here. We’re going to be using Blend If to limit what parts of the image this Adjustment Layer will affect. Once you’ve painted over the areas that you want to appear brighter, double-click on the Curves Layer to open the Layer Style dialog. At the bottom of the Blending Options section, you’ll see two sliders under the header Blend If. Blend If will let us control where this layer appears in the highlights, midtones, and shadows of the layers that it’s interacting with.
Hold ALT or OPTN and click on the right slider of the Underlying Layer bar. This will split that slider into two halves. Drag the left portion of this slider all the way to the right. This will tell Photoshop that you only want this Curves Adjustment Layer to appear in the shadows of the underlying layer.
You should see a substantial reduction of the darker portions under the subject’s eyes. If you want to do more fine-tuning, simply repeat the process by adding a new Curves Adjustment Layer and use a smaller brush when painting white on the Layer Mask. You can also experiment with the Blend If sliders on any additional Curves Adjustment Layers to more accurately control where the highlights will show up.
To complete the process brightening, we recommend adding one last Curves Adjustment Layer and using a larger, softer brush to blend the newly highlighted areas with the rest of the subject’s face.
Recovering Skin Tone
Darker or more underexposed areas of an image will, by nature, be more desaturated than brighter areas. This means that if we want our newly added highlights to look natural, we need to add a bit of color to help them blend in with the rest of the subject’s face. You’ll want to disable the Black & White Adjustment Layer – you won’t be needing it unless you want to go back and make any changes to your Curves Adjustment Layers.
Start by creating a new, blank Layer. Grab the Brush Tool and sample a color from subject’s face that you feel will look natural under their eyes. Then, using a small, soft-edge brush, paint in any areas where a Curves Adjustment Layer was applied. Change the Blending Mode of this new layer to Color and then lower the Opacity to about 30%. This should add a nice, natural-looking skin-tone to areas that were once dark and desaturated.
Keep in mind that these techniques are incredibly versatile! While they work great for this particular case, they can be used in any situation that you might need to brighten up any areas of skin that are a bit too dark.