
THIS COURSE INCLUDES
- 5 Lessonsfollow-along
- 2h 24mof HD video
- Intermediatesome Photoshop basics
- 1 Sample Image+ 7 Photoshop brushes
- 1 Layered PSDto follow along
- Captionsand chapters on every lesson
Part of a Learning Path
Join PHLEARN PRO for instant access to this course and every tutorial on PHLEARN.
- Stream in up to 4K on any device
- Closed captions and chapters on every course
- Download all sample images and PSDs
- New PRO tutorials every month
- Cancel anytime
Description
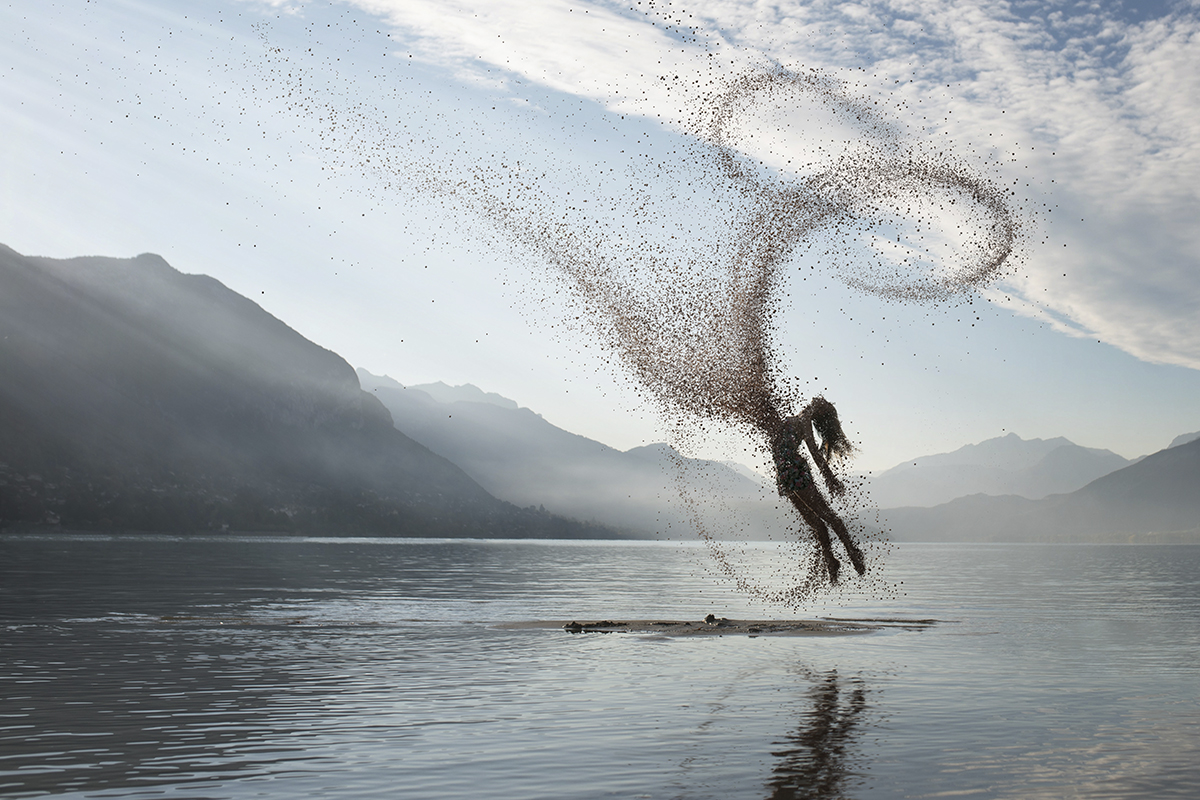
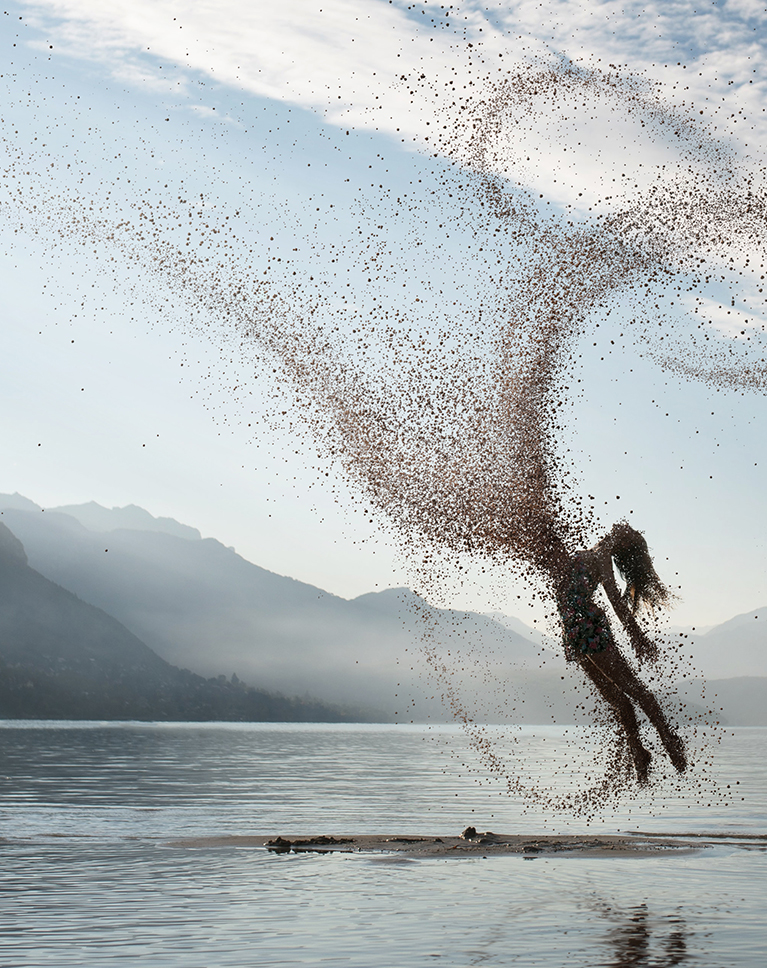
The definitive guide to one of the most popular special effects in Photoshop. Follow along as we create a photo-realistic dispersion effect in Photoshop from scratch, making our subject look like she is breaking apart into particles that drift away through the scene. It is an effect you can master in an afternoon and apply to any of your own photographs, taught in 5 follow-along lessons.
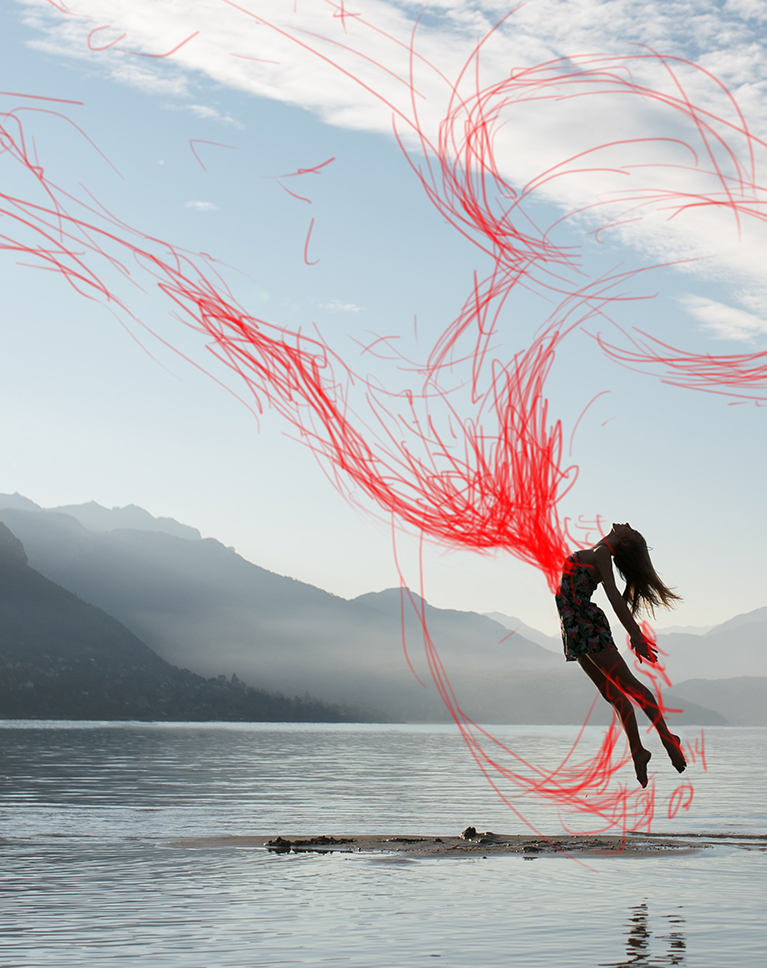
You’ll learn how to build your own particle brushes, then use them to make your subject disappear as much or as little as you like. We show you how to plan the shape of the effect with a quick sketch, guide particles along a smooth path, and use layer effects like Bevel and Emboss so each particle catches the light of the scene and looks three-dimensional. From there you’ll paint light, shadow and color into the particles, create their reflection in the water below, and finish the image with atmosphere and light rays. Best of all, we include 7 custom Photoshop Brushes that you can use to create your own splatter, particle and dispersion effects on your own photos, along with the sample image and the layered PSD.
What You’ll Learn
- Create a photo-realistic dispersion effect from scratch
- Build your own particle brushes to use again and again
- Paint particles on layers and masks for full control
Course Downloads
Special Effects from Scratch
Create Stunning Photoshop Effects
Master one of the most popular special effects in Photoshop! Follow along with the included sample image and 6 custom brushes to learn how to create your own dispersion effect from scratch.
How to Make a Dispersion Effect in Photoshop
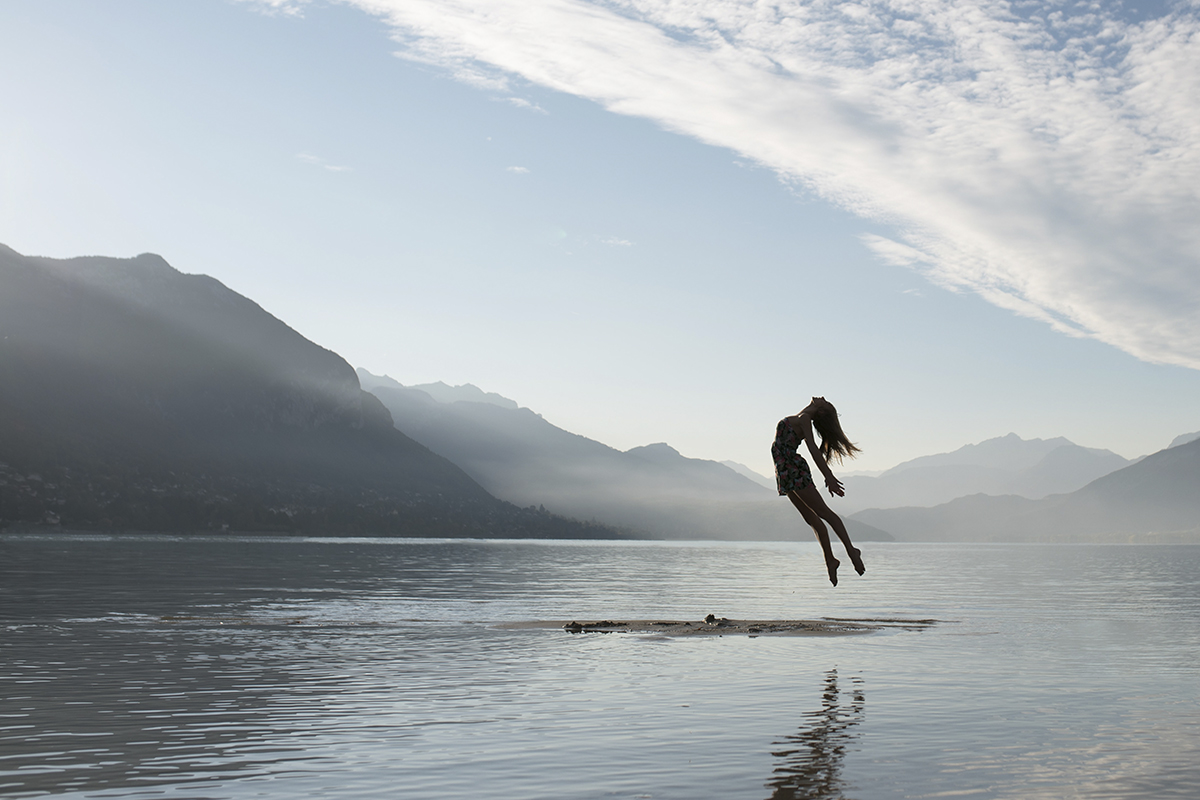
Special effects are a great way to help tell a story in a photo. Whether you’re just looking for some Photoshop fun or you need a new dynamic look for your professional work, we walk you through the process of creating a realistic dispersion effect in Photoshop.
7 Custom Photoshop Brushes Included!
To create this dispersion effect in Photoshop we photographed rocks and dirt being thrown in the air and then converted those images into unique custom brushes. Combining the photographed details and textures with the control of Photoshop’s Brush Settings, these custom brushes create beautiful particle effects with subtle, natural variations.
Realistic Special Effects
Special effects are fun, but it can be tough to get them right. We not only show you how to create one of the most popular effects out there, we show you how to pull it off using techniques that help it look like it was all captured in-camera.

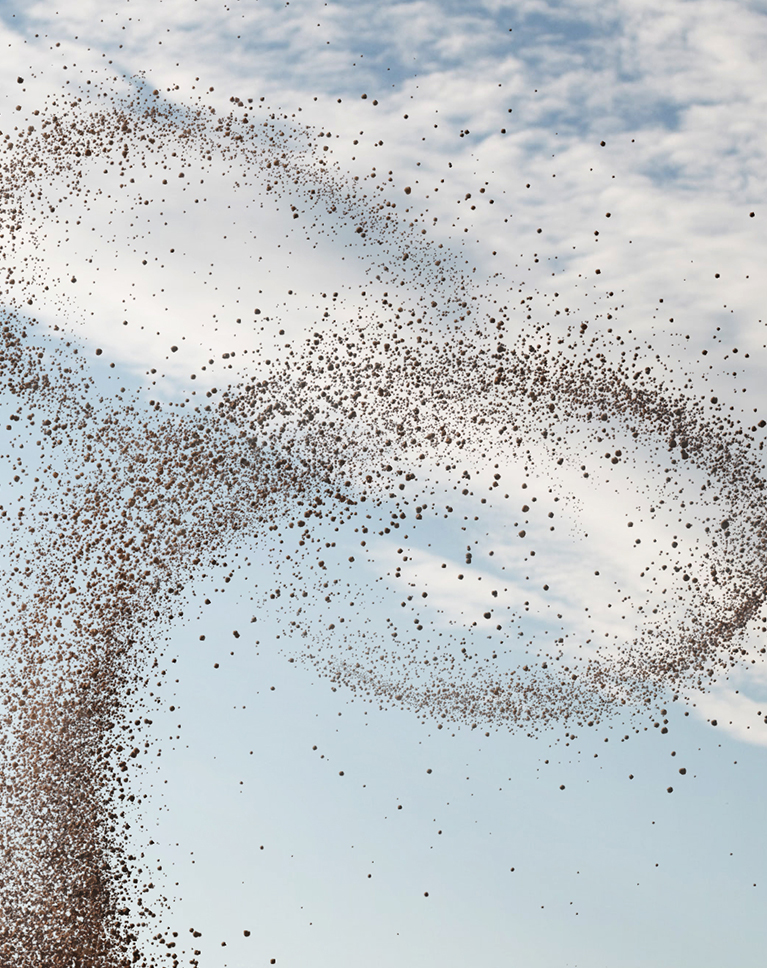
Layer Effects
Learn how to use Layer Effects like Bevel and Emboss to add shape and dimension. Create realistic highlight and shadow details to help the dispersion effect in Photoshop look like they were photographed in the same scene as the subject. Then learn even more about Layer Effects in How to Master Layer Styles in Photoshop.
Highlight, Shadow & Color
Learn how to use light and color to add realistic depth and dimension to a dispersion effect in Photoshop! We show you powerful techniques that will allow you to analyze the light and color in a scene and then apply the same look to any elements you paint in.
Noise & Grain
When you finish a dispersion effect in Photoshop, or any image composite, the use of noise and grain can help bring all the different elements together into a single, seamless image. Learn how to apply just the right amount of noise and grain for the perfect photorealistic effect.
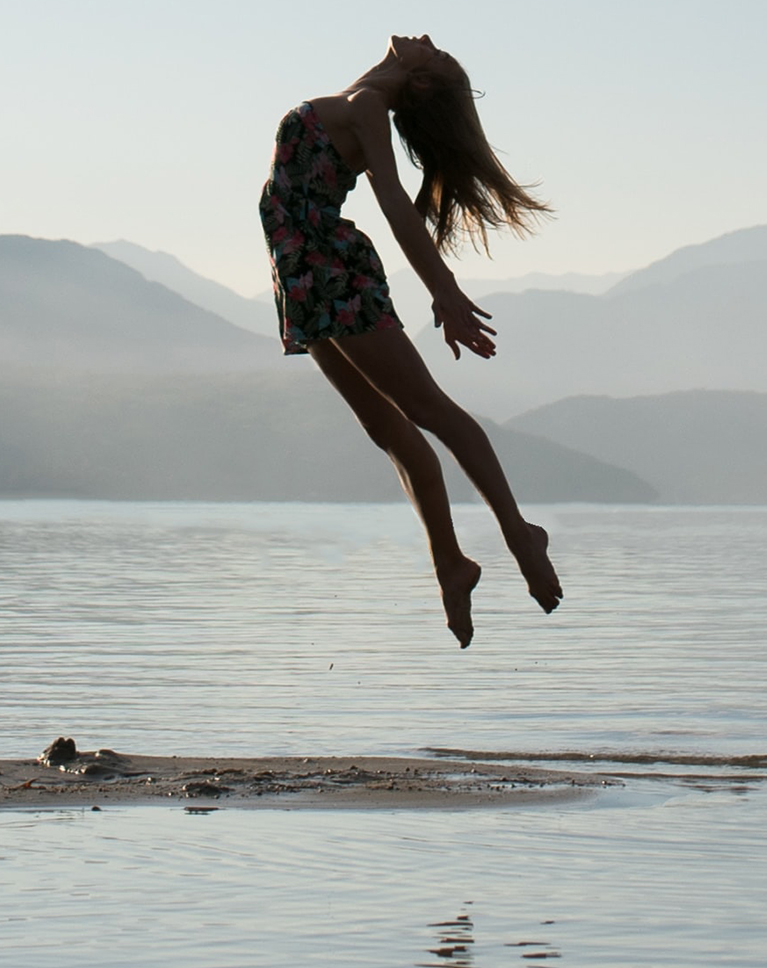
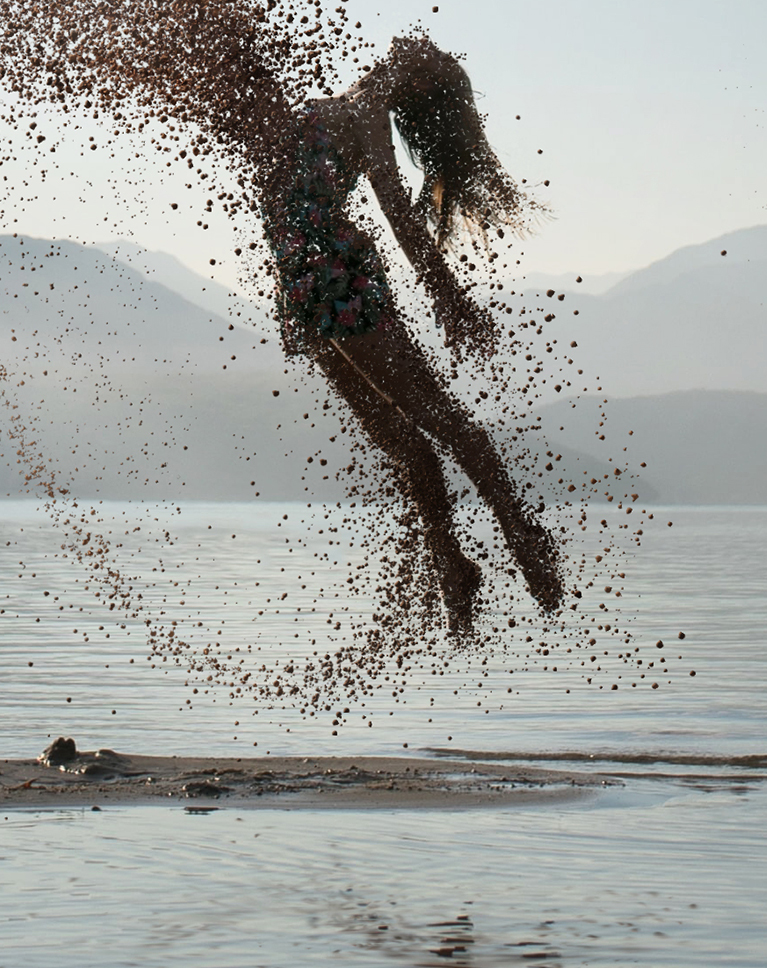
Special Effects from Scratch
You don’t need 50 different photos and bunch of complicated tools and assets to create stunning special effects in Photoshop. Learn how to take a single stock photo and create your own special effect brushes to bring your imagination to life.
Professional Results
We break down professional techniques that will help you create ultra-realistic effects in Photoshop. Adding effects to your Photoshop skillset can act as both an inspiration for generating new ideas and help you be more versatile when doing specialized work for clients.
Motion & Energy
Dispersion effects are great for any scene where you want to emphasize motion, emotion, or energy. Watch as we apply our dispersion effect, paying close attention to the pose and motion of our subject. Then take your storytelling skills to the next level with The Beginner’s Guide to Levitation

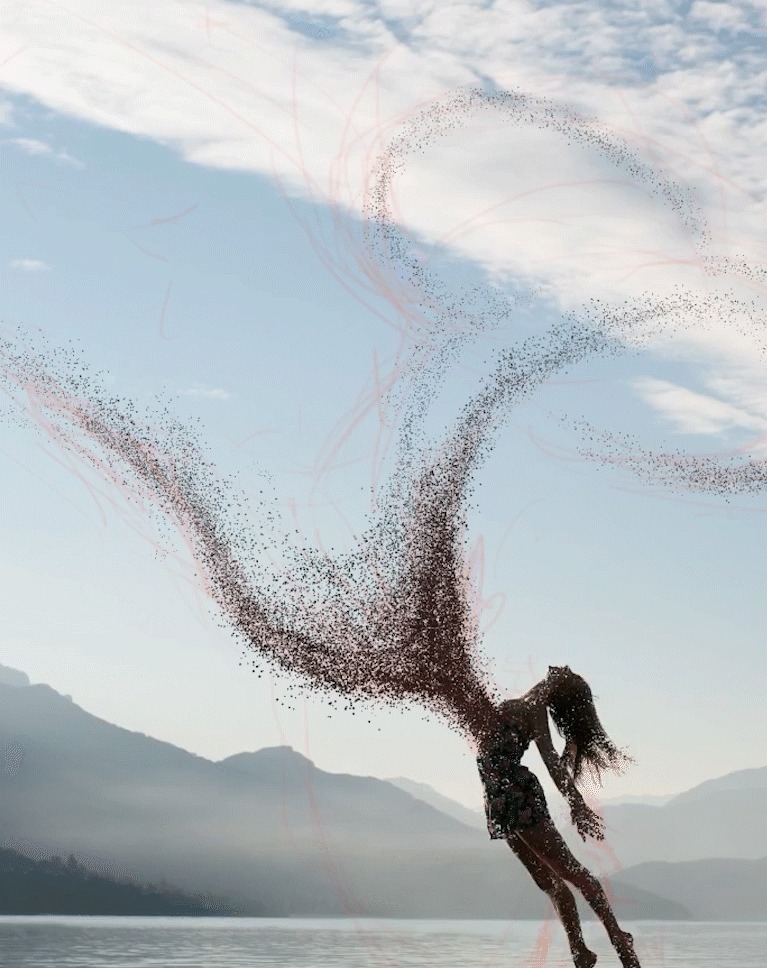
Dispersion, Particle & Splatter Effects
We designed these brushes to work for a wide variety of special effects. Download and add our brushes to your creative toolkit and then try our PRO tutorial The Amazing Power of the Brush Tool in Photoshop to learn even more!
Create Custom Brushes
Not only do we include 6 custom Photoshop brushes, we also walk you through the process of making them from scratch! So the next time you need a particular style of brush or texture, you’ll know how to make it yourself.
Effects for any Photo
Once you’re done with the tutorial, try creating a dispersion effect on one of your own photos! Use your new set of detailed custom brushes and your fresh new Photoshop skills to create your own unique effect.

Class Instructor
Aaron Nace
PHLEARN Founder & Lead Instructor
Aaron Nace is a photographer, digital artist, and the founder of PHLEARN. He has been teaching Photoshop, Lightroom, and photography since 2011, and has taught at Adobe MAX for more than eight years.
Aaron publishes a free tutorial every week and a new in-depth PRO course every month.
- 2M+YouTube subscribers
- 160M+video views
- 1,000+tutorials published
- 15years teaching Photoshop
Reviews
Master Photoshop, Lightroom and Photography
Join PHLEARN PRO for $12.99 a month or $99.99 a year. Cancel anytime, with a 100% money-back guarantee.






This is a fantastic tutorial and as always, taught so well! I had an idea bouncing around in my head and was not sure how to make it real. This process is exactly what I needed to make it happen – I think I am going to be using this process often for more ideas! Thanks again for a great tutorial!
That was fun! I actually stopped it because I wanted to see if I could use the pen tool trace for this and when I started it back up you taught me exactly that. (I was lost trying it myself). Fun learning, thank you, as always!
another fantastic tutorial…. I love the Back to the future reference… that did make me chuckle …
You’re an absolute joy, Aaron, and a fantastic instructor.
Hi Aaron As usual you talk to us as we are one on one this tutorial has been given thought of different aspects of tools in photoshop and how they can be used in alternate ways and means. Maybe not as technical as some other tutors but you pay attention to minute details. The one on one effect gives one confidence.
Hi Arron I thoroughly enjoyed the section. Bevel and emboss I thought only applied to text layers and did not bother about it. Seeing it used as you have shown was enlightening and opened up a whole new way to use the tool. Thank you very much stay safe stay well
Just another thought… is there some way that you can have your curser more visible when you are making edits to the picture? A lot of the time I cannot see what it is you are actually doing or effecting. Thanks… Jim
Hmmm, great overall tutorial, but…. I am now feeling like I have never done any work in photoshop ! This is like ‘post graduate stuff ‘ I am going to have to go over this at least 3 or 4 times to figure out all the ‘layers’ ‘groups’ apply layers !’ etc etc… thought I was actually making some headway. but after this tutorial I know that I DON’T know very much about photoshop. Getting a little discouraged.
I love Aaron’s enthusiasm! It’s so much fun learning from him as he makes everything simple and easy to understand. And I laughed out loud at “I am your density!” 🙂
Great tutorial!
Great! love these kind of tutorials, where you show us a specific effect or something, and the duration is great for a lot of people who don’t have a lot of time but want to learn as much as possible.