Streamline your Lightroom workflow with these guidelines.
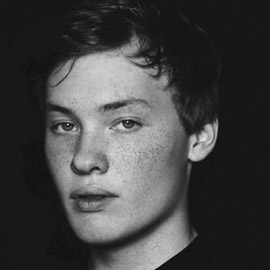
In order to make freckles look real when applied in Photoshop we have to start with a Texture that is organic and random. In this episode we will show you how to create freckles in Photoshop using a photo of granite as our base for creating freckles.
Sample Images Included
The Clone Stamp Tool is one of the most important Tools that Photoshop has to offer. It allows you to copy areas of an image and is very useful for getting rid of distractions or skin blemishes.

In How to Make Beer Look Amazing in Photoshop (Part 2) we show you how to take a normal photo of a Guinness and make it really stand out.

You will learn how to cut the beer out from the Background, how to create Highlights on the glass, how to give the beer a proper “head”.
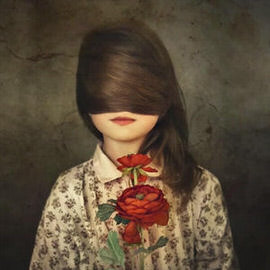
In this episode we are creating a cracked skin effect in Photoshop, making it look more three-dimensional and adding blur. Be sure to check out Part 1 where you will learn how to wrap the Texture around a subject’s Face.

Our goal is to take a flat image and make it look like it wraps around the subject’s Face and blend the images together to make the effect realistic. This part one of two episodes teaching how to make cracked Skin in Photoshop.

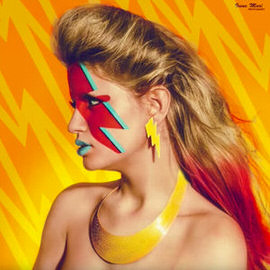
When changing the color of an object in Photoshop there are ways to change the base Color and the Highlight color, we go over each of those methods in this episode.
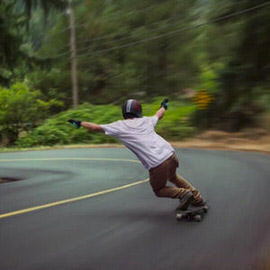
In this episode we show you how to master the motion blur in Photoshop using these techniques and give some Insights on how to make Motion Blurs look real.
You can turn anything into a Pattern in Photoshop using the Define Pattern command. It will take whatever is visible on a canvas and turn it into a repeatable pattern stored on the computer.
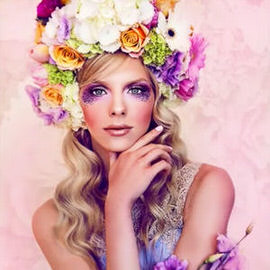
Become a Digital Makeup Artist! Whether you can do makeup in real life or not, everyone can learn to do it digital!
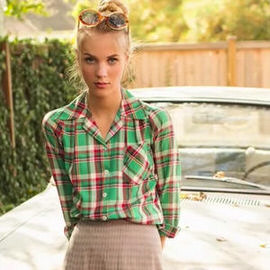
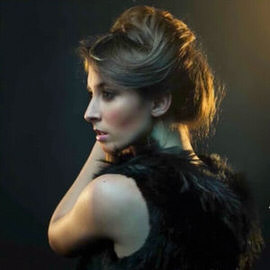
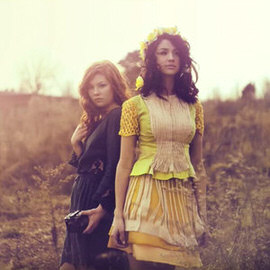
As photographers we are no strangers to the pursuit of style, for it is what clients truly value most when deciding who to hire for a given project.
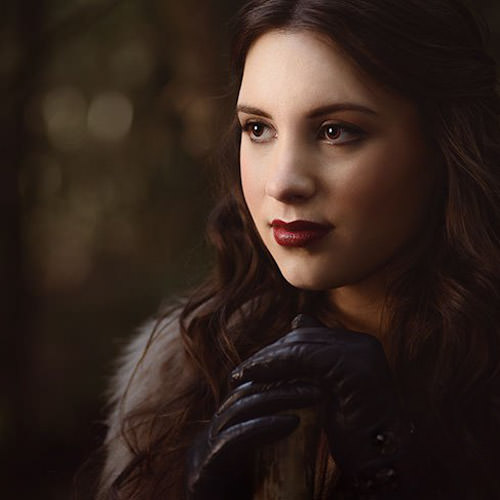
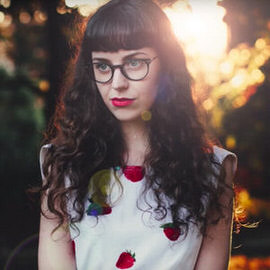
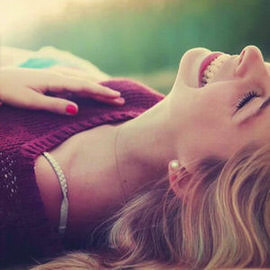
In this episode we cover a special technique we created to help blur the edges of a photo while keeping your subject in focus. Prepare to learn about drawing attention to your subject using radial focus blur!
The shape and definition of eyebrows can make a huge Difference in someone’s appearance. In today’s episode we show you how to get create and shape eyebrows in Photoshop.
Sample Images Included
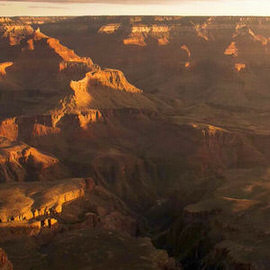
In this episode we show you how to correct Color and Exposure at the same time and we also go over an awesome method for sharpening landscapes.
It can be hard to capture detail in both the Shadows and Highlights of an image because the dynamic range of most cameras is too small. We show you an amazing trick to recover Shadow detail in Photoshop without disturbing the Highlights.
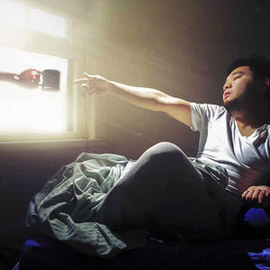
In today’s episode we learn how to create Light rays and dust particles using a custom Brush in Photoshop. The key to creating “dust” is to make particles that seem completely random.
Sample Images Included
In this episode we show you how to unlock the secrets to the Lens Flare in Photoshop, getting around the limitation of the Filter.
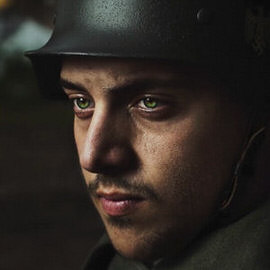
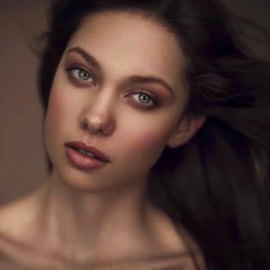
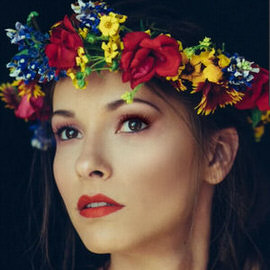
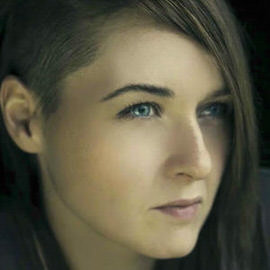
If you have ever seen amazing eyes in a photo there is a good chance that it has been edited in Photoshop. Enhancing a person’s eyes in Photoshop is a quick way to make an image really stand out.
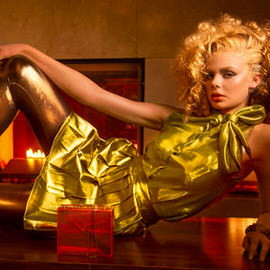
Come behind the scenes with us on one of our fashion shoots! These shoots can be intense, especially when everyone is on a strict time crunch.
Sometimes you find yourself wanting to add some interest to a backdrop in Photoshop and this episode is perfect for showing you how it is done. There are many ways to add interest to a Background, but this is one of the simplest and most effective.
More than any other Tool that we have at our disposal the liquify Tool has always been met with a special degree of ire. Liquify has been dubbed a great evil that has beset the foundations of society’s self esteem…
Getting your white balance exactly right can be tricky. We show you a quick method using Color Balance to correct Skin tones and get a nice base for further editing.
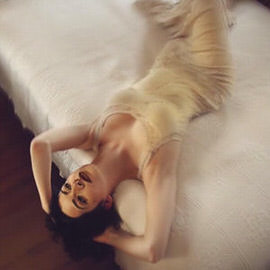
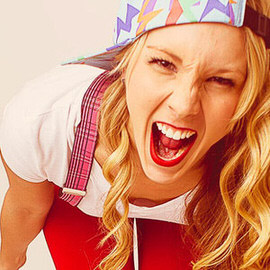
In today’s episode we show you how to get rid of those straps (or other similar details) in a very simple tutorial that will have you amazed at how far Photoshop has come.
Learn a Simple Technique for adding textures to your images. We are using multiple textures combined together to create the final effect.
Sample Images Included

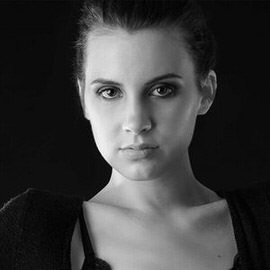
One of the problems you will encounter when photographing people is Skin redness. It usually shows up around the nose, close to the eyes and on the cheeks. Skin that looks too red can make people look tired, sick, old, or just bad.
Sample Images Included
In this tutorial, Aaron shares a tip for recovering deleted files in Lightroom.
The Step and Repeat command is one of the coolest secrets Photoshop has to offer. You won’t need this feature every time you open Photoshop, but when you are creating Patterns, there is no better Tool.
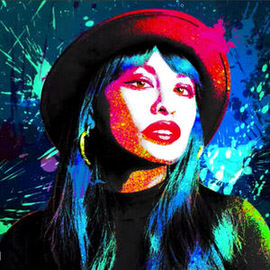
In Part II of this tutorial we show you how to put the splatter Brush (created in Part 1) to good use.
In this episode we teach you how to use the Pen Tool to cut your subject out of their Background. The Pen Tool is a vital part of Photoshop and is used to create accurate selections.
Sample Images Included
Learn some great techniques that will take your text up a notch. Customize your fonts with style.