How to Create a Pinup Style in Photoshop
-
Add to
favorites
-
DifficultyMedium
-
Length2.25 hours
-
Videos2
-
Software
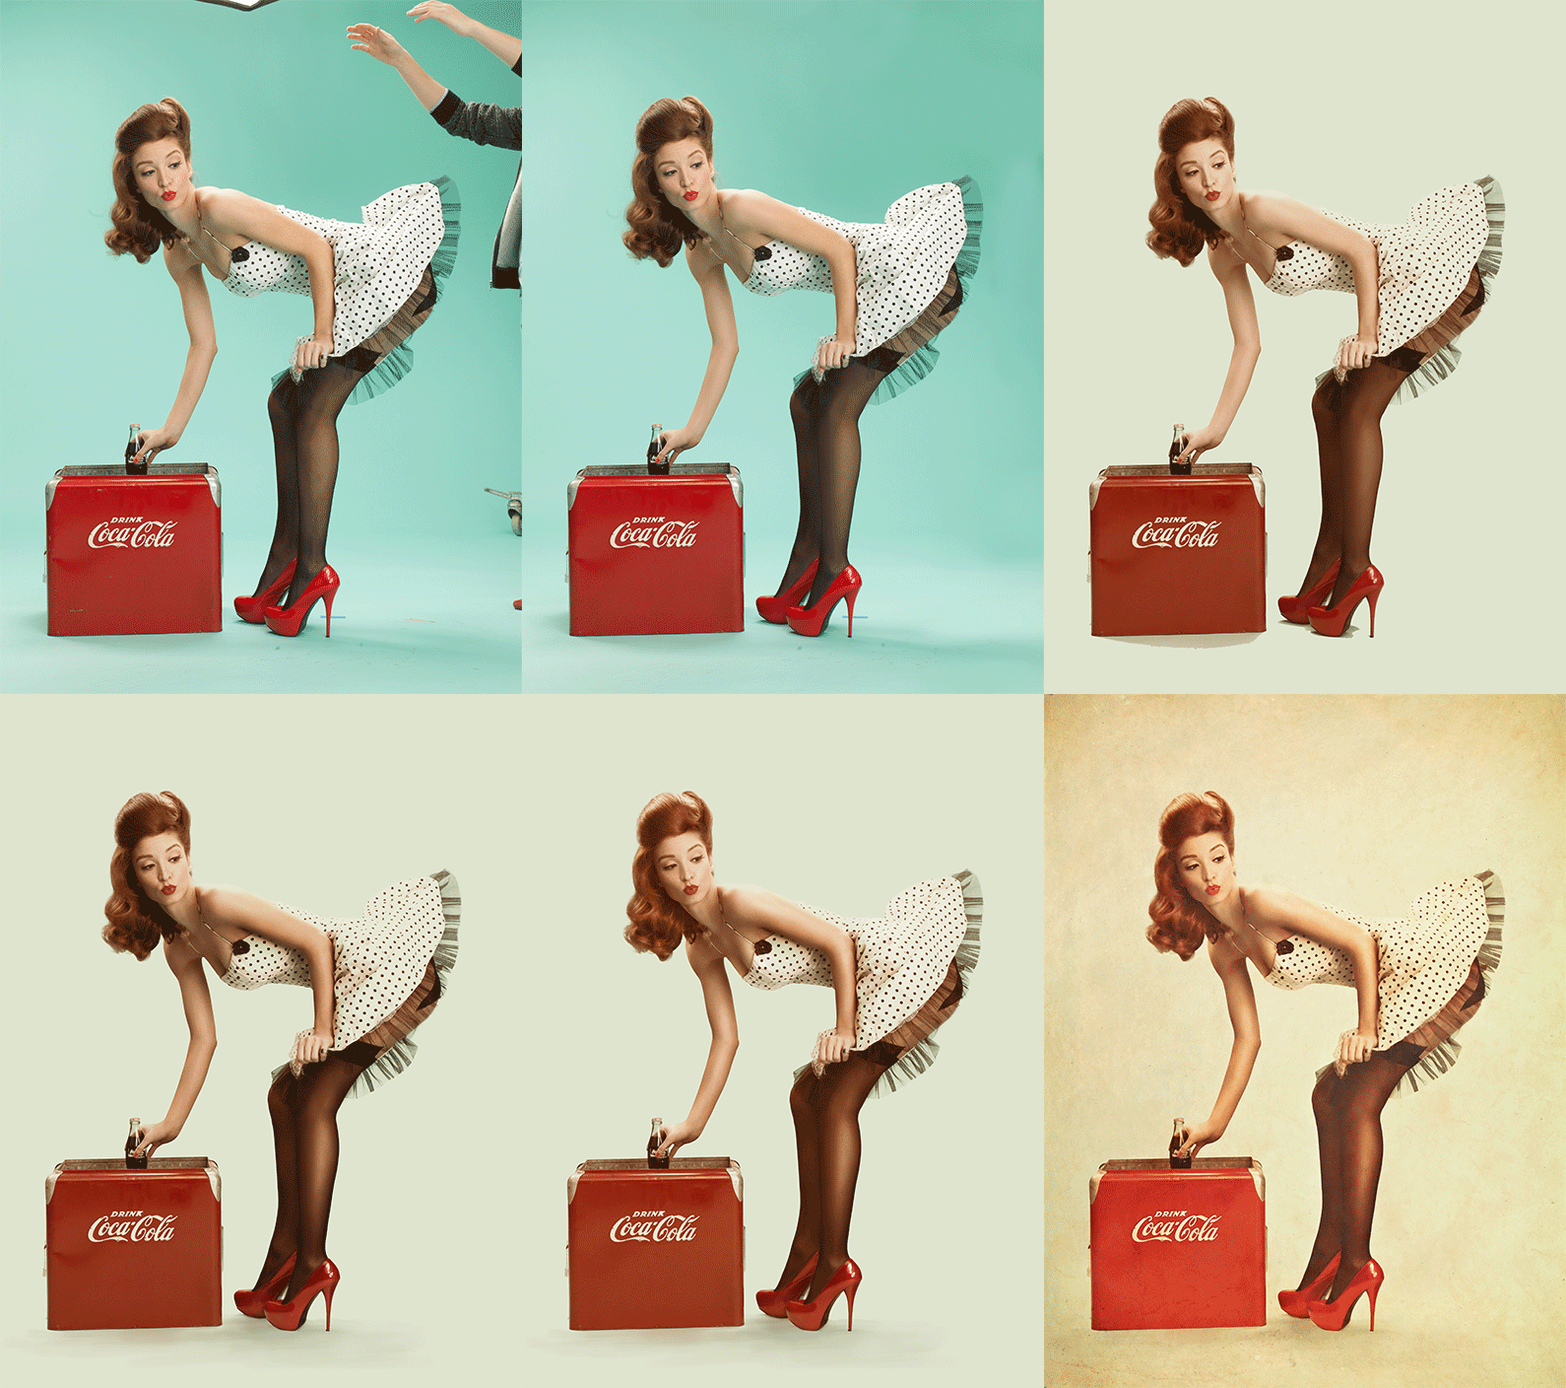
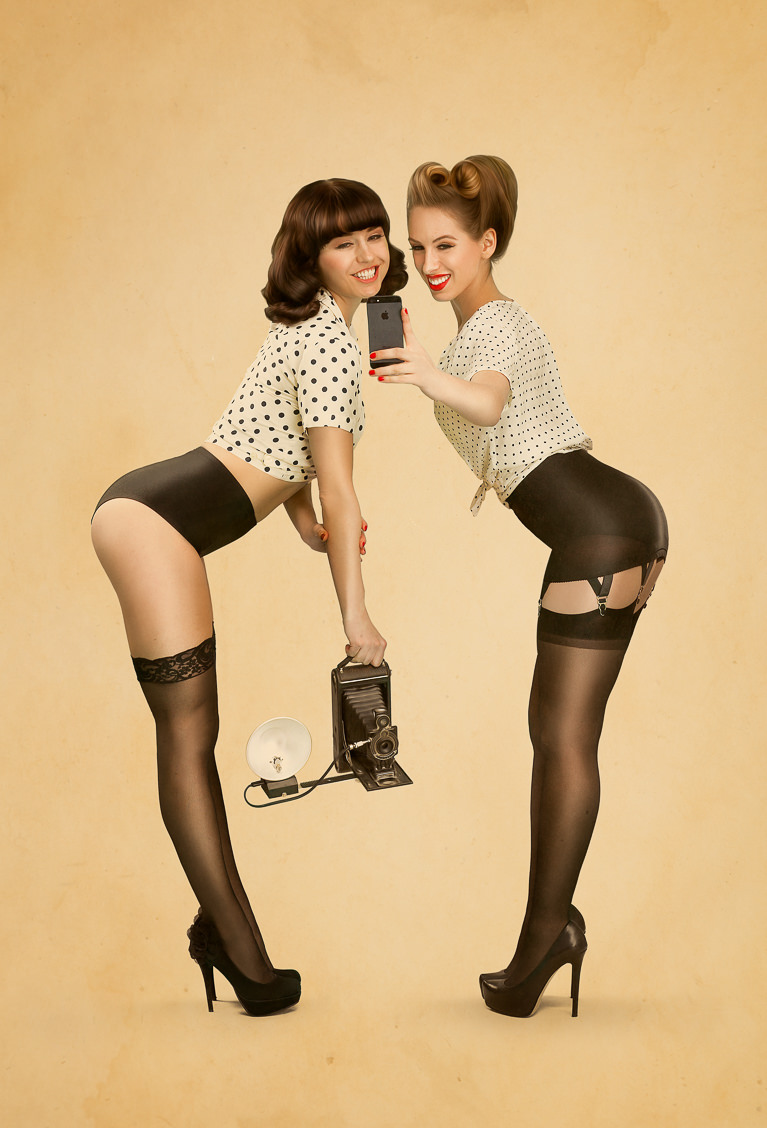
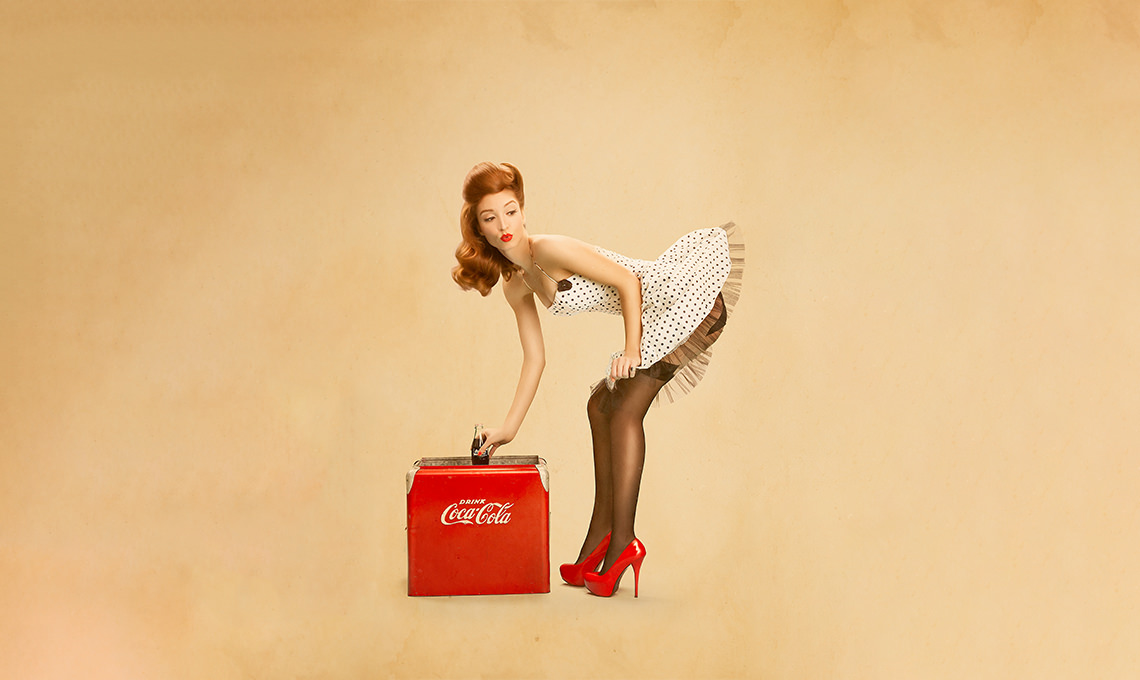
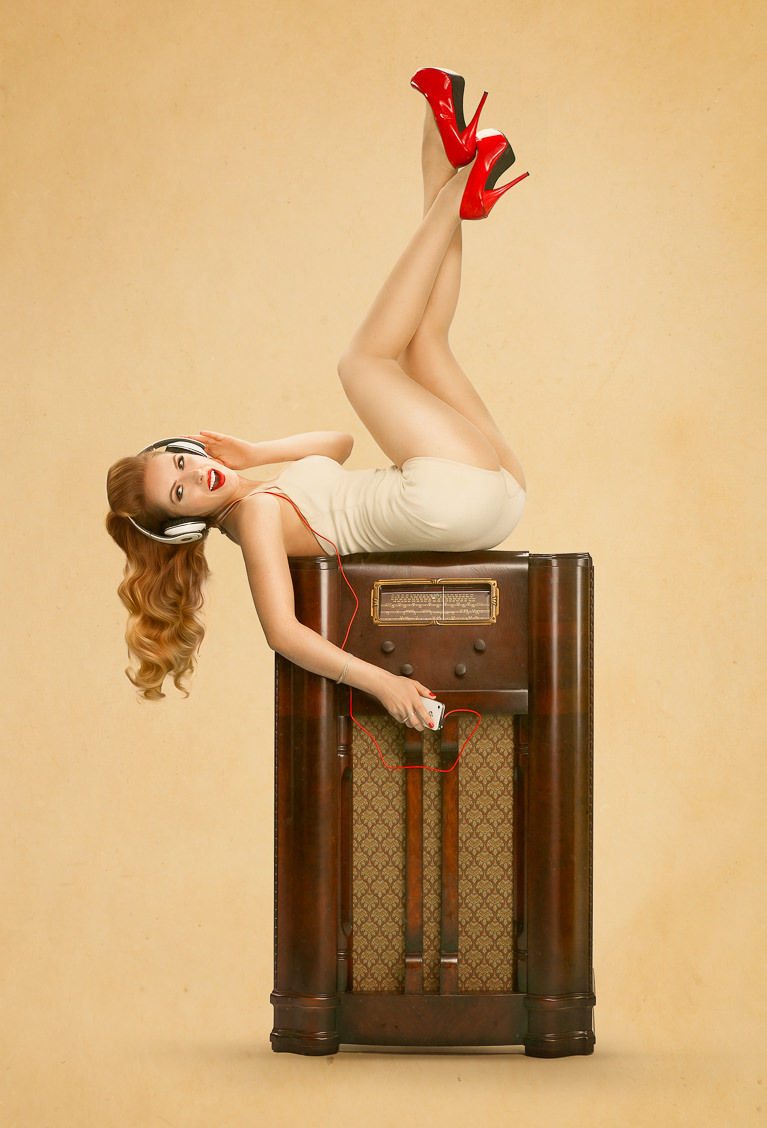
Learn how to create a classic pinup look in Photoshop! This is one of the most requested retouching techniques we receive at PHLEARN, and now it’s here! We put our own spin on the pinup style, showing you every step, tool, and technique.
THIS COURSE INCLUDES
- 6 Sample Images
- 2 Photoshop Brushes
Share
Course Downloads
Classic Style. Modern Techniques.
Retouch, Quick and Simple
Learn time-saving techniques to significantly speed up your retouching process. Follow along and learn how to easily color-match skin tones from different areas of the body to give any subject a more uniform look.
Add Background Texture
Add texture and detail to the overall image to completely change the look. Use the included texture images to create your own textured background and enhance the detail and color on your subject.
Match Highlight and Shadow
Create stronger images by matching the subject highlights and shadows to the background. Learn how advanced selections can keep the rest your subject intact while only editing the highlights.
Shape the Body
Make your subject look their best without looking unnatural using the liquify tool properly. Use what you learn to dramatically alter the shapes and tone a person bringing attention to the right places.
Dodge and Burn
Learn how to expertly dodge and burn to draw attention to your subject using multiple layers. Alter the highlights and shadows to create extra details in specific areas. Use what you learn to add style and interest to any image.
Color Correction
Remove the complexities from correcting colors in shadows, mid-tones and highlights. At times, highlights are too warm or too saturated and need to be treated separately from other areas of an image. Learn how to correct color and restrict your changes to specific areas.
Step-by-Step Instruction
Vintage Style & Color
Make any photo looks like a blast from the past! Learn how to add an aged look to your images using creative coloring and textured overlays.
Use the Filter Gallery
Often times you will not need to use the Filter Gallery in Photoshop. In this case, however, it is wildly effective for helping to create the pinup look. Learn how to stack different filters together to make the image look more like a painting.
Custom Photoshop Brushes
Create your own Photoshop brushes so you’ll always have the right brush for the job. Custom brushes are excellent for advanced retouching and adding special effects to your images.
Create Three Iconic Images
Learn how to create a series of images that all share the same color, tone, and style. Multiple images in a series can generate a larger impact than a single photo.
Reviews
New & Popular Tutorials
Training Site in
the World
Tutorials!
Ratings
and Counting
Subscribers







Loved this the first time and coming back for round 2. Wondering if I’ve somehow missed the “Create Three Iconic Images” part, though.
amazing work, thanks!
ThAnKs a LoT , it was realy great TuToRiaL .
Very helpful Mr. Nace.
Thank you to you and all who worked on this tutorial for all the good knowledge and tips.
Thanks Phlearn! Awesome flow and tutorial. As ever Nace is the best! 🙂
Did this one from memory of all you’ve taught from this and other tutorials. Thank you for your knowledge. Hope you enjoy this one.
I loved it! working on the techniques with models and have done a couple of my own shoots! So far so good! I’m not so good at the shadows yet, but I’m learning!!
phlearn you awesome:) another big fan!
This tutorial is outstanding, I’ve learned so much from it, now I can do my Pen Up’s the correct way. If you want to
learn this type of image effect, buy the course, its well worth the money.
Would like to see how you carried the colour consistency to other images.
Fantastic!
Great lesson! I learned so much. Here is my version of the pinup. Thanks, Aaron.
Just brilliant.
Awesome Tutorial!! My first Pinup was taking Maternity Pics of my wife. It was easy to follow along and Aaron Makes everything seem pretty simple. Well worth the money!!
Amazing tutorial. This lesson completely changed my workflow. Great techniques through every stage of post processing. Thank you for these videos!!
Great tutorial. Love Aaron’s work and really enjoy the way he presents the material.
I rated this 5 stars because I learned a lot about masking from it. That being said, I have 9 hours invested in this and did not finish the first video yet. Learning how to get used to my new Wacom tablet didn’t help but for the smoothing of the skin tones. The masking was confusing and I would not call this a beginner course. I finally got the fringe of the dress to mask without retaining the blue background color. That was an epic win for me.
Here my vintage portrait, not pinup yet but style is going to be like in the pinup tutorial.
Just purchased the tutorial, looking forward to watch it.
My own vintage portrait just done before purchasing the tutorial.
Easy to follow tutorials. No complicated steps involved. Gets you started instantly. I wish I had discovered Phlearn before.
Thanks Aaron & Team! Here’s my version from this Phlearn Pro. I’d LOVE to know more about how you maintained a consistent look between all of your Pinups–or any other tips/pointers on how to keep consistency between images on such a project. Thanks!
Beautiful!!
Very good instructional video that has given me a lot of tricks that I use today. Here is my latest work, where some of the techniques are used.
Until now big issues with the selection. Let’s see what tomorrow brings
I had a pinup style shoot planned and this helped me tremendously in the little things, making it vintage without all the generic filters out there.
Really enjoyed this tutorial. I love these kinds of images. Here’s my version of the tutorial