

THIS COURSE INCLUDES
- 3 Lessonsfollow-along
- 1h 42mof captioned HD video
- Beginnerno experience needed
- 18 Sample Images+ a brush
Part of a Learning Path
Join PHLEARN PRO for instant access to this course and every tutorial on PHLEARN.
- Stream in up to 4K on any device
- Closed captions and chapters on every course
- Download all sample images and PSDs
- New PRO tutorials every month
- Cancel anytime
DESCRIPTION
Learn the photography and Photoshop techniques behind creating The Flood, a conceptual flood composite image. Follow along as we show you how each image was captured and how to seamlessly blend it all together by matching light, color, and more!
What You’ll Learn
- Capture and composite a conceptual flood scene
- Match light and color across multiple images
- Retouch, color, and sharpen for a finished look
Course Downloads
Compositing Made Simple.
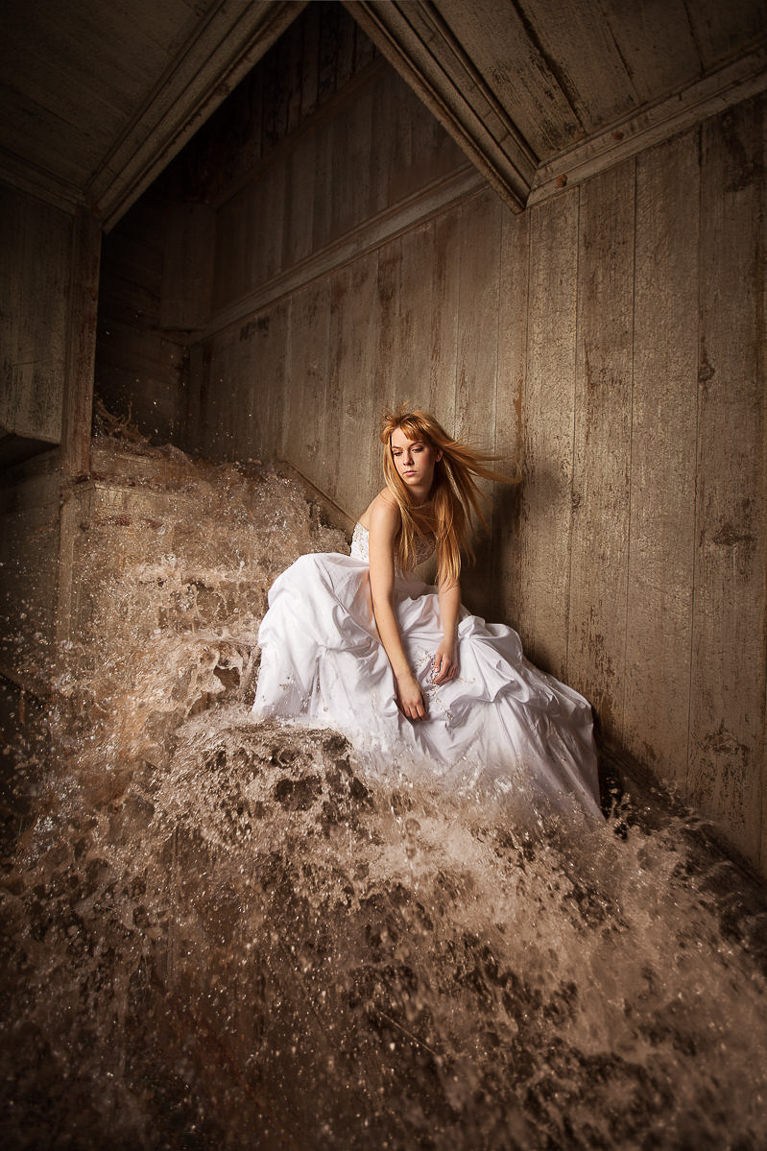
Blend and Composite the Flood Composite
Learn the secrets to compositing and blending multiple photos together to create seamless, stunning effects. From start to finish, you will see how each image in the flood composite is photographed, adjusted and combined using Lightroom and Photoshop.
Retouch, Quick and Simple
Learn time-saving techniques to significantly speed up your retouching process. Follow along and learn how to easily color-match skin tones from different areas of the body to give any subject a more uniform look.
Perfect Color Match
Create the most believable flood composite by matching the colors perfectly. Learn how to adjust the colors separately between shadows, midtones and highlights to create an accurate and realistic color match.
Sharpen the Details
Learn how to selectively sharpen different areas of the image to draw attention to where it’s needed. Usually, the subject of the photo should be a bit sharper than the rest of the image to catch the viewer’s eye. The most subtle details can make the greatest impact.

Control the Exposure
Learn how shutter speed and aperture effect ambient and strobe light differently, and how to balance them both. Go behind the scenes of the flood composite with the included process photos taken on set. Follow along in Lightroom as each step of the photo shoot is explained.
Refine Light and Color in the Flood Composite
Adjust the color of shadows and highlights separately to create a properly balanced image that really stands out. Bring more attention to any subject by learning our simple methods to refine light and color.
Remove Distractions
Refine your images by removing unwanted distractions. Master multiple techniques that will allow you to remove literally anything from your flood composite leaving only the focal points you decide.
Lightroom and Photoshop
Follow along step-by-step from Lightroom through Photoshop. Begin by adjusting color, exposure and correcting barrel distortion from the lens in Lightroom. Then use Photoshop to build the flood composite, blend, match color and add the final touches.
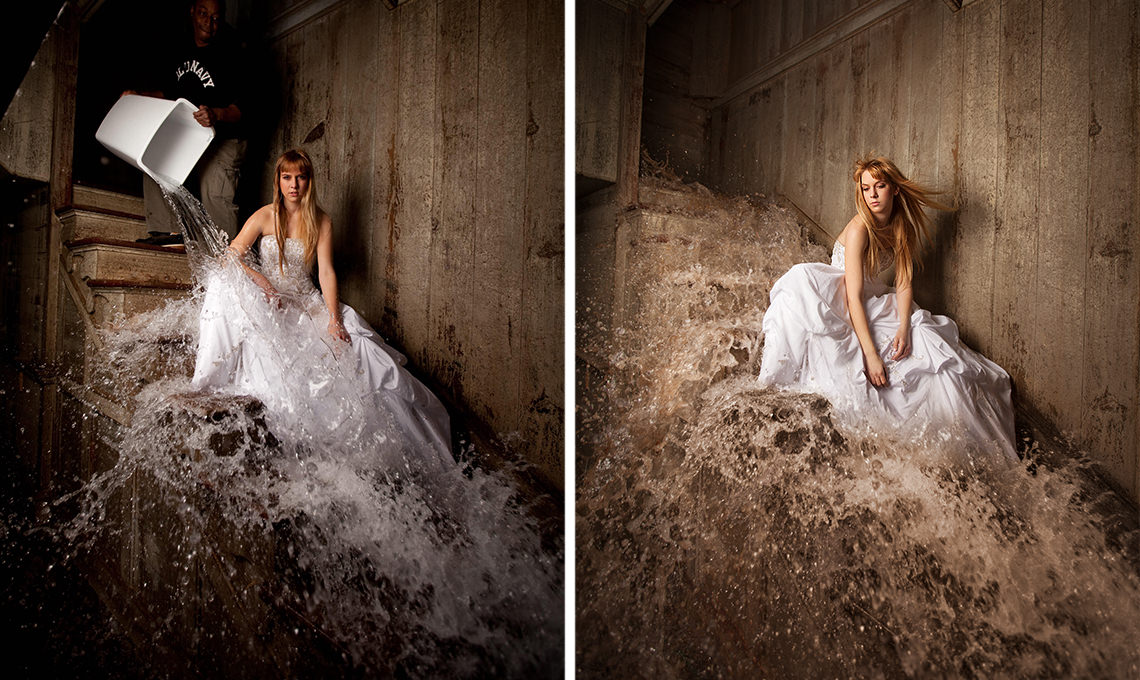
The Flood
Watch an image come to life–from photoshoot tips to Photoshop magic. Learn how to import, cull, composite, retouch, and much more!

16-bit RAW Images Included
This Phlearn PRO Tutorial includes 16bit RAW images—giving you more power to properly adjust color and exposure. Learn how to use Lightroom to adjust exposure, color and barrel distortion. Sync the settings across multiple images and properly batch-export photos to be composited in Photoshop.
3D Lighting Diagram Video
Learn how to balance a room’s ambient light with strobe light to create an image with more emphases on the subject. The included 3D Lighting Diagram Video explains all of the lighting and camera angles in detail so you can recreate this look easily.
Phlearn Custom Brush
Get the job done better and faster by using the right tools. Use the included Phlearn Custom Photoshop Brush to blend layers together seamlessly and even do light retouching. Once the brush is loaded into Photoshop, it’s yours forever and can be used on any image.

Class Instructor
Aaron Nace
PHLEARN Founder & Lead Instructor
Aaron Nace is a photographer, digital artist, and the founder of PHLEARN. He has been teaching Photoshop, Lightroom, and photography since 2011, and has taught at Adobe MAX for more than eight years.
Aaron publishes a free tutorial every week and a new in-depth PRO course every month.
- 2M+YouTube subscribers
- 160M+video views
- 1,000+tutorials published
- 15years teaching Photoshop
Reviews
Master Photoshop, Lightroom and Photography
Join PHLEARN PRO for $12.99 a month or $99.99 a year. Cancel anytime, with a 100% money-back guarantee.






This is an awesome picture. I have recently done a composite with a subject and a body of water that I have not yet seen anyone do on YouTube. I love to work with Photoshop and I am learning a lot everyday. I use my Photoshop 8 hrs a day to continue to learn and become the best I can be with no limits. I love your tutorials. thank you for being the greatest person you are AAron. I will purchase this tutorial but first I have to save up for that Wacom tablet.