Photoshop Tutorials
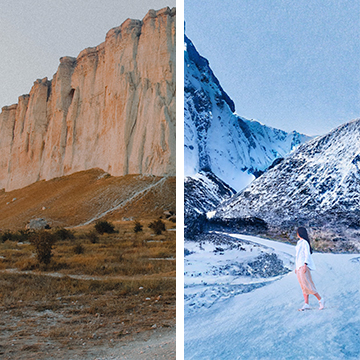
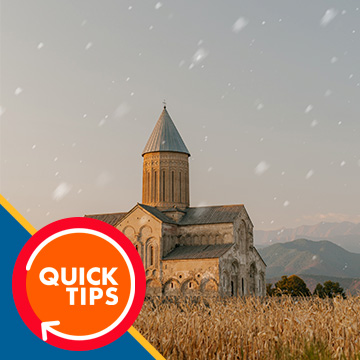
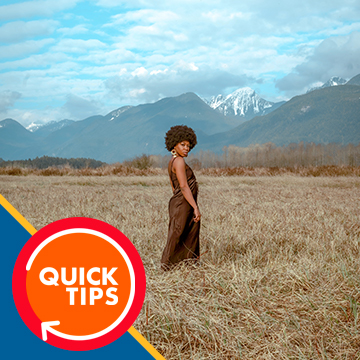
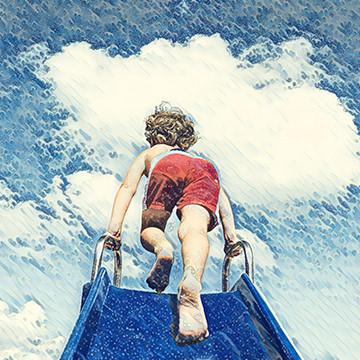
Join us as we test out the Landscape Mixer Neural Filter new in Photoshop 2022. Completely transform your landscape photos in just a few clicks!
Photoshop | Photo Editing | Easy | 15 mins | 1 video
1 Sample Image | 1 Sample PSD
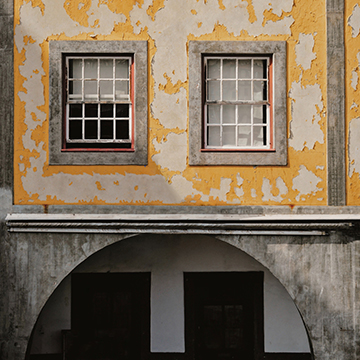
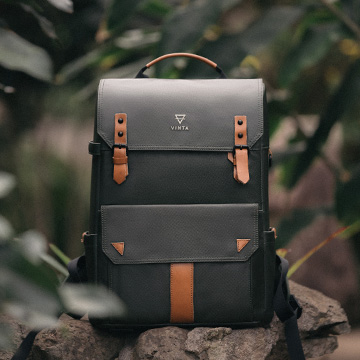
In the final episode of our object removal in Photoshop series, learn how to remove distractions when the background is busy and full of complex textures!
Photoshop | Photo Editing | Easy | 45 mins | 1 video
1 Sample Image | 1 Sample PSD
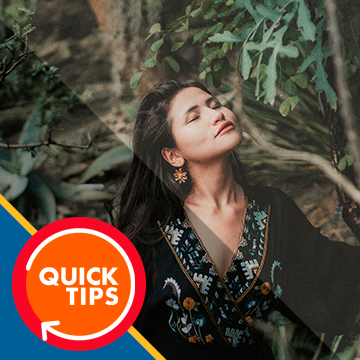
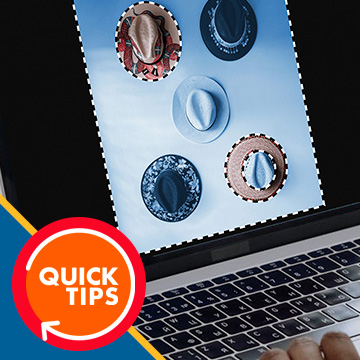
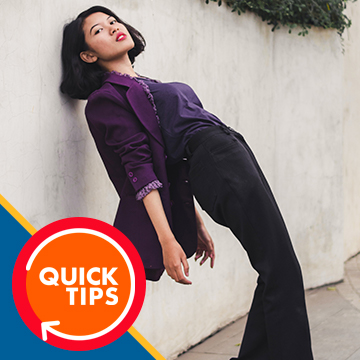
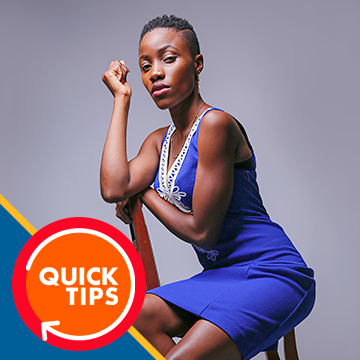
Learn how easy it is to import Presets into Photoshop and Adobe Camera RAW 2021.
Photoshop | PHLEARN Quick Tips | Easy | 15 mins | 1 video
1 Sample Image
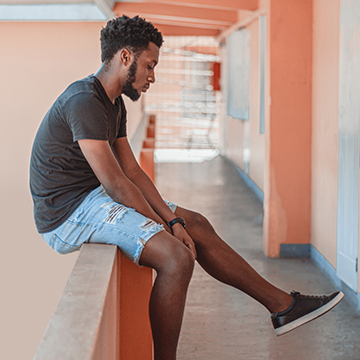
In episode three of our four-part series, learn how to use the Clone Stamp Tool to remove both large and small objects from a background with a lot of lines, edges, and detail.
Sample Image & PSD Included
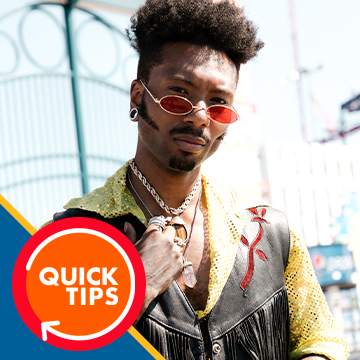
Speed up your Photoshop retouching workflow with these keyboard shortcuts that will help you switch tools and move around your images with ease!
Sample Image & PDF Guide Included
Join us as we explore a professional product retouching workflow in Photoshop. Learn how to retouch and reshape products, remove scratches and blemishes, sculpt highlights and shadows, and more!
Photoshop | Workflow | Easy | 1.5 hours | 6 videos
7 Sample Images | 6 Sample PSDs | 1 Photoshop Action
In episode two of our four-part series, let’s put some of the tools we learned about to work to clean up a relatively simple background in Photoshop.
Sample Image & PSD Included
In episode one of our four-part series, take a tour of the most useful tools in Photoshop for removing objects and distractions from your photos.
Sample Image & PSD Included
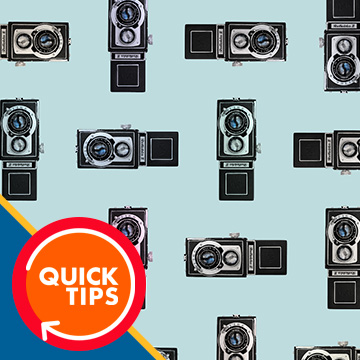
Learn how to turn any object into a seamless repeating pattern in Photoshop!
Sample Image Included
Learn how to import custom brushes into Photoshop!
Sample Image & Photoshop Brush Included
Learn the most helpful keyboard shortcuts for creating and using selections in Photoshop. And download the free PDF reference guide!
Sample Image & PDF Guide Included
Learn how to use Gradient Maps in Photoshop to change the color of any object to match a specific color value!
Sample Image Included
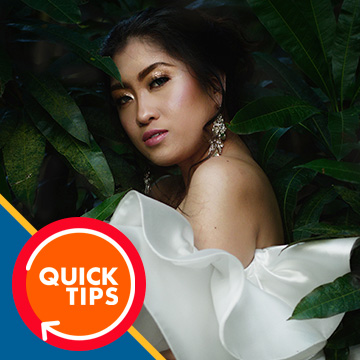
Learn how to add a beautiful shine to skin using the Brush Tool and Blend If in Photoshop!
Sample Image Included
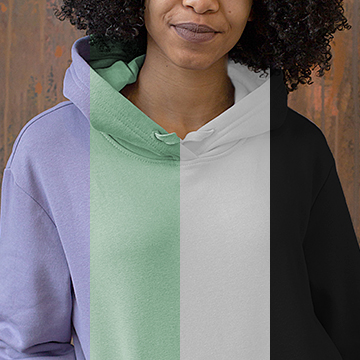
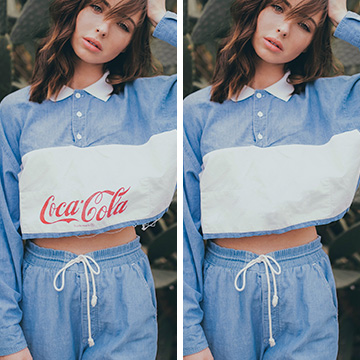
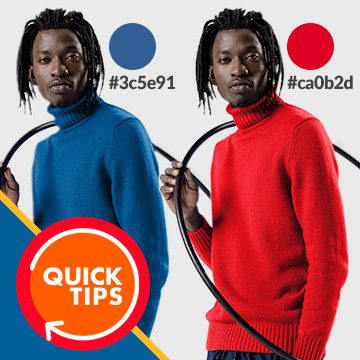
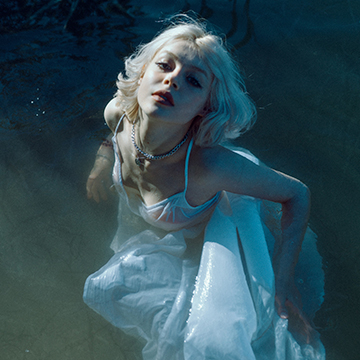
Learn how to realistically change the color of clothing in Photoshop–even to black or white!
Sample Image & PSD Included
Follow along to add subtle motion blur, film grain, subtle coloring, and a vintage film border to any image—and in just a few easy steps.
Photoshop Template
Learn how to create a beautiful matte effect in Photoshop using our quick-and-easy PSD template!
PSD Template Included
Learn how to recreate hair with the Pen Tool and Brush Tool, extract details from alternate stock images, and much more.
Photoshop | Workflow | Advanced | 2 hours | 4 videos
6 Sample Images | 3 Sample PSDs | 1 Photoshop Brush
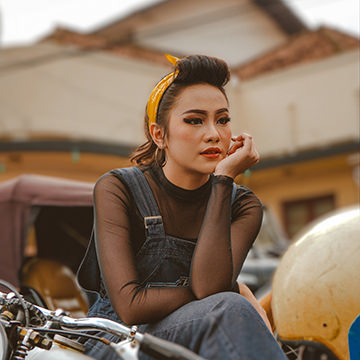
Learn how to add a bright and beautiful color grade to your photos with the Camera RAW filter in Photoshop!
Sample Image Included

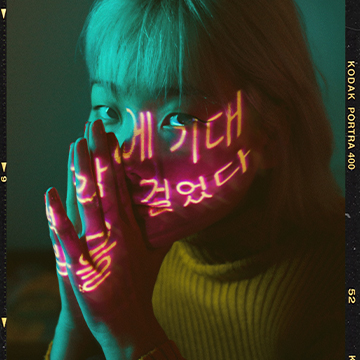
Learn how to create a sci-fi hologram effect in Photoshop.
Sample Image & PSD Included
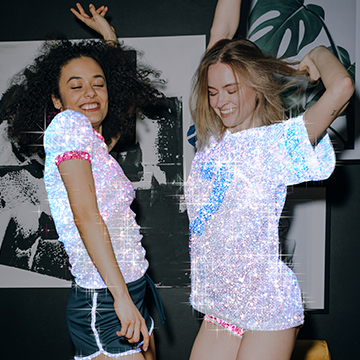
Learn how to use glitter textures with Layer Masks and some easy adjustments to make anything in a photo shine.
Sample Images & Brushes Included
Learn how to cut out subjects from complex backgrounds, fix color fringing, and recreate fine details using custom brushes and compositing tricks.
Photoshop | Workflow | Medium | 2.25 hours | 6 videos
7 Sample Images | 5 Sample PSDs | 1 Photoshop Brush

Learn how to add a border to any photo in Photoshop!
Sample Image Included
Learn how to use the new Style Transfer Neural Filter in Photoshop to apply eye-catching art styles to your photos in just a few clicks.
Sample Image & PSD Included
Learn how to use Levels and Hue/Saturation Adjustments to turn black into any color in Photoshop!
Sample Image Included
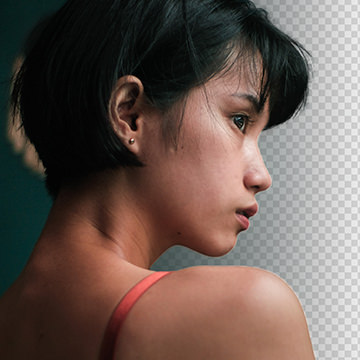
Learn how to cut out subjects in front of relatively simple backgrounds, recover and recreate fine details in hair, and fix common issues like color fringing.
Photoshop | Workflow | Easy | 2.25 hours | 6 videos
5 Sample Images | 5 Sample PSDs
Learn how to blur any background in just a few clicks using Photoshop’s new Depth Blur Neural Filter!
Sample Image & PSD Included
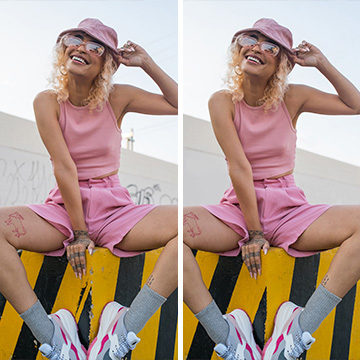
Learn how to remove creases and distractions from studio backgrounds in Photoshop!
Sample Image Included
Learn how to turn a photographed texture into a custom Photoshop brush, and then use that brush to add subtle vintage textures to your own photos!
Sample Image & PSD Included
Learn how to use Camera RAW in Photoshop to recover lost details and fix your overexposed photos!
Sample Image Included
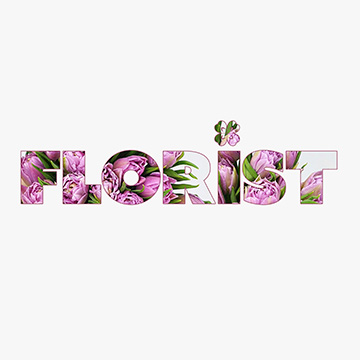
Learn how to create a popular effect, filling in plain text with any image in Photoshop!
Sample Image & PSD Included
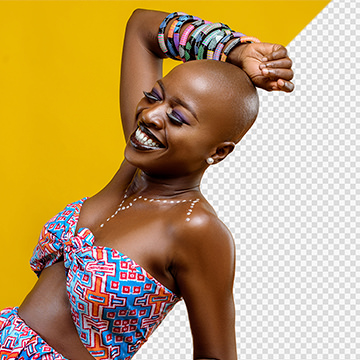
Learn how to swap the background behind an object while preserving the natural shadows from the original image!
Sample Image Included