How to Create Film Noir Coloring & Lighting in Photoshop
-

-
Add to
favorites

-
DifficultyMedium
-
Length1.75 hours
-
Software
Join PHLEARN PRO for instant access to this course and every tutorial on PHLEARN.
- Stream in up to 4K on any device
- Closed captions and chapters on every course
- Download all sample images and PSDs
- New PRO tutorials every month
- Cancel anytime
description
Learn how to create film noir in Photoshop with this step-by-step walk-through of 2 amazing images from start to finish! Every light and color explained in a way that will allow you to create drama and interest in your images.
THIS COURSE INCLUDES
- 4 Sample Images
- 1 Photoshop Action
Course Downloads
Film Noir
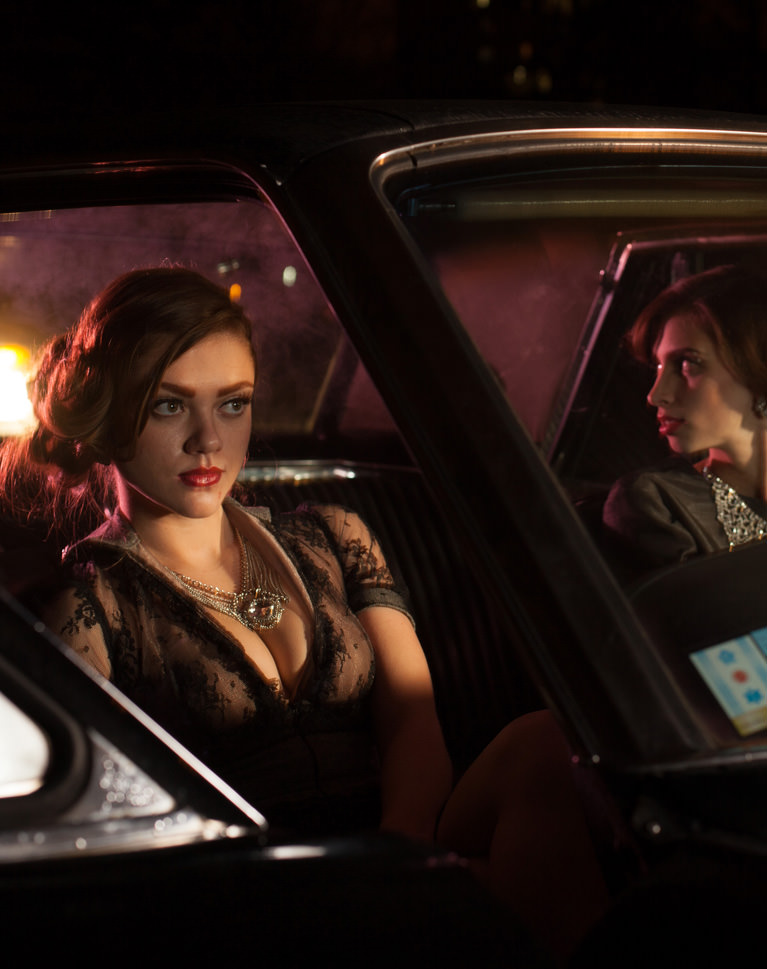
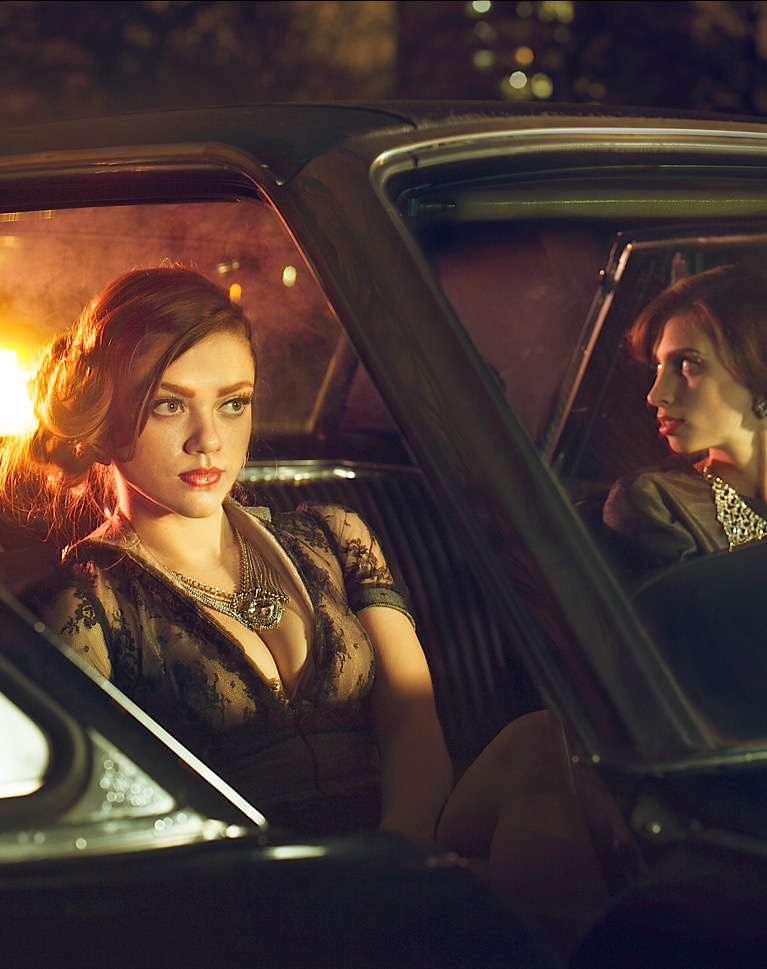
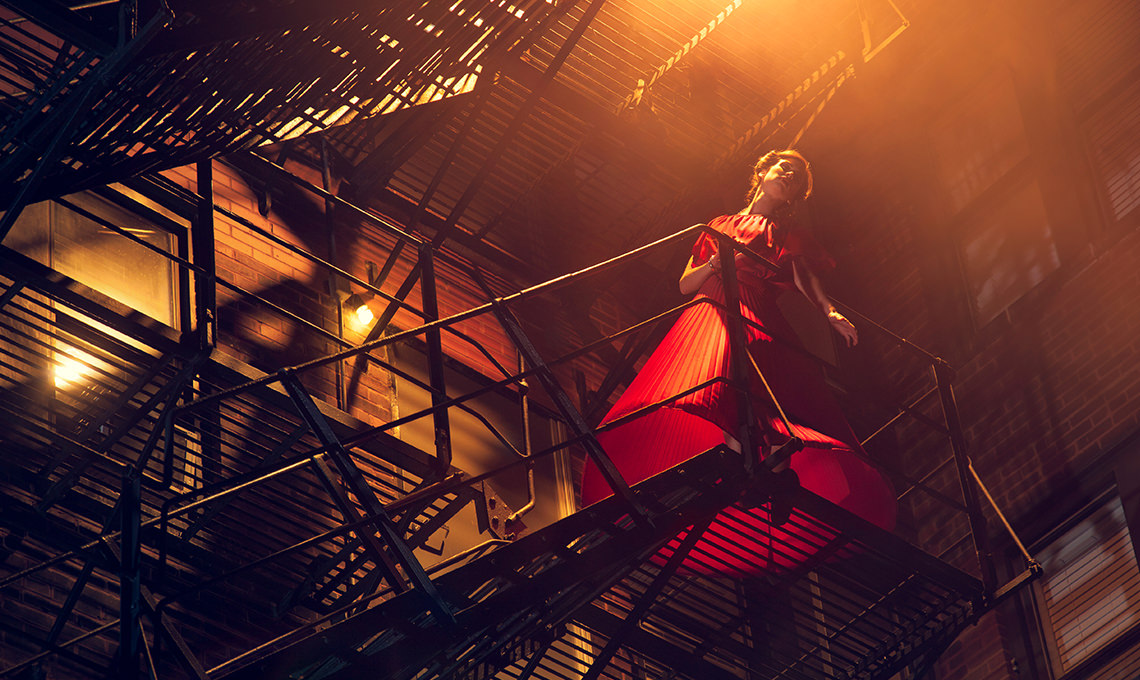
Film Noir in Photoshop Starts with Light Temperature
Uncover the secrets of film noir lighting with gels to match the color of your strobes with the ambient light in the scene. Create more natural scenes with this technique of matching light temperatures.
Build a Color Palette
Use color theory to build a film noir in Photoshop palette, choosing complementary colors as well as other color harmonies. Learn how to use color in shadows to help balance other strong color presence within your images.
Color with Light
Learn why each light is placed and how to make more consistent film noir in Photoshop images through color. Complementary colors are a great way to further enhance your images.
Color Correction
Remove the complexities from correcting colors in shadows, midtones and highlights before the film noir grade goes on. At times, highlights are too warm or too saturated and need to be treated separately from other areas of an image. Learn how to correct color and restrict your changes to specific areas.
Add Mystery & Drama
Use color to recreate a classic film noir style. Learn color grading, light effects, compositing, and more!
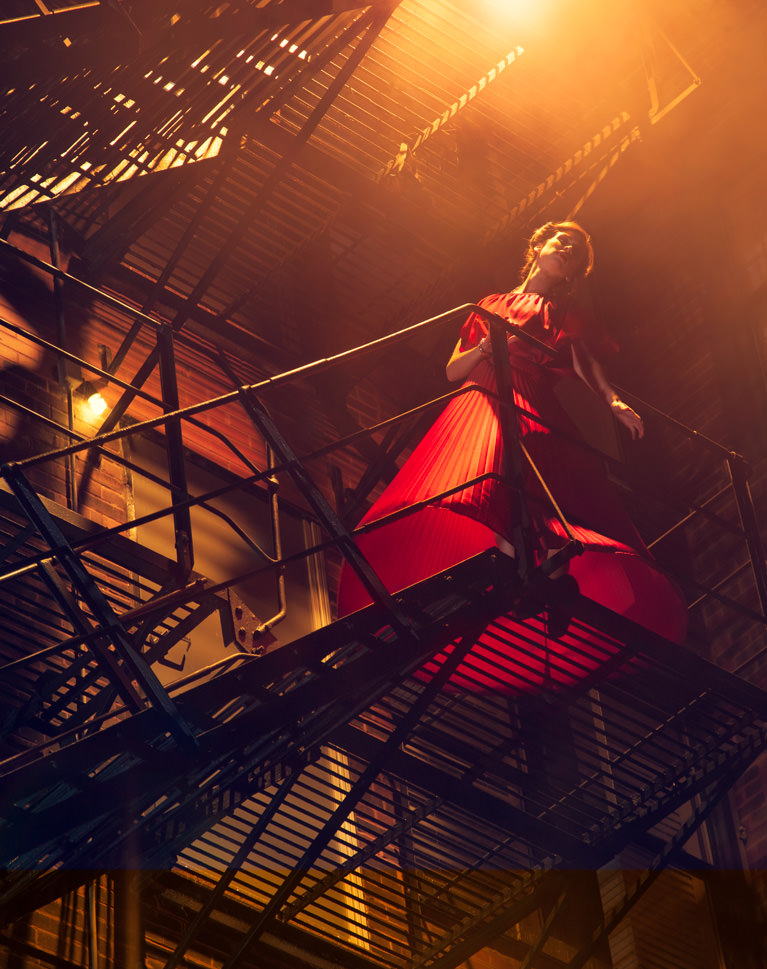
Create Atmosphere
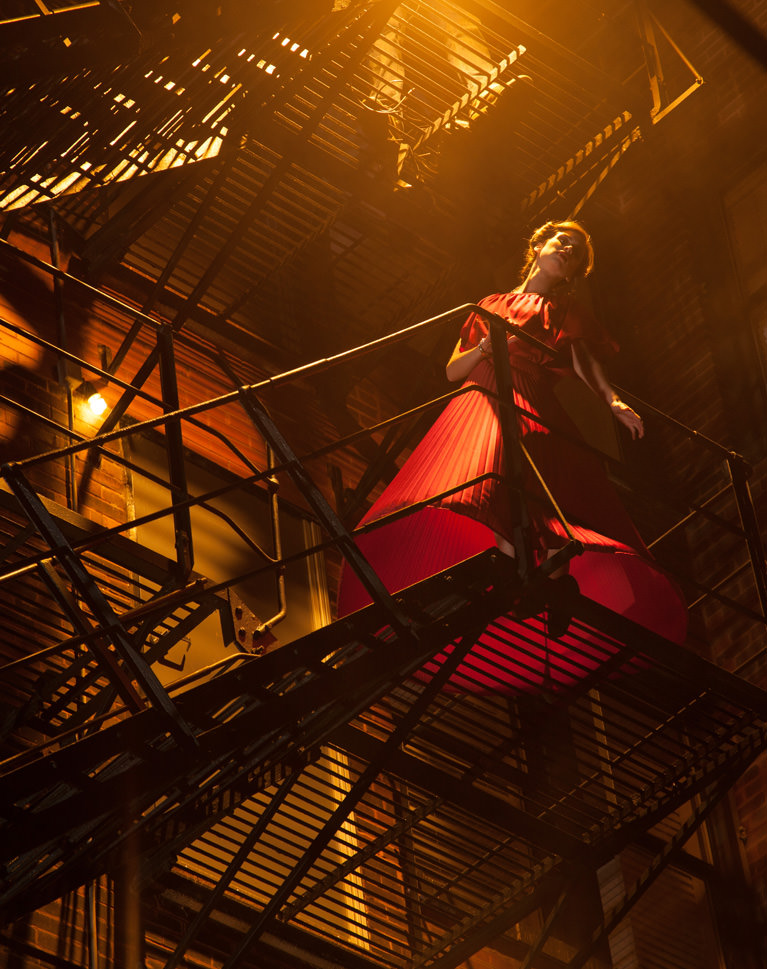
The addition of fog, dust, rain and powder to film noir in Photoshop images can add very interesting atmosphere and depth. Learn how to add effects like this and then enhance them using Photoshop.
Remove Distractions
Refine your images by removing unwanted distractions. Master multiple techniques that will allow you to remove literally anything leaving only the focal points you decide.
Retouch Light
Keep your film noir in Photoshop images clean and more focused by perfecting the light. Adding and removing lights can require a lot of detailed retouching. The techniques in this tutorial are universal and will work on any image!
Sharpen
Learn how to sharpen different areas of your film noir images to draw attention to where it’s needed. Sometimes the most subtle details can make the greatest impact.
What Defines Film Noir in Photoshop
Film noir is built on contrast: deep shadows, a single hard key light, warm practical lights against cool ambient tones, and just enough haze to let the light show its shape. Recreating film noir in Photoshop means controlling all of those at once, from the gels on set to the color grade, the atmosphere layers, and the final dodge and burn. Both images in this tutorial are included as RAW files so you can follow every step and build the look yourself.

Aaron Nace
PHLEARN Founder & Lead Instructor
Aaron Nace is a photographer, digital artist, and founder of PHLEARN. Driven by a deep passion for image creation and a dedication to sharing knowledge, he founded PHLEARN in 2011 to empower creators around the globe. With over 2 million YouTube subscribers, 8+ seasons speaking at Adobe MAX, and hundreds of tutorials published, Aaron continues to produce free weekly lessons alongside new in-depth PRO courses every month.
Reviews




Unlock This Course & Every PRO Tutorial.
Get Instant Access with PHLEARN PRO!

Stream in up to 4K on any device, with closed captions and chapters
Download full project assets, original PSDs, and sample images
Unlimited access to all PRO Photoshop, Lightroom, and Retouching courses
Includes full access to Photoshop Actions, Lightroom Presets, and LUTs
Flexible monthly and annual plans to fit your workflow
Cancel anytime with zero hassle or fees
A great tutorial! Especially if you want to learn more about colors and how light works. And i finally understood some things about photography lighting. Great work!
Amazing tutorial, thank you Aaron Nace, you are a very good teacher 🙂
Love this style, i did go a little higher in the contrast tho.
It’s amazing how much information there is in this tutorial. It helps you understand color and the ways to work with it in Photoshop. The hands on approach of the tutorial really gets you up and running quickly if you follow along and Aaron assumes you don’t know what he knows so he explains every procedure anew, as if it’s your first tutorial. I used the knowledge from this tutorial to change a very warm and fuzzy photo taken at Mariliz’ apartment, so that it mimicked the House of Cards night interior shots look at the Oval Office.
Hi PHLearn,
Well another great tutorial by you guys, i enjoyed this one just like the others I’ve done.
Second part to do now i.e.: lady in red…. 2 for the price of 1…. wicked……..
regards terry
Very good tutorial, learned lots! Thank you for the handy insights!
she is sooooooooo pretty