

Download Assets
This tutorial includes 1 Photoshop brush and 1 PDF guide. Downloads are free with a PHLEARN account.
- Download the sample images and PSDs from every free tutorial on PHLEARN
- New free tutorials published every week
- One free account — sign up once, then download anything
Free PDF Guide · 4 Pages
This Tutorial as a Step-by-Step PDF
The guide walks through painting one 4 px hair stroke, turning it into a brush with Edit > Define Brush Preset, randomizing it in Window > Brush with Shape Dynamics, Scattering and Angle Jitter of 2 to 3%, then painting the hairline onto a layer mask and changing Angle as you go. Keep it open while you paint.
description
Treat a cutout as two jobs, not one: the body has a hard edge the Pen tool handles well, and hair does not. For the hair, paint one convincing strand, define it as a brush preset, then let Shape Dynamics, Scattering and a couple of percent of Angle Jitter stop it repeating. Painting that brush straight onto the layer mask keeps every strand correctable.
Enjoying This Free Tutorial?
We publish a new free tutorial every week, each one with sample images and PSDs you can download and follow along with. Sign up and they land straight in your inbox, along with early word on sales, events and subscriber-only offers.
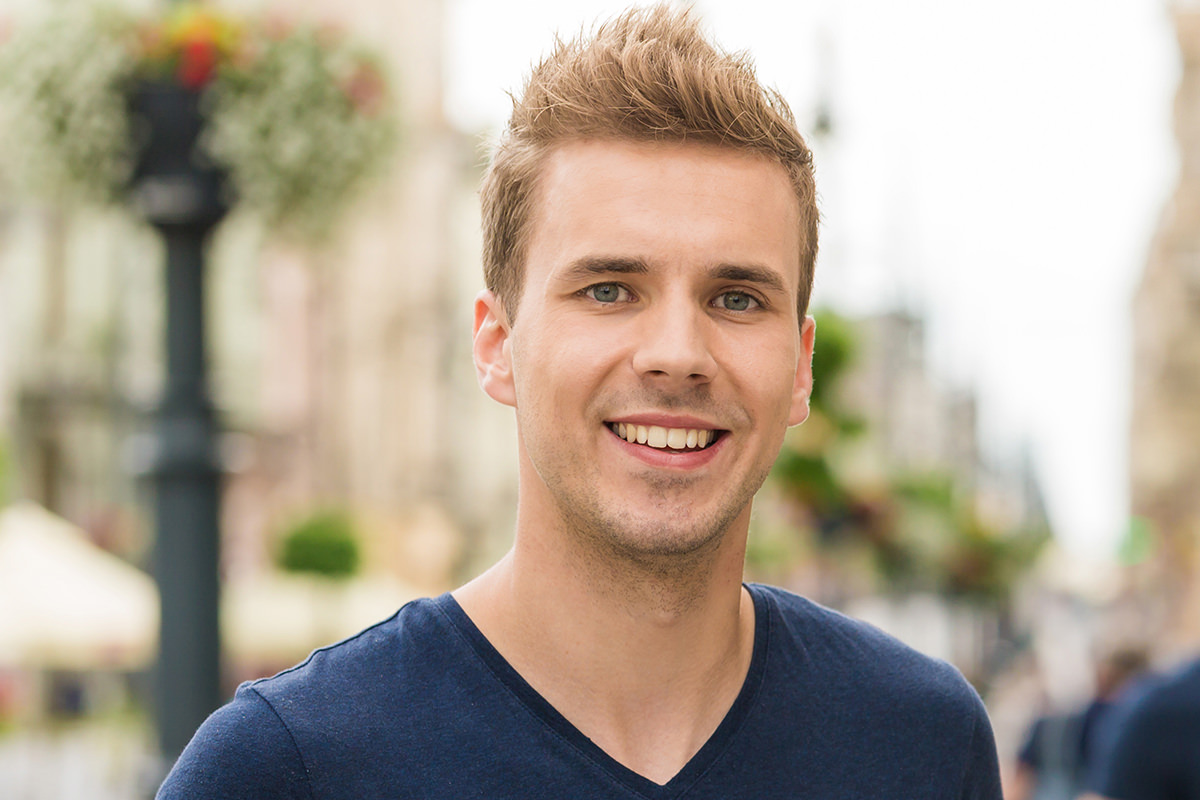

How to Cut Out Hair with the Brush Tool in Photoshop
Hair is consistently the hardest part of cutting a person out of a background, since it rarely has the clean, hard edge that makes tools like the Pen Tool so effective elsewhere on a subject. In this tutorial we’ll build a custom brush that mimics individual strands of hair, then use it to paint a natural, believable hair edge directly onto a layer mask.
Split the Cutout Into Two Parts: Body and Hair
Whenever you’re cutting a person out of a photo, it helps to think of the job as two separate problems rather than one. The body typically has a relatively hard, clean edge that’s well suited to the Pen Tool. The hair is different: dozens of individual strands going in different directions, which the Pen Tool handles poorly. Treating these as two distinct steps, one for the body, one for the hair, makes the whole process far more manageable.
Painting a Single Hair Stroke
Create a new layer and select the Brush Tool (B). Right-click to open the brush settings and shrink the size down to roughly the width of an actual hair (4 pixels here), using your bracket keys to fine-tune it, and set Hardness to 0 for a soft edge. Paint a single stroke that mimics the general shape of your subject’s hair, spiky and upright, wavy, or curly depending on their hairstyle. Try this a few times on the layer until you get one stroke you’re happy with, then select all (Ctrl/Cmd+A) and press Delete to clear the layer, and paint one clean stroke that looks right, leaving just your single hair shape on its own layer.
Turning Your Hair Stroke Into a Brush Preset
With one clean hair-shaped stroke isolated on its own layer, it’s time to convert it into a reusable brush.
Preparing a White Background Behind the Stroke
Create a new layer beneath your hair stroke layer. Use the Rectangular Marquee Tool, holding Shift for a perfect square, and fill the selection with white (Shift+Delete, then choose White). Center your hair stroke within that white square using the Move Tool’s Align Horizontal Centers and Align Vertical Centers options. With the square selection still active, go to Edit > Define Brush Preset, name it something like “hair1,” and click OK. Photoshop now has a custom brush shaped exactly like your painted hair stroke.
Adding Randomness in the Brush Settings
A single repeated hair shape looks obviously artificial, so open Window > Brush to introduce variation that makes repeated strokes look like a natural head of hair rather than a copy-pasted pattern.
Shape Dynamics, Scattering, and Angle Jitter
Turn on Shape Dynamics and raise Size Jitter so individual hairs vary in size as you paint. Enable Scattering on both axes so the strokes spread out with some randomness rather than following your cursor in a single tight line. Add a small amount of Angle Jitter, just 2-3% is usually enough, so each hair sits at a slightly different angle rather than all pointing the exact same direction. Turning on Roundness Jitter adds further natural variation. Back in Brush Tip Shape, reduce Spacing for a denser, more continuous look, and dial Scattering back down to around 20% if the earlier setting scattered too far apart.
Saving Your Finished Hair Brush
Once your brush produces strokes that genuinely read as hair, open the Brush panel’s menu (top-right icon) and choose New Brush Preset, saving it with a clear name like “hair final.” This locks in all your shape dynamics, scattering, and jitter settings as a single, reusable brush you can select any time going forward.
Cutting Out the Body First
Before painting any hair, handle the body using the Pen Tool, tracing carefully around your subject but deliberately skipping over the head and hair area entirely, since that part will be handled separately with your new brush. Load that pen path as a selection (in the Paths panel, pick the Work Path, choose Make Selection and click OK), click the layer mask icon to mask your subject based on it, and add a solid color adjustment layer, white works well, positioned beneath your subject to serve as a clean background you can judge your cutout against.
Painting In the Hair on a Layer Mask
With your hair brush selected, click your subject’s layer mask and paint directly onto it in the area where the hair should be visible. Painting white reveals the subject through the mask in a hair-like pattern, while painting black hides it again if you need to make a correction.
Checking Your Progress with Mask Density
If it becomes hard to judge your progress because the mask is obscuring too much of the original subject, click the layer mask and open Window > Properties, then lower the Density slider to see through the mask temporarily. This makes it easier to compare your painted hair against the subject’s real hair underneath. Bring Density back to 100% once you’re satisfied with the alignment.
Varying the Angle to Match Real Hair Direction
A first pass will likely have every painted hair strand pointing in the same direction, which looks unnatural since real hair fans out in multiple directions depending on where it sits on the head. Return to Brush Tip Shape and adjust the Angle setting between strokes, rotating it to match the direction hair naturally falls on different parts of the head, upright at the crown, angled to the sides, swept back at the top. Hold Alt (Option on Mac) and click your layer mask periodically to preview exactly what the mask looks like in black and white, confirming your painted strands genuinely resemble the pattern of real hair rather than a uniform, repeated texture.
Why This Approach Works
This technique works because it treats hair as what it actually is, dozens of individual, thin, irregularly angled strands, rather than trying to force a single smooth selection tool to handle something it’s not built for. Building a brush from an actual painted hair shape, then layering scattering, jitter, and angle variation on top of it, produces a stroke pattern with the same kind of visual randomness real hair has. Painting the result directly onto a layer mask, rather than committing to a hard-edged selection, keeps the whole hairline fully editable and correctable stroke by stroke, which matters since no single pass is likely to get every strand looking convincing on the first try.
Final Thoughts
Cutting out hair convincingly comes down to building the right tool for the job: a custom brush shaped like a real hair strand, randomized with shape dynamics and scattering so it doesn’t repeat obviously, then painted onto a layer mask with varying angles to match how hair actually falls. Combine this brush-based hair technique with the Pen Tool for the rest of your subject’s body, and you’ll have a complete, natural-looking cutout ready for any new background or composite.
Quick Reference: Keys, Menus and Settings
- Paint one hairNew layer, B, size about 4 px with [ and ], Hardness 0
- Make the brushWhite square behind the stroke (Shift + Delete to fill), then Edit > Define Brush Preset
- Randomize itWindow > Brush: Shape Dynamics, Angle Jitter 2 to 3%, Roundness Jitter, Scattering on both axes about 20%, less Spacing
- Save itBrush panel menu > New Brush Preset
- Mask the bodyPen path > Make Selection, then the layer mask icon; Solid Color white layer behind
- Paint the hairHair brush on the mask: white shows, black hides; change Angle in Brush Tip Shape to follow the hair
- Check the maskAlt/Option-click the mask; Properties > Density to see through it
No AI, no generative credits.

Free Downloads
Use the Same Hair Brush
Get the hair brush Aaron builds and paints with in the video, ready to load into Photoshop, plus the PDF guide with every brush setting. Free with a PHLEARN account.
Cutting Out Hair With a Brush: Common Questions
Why cut out the body and the hair separately?
The body has a fairly hard edge that the Pen tool handles well. Hair goes in every direction, so it gets a custom brush painted on the mask instead.
How do I make a brush that looks like hair?
On a new layer, paint one thin stroke (about 4 pixels, Hardness 0) shaped like your subject’s hair. Put a white square behind it and go to Edit > Define Brush Preset.
What if my subject has curly or wavy hair?
Paint the stroke in that shape. Aaron’s subject has spiky hair, so his stroke is straight; a curly or wavy stroke makes a brush for that hair.
Why does the stroke need a white background?
Define Brush Preset turns whatever is in the selection into the brush. The black hair on a white square becomes the brush tip.
My brush looks like one hair stamped over and over. How do I fix it?
Open Window > Brush and turn on Shape Dynamics with Size Jitter, a little Angle Jitter (2 or 3%) and Roundness Jitter, plus Scattering on both axes. Lower Spacing in Brush Tip Shape.
How do I keep all those brush settings?
From the Brush panel’s menu at the top right, choose New Brush Preset and name it, like “hair final”.
How do I paint the hair onto the cutout?
Click the subject’s layer mask and paint white with the hair brush to bring hair back, or black to hide the background between strands.
Why do all my painted hairs point the same way?
Change the Angle in Brush Tip Shape as you work so the strokes follow the real hair: upright in one spot, leaning the other way in another.
How do I check what the mask looks like?
Alt/Option-click the layer mask to see it in black and white. To see the original photo through it, lower Density in Window > Properties.
Is the hair brush free?
Yes, with a free PHLEARN account. You get 1 Photoshop brush and 1 PDF guide: the hair brush from the video.
Master Photoshop, Lightroom and Photography
Join PHLEARN PRO for $12.99 a month or $99.99 a year. Cancel anytime, with a 100% money-back guarantee.





