How to Create a Manual HDR Image in Photoshop
-
Add to
favorites
-
DifficultyMedium
-
Length1.5 hours
-
Videos9
-
Software
Description
Bring out every detail in your landscapes with manual HDR processing in Photoshop! Learn how to seamlessly blend multiple exposures together, add definition with dodging and burning, and help colors pop with professional color grading.
Follow along with the included RAW images and learn how to sculpt highlights, midtones, and shadows for the perfect HDR photo.
THIS COURSE INCLUDES
- 4 Sample Images
- 1 Sample PSD
- 1 Photoshop Action
SHARE
Table of Contents
Course Downloads
Extraordinary Detail with HDR
What is HDR?
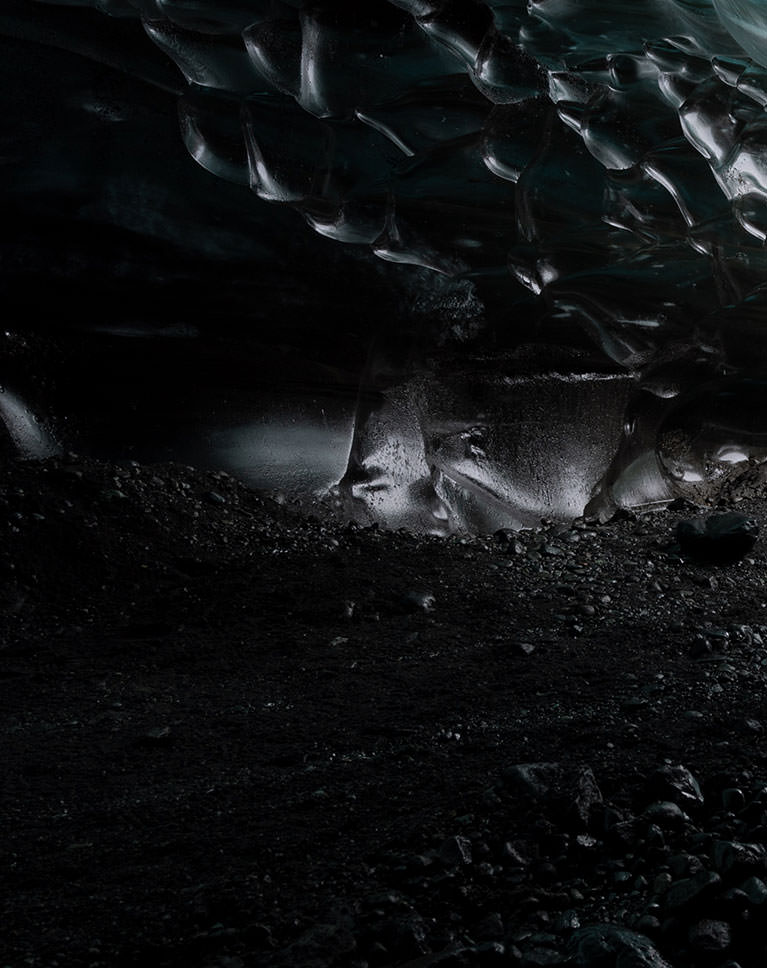
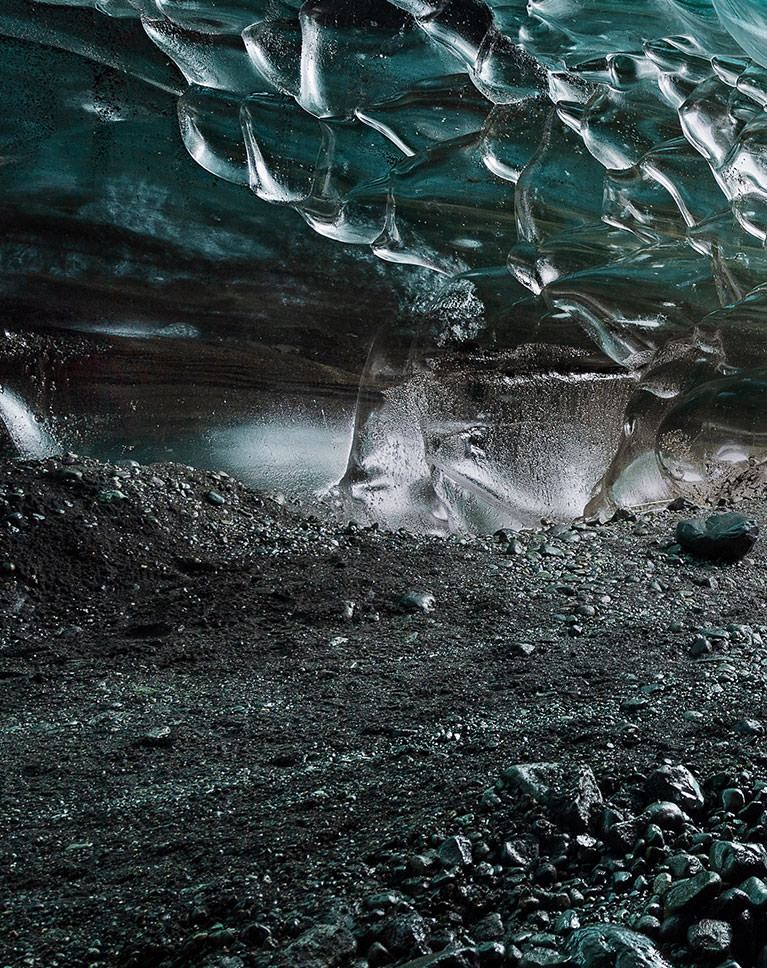
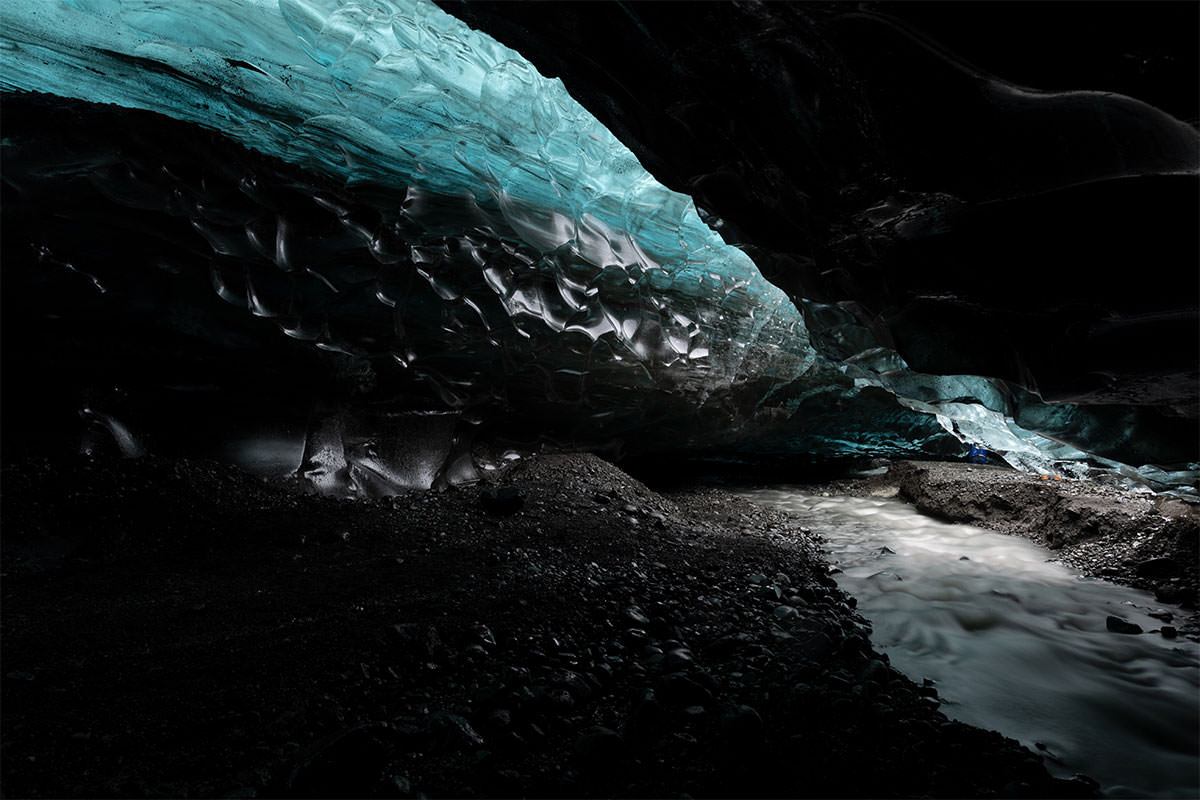
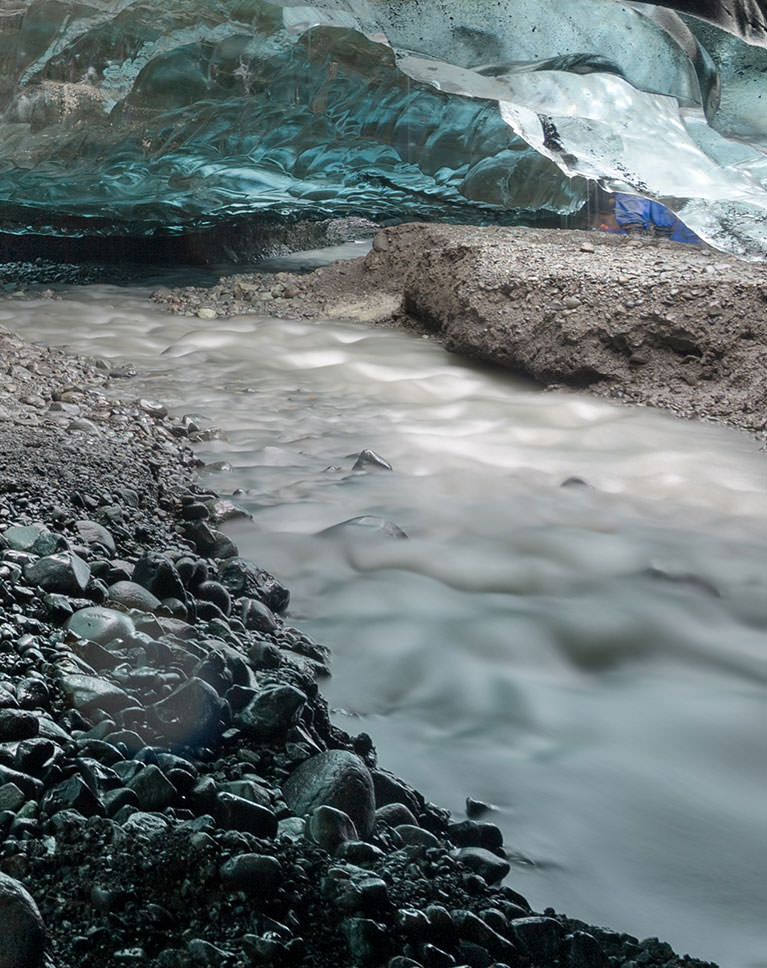
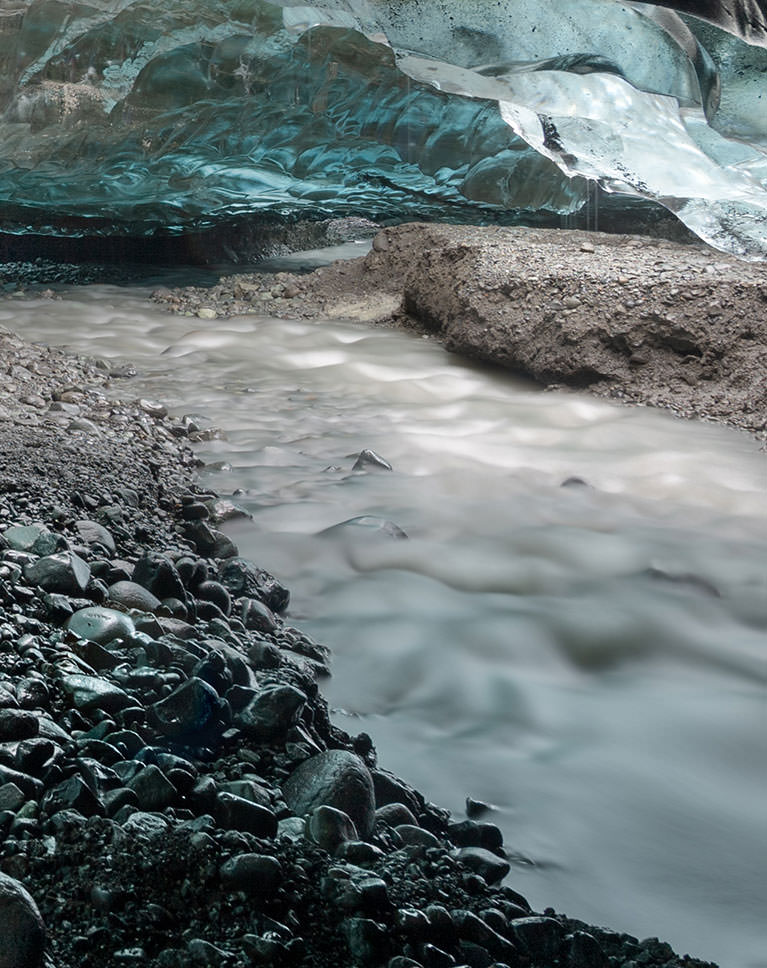
Cameras can’t quite capture nature like our eyes can. If you’re tired of landscape photos where the sky is blown out or land that looks dark and murky, this tutorial is for you! HDR is a method of blending multiple exposures which will help you capture picture-perfect detail throughout the highlights, midtones, and shadows of a photo.
Create Manual HDR in Photoshop
Cameras have it. Smartphones have it. Even Photoshop and Lightroom both offer automatic HDR tools. But automatic HDR won’t always get the job done the way you want. Learn how to sculpt light using Photoshop, Adobe Camera RAW, and Layer Masks for beautiful landscapes, every time.
Adobe Camera RAW
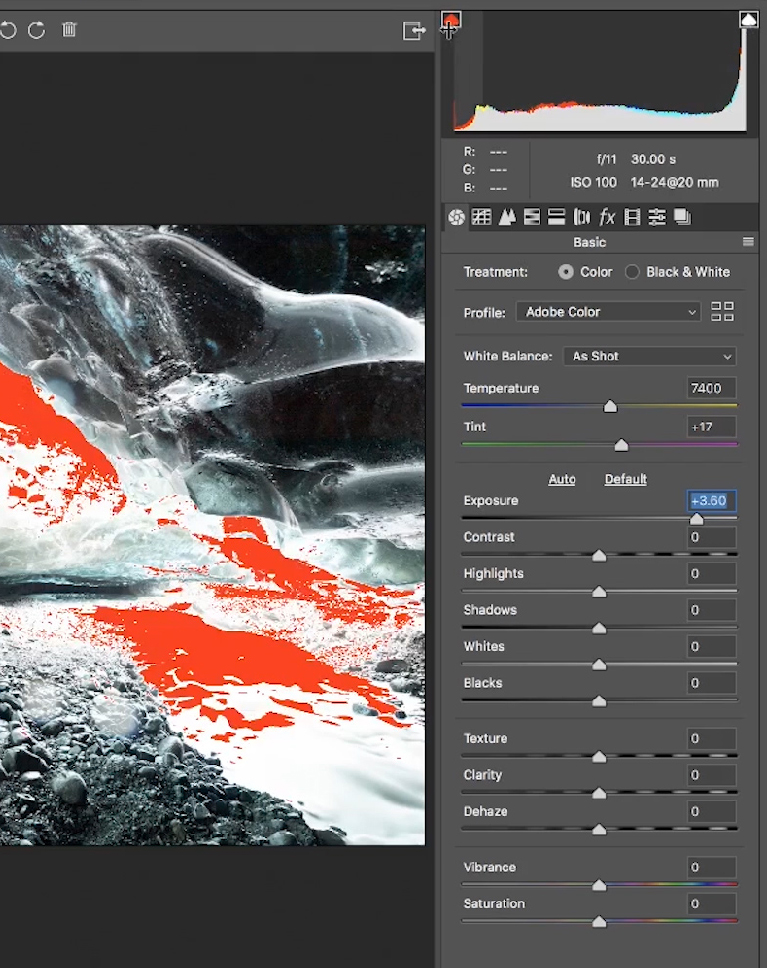
Learn how to make adjustments to RAW images in Photoshop with Adobe Camera RAW! Correct exposure, white balance, and master a powerful non-destructive RAW workflow. When you’re ready for more, try How to Master Adobe Camera RAW in Photoshop!
Blend Multiple Exposures
Getting the perfect image sometimes requires multiple, different exposures. Learn the Photoshop tools and techniques that will allow you seamlessly combine any number of exposures for beautiful highlight, midtones, and shadow detail. And if you enjoy HDR, take it to the next level with Master Luminosity Masks in Photoshop.
Selections with Channels
Channels are one of the best tools in Photoshop for making precision selections. Learn how to use Channels to select areas of light and dark and use professional masking techniques to seamlessly blend exposures together.
Smart Objects
Smart Objects are key for a flexible and professional workflow. Not only that, but they allow you to work directly with RAW files in Photoshop! Use Smart Objects to work non-destructively and make adjustments in Adobe Camera RAW at any time!
Sculpt Highlights & Shadows
Dodge & Burn Landscapes
HDR will help you nail the perfect exposure. Then dodging and burning will help you bring a scene to life. Follow along as we dodge and burn a landscape, enhancing the natural highlights and shadows giving the photo extraordinary shape and dimension.
Professional Sharpening
Sharpening is the best way to finish off an edit. Learn how to use our PHLEARN Sharpening Action to give landscapes a professional finish. Enhance the details in a scene while using contrast to help guide the eyes of the viewer.
Remove Objects & Haze
Sometimes things end up in our photos that we don’t want to be there. This is especially true of landscapes. Learn how to use common Photoshop tools to eliminate distractions like objects in the background, spots on a lens, and even haze! Master the art of removing distractions with How to Remove Anything in Photoshop
Increase Dynamic Range
No matter how nice the camera, it’s still not going to have the dynamic range necessary to capture every detail in both the brightest highlights and the darkest shadows of an image. Learn the art of manual HDR and turn your camera into a dynamic range powerhouse!
Incredible Detail with RAW
We recommend working with RAW whenever possible, especially when doing detailed work with HDR. Learn a professional RAW workflow using Adobe Camera RAW, Photoshop, and Smart Objects.
Why Manual HDR?
Automatic tools can save a ton of time, but if you want the best possible quality, do it yourself! Learn our manual HDR method that will help your landscapes stand out from the crowd.

Aaron Nace
PHLEARN Founder – Class Instructor
Aaron Nace is a photographer, Photoshop artist and founder of PHLEARN. He is the #1 Photoshop instructor in the world with millions of YouTube subscribers.
Robert Hacker
Photographer – PHLEARN PRO Member Since February 2019
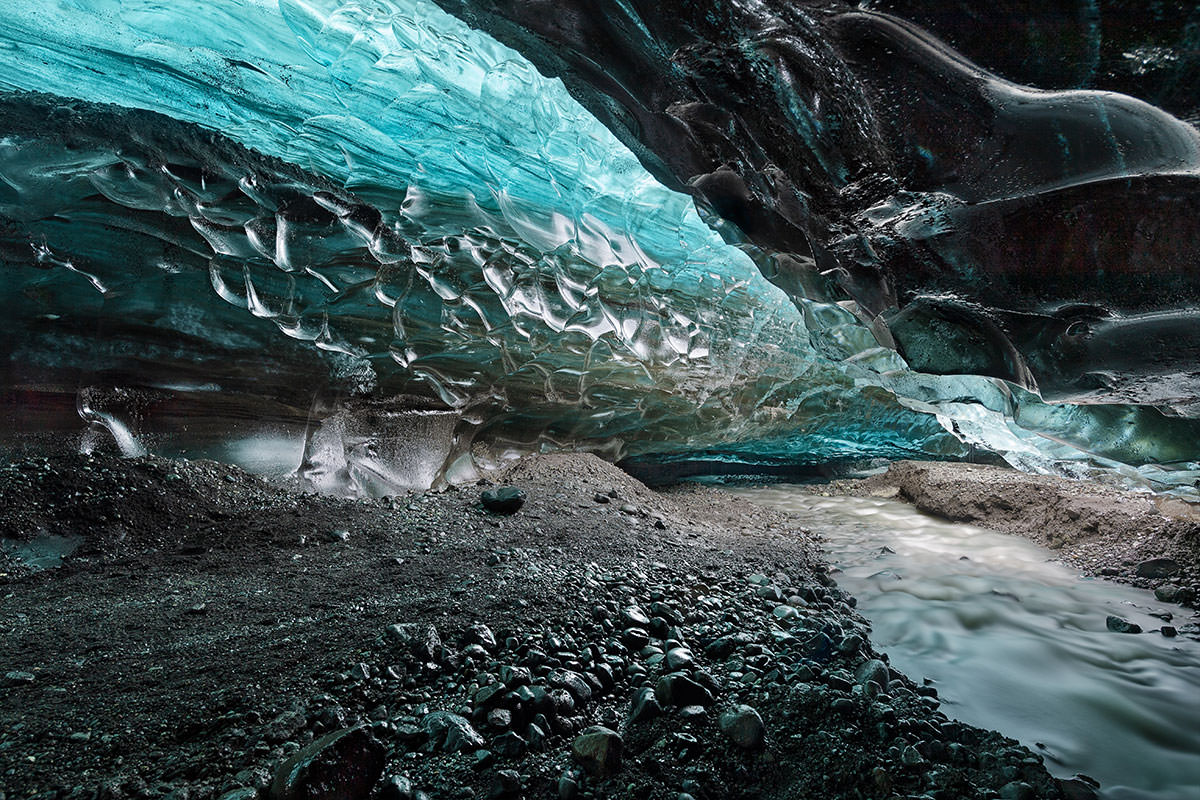
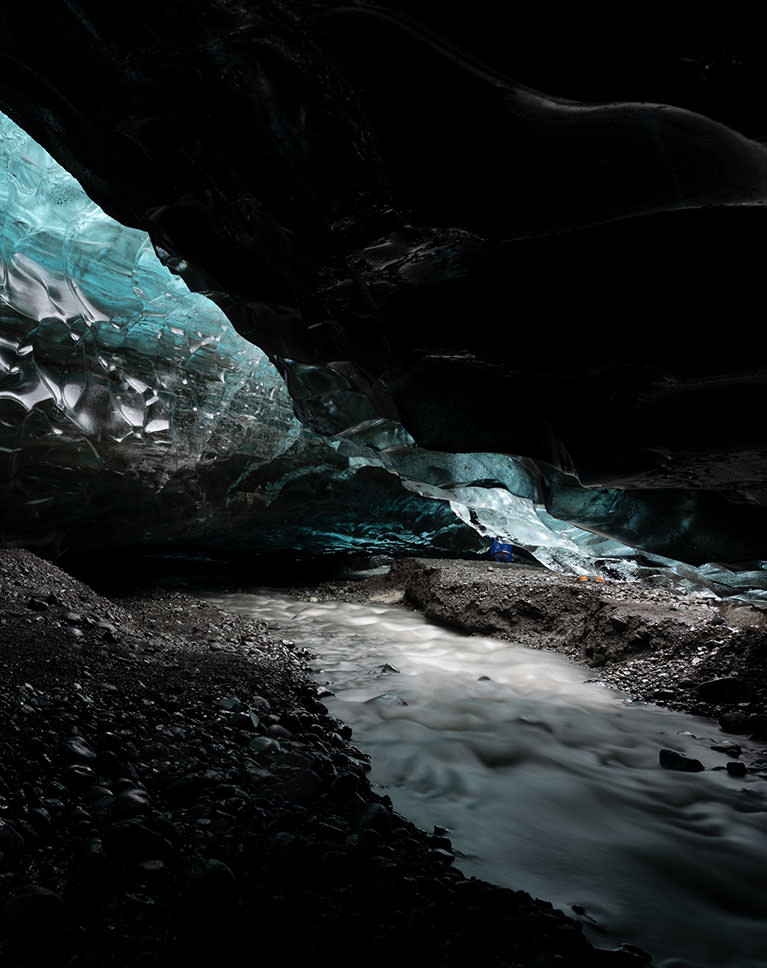
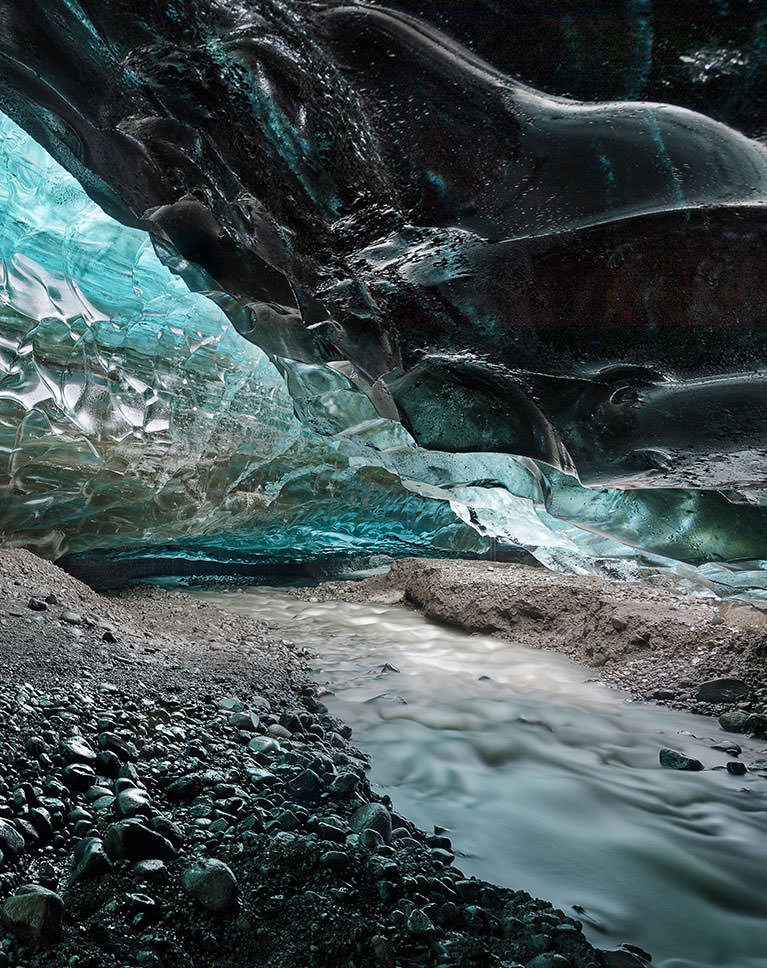
A big thanks to Robert for sending us his RAW images to use in this tutorial! Robert is a retired IT professional based in the Dallas, Texas area who enjoys taking landscape images. Other interests include woodworking and stained glass.
Reviews
New & Popular Tutorials
Training Site in
the World
Tutorials!
Ratings
and Counting
Subscribers






Need to update my previous review: To be honest, the reason I decided to go ahead and sign up for the pro version of this is because of moments like the one in video 6 at 7min 10sec. The tutorials are incredible, no doubt, and I’ve learned more about photoshop today than I have in weeks but Aaron makes me laugh so hard and I love it.
Wow, using channels for selections is an absolute game changer! I’ve always known I needed to up my game in blending variations of the same image together but never knew what the next step was. I just couldn’t get selections to be precise enough. Well, this is it. I can’t wait to keep diving into this practice and see what the heck I San come up with.
Very good. I will go through this again, maybe more than twice. Sometimes I wish you would slow down a little and be sure you are clear about what button you are pushing, etc. I got lost but easily recovered. Now to try this on my own images.
Thank you so much for your tutorials, it’s time-saving and really effective in workflow
Thanks Aaron for a great tutorial!
Thanks Aron. This tutorial makes me reluctant to use Lightroom to create a HDR. Have you created a tutorial showing your Photoshop settings? Some times you move the photo within Photoshop and I am not sure how you did this…. However, this is small concern, considering what I have learnt. Again Thanks
It is really revolutionary that Aaron provides such a well thought through methodical process for the color grading workflow, which otherwise can be quite chaotic and time consuming if you don’t have a plan in the first place.
Great tutorial. This along with the luminosity mask tutorial had taught me so much new ways to enhance landscapes
Awesome! Great Tutorial!!
I enjoyed this tutorial so much! Thank you Aaron. I found it relaxing and informative at the same time, bringing me so much joy. Now I want to go out and find some amazing landscape photographs that I can manually HDR for prints to put in my house. I have been a long time fan of Phlearn and this is one of those tutorials that keeps me coming back for more.
This is a great tutorial. Thanks for doing this one!
Very impressive tutorial! HDR was always a non-starter for me due to the unpredictable results. Now, I see how I can craft a properly exposed scene.
I just bought my training set, I have come to consolidate information.
Very good tutorial, and great images to work with (thanks Robert!) I have to agree with previous comments regarding how much more control you have using luminosity masks. However, if you search for “luminosity masks” on the Phlearn site, you’ll find that Aaron already has a tutorial covering this method. Regardless, this is a great alternative method for those that don’t have the time or patience to learn how to generate and use these type masks. While luminosity masks can be fairly complicated, there are inexpensive tools/panels you can purchase such as TK Actions (my personal favorite), or Raya Pro to help with this. It’s important to note that there are pro’s & cons with either method. Channels are limited compared to LM’s, but pretty simple to learn. LM’s require more time to learn and to generate all of the zones, unless you’re using a plug-in like TK Actions. Still have to learn to use the panels too, but both have great tutorials if you have the time!
Hi Aaron/Phlearn team. As always a great, useful and super well exposed lesson. I have a Pro subscription and I’ve been following you for a while now. I was used to skip the tutorials regarding topics I thought to know well, but I don’t do it anymore. I now watch every tutorial you post as I found out that there is ALWAYS something new to learn. I still thank you for that, the subscription has always been really rewarding. I wish there would be an Aaron 2 offering the same level of tutorials in the field of graphic design/illustration , although a lot of great lessons here helped me a lot with the graphic process too. Keep up with your fantastic work! Simone
Thank you! Recently I’ve been doing some real estate / interior photography where HDR is applied a lot and I’ve been struggling with it. Now I am pretty confident that my final edits will look way better!
Great Tutorial i ever seen…..thanks to PHLEARN TEAM….!???
Great tutorial. Thank you.
Personally, I think using luminosity masks to blend the layers together gives you much better control than just creating a channel selection and inverting it. I think your viewers would benefit from either a tutorial using that approach or at a minimum a discussion of that as as an alternative approach. I have no issues with what was presented, just with what wasn’t.
Very good tutorial, Aaron. Good for review, and keep looking for better image quality. Thanks! Nice picture, Robert!
I am thoroughly enjoying this video. Still getting through it (keep going back and forth and jumped over to another video to supplement). I can see this will be something I will start using a lot. I have been wanting to do HDR but have not wanted to buy any particular program or necessarily work with what is in Photoshop. This will give me the opportunity to better control the outcome.
Great tutorial & explanation!
Great tutorial … as always!!