Download Sample Images
description
Learn how to create realistic shadows with the Brush Tool in Photoshop!
Share
Add Realistic Shadows to Any Photo
Creating Shadows in Photoshop
If you’re placing a person or an object on to a new background, you’ll often need to ad shadows to help integrate them into the new environment and to help match the lighting between scenes.
Luckily, creating realistic shadows isn’t terribly difficult, and it can be done mostly using one tool: the Brush Tool!
What You’ll Need
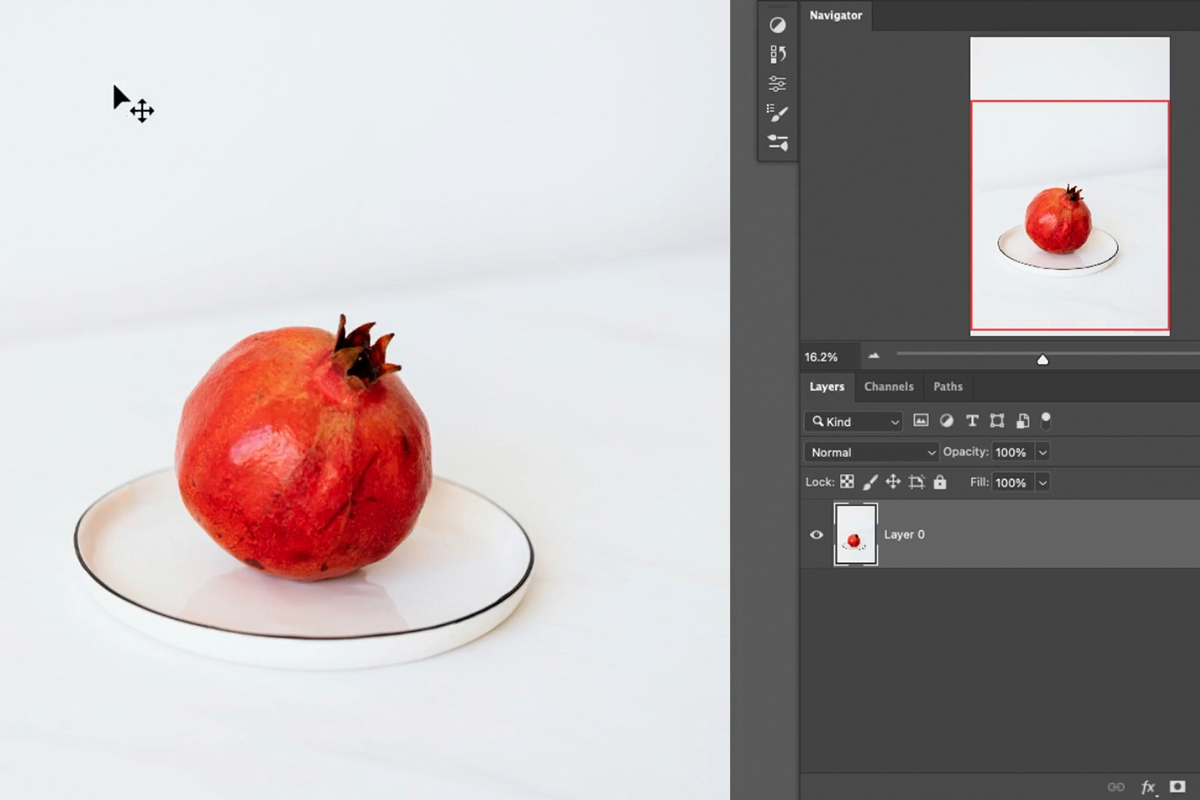
Since this is most commonly done when placing something on to a new background, you’ll need an object that has been cut out from its original background.
There are countless ways to select and cut out objects from their backgrounds, so we won’t be going in depth here. Just remember that the more accurate selection you make, the better the final result will be.
We chose a relatively simply image that would allow us to make quick work of cutting out the subject.
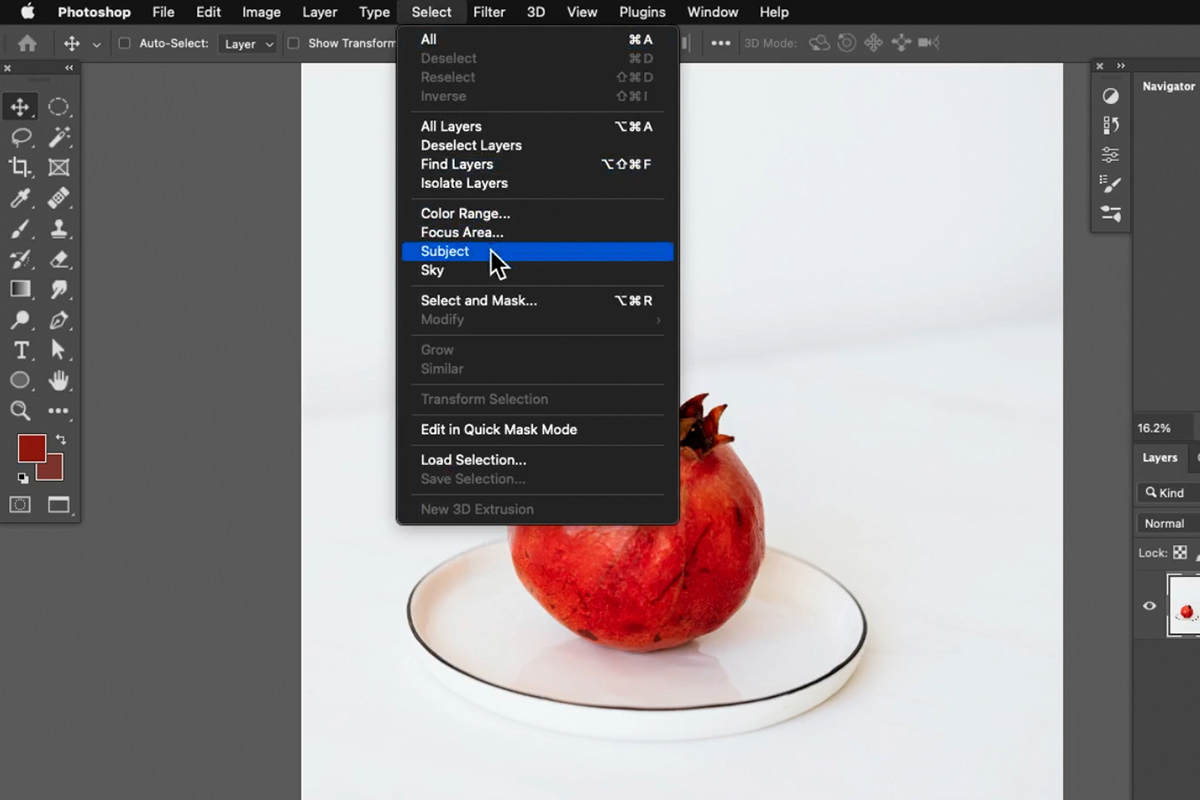
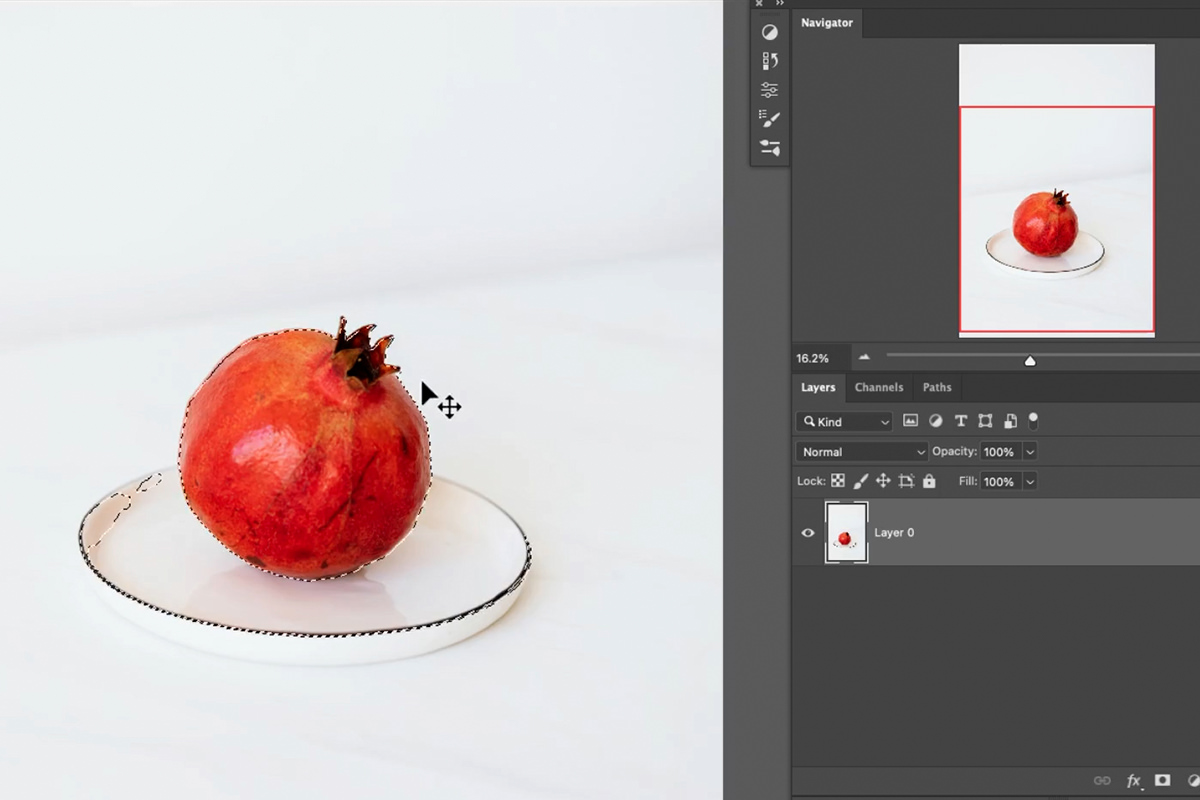
Since it’s a bright, colorful object on a nearly pure white background, we can use one of our favorite automated selection tools, Select Subject, to quickly make an accurate selection of the object.
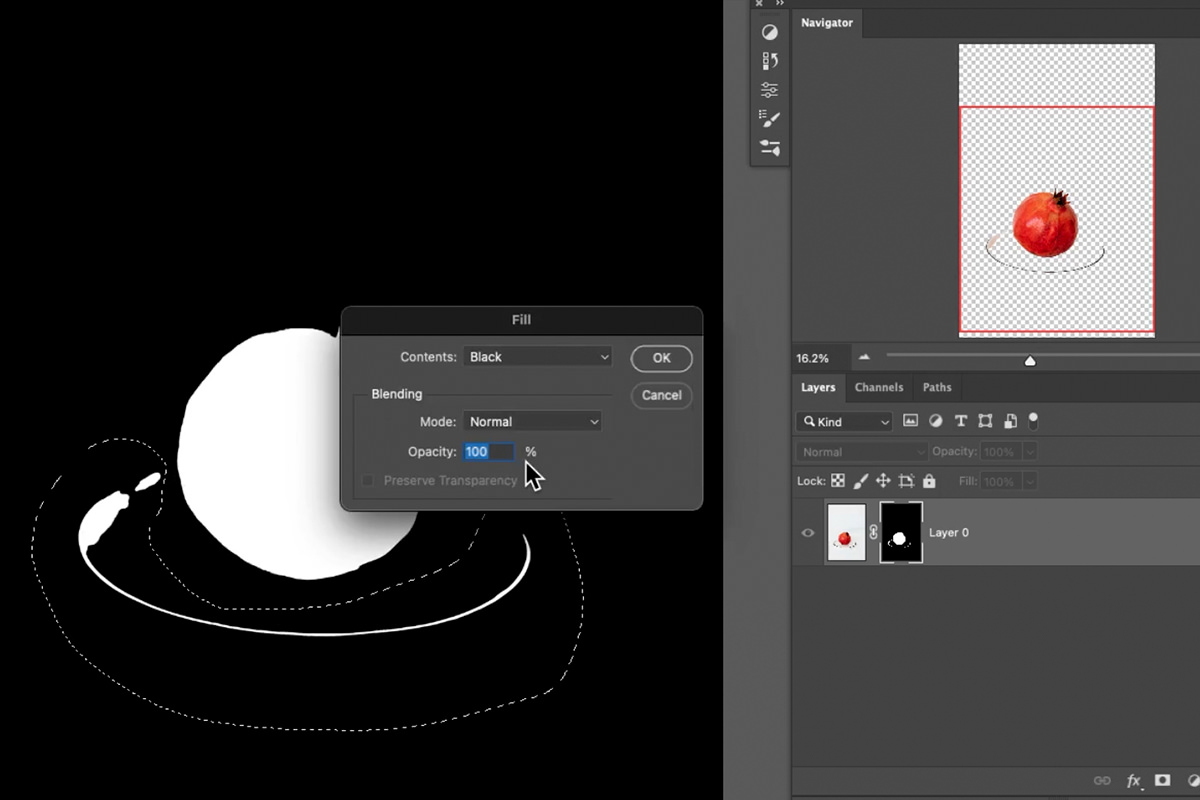
If there’s any excess, just go into the Layer Mask and fill the unwanted areas with black, and this will remove them from the image.
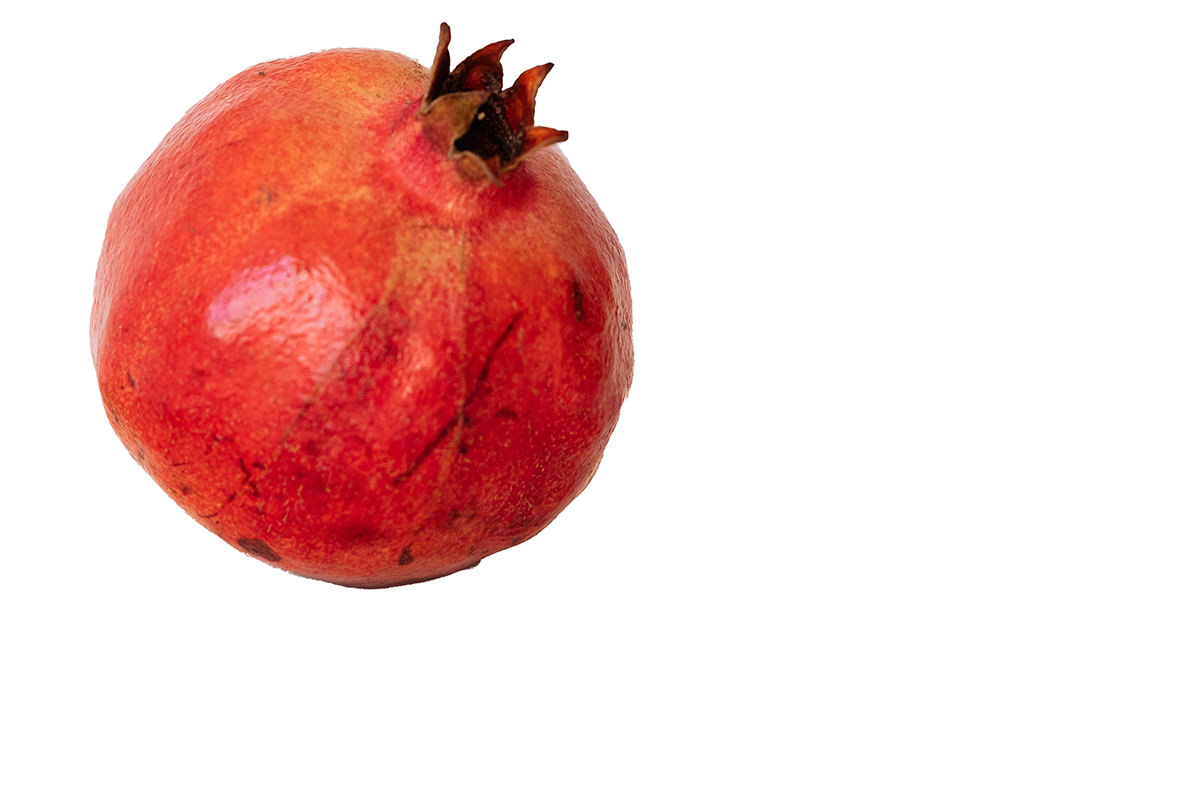
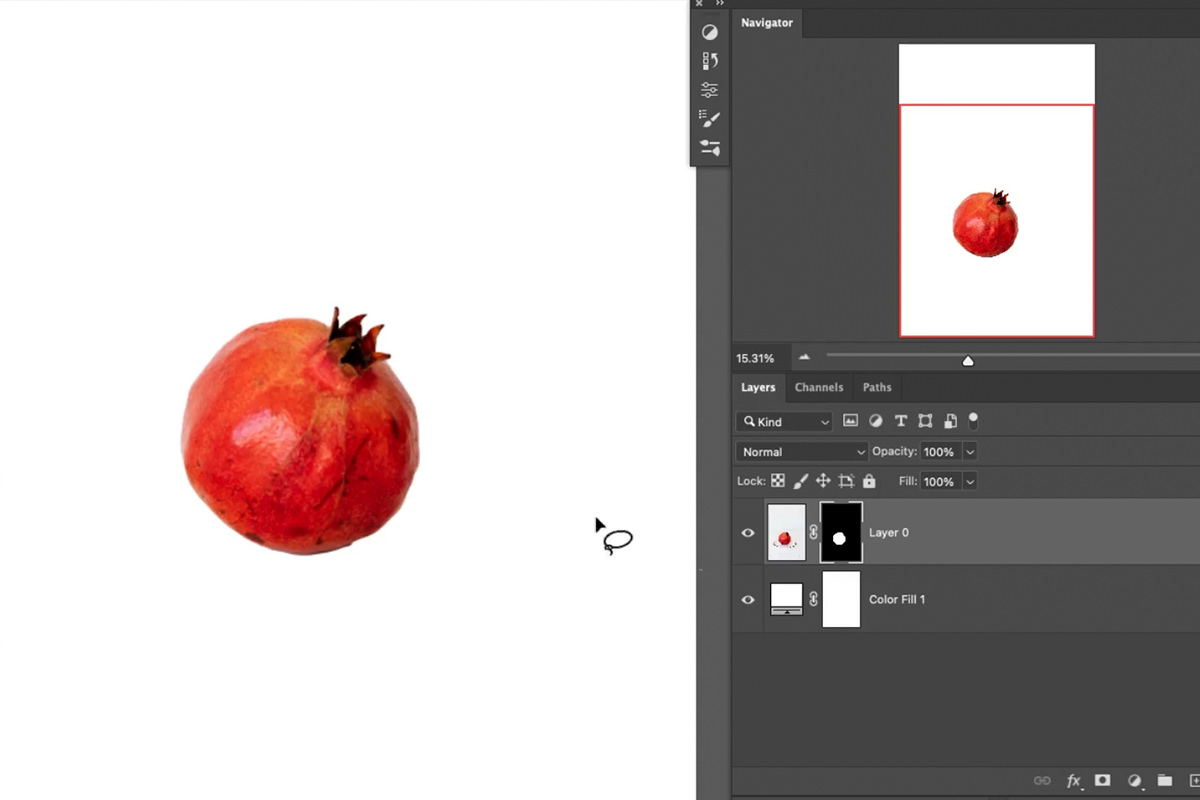
Once the selection is made, simply load it as a Layer Mask on the image with the object. Pop a Solid Color Fill Layer set to white underneath of the image Layer, and we’re good to go!
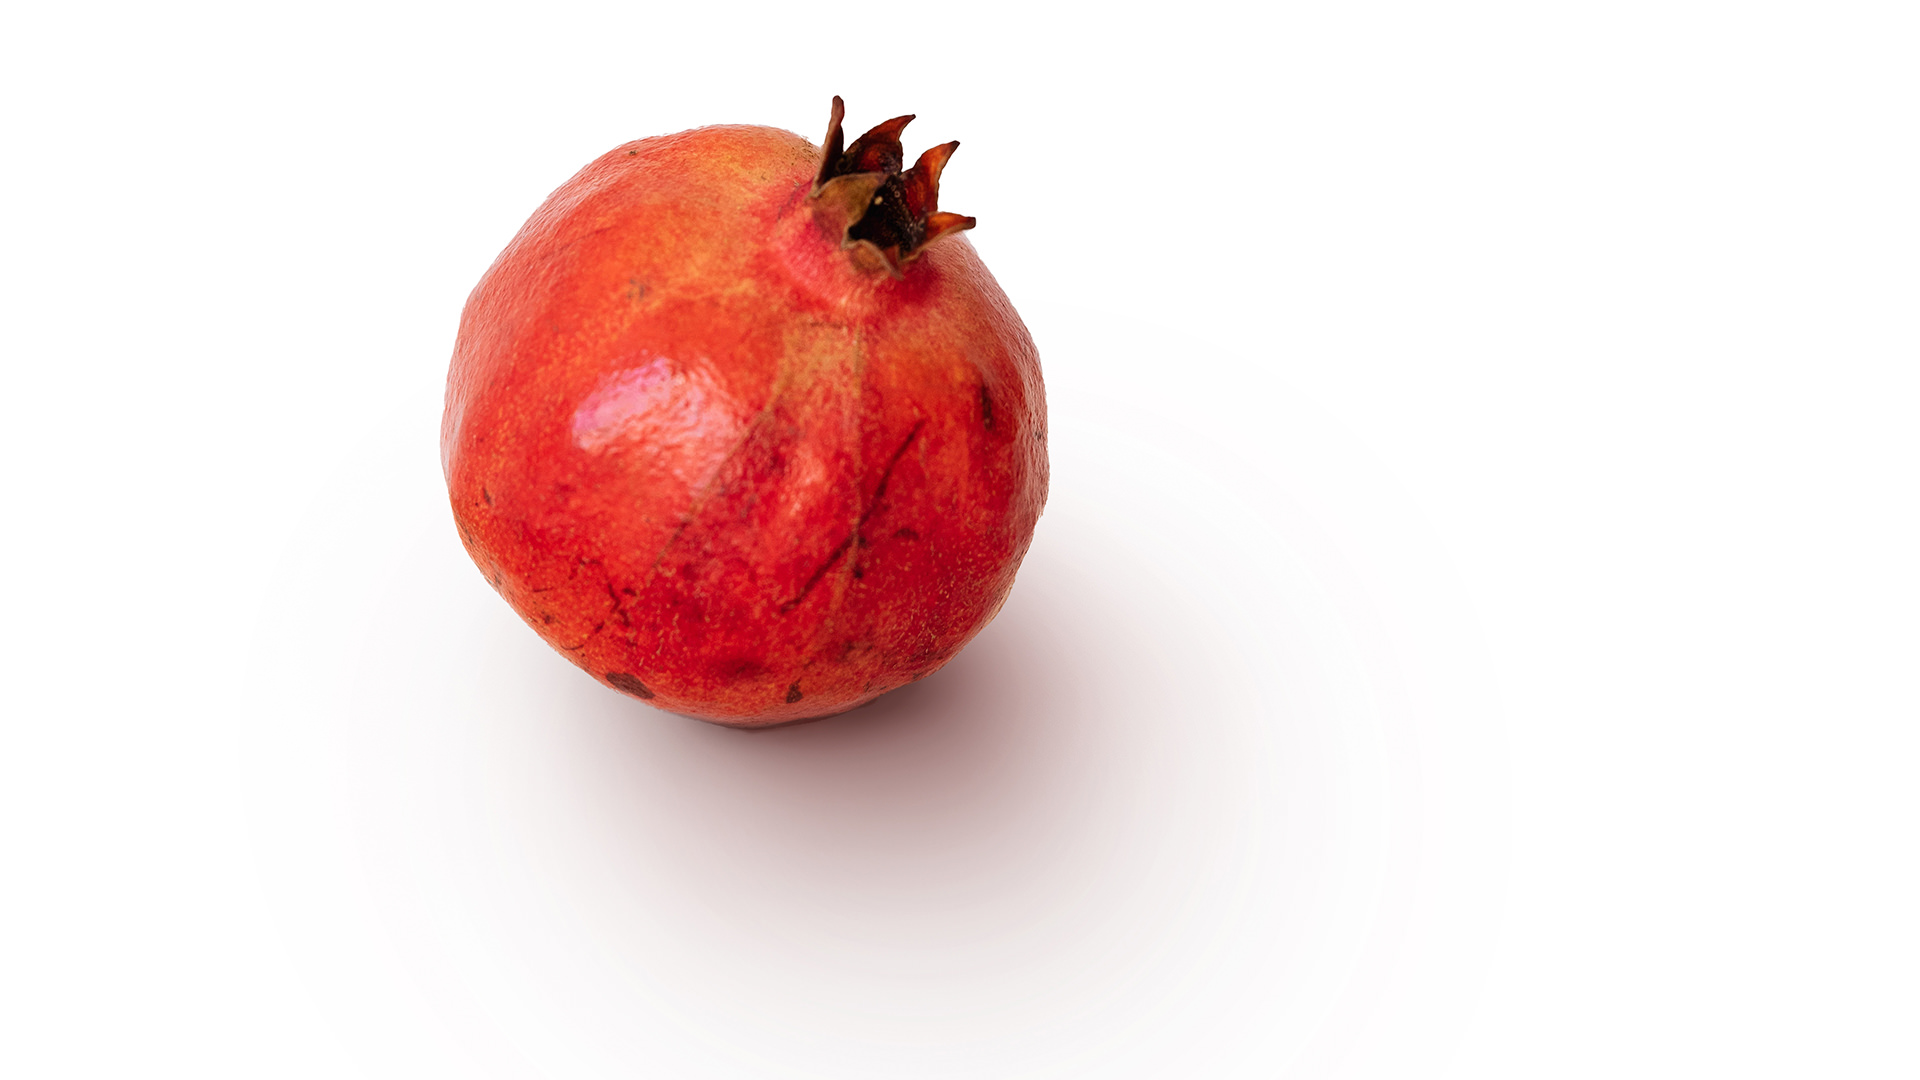
We have an object cut out and over top of a plain white background, and now we’re ready to add the shadow.
Painting Shadows with the Brush Tool
Believe it or not, making the selection is usually the most difficult step in this process. Creating the shadow takes a bit of time, but the process is relatively easy and mostly involves only the Brush Tool to make the magic happen.
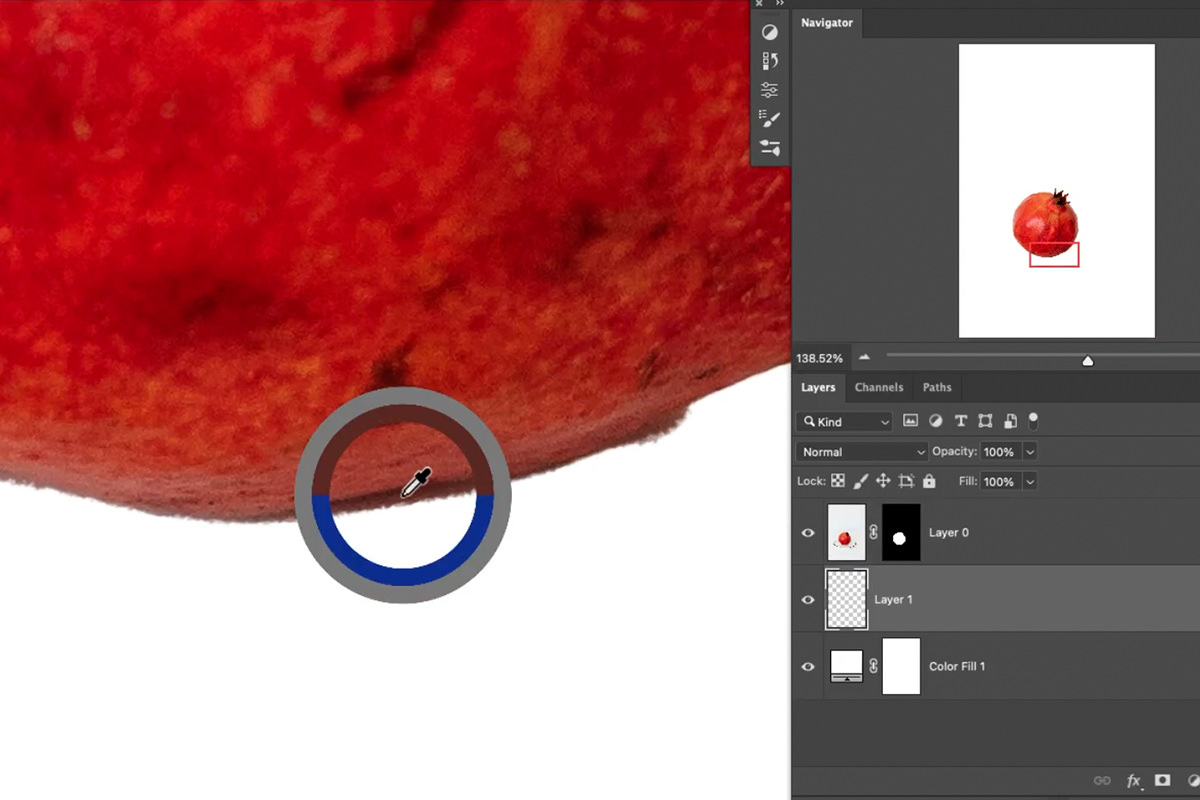
Before we get started, there’s one very important thing to keep in mind when creating your own shadows in Photoshop. Shadows are rarely ever just black and gray. Since a tiny of bit of light is still being reflected off of the surface of the object, a tiny of bit of the original color will go with it. So when you’re painting shadows, be sure to use colors sampled from any darker shadows in the original photo.
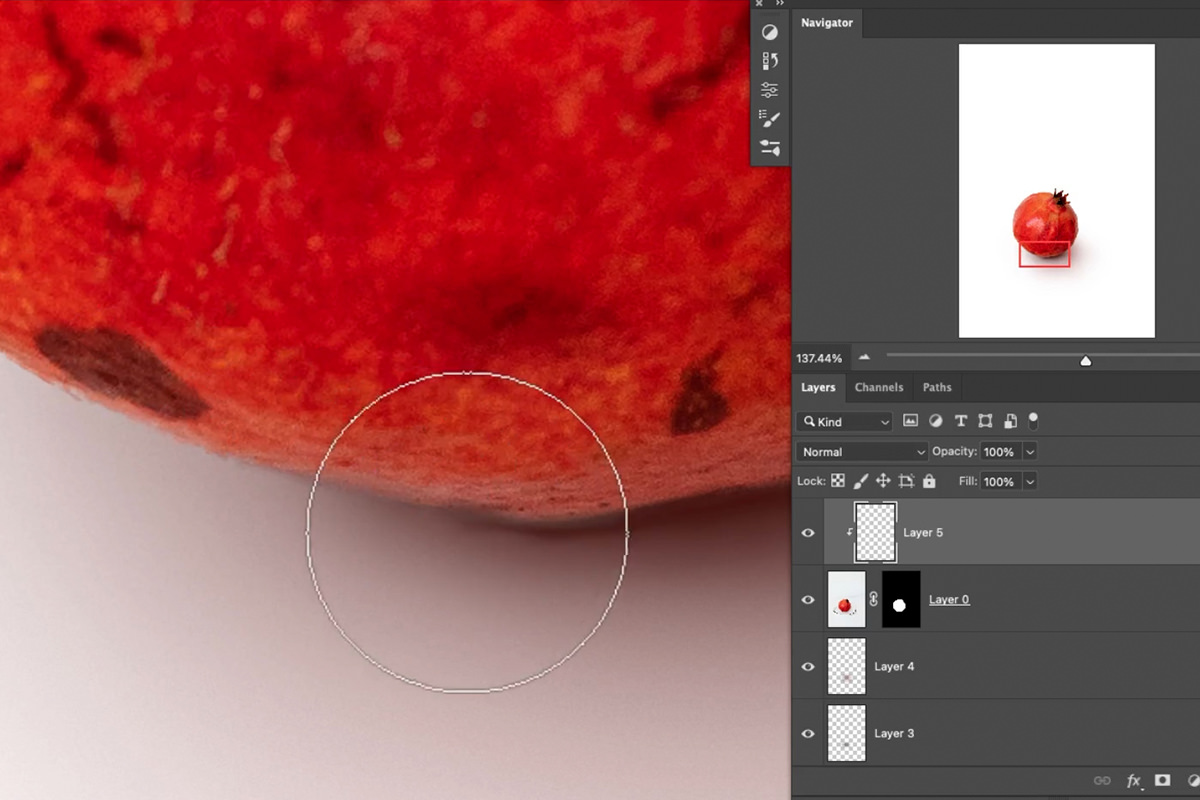
Notice how we’re zooming in to the edge of the fruit to grab some of the original shadows that are being cast underneath it.
Also, shadows will be darker and more defined the closer they are to the object. We want tighter, denser, and darker shadows right along the edge of the object, and then, the further away the shadow gets, the lighter and more spread out it will become.
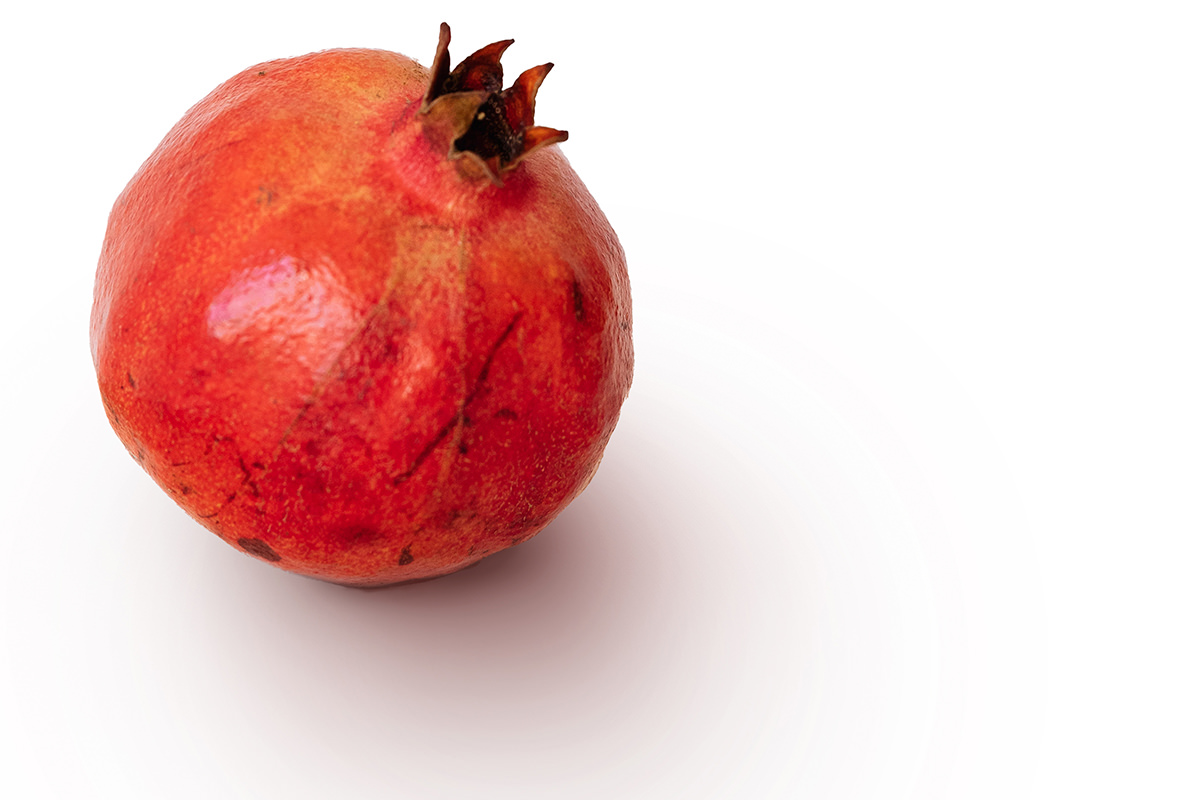
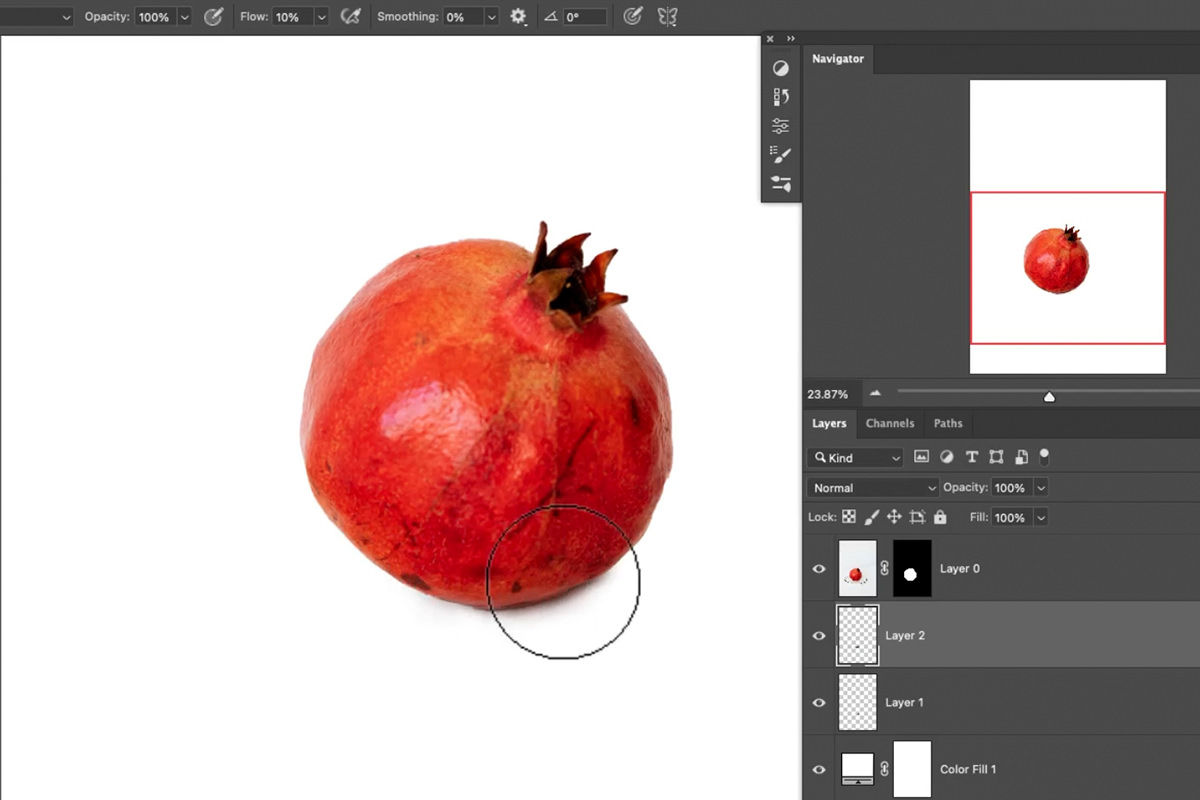
Let’s make some shadows. Create a New Layer underneath of the Layer with the object. Sample the darkest shadow color from the image, and begin painting along the edge (and underneath) of the object with a medium-sized brush set to a low Flow.
It might take you a few attempts to get something that looks natural. Be sure to pay close attention to how the natural light and shadows from the image are falling on the object. Then try to match the direction and intensity as you paint the new shadow in.
Once you get a thin, dark shadow along the bottom edge, it’s time to move on to the next steps.
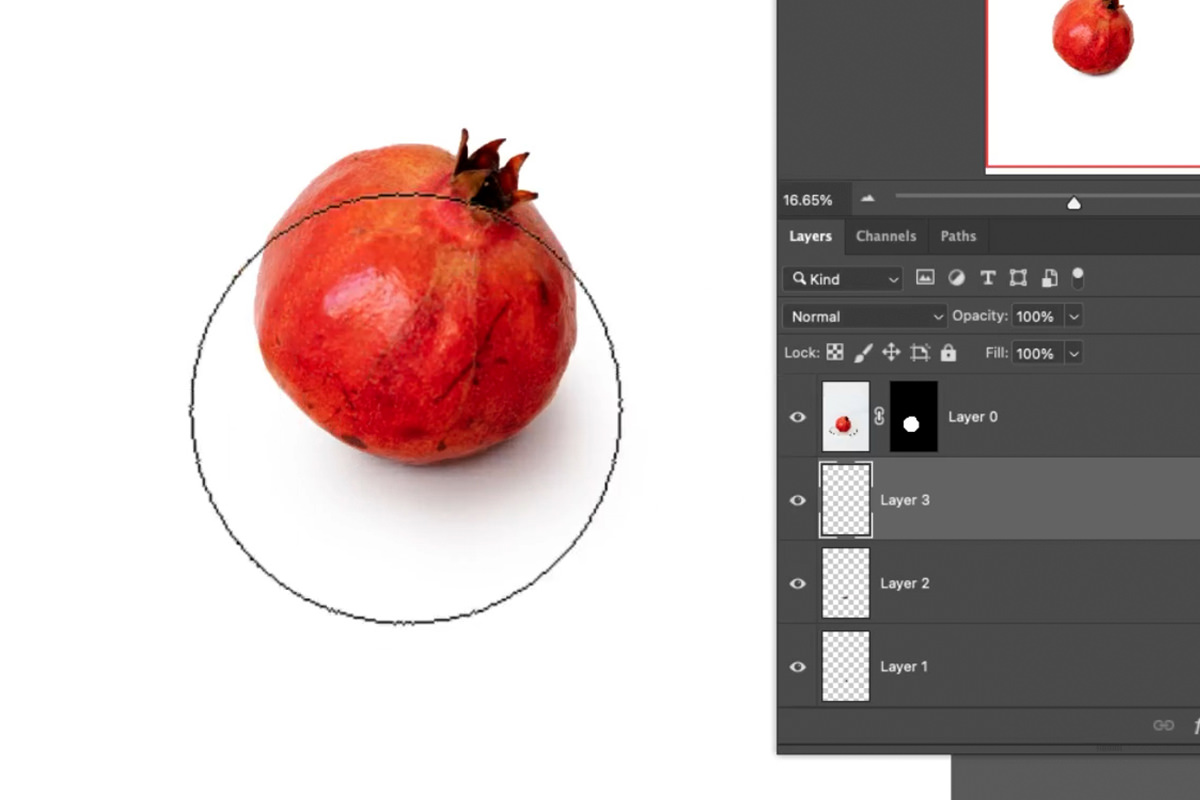
What are the next steps? Well, to do pretty much the same thing you just did, just with a slightly lighter shadow color (again, sampled from the photo), and with a slightly larger, softer brush.
The entire process might require you to make several Layers, each with a slightly different intensity and a slightly lighter color. The goal is to get a natural looking gradient, from dark to light and hard(ish) to soft, that extends out from the object.
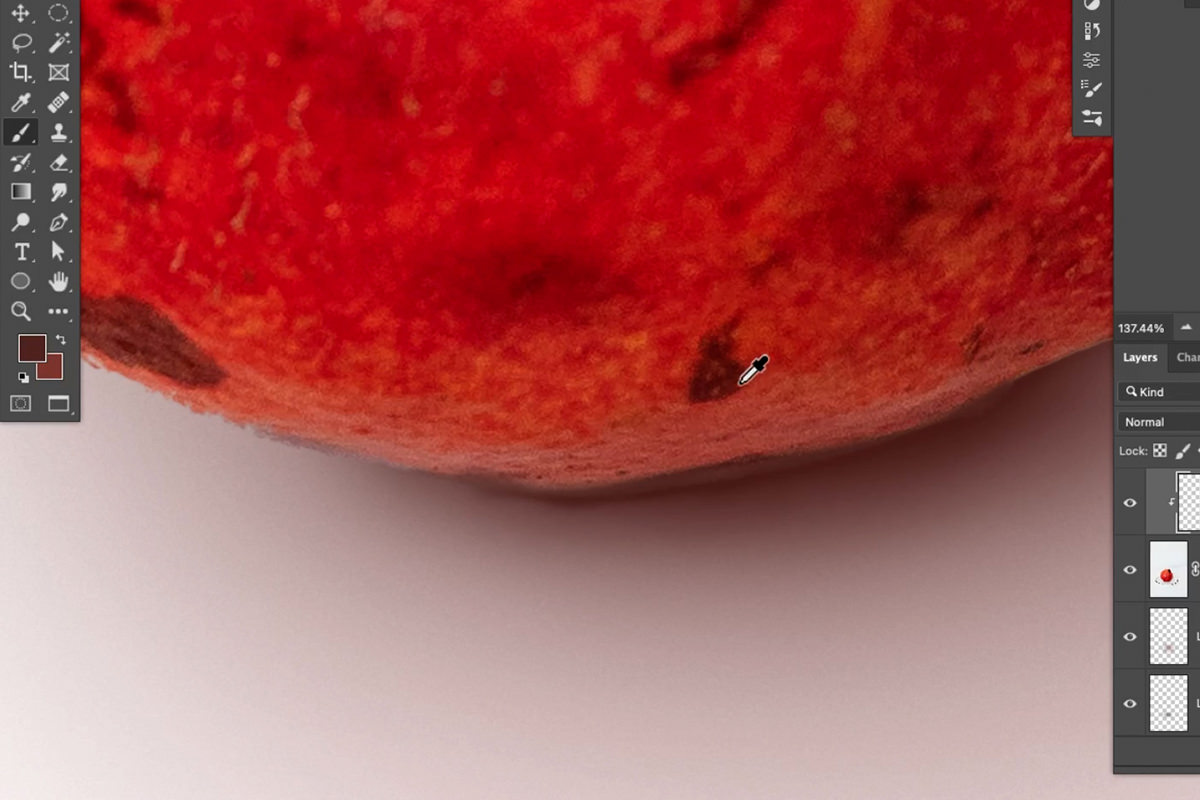
As you work, you might notice that some elements of the original lighting aren’t working with the new shadow you created. In our example, we caught a bit of highlight along the bottom edge of the fruit.
To fix this, just create a new Layer and add it as Clipping Mask over the Layer with the object. Now this Layer will only appear where the object appears. Simply paint shadows on the interior of the object in the same way you’ve been painting the exterior shadows.
Soften Shadows with Blur
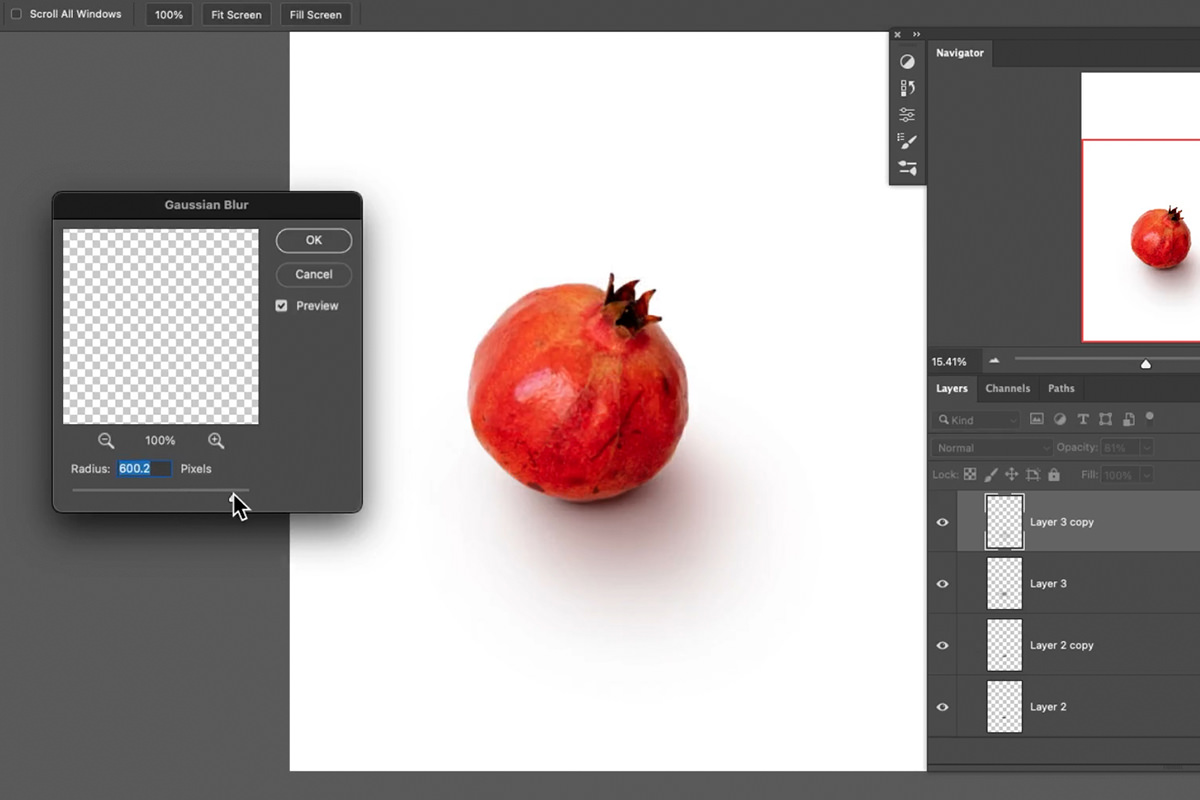
If you want to further refine the shadow you’ve painted, a Gaussian Blur can help give them a much softer and more natural spread.
You apply a Gaussian Blur to single Layers, or Group everything together to make everything a bit softer. Just be sure to zoom out from the image often to get a better idea as to whether or not the effect looks natural.
