Download Assets
description
Learn how to change the color of nearly anything in Photoshop using the powerful Hue/Saturation Adjustment Layers. Clothing, products, eyes, and hair–no matter what kind of photos you work with, this is an essential skill for any Photoshop artist.
Follow along with all 30 episodes as we explore the the magic of Photoshop together!
Watch Next
JOIN 30 DAYS OF PHOTOSHOP (FOR FREE!)
Ready to jump in? Sign up and we’ll email you a printable calendar and daily class schedule so you can get started right away!
Image Source
- Alexandru Bogdan
Images sourced from Unsplash.
Share
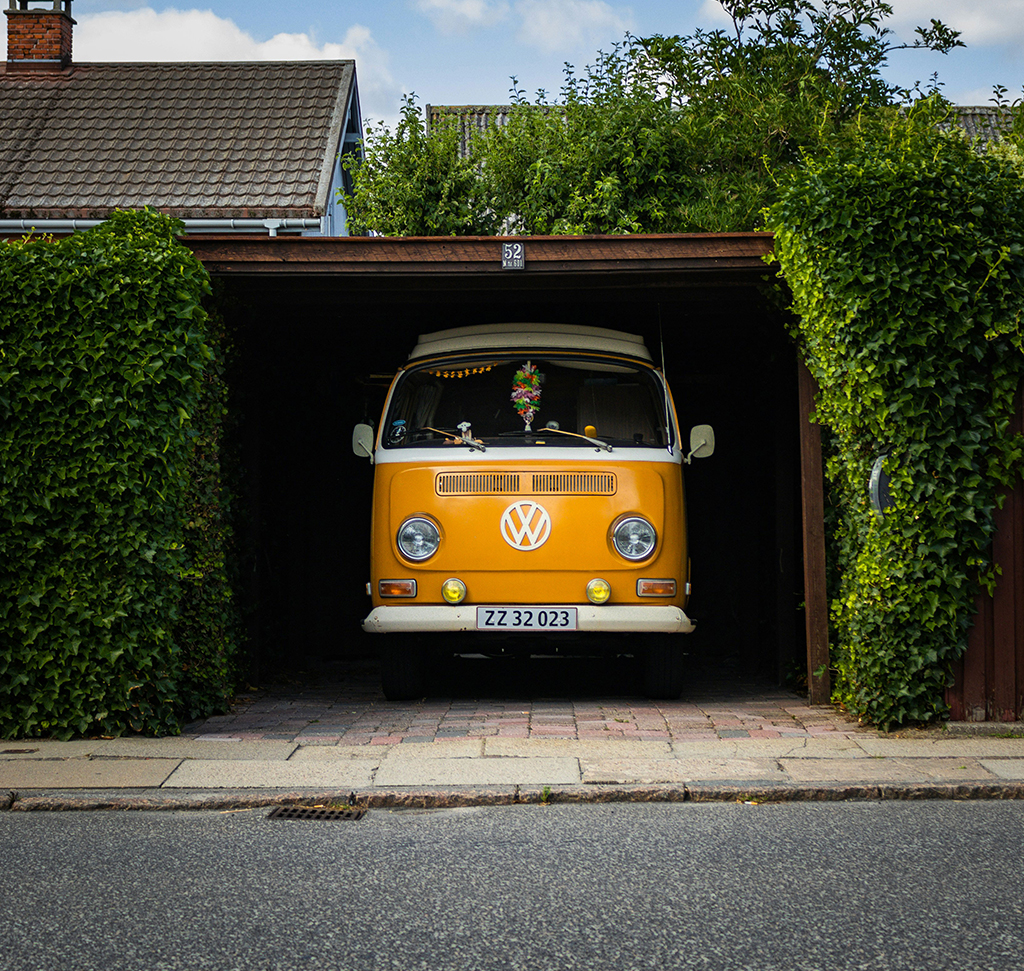
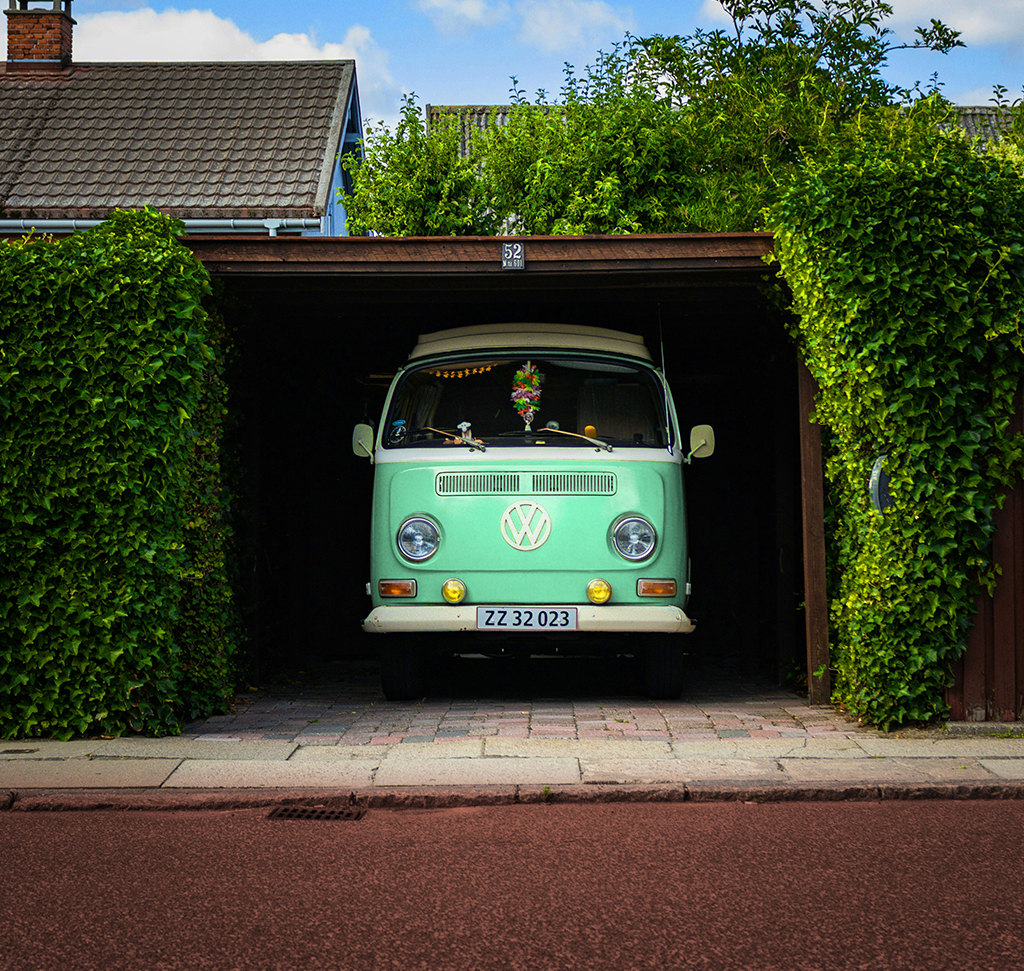
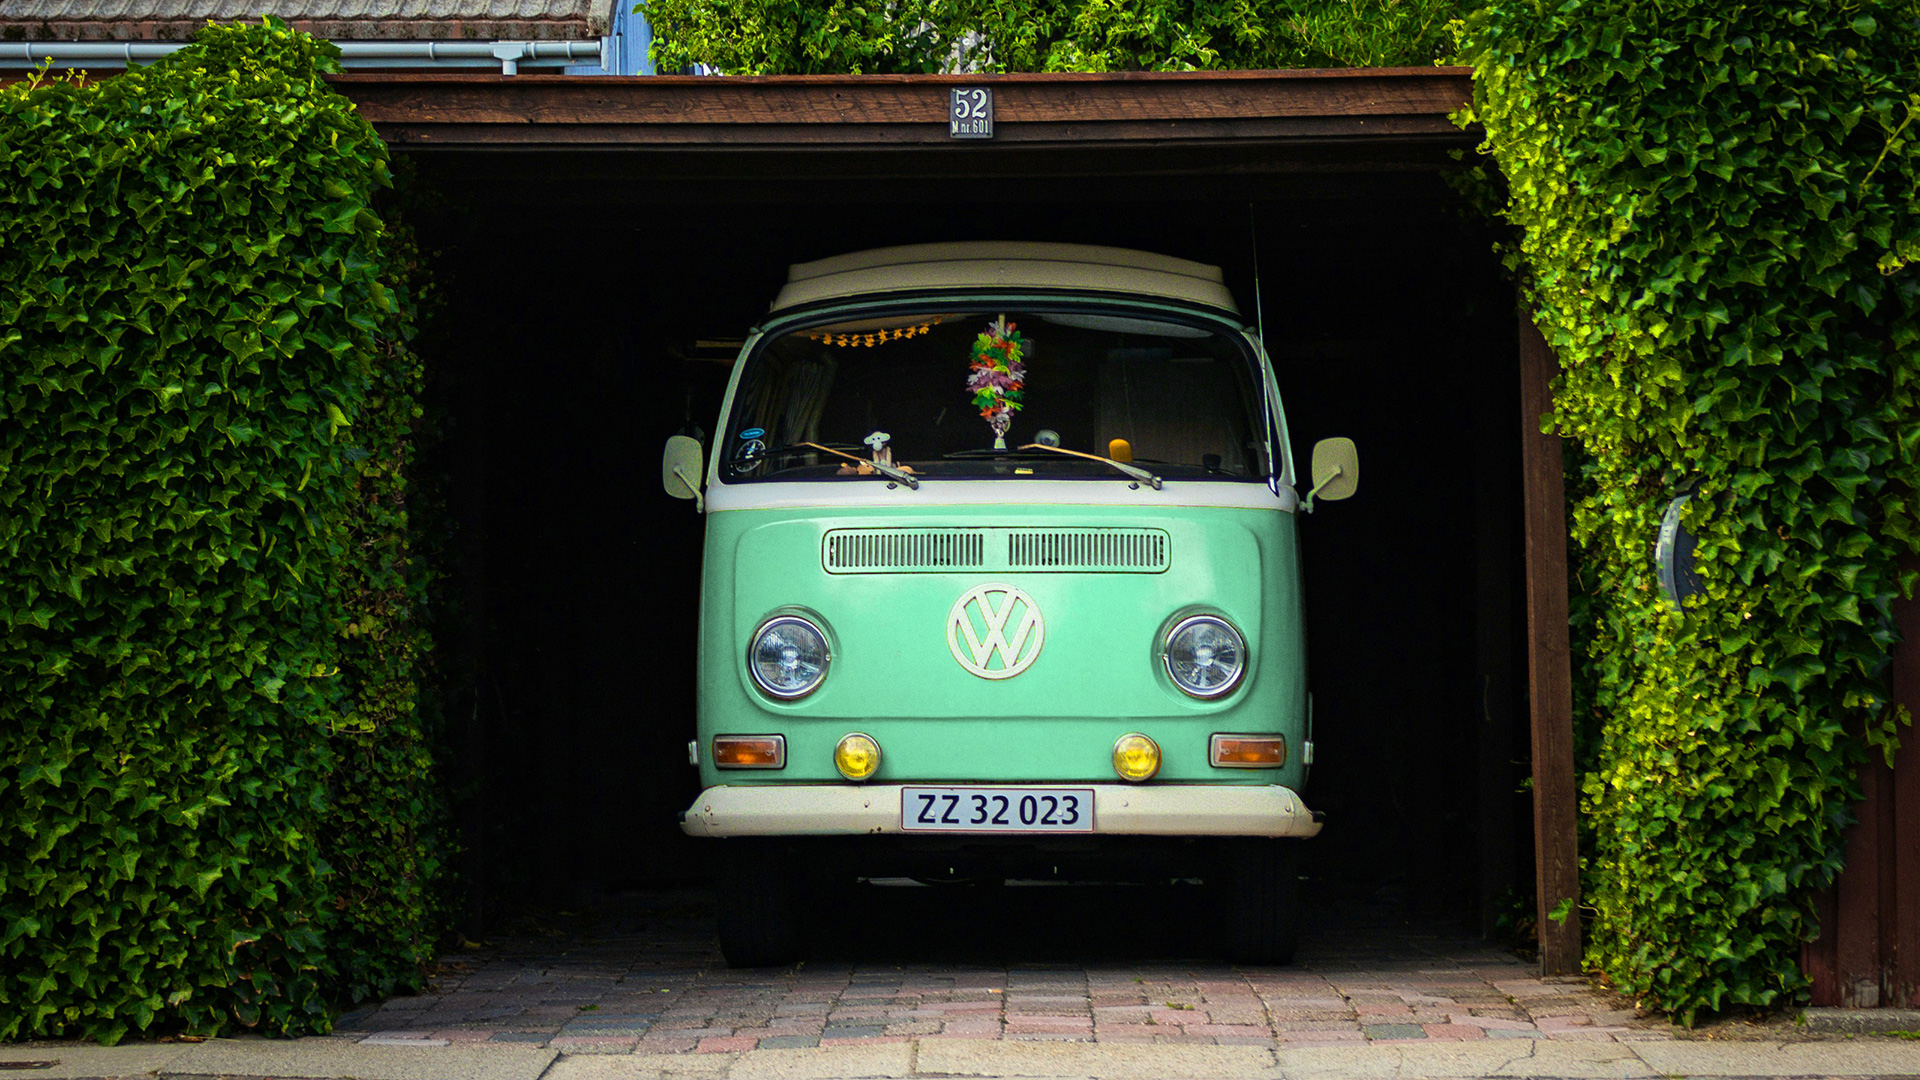
AFTER
BEFORE
The Power of Hue
When you need to change a color in Photoshop look no further than the Hue/Saturation Adjustment Layer. This technique allows you to correct colors, experiment with different palettes, and completely transform the mood and feel of an image without affecting the original photo.
Start with Selection
Begin by selecting the object you want to change. The easiest way to do this is with the Object Selection Tool which uses AI to automatically detect and select objects. Simply click on the object in your image to create a selection. This will ensure that your color adjustments are applied only to the specific area you want to change, and not the entire photo.
Use a Layer
Once your object is selected, create a Hue/Saturation adjustment layer by clicking on the adjustment panel and choosing the Hue/Saturation option. A layer mask will automatically be created from your selection, making the adjustment layer only affect the selected object. If you need to make corrections to the mask, use the Brush Tool (Keyboard Shortcut “B”) and paint with black to hide the effect or with white to reveal it.
Adjust the Color
n the properties panel of your Hue/Saturation layer, you have full control over the color. First, use the eyedropper tool to sample the exact color you want to adjust. Then, use the Hue slider to shift the color to your desired shade. You can also use the Saturation slider to control the intensity of the color and the Lightness slider to make it brighter or darker. This non-destructive method allows you to experiment freely and make changes at any time.
Now you know how to change any color in your photos using a few simple but powerful tools. Join us tomorrow on day nine of our series where we’ll explore how to use the Select Subject tool to make your subjects look their absolute best.


