How to Create Beautiful Glowing Skin in Photoshop
-
Add to
favorites
-
DifficultyMedium
-
Length2.5 hours
-
Videos6
-
Software
DESCRIPTION
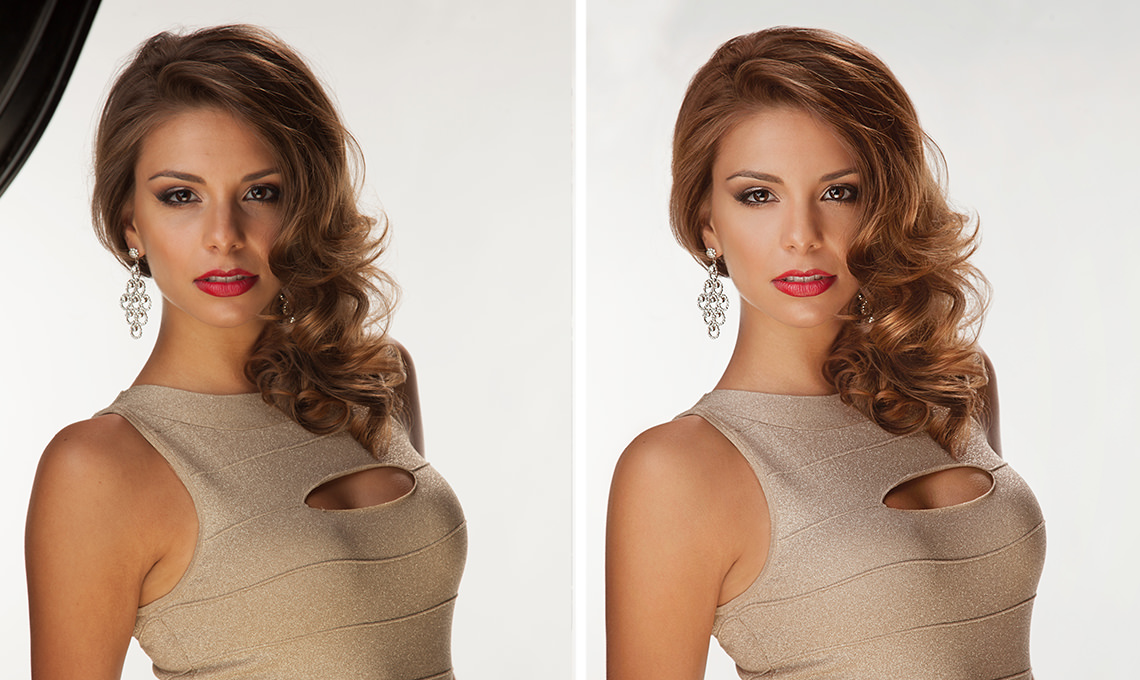
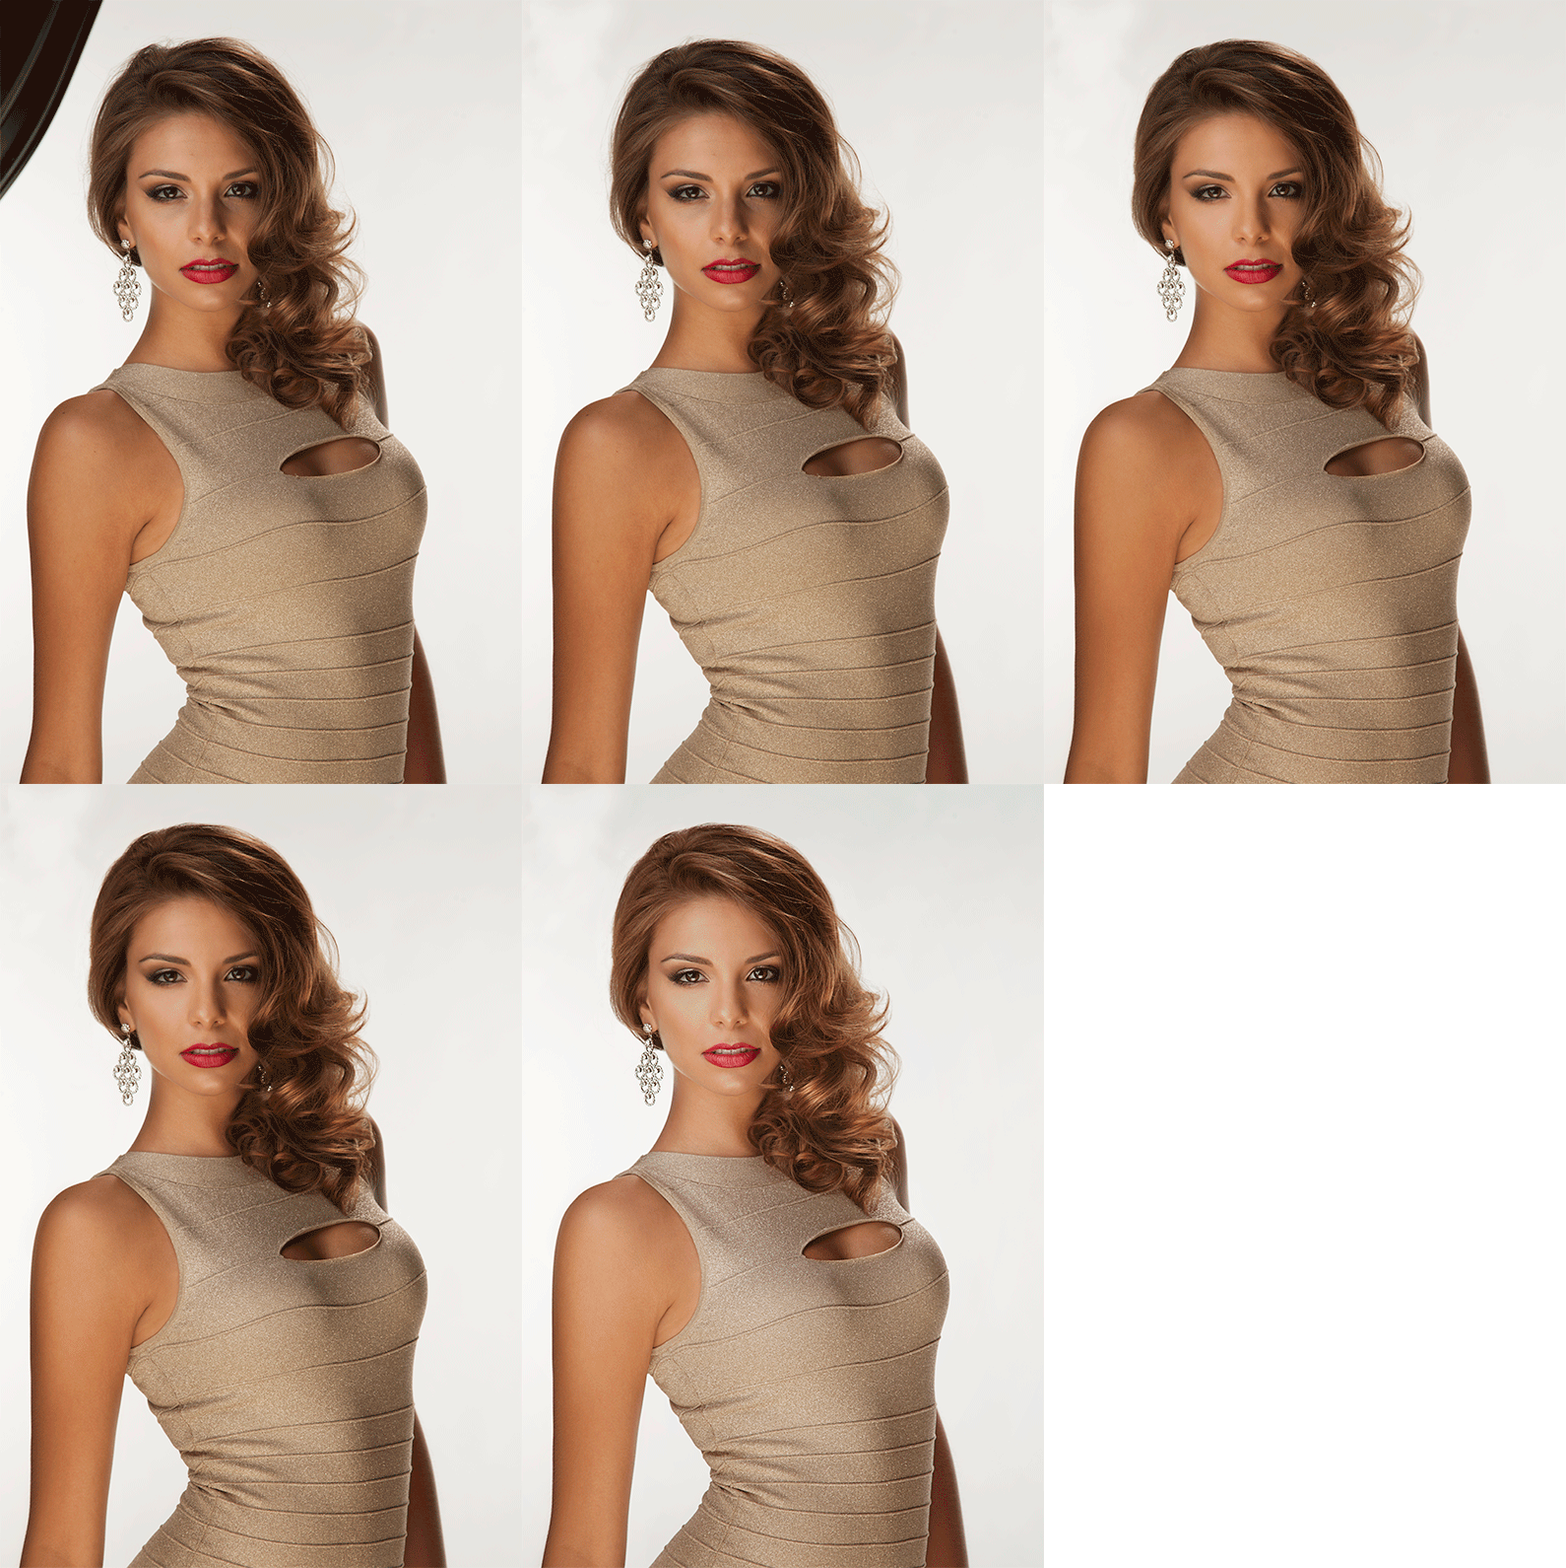
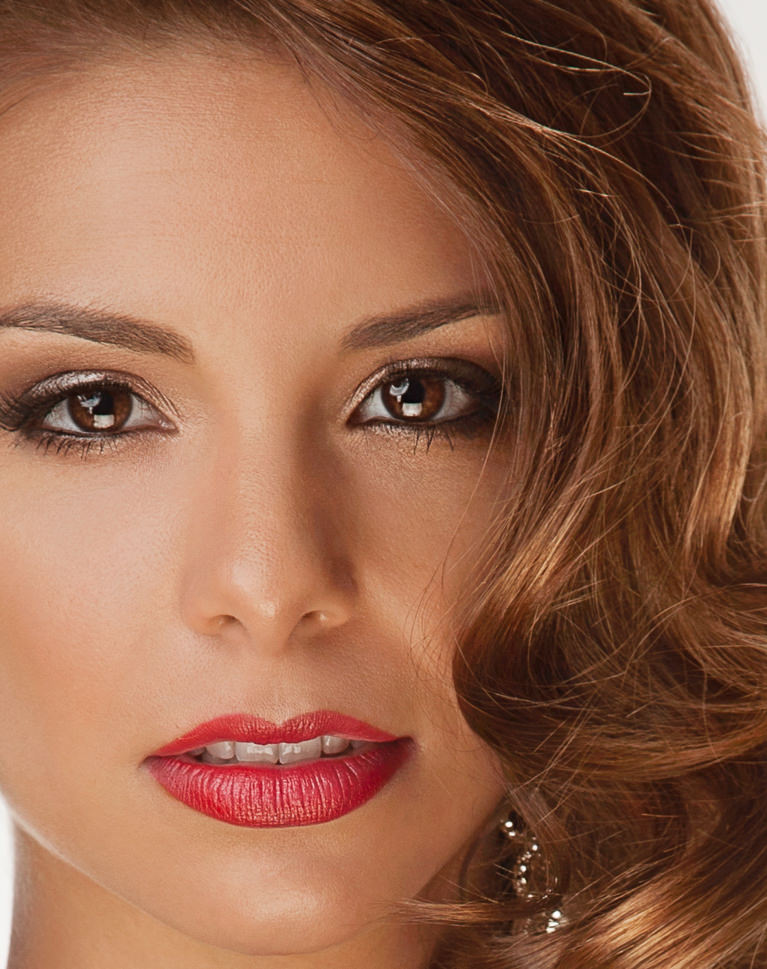
Start delivering portraits that will amaze all of your clients and friends. In this Phlearn PRO Tutorial, Beautiful Glowing Skin, we focus on beauty and glamour retouching so you will be able to deliver the quality of images that will keep everyone coming back.
THIS COURSE INCLUDES
- 1 Sample Image
- 1 Photoshop Brush
Share
Course Downloads
Learn Photoshop Retouching
Radiant Skin
Learn how to color skin in a way that will add life as well as match different skin tones. Make skin glow from within by paying special attention to certain colors and understanding how light passes through skin.
Skin Smoothing
Be sure to pay attention to the entire body. Most of the time it is not just the individual pores that need work, but the overall shapes. Learn how to smooth skin and keep your subjects looking their best.
Dodge and Burn
Learn how to dodge and burn to draw attention to your subject. Alter the highlights and shadows to create extra details in specific areas. Use what you learn to add style and interest to any image.
Sharpen the Details
Learn how to selectively sharpen different areas of the image to draw attention to where it’s needed. See exactly where and how to sharpen for the greatest impact.
Glamour Retouching
Create smooth glowing skin, perfect for a glamour portrait.
Retouch Makeup
Learn an amazing method for cleaning up makeup as well as removing red areas from skin. Our visual approach makes it easy to see what you are doing and doesn’t involve the clone stamp or healing brush tool.
Liquify Tool Best Practices
Make your subject look their best without looking unnatural using the liquify tool properly. Use what you learn to dramatically alter the shapes and tone a person bringing attention to the right places.
Retouch Hair and Eyes
Add the perfect amount of depth and detail to hair and eyes to really make them pop. Learn multiple techniques for enhancing color, shine and clarity. Your subjects will look better than ever.
Color Correction
Remove the complexities from correcting colors in shadows, mid-tones and highlights. At times, highlights are too warm or too saturated and need to be treated separately from other areas of an image. Learn how to correct color and restrict your changes to specific areas.
Reviews
New & Popular Tutorials
Training Site in
the World
Tutorials!
Ratings
and Counting
Subscribers






Super learned so much hope I can keep it all in my brain thanks
Thank you Aaron! Your tutorial is still amazing as always
– Hey what’s that behind me ?!… Brain, what are you doing up there on the wall ? – I was blown away by the QUALITY & amount of knowledge I just had !
What a great tutorial, showing exactly what to do and how NOT to overdo it. Thank you.
Very nice and awesome tutorial.
I started learning Photoshop in my spare time a few weeks ago. It’s is my first pro tutorial and it helped a lot ! Aaron provides tons of great free tutorials on youtube also but I earnestly think that the pro tutorials are the cherry on the cake. It totally worth it. Thank you to Aaron and his team for the Phantastic job !
Excelente tutorial! Lo disfruté mucho.
Como es normal en todos tus tutoriales, es fácil de entender así como útil y valioso.
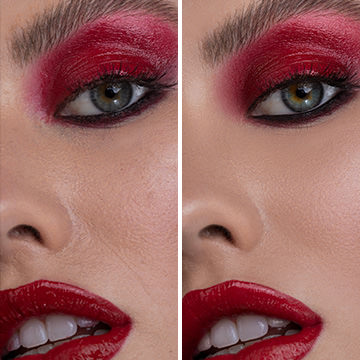
Usé esas técnicas para una foto donde la modelo tenía mucho maquillaje y quedó excelente.
Altamente recomendable, gracias Aaron!
——————————————————————-
Excellent tutorial! I enjoyed it a lot.
As is normal in all your tutorials, it is easy to understand as well as useful and valuable.
I used these techniques to a photo where the model had a lot of makeup and was excellent.
Highly recommended, thanks Aaron!
Thank you Aaron for another great tutorial. I appreciate all the useful tricks that you pack in each video and the fact that you don’t hold back anything. Awesome didactics. I liked this one particularly because the techniques that you show are useful not only for high-end model shoots, but also for random family photos where you can make someone look even better than in real life. I put a lot of the techniques to use with this image, which is a candid capture at a restaurant. I thought she looked awesome already, but now I think subtle fixes here and there really make her pop. Thanks a lot.
Great tutorial.
I have a question though. When I create a layer using shift+alt+cmd+e, it seems to combine all visible layers and create a new one. However, i can’t go down to a lower layer and make changes because it’s covered with this new layer. In this example, I made some liquify changes early on and finished the course. However, I can’t go back and change the liquify changes because of the amount of layers created this way after. Thanks for any help.
Awesome!! It’s very informative. I have learned a lot. You show so easy way to make a photo. Thanks for sharing.
Wow,there’s so much useful information here, this is definitely worth it,thanks alot phlearn.
OOPS…. Looks like I’ve done what Tony did !!!! Wrong colour !!!!!
Lets try again……
Just submitted the review below but I exported it with the wrong colour space (Prophoto) hence it looks nothing like the image I edited colour wise.
Hopefully this one (srgb) show show correctly 🙂
I’ve been totally wowed by Phlearn…simply brilliant!!! Aaron Nace you really rock, you have a natural flair for teaching and make it thoroughly enjoyable too. I only wish I’d found you sooner, as I’ve learned more in these last few weeks ‘Phlearning’ than I have in the last couple of years dabbling on the net. I watched the videos through first before doing anything, then went through again but meticulously following each step and doing the same which meant a lot of pausing/ rewinding and that’s the beauty of it, going at your own pace and really understanding.
If you’re thinking of buying any of these tutorials, just do it!!! You’ll be sooo pleased you did. I have a couple more downloaded ready to go through 🙂
Thanks again Aaron & Phlearn.
ATB Tony.
Great tutorial. Don’t learn Photoshop. PHlearn it. This is the place. Thanks Arron and team PHlearn.
Another amazing tutorial. Very simple and easy to follow techniques on turning a great photo to an amazing photo that pops with colors. Learning things like skin matching, removing redness, eye enhancement and two separate dodge and burn techniques while not using the dodge and burn tool. Exploring multiple possibilities of adjustments that you can make to images and allowing you to make the choice of the technique that you want to use.
If you plan on doing any type of portrait, headshot or model photography and plan on doing any type of skin retouching this is a must.
I downloaded this tutorial yesterday and I learned a ton. I would categorize myself as a advanced-beginner in Photoshop, so I was aware of some of the techniques used here. That said just seeing them used in context to this image taught me a great deal. It’s one thing to read about a specific technique, but seeing it used with a clear explanation as to why it’s being used is critical to learning.
In addition to that there was a lot that I had never seen before this tutorial. Once again these techniques were clearly explained so that I now feel I have a good grasp of them, and will be able to apply them on future retouching projects.
This is a very, very good tutorial. If you’re a beginner like me and you are looking to advance your knowledge in portrait/beauty retouching, this is a great tutorial for you.
This is a must for beginners. Easy to follow and you get results fast.
Awesome tutorial for color correction and making your subject look more Beautiful. No extreme retouching like Dodge and Burn but alot of great techniques you can use on every image. Hoping for a Dodge and Burn tutorial though like Pixel level retouching soon.