
Download Assets
This tutorial includes 3 sample images and 1 PDF guide. Downloads are free with a PHLEARN account.
- Download the sample images and PSDs from every free tutorial on PHLEARN
- New free tutorials published every week
- One free account — sign up once, then download anything
Free PDF Guide · 3 Pages
This Tutorial as a Step-by-Step PDF
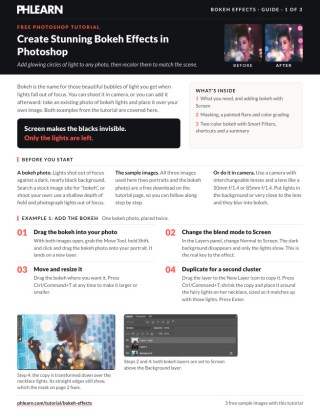
The 3-page guide walks through both examples: Shift-drag the bokeh photo in and set it to Screen, resize with Ctrl/Command+T, mask every circle all or nothing, grade with a Gradient Map on Soft Light and Color Balance, then recolor copies with Image > Adjustments > Hue/Saturation as a Smart Filter. Keep it next to your keyboard.
description
Bokeh does not have to be left to the lens. Drop a bokeh stock photo over your image, set it to Screen so the black background vanishes, and mask each circle with a hard brush — never a soft one, because real bokeh circles are either there or they are not. A Gradient Map and Color Balance grade the result, and Smart Object Hue/Saturation filters let different parts of the frame carry different bokeh colors.
Enjoying This Free Tutorial?
We publish a new free tutorial every week, each one with sample images and PSDs you can download and follow along with. Sign up and they land straight in your inbox, along with early word on sales, events and subscriber-only offers.
Create Stunning Bokeh Effects in Photoshop
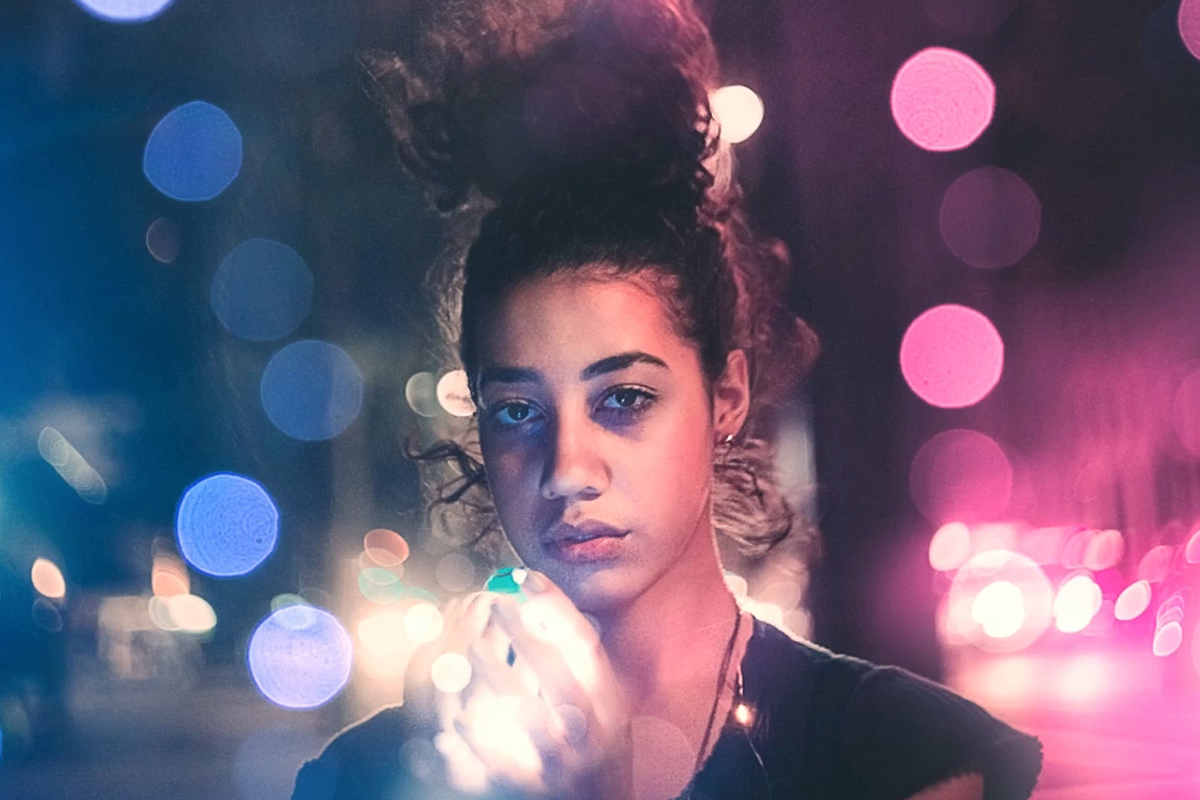
Bokeh is the soft, glowing circles of light that appear in the out-of-focus areas of a photo, and it’s one of the fastest ways to give an image a dreamy, cinematic feel. You don’t need a specialty lens or the perfect background to get this look. In this tutorial, you’ll build convincing bokeh entirely in Photoshop using a separate bokeh stock photo, blend modes, layer masks, and a few color adjustments, then take the technique further with a second, more advanced example that recolors the bokeh itself.
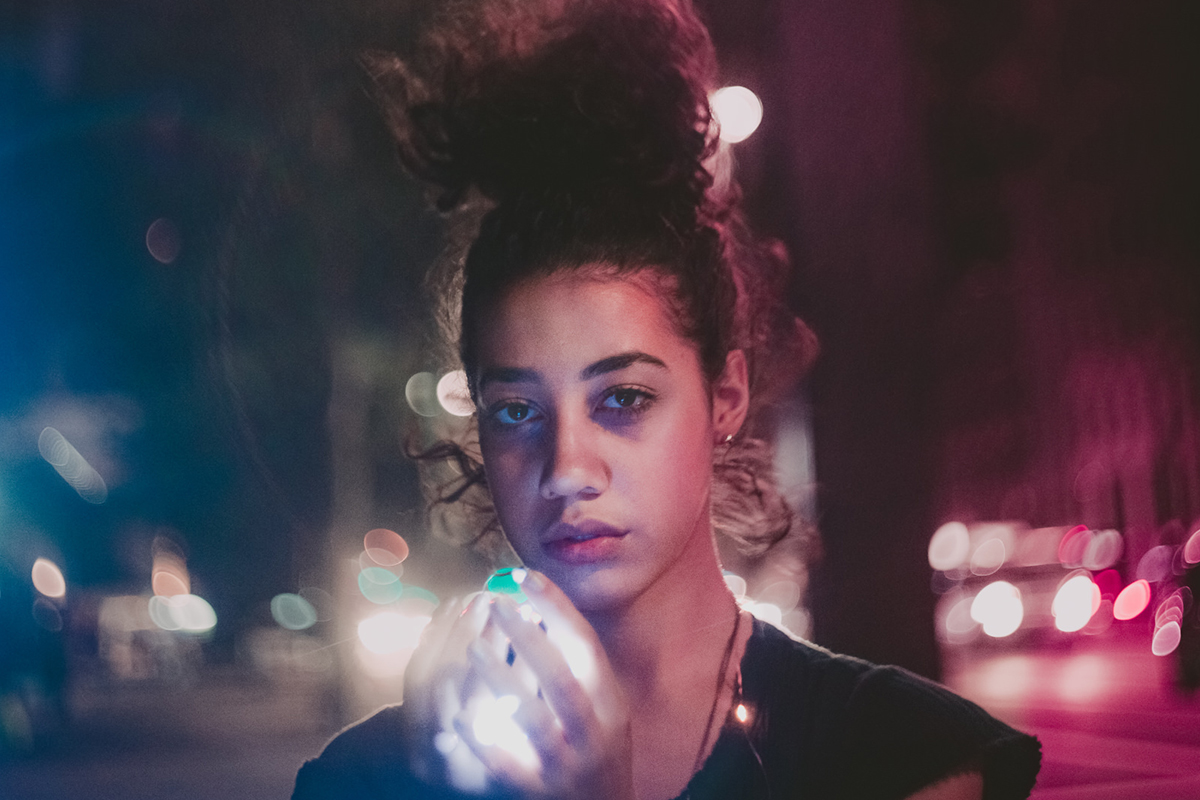
You can also shoot bokeh in camera. Use a camera with interchangeable lenses and a lens like a 50mm f/1.4 or 85mm f/1.4, shoot with a shallow depth of field, and put lights in the background or very close to the lens so they fall out of focus into bubbles of light.
Adding a Bokeh Photo with the Screen Blend Mode
The technique starts with a separate bokeh stock photo that has a black background with bright circles of light scattered across it. Drag that bokeh image on top of the main photo as its own layer, then change its blend mode from Normal to Screen. Screen mode ignores black entirely and only shows the lighter pixels, so the black background of the bokeh photo disappears and only the glowing circles remain visible over the image underneath.
Transforming the Bokeh Layer to Fit the Scene
Once the blend mode is set, use Free Transform to resize and reposition the bokeh so the circles fall in a natural spot in the frame, such as across a dark background or along the edge of the image. Scaling the bokeh photo up usually makes the individual light circles larger and more prominent, which reads as a shallower depth of field.
Duplicating Bokeh for Extra Accents
A single bokeh layer often isn’t enough to sell the effect everywhere it’s needed. Duplicate the bokeh layer as many times as necessary to add small accents in other parts of the photo, for example scattering a few extra light circles around a subject’s fairy-light necklace so the bokeh reads as if it’s coming from that light source.
Keep Each Circle All or Nothing
Each duplicated bokeh layer gets its own layer mask so it only shows up where it’s wanted. The key detail is to keep each circle all or nothing: a bokeh circle is either fully visible or fully invisible, never partially faded, because bokeh circles don’t naturally have soft, half-erased edges. A circle painted halfway out looks obviously fake. A hard-edge brush helps keep every circle fully intact.
Painting a Light Flare with the Lighten Blend Mode
To add a hand-painted touch of extra light, create a new layer, pick a lighter blue color and paint with a large brush over the area you want to play up, then change the layer’s blend mode from Normal to Lighten. This step is optional. Lighten mode only replaces pixels that are darker than the paint color, so the stroke blends naturally into the highlights instead of sitting on top of them as a flat smear. This adds a subtle flare that ties the painted light into the existing bokeh circles.
Color Grading with a Gradient Map
With the bokeh in place, add a Gradient Map adjustment layer to grade the color of the whole image. Set the dark end of the gradient to a cyan color and the light end to a warm yellow-orange, then change the Gradient Map layer’s blend mode to Soft Light. This pushes the shadows toward cool cyan and the highlights toward warm orange without flattening the image’s original tonal range, giving the photo a cinematic, teal-and-orange color scheme. Raise or lower the layer’s Opacity to taste.
Fine-Tuning Color with a Color Balance Adjustment Layer
A Color Balance adjustment layer can refine the grade further. Push the midtones toward blue and cyan, and push the highlights toward yellow and red, to reinforce the same cool-shadow, warm-highlight look established by the Gradient Map. Working in the Midtones and Highlights ranges separately makes it possible to balance the overall color without one adjustment overpowering the other. Lower the Color Balance layer’s opacity a little, and if the coloring still looks a bit strong, lower the opacity of both color layers.
Recoloring Bokeh with a Hue/Saturation Smart Filter
For a more advanced version of the effect, bring in the same bokeh image again, this time flipped vertically so it reads as a different light pattern, and convert the layer to a Smart Object before applying any adjustments. Converting to a Smart Object first means Image > Adjustments > Hue/Saturation is applied as a Smart Filter directly on that one bokeh layer, recoloring only that layer’s light circles instead of the whole image.
Why Convert to a Smart Object First
Applying Hue/Saturation as a regular adjustment layer would affect every layer beneath it unless it were clipped, and clipping still leaves the adjustment separate from the pixel content. Converting the bokeh layer to a Smart Object and running the adjustment as a Smart Filter keeps the recoloring attached to that specific bokeh layer, so it can be duplicated, masked, and adjusted independently from every other bokeh layer in the file.
Building Two-Tone Bokeh with Duplicated, Masked Layers
Duplicate the Smart Object bokeh layer, click the copy’s mask and use Edit > Fill to fill it with white, and mask each copy to a different region of the frame, then give each copy its own Hue/Saturation smart filter settings. One side of the frame can be pushed toward blue, while the other side uses the Colorize option in Hue/Saturation to shift its bokeh toward magenta. Because each duplicate is masked separately, the two color treatments stay isolated to their own halves of the image instead of blending into a single muddy color.
Adding a Small Colorless Bokeh Accent
Not every bokeh circle needs to be colored. Duplicate the layer once more, fill its mask with white, make it small and mask it so it only shows over the subject’s hand, then lower Saturation in its Hue/Saturation smart filter, so it stays a plain white light. A single neutral accent like this keeps the overall effect from looking over-processed and gives the eye a resting point among the colored bokeh elsewhere in the frame.
Tying the Final Image Together
Finish the second example with another Color Balance adjustment layer over the whole composite, nudging the midtones and highlights so the blue bokeh, the magenta bokeh, and the white accent all sit inside one consistent color palette rather than reading as three separate, disconnected effects.
Why This Technique Works
Real bokeh forms when out-of-focus points of light spread into soft circles, and this technique recreates that look by layering separate light circles on top of an image using Screen mode, which mimics the way bright highlights overpower a dark background in a genuinely blurred photo. Keeping each circle all or nothing keeps it looking optically correct instead of artificially faded, and running the recoloring as a Smart Filter on individual Smart Object layers makes it possible to introduce multiple bokeh colors in the same frame without any of them bleeding into each other. The color grading passes at the end unify all of those separate pieces into one cohesive, intentional look.
Final Thoughts
Bokeh doesn’t have to be left to chance in-camera. By compositing a bokeh photo with Screen mode, duplicating it and masking whole circles in or out, and finishing with color grading, you can add convincing, customizable bokeh to any photo, and the Smart Object recoloring technique opens the door to multicolor bokeh effects that would be difficult to capture in a single shot.
Quick Reference: Keys, Menus and Settings
- Bring in the bokehMove Tool, Shift-drag the bokeh photo onto your image; blend mode Normal to Screen
- Resize or flipCmd/Ctrl + T, right-click for Flip Vertical; Enter to commit
- MaskLayer mask, paint black; each circle fully visible or fully gone
- Light flareNew layer, lighter blue with a large brush, blend mode Lighten (optional)
- Color gradeLayer > New Adjustment Layer > Gradient Map on Soft Light; Color Balance: Midtones to blue and cyan, Highlights to yellow and red
- Recolor the bokehConvert to Smart Object, then Image > Adjustments > Hue/Saturation; Colorize for light areas
- Reset a copied maskEdit > Fill with white, then mask the new area; F for full screen view
No AI, no generative credits.
Free Downloads
Follow Along on the Same Photos
Get the bokeh light photo, the two portraits from both examples and the 3-page PDF guide. Free with a PHLEARN account.
Bokeh Effects in Photoshop: Common Questions
How do I get rid of the black background on a bokeh photo?
Change the bokeh layer’s blend mode from Normal to Screen. Screen makes the blacks invisible, so only the lights show over your photo.
Where do I get a bokeh photo to use?
Search a stock image site for “bokeh”, or shoot your own: use a shallow depth of field and photograph lights out of focus against a dark background. The one from the video is in the free download.
Can I get bokeh in camera instead?
Yes. Use a camera with interchangeable lenses and a lens like a 50mm f/1.4 or 85mm f/1.4. Shoot with a shallow depth of field and put lights in the background or very close to the lens.
How do I make the bokeh circles bigger or smaller?
Press Cmd/Ctrl + T for Free Transform and scale the layer, then press Enter. Duplicate the layer to add a smaller cluster somewhere else, like around the fairy lights on her necklace.
Why does my masked bokeh look fake?
Probably a circle is painted halfway out. Keep every circle all or nothing: fully visible or fully gone. A hard-edge brush on the mask helps.
What does the Lighten layer do?
It is an optional painted flare. On a new layer, paint a lighter blue with a large brush, then set the layer to Lighten so it blends in and reads as another light flare.
How do I color grade the image to match the bokeh?
Add a Gradient Map with a dark cyan for the darks and a bright yellowish orange for the lights, set it to Soft Light and adjust Opacity. A Color Balance layer with Midtones toward blue and cyan and Highlights toward yellow and red does the same job.
How do I change the color of the bokeh?
Right-click the layer and convert it to a Smart Object, then go to Image > Adjustments > Hue/Saturation and move Hue. As a Smart Filter it only affects that layer, and you can double-click it to change it later.
How do I get two colors of bokeh in one photo?
Duplicate the Smart Object layer, fill the copy’s mask with white using Edit > Fill, and mask it to the other side. Then change its Hue/Saturation; check Colorize if the light areas are not taking the color.
Are the sample files free?
Yes, with a free PHLEARN account. You get 3 sample images and 1 PDF guide: the bokeh photo, the two portraits and a 3-page guide to both examples.
Master Photoshop, Lightroom and Photography
Join PHLEARN PRO for $12.99 a month or $99.99 a year. Cancel anytime, with a 100% money-back guarantee.





