
Tutorial Description
Compositing doesn’t always have to be extremely complex.
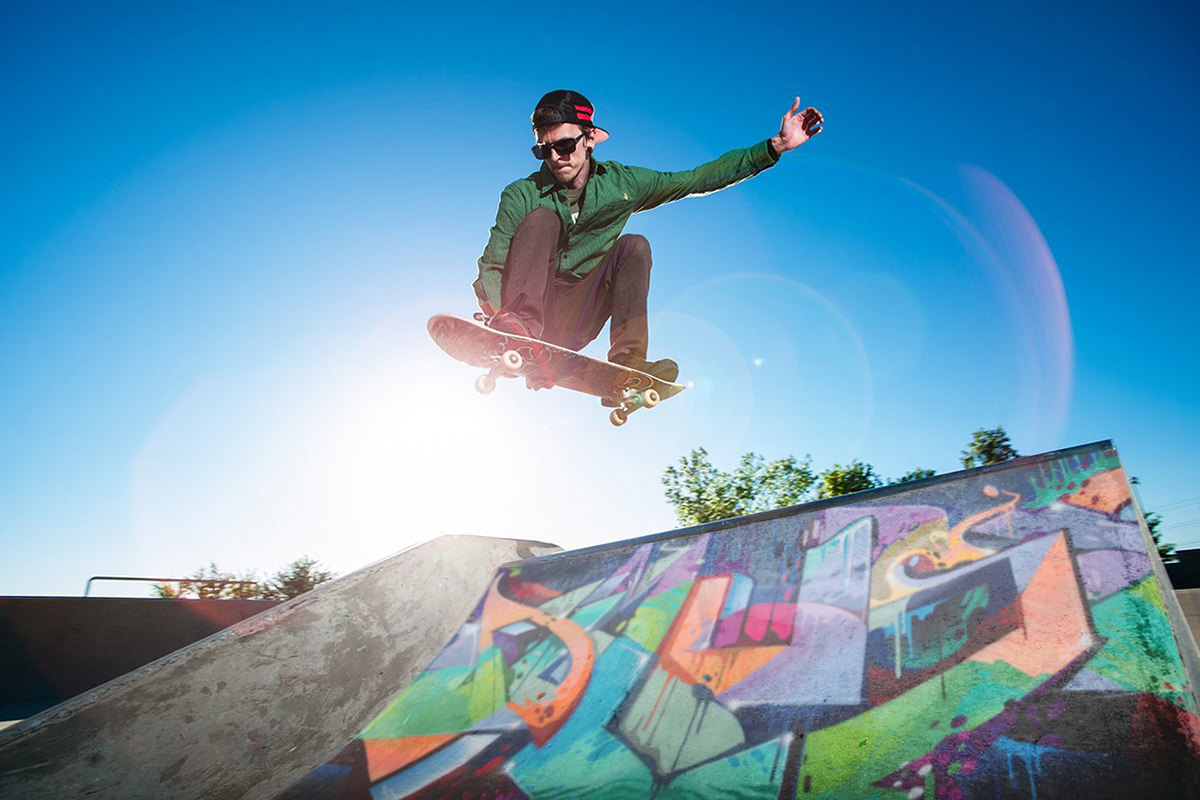
Sometimes you can use Compositing techniques for a simple yet cool effect like adding graffiti into a photo. This technique can also be used to add tattoos onto Skin, designs onto clothes, etc. Make sure to try it out for yourself and submit it in a comment below!
The Transform Tool
So, now that we’ve brought in our graffiti we’re going to need to make it look like it’s fitting into the Curve of the ramp. We can use the Transform Perspective Tool, but this doesn’t give us as much control as we’d like. Instead, we’ll simply hold down COMMANS while moving the anchors with the regular Transform Tool and move each anchor point to a corner of the ramp. Before hitting the check mark, we’re going to click the Warp button and select Arc Upper. This will let us match the Curve of the ramp on the left side of the photo. After that we can use the custom Warp Tool to make final Adjustments, and it looks like the graffiti is actually on the ramp!
Adding highlights And Shadows
It still doesn’t look real though. If we look at the original ramp, we can see that it is much less contrasty and there are Textures from the concrete. By creating a Curves layer and pulling the blacks up and the whites down, we can make the graffiti to appear like it was lit with the rest of the photograph. To Add Textures, we can use Color Range (Select > Color Range) to select the Highlights and fill them with a Light Color on a New Layer. This layer can be put over the graffiti layer and set to Soft Light, creating a realistic set of Highlights.