Photoshop & Lightroom Tools & Techniques Tutorials
Master the tools every edit is built on: layers, masks, adjustment layers, blend modes, Smart Objects, Camera Raw, and the Lightroom panels, plus sharpening, noise reduction, resizing, and perspective. More than 230 free and PRO video tutorials from Aaron Nace, organized from simple to advanced.
What You’ll Learn
Most Photoshop problems are really tool problems: the wrong selection tool, a mask that was never refined, a destructive edit that cannot be undone. This category teaches the tools themselves, then shows the same technique at simple, intermediate, and advanced levels so you can grow into it.
- Cutouts and selections. Select Subject, the Pen Tool, Channels, and Select and Mask, from a simple product cutout to hair, glass, and motion blur.
- Object removal. Simple, intermediate, and advanced removal with the Remove Tool, Content-Aware Fill, Clone Stamp, and painting by hand when AI gets it wrong.
- Non-destructive editing. Layers, layer masks, adjustment layers, Smart Objects, and Blend If, so every edit stays reversible.
- Backgrounds and studio cleanup. Changing, extending, and cleaning backgrounds, matching color between images, and restoring old photos.
- Graphics, text, and mockups. Logos, vector conversions, textures and overlays, title animations, and realistic product mockups.
Where to Start
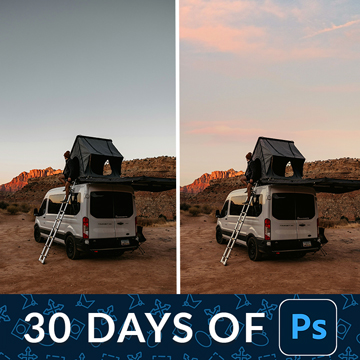
Learn the tools in order with 30 Days of Photoshop, then use this category as a reference whenever a specific tool is the problem. The Essential Photoshop Skills collection is a shorter refresher, and the PRO course The Ultimate Guide to Smart Objects is the single most useful deep dive on this page.
Free and PRO Tutorials
Free tutorials are complete lessons, not previews. PRO tutorials go deeper and longer, and they include the sample images, RAW files, actions, and presets used in the lesson so you can follow along on the exact same file. A PHLEARN PRO membership unlocks every PRO tutorial on the site, including all of the ones in this category.
Frequently Asked Questions
Which selection tool should I use?
Start with Select Subject or Object Selection for anything with a clear edge, use the Pen Tool for hard geometric edges like products and architecture, and use Channels or Select and Mask for hair, fur, and transparency. The cutout tutorials here cover each case.
What is the difference between the Remove Tool and Content-Aware Fill?
The Remove Tool is a brush that samples intelligently as you paint and is best for small distractions. Content-Aware Fill works on a selection, gives you control over the sample area, and is better for large objects. Both are covered at simple, intermediate, and advanced levels.
Do I need to learn every tool?
No. About ten tools do most of the work in real-world editing, and they are the ones 30 Days of Photoshop covers. Learn those well, then pick up the rest from this category when a project calls for them.
Where to Go Next
Once the tools are comfortable, put them to work in Compositing and Retouching. The Photo Editing hub covers correction and color, and Workflow & Productivity covers the habits that make all of this faster.
Learn the Tools in Order
30 Days of Photoshop teaches the essential tools one short lesson at a time, in the order they build on each other.
On This Page
PHLEARN PRO
Every PRO tutorial in this category, with sample and RAW files, plus the full PRO library.

Masking in Photoshop from your first selection to hair, fur and clouds: 17 follow-along lessons on selection tools, layer masks and Select and Mask.
Photoshop | Selections & Masking | Medium | 3.75 hours
24 Sample Images | 21 Sample PSDs | Selections & Masking Course Guide (PDF)

Learn the six sliders in Photoshop’s new Light adjustment layer, how to get the legacy Brightness/Contrast controls back, and when to use it instead of Curves.
Photoshop | Tools & Techniques | Medium | 15 mins | 1 video
1 Sample Image | 1 Sample PSD | 1 PDF Guide
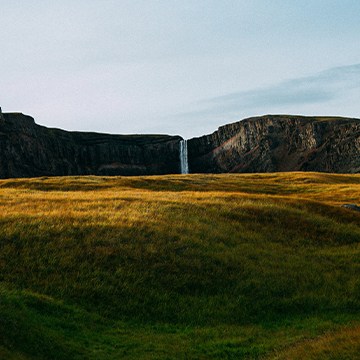
Master the fundamentals of Lighting and Composition! In this tutorial, we’ll use Photoshop and Camera Raw across nine scenarios to master highlight sculpting, dynamic framing, border cleanup, and much more!.
Photoshop | Photo Editing | Medium | 3 hours
8 Sample Images (JPEG Files) | 1 Sample Image (RAW File) | 9 Sample PSDs
Master Smart Objects in Photoshop! Learn to create vector logos, design realistic mockups, update massive layouts automatically, and package your files for seamless client delivery.
Photoshop | Tools & Techniques | Medium | 4 hours
20 Sample Images | 8 Sample PSDs | 2 PDF Guides
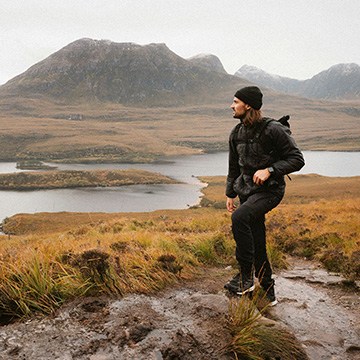
Stop worrying about permanent mistakes! Discover our non-destructive workflow using masks, smart objects, and more to transform your images while keeping original pixels perfectly safe. This tutorial includes both JPEG and RAW files, so you can follow along.
Photoshop | Photo Editing | Medium | 2.25 hours
14 Sample Images | 13 Sample PSDs

Stop worrying about permanent mistakes! Discover our non-destructive workflow using masks, smart objects, and more to transform your images while keeping original pixels perfectly safe. This tutorial includes both JPEG and RAW files, so you can follow along.
Photoshop | Tools & Techniques | Advanced | 4.75 hours
29 Sample Images (JPEG Files) | 7 Sample Images (RAW Files) | 16 Sample PSDs
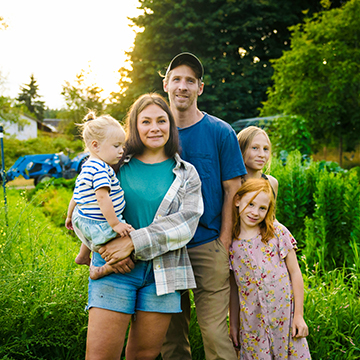
Photoshop 2026 adds Color & Vibrance, Clarity & Dehaze and Grain as adjustment layers. See what each replaces and when to use it instead of Camera Raw.
Photoshop | Tools & Techniques | Easy | 30 mins | 1 video
6 Sample Images | 5 Sample PSDs | 1 PDF Guide
The new Upscale tool in Photoshop 2026 rebuilds detail with AI instead of stretching pixels. See how to run it, compare the result, and where it falls apart.
Photoshop | AI & Generative Tools | Easy | 15 mins | 1 video
1 Sample Image | 1 Sample PSD | 1 PDF Guide
The fastest circle crop in Photoshop uses the Frame tool: build the circle, position the photo inside it, and export with a transparent background.
Photoshop | Tools & Techniques | Easy | 15 mins | 1 video
2 Sample Images | 1 Sample PSD | 1 PDF Guide

The Clone Stamp tool copies real pixels instead of inventing them. Set it up non-destructively, clone without smearing, and work across separate layers.
Photoshop | Object Removal & Cleanup | Easy | 15 mins | 1 video
1 Sample Image | 1 Sample PSD | 1 PDF Guide
A clipping mask lets one layer decide the shape of another. Learn how to build one in Photoshop, when to use it instead of a layer mask, and how to edit it.
Photoshop | Tools & Techniques | Easy | 15 mins | 1 video
3 Sample Images | 1 Sample PSD | 1 Before/After Pair | 1 PDF Guide

Blending modes are grouped by what they do: Darken hides lights, Lighten hides darks, Overlay boosts contrast. Learn the three groups that matter.
Photoshop | Tools & Techniques | Medium | 15 mins | 1 video
3 Sample Images | 1 Sample PSD | 1 PDF Guide

Blending modes come in six groups, and the groups are the lesson. Learn what Multiply, Screen and Soft Light actually do to the layer underneath.
Photoshop | Tools & Techniques | Medium | 30 mins | 1 video
8 Sample Images | 3 Sample PSDs
Blend If targets your edits by brightness instead of by brush. Split the handles for a soft transition and blend a new sky or a color tone into just one range.
Photoshop | Tools & Techniques | Medium | 15 mins | 1 video
2 Sample Images | 1 Sample PSD

A smart object is a container: the layer you see is a live preview of a file stored inside. Scale it, filter it, and nothing is ever destroyed.
Photoshop | Tools & Techniques | Medium | 30 mins | 1 video
2 Sample Images | 2 Sample PSDs
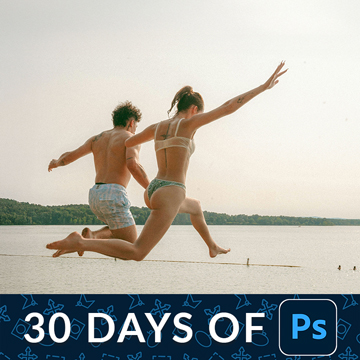
The Crop tool can add as well as take away. Straighten in one drag, use the overlays to place the subject, then expand the frame with Generative Expand.
Photoshop | Tools & Techniques | Easy | 15 mins | 1 video
1 Sample Image | 1 Sample PSD
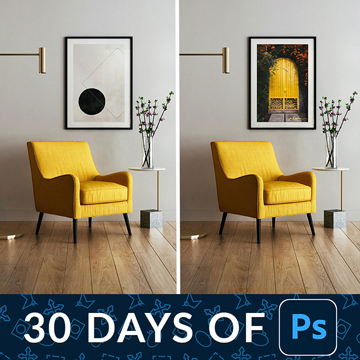
Free Transform looks like four corner handles. It is actually a distortion engine: the modifier keys give you skew, perspective and warp from the same box.
Photoshop | Tools & Techniques | Medium | 30 mins | 1 video
3 Sample Images | 1 Sample PSD
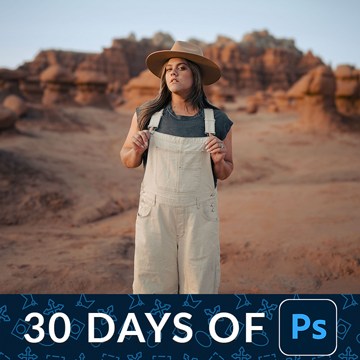
Adobe Camera Raw is a complete raw processor inside Photoshop. Convert to a smart object first and every mask, slider and grade stays editable forever.
Photoshop | Tools & Techniques | Medium | 15 mins | 1 video
1 Sample Image | 1 Sample PSD
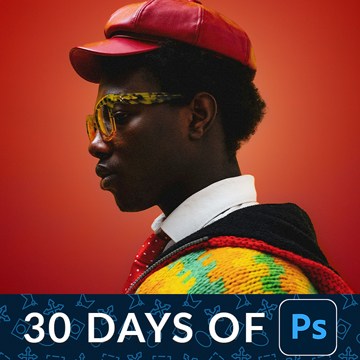
Select Subject has quietly become the most useful button in Photoshop. Switch it to the cloud engine and it handles hair and fine edges properly.
Photoshop | Selections & Masking | Medium | 15 mins | 1 video
2 Sample Images | 2 Sample PSDs
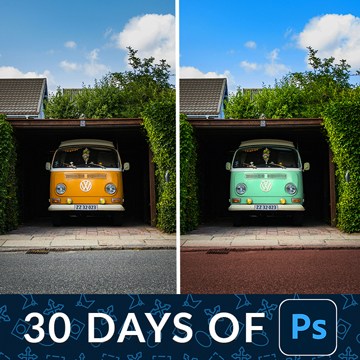
Change the color of anything in Photoshop with two decisions: tell Photoshop where to work, then dial in the new hue. Both stay editable afterwards.
Photoshop | Color & Tone | Medium | 15 mins | 1 video
1 Sample Image | 1 Sample PSD

Levels vs curves comes down to one real difference: how many points you can place. Everything Levels does, Curves does, and the eyedroppers matter more.
Photoshop | Tools & Techniques | Medium | 30 mins | 1 video
1 Sample Image | 1 Sample PSD
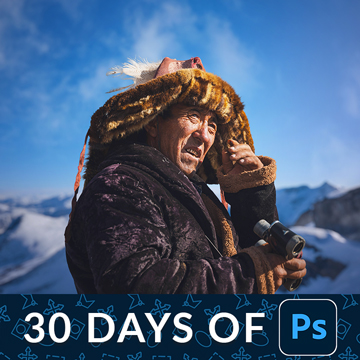
A layer mask hides part of a layer without deleting anything. That one sentence is the whole idea, and it is why nothing you do has to be permanent.
Photoshop | Tools & Techniques | Medium | 30 mins | 1 video
3 Sample Images | 1 Sample PSD
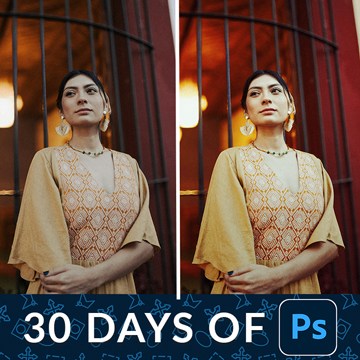
Adjustment layers are how you edit light and color in Photoshop without editing the photograph. Three ways to make one, and the handful actually worth using.
Photoshop | Tools & Techniques | Medium | 30 mins | 1 video
1 Sample Image | 1 Sample PSD
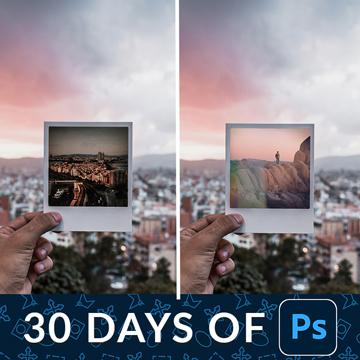
Layers and layer masks are the one feature that separates Photoshop from every other editor. Learn what each kind of layer is for and when to mask instead.
Photoshop | Tools & Techniques | Easy | 30 mins | 1 video
3 Sample Images | 1 Sample PSD
Photoshop file formats split into two groups: the ones you keep work in and the ones you send out. Learn which to use, and what the quality numbers mean.
Photoshop | Tools & Techniques | Easy | 30 mins | 1 video
1 Sample Image | 1 Sample PSD

Every Photoshop project runs the same loop: open a file, work in layers, save the layered master, then export a flat copy for everyone else to see.
Photoshop | Tools & Techniques | Easy | 30 mins | 1 video
1 Sample Image | 1 Sample PSD

The Photoshop interface is four areas and a handful of panels. Learn what each one is for, build a workspace that suits you, and set two preferences first.
Photoshop | Tools & Techniques | Easy | 45 mins | 1 video
1 Sample Image | 1 Sample PSD

The alignment tools do in one click what most people nudge at with the arrow keys. Align to the canvas, to a selection, or to each other, then fine-position.
Photoshop | Text & Graphic Design | Easy | 15 mins | 1 video
1 Sample Image | 1 Sample PSD | 1 PDF Guide

Customize your workspace once and Photoshop stops fighting you. Strip the panels back to what you use, group them by task, then save and lock the layout.
Photoshop | Tools & Techniques | Easy | 30 mins | 1 video
1 Sample Image | 1 PDF Guide

The Eyedropper tool does more than pick a color. Change the sample size, set the background color without switching tools, and track several colors at once.
Photoshop | Tools & Techniques | Easy | 15 mins | 1 video
1 Sample Image | 1 Sample PSD | 1 PDF Guide
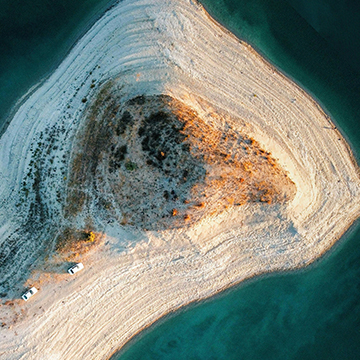
Flip and rotate images in Photoshop and you are choosing between two operations: rotating the canvas, or transforming the layer. One of them costs quality.
Photoshop | Tools & Techniques | Easy | 15 mins | 1 video
1 Sample Image | 1 Sample PSD | 1 PDF Guide