Be In Control of Your Photos! Exposure Metering Basics
Every photographer, from beginner to super advanced, wants to be able to meter accurately, to be in control of the overall quality of their final image.
You may already know what the word “photography” means, namely, drawing with light. Photo is Greek for light, graph is Greek for drawing, thus Photo-Graph-y! Light is what makes a photograph, whether it is on some form of film stock or a digital file. Controlling the light, therefore, is vital.
Proper exposure is one of the cornerstones for capturing a great image. The Golden Triangle, also known as the Exposure Triangle, is how we control light in the camera when capturing an image. Shutter speed, lens aperture, and the sensitivity of our recording medium all factor in as variables of exposure. The question is, how do we know what settings to use for those three variables?
Metering the light is the answer. Most cameras on the general market today have a light metering system already built in. Other cameras may not have a meter, perhaps an older camera or a specialty camera, but even then we can still measure the light with a handheld light meter. Regardless of whether you are exposing to film or digital sensors, measuring and controlling the light with camera controls is how images are made.
Let’s start out with a basic rule about photographic metering, the world is 18 percent gray.
18 Percent Gray
To be perfectly accurate, we’re not saying that if you take luminance and color readings of every single thing on the planet and average out the readings that the resulting figure and color are 18 percent gray. Though if that is how it was explained to someone, that explanation is actually helpful as a mental exercise.

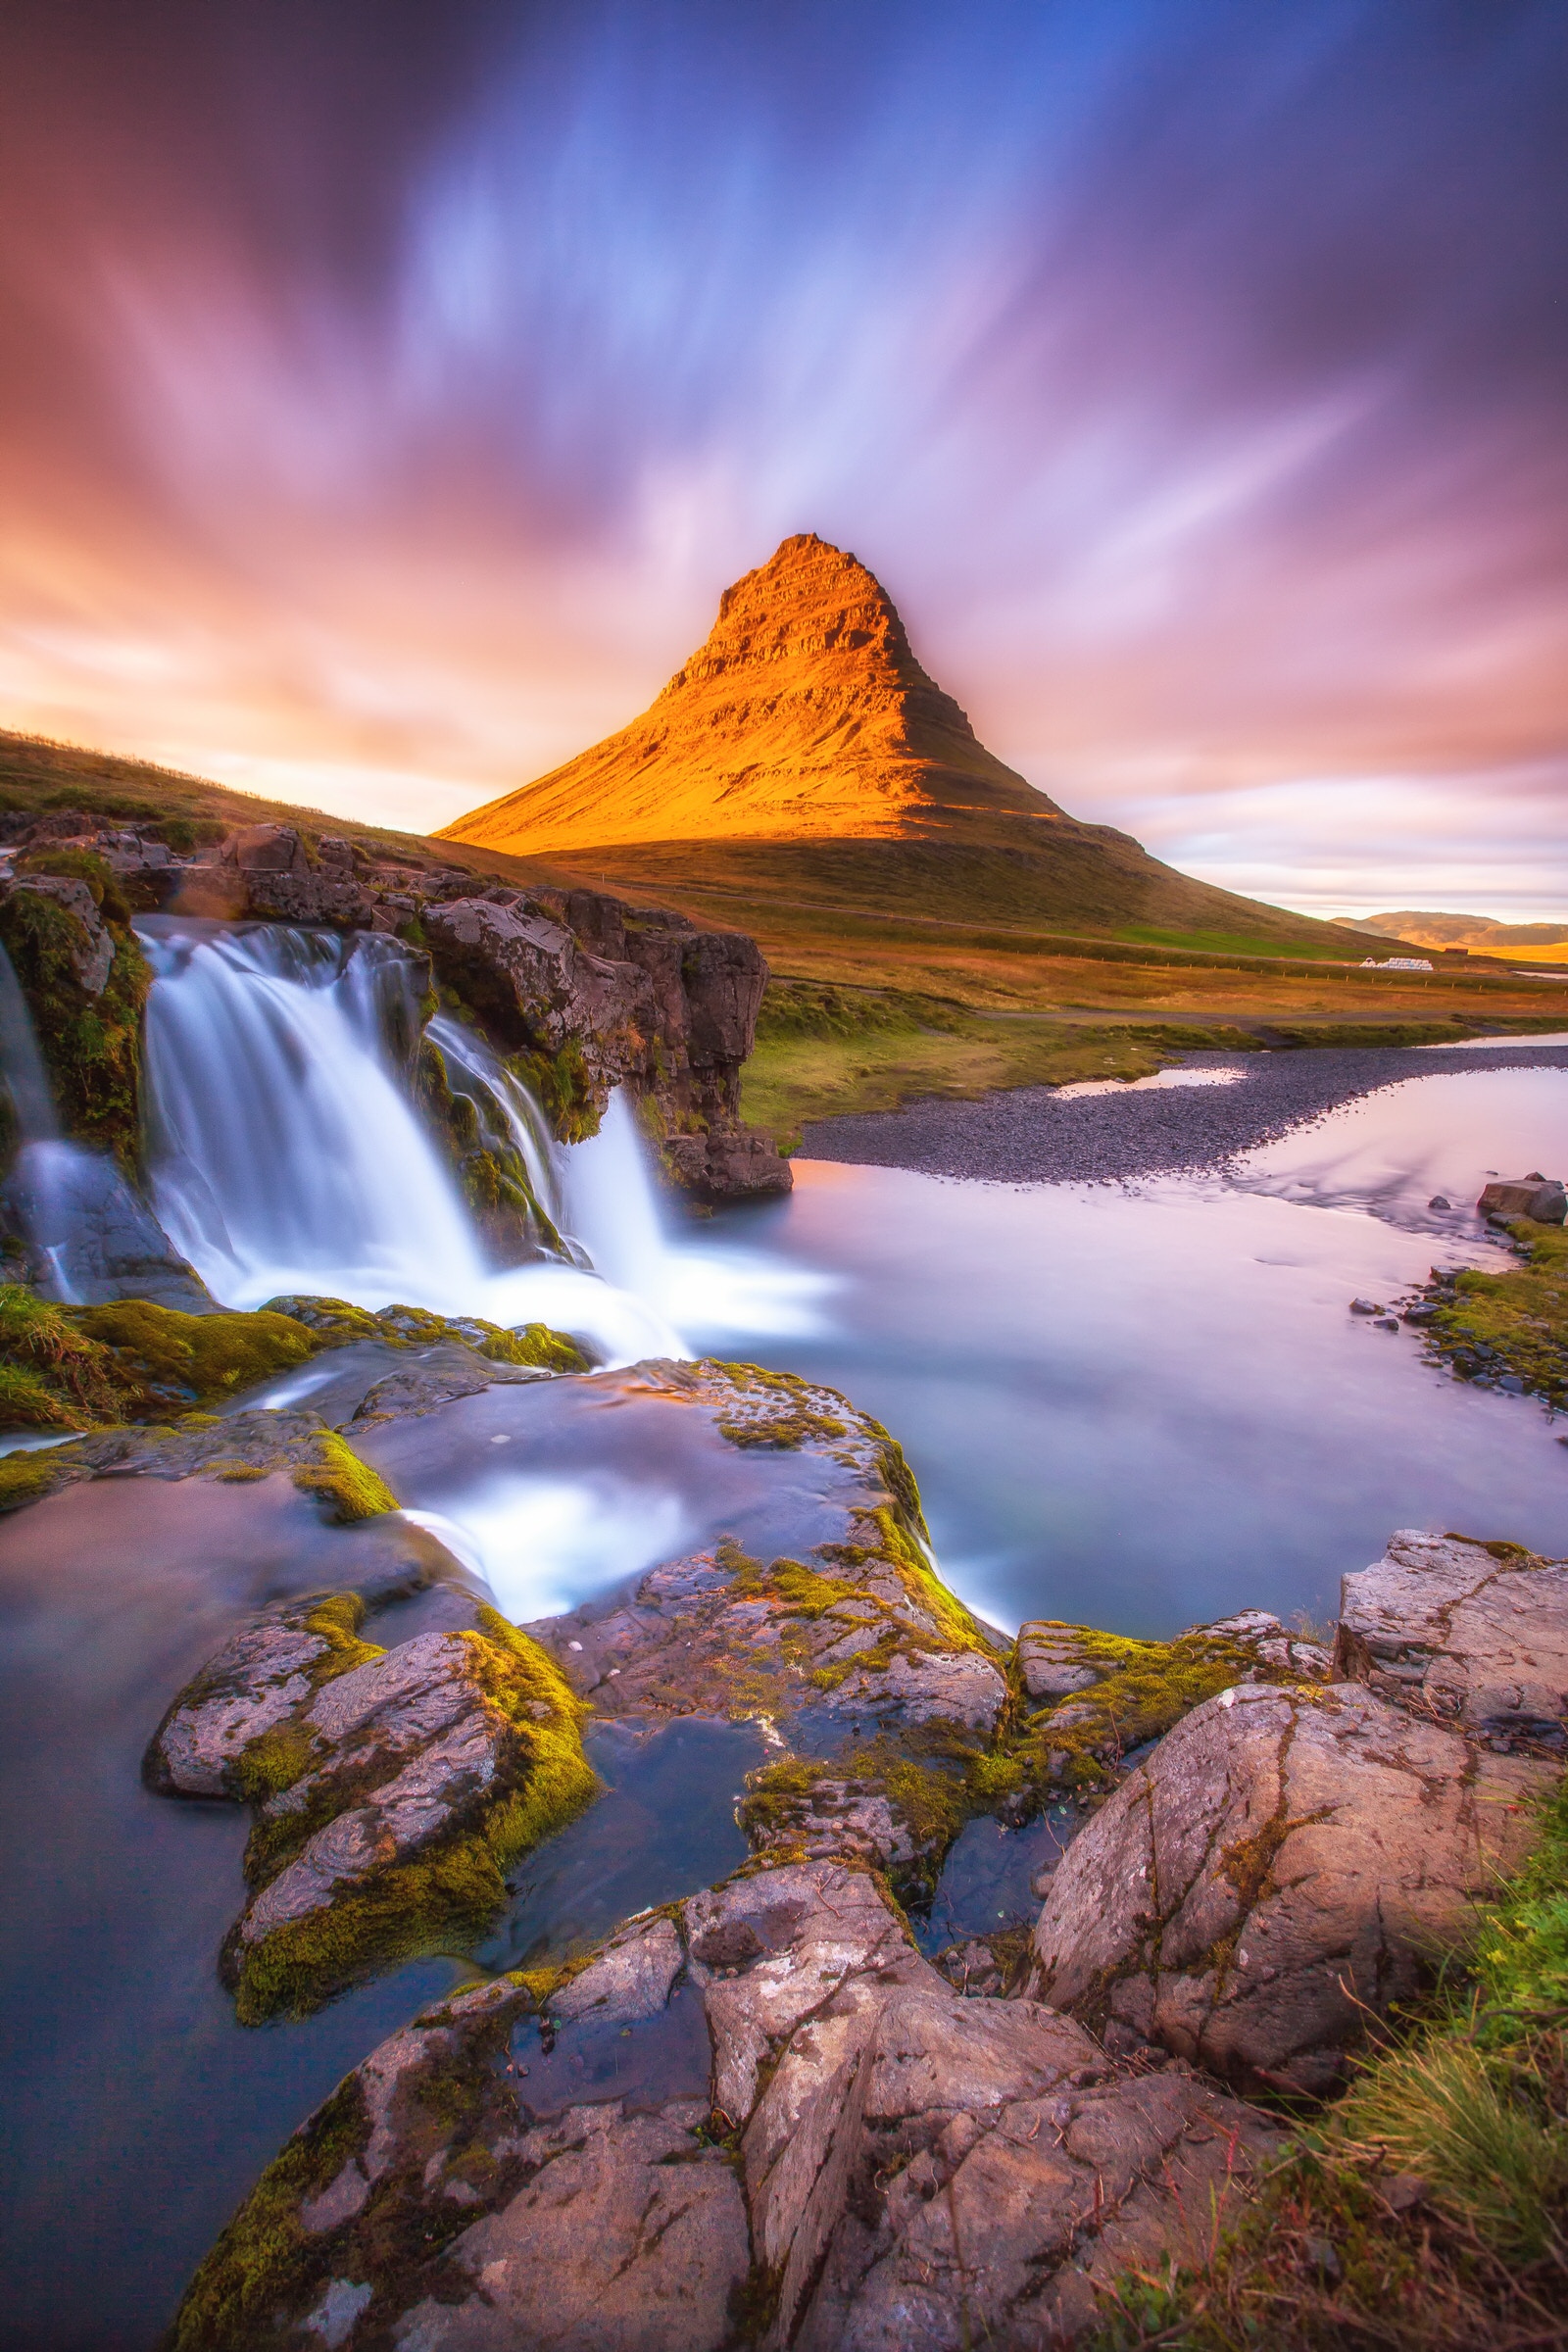
Photos by Stephen Harker
What 18 percent gray in photographic imaging means is that 18 percent is the mid-point between black and white on a logarithmic or exponential curve – Middle Gray.
What does that mean? The needlessly technical answer is that photographic calculations use exponential numbers in a base 2 log to figure out the settings.
In terms we can all easily understand, each full stop of change either halves or doubles the values. This type of numbering scale is why 18 percent gray is the middle value and 50 percent gray is not.
Pro Tip
Confused? Don’t worry. You don’t have to think calculus while adjusting your camera. When using our f-stop, shutter speed, and ISO numbers in photography, most of us tend to do it without thinking about higher math concepts.
Once you learn the numbers in the exposure triangle, they stay consistent, regardless of the camera you use.
Consider: Going from an f/2.8 to f/4.0 lens aperture halves the amount of light coming into the camera. Likewise, changing from 1/60th of a second to 1/30th doubles the amount of time that light hits the sensor. Using ISO 200 halves the sensor’s sensitivity to light we had at ISO 400. These are what are what is meant by “full stop” changes.
So, photographers are already using logarithmic scale when dealing with the settings of the exposure triangle. That’s right, you are a math wiz! (Whether consciously or not.)
This is important for photographic metering because this Middle Gray value is what photographic light meters are calibrated for. If your scene is comprised of an average variety of light values, this is all you need to worry about.
If your scene is mostly darker or lighter subjects, then some sort of compensation should be figured in. Many modern metering systems will even take care of that for you. More on that later.
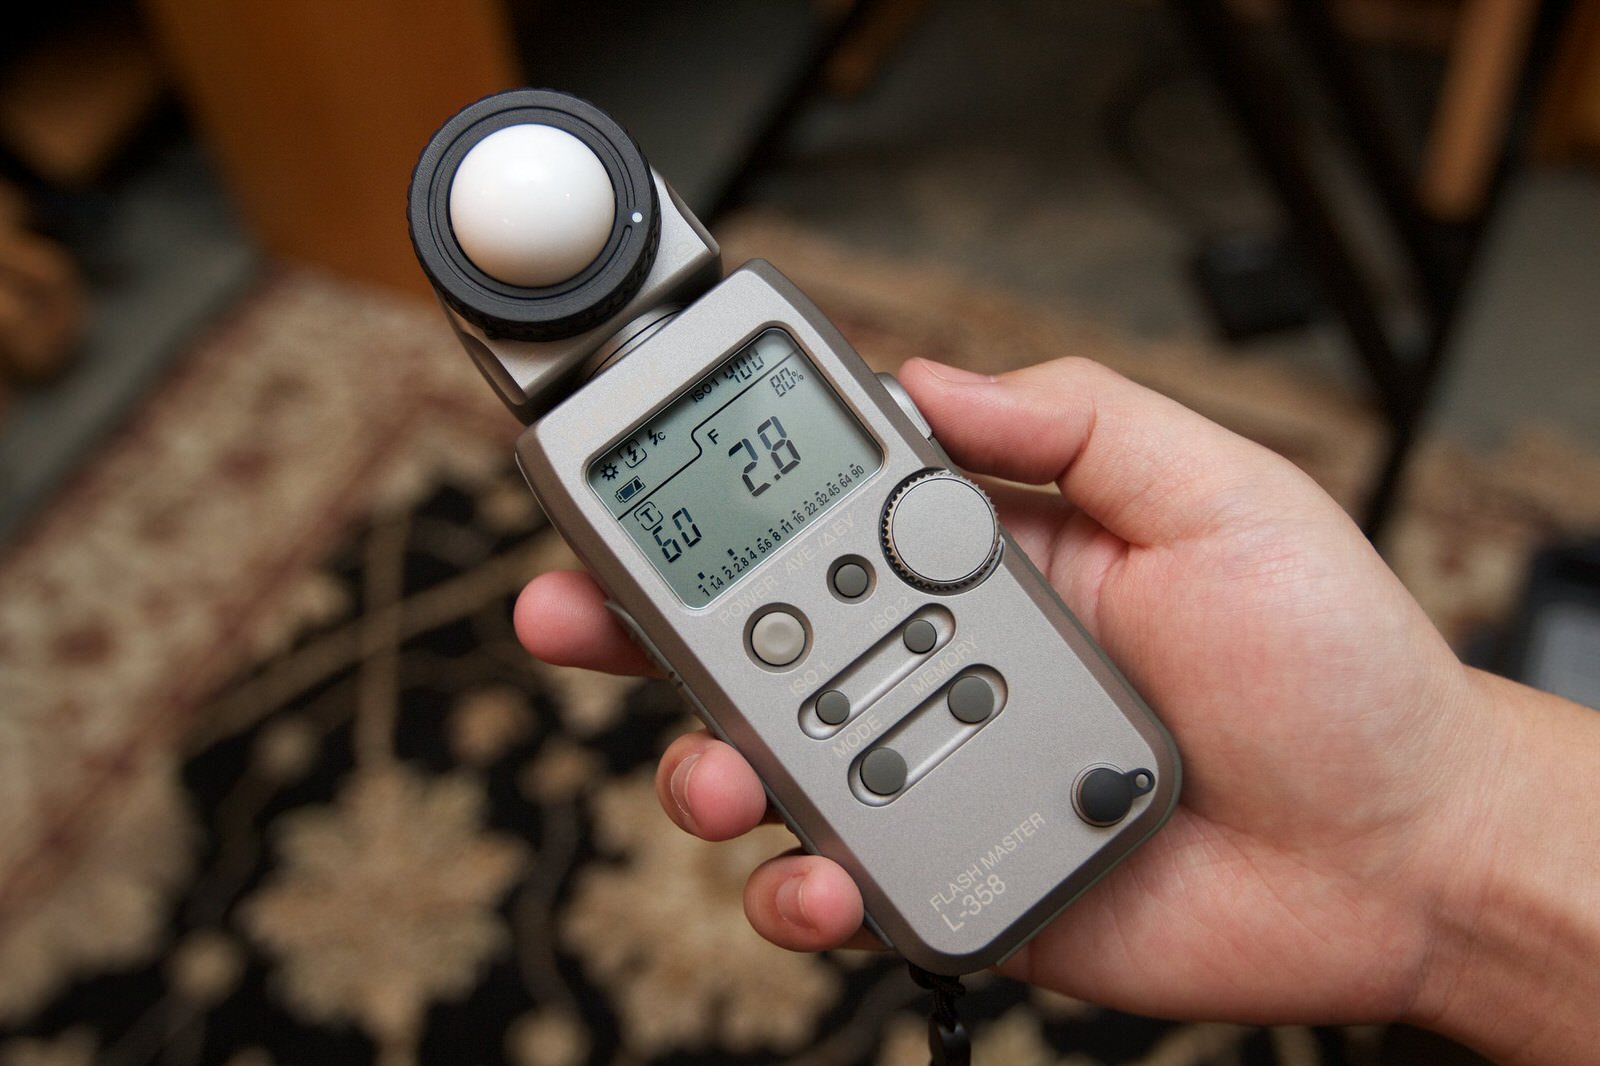
Sekonic L-358 Photo by Yutaka Tsutano (CC BY 2.0) via Flickr Commons
Reflected or Incident
There are two ways to meter light for a photograph. You can read the light that is being reflected from the subject or you can measure the light that is falling on the subject. The first type is a reflected meter, the second is an incident or ambient light meter.
Most metering done in-camera is from reflected light. Methods exist to meter incident in-camera, but they aren’t used much anymore. It used to be that you had to put a special filter on your lens, meter from subject position, and then remove the filter to take the picture.
It was cumbersome, to say the least. Ever since cameras started having spot meters and evaluative metering built in, this method has mostly been forgotten. (Sometime in the 1980s is when I last used it.)
A handheld meter is most often the choice for photographers preferring the incident method, such as studio photographers. Leave your camera on the tripod and meter from subject position, then take the picture.
Pro Tip
A wireless remote control (not merely a remote release) is a great way to simplify your workflow. Compose and prefocus your shot, then use the remote to adjust camera settings and capture the image.
A highly recognizable example of an incident meter is the Studio Deluxe III L-398A from Sekonic. You may have noticed this model hanging from the neck of a TV or movie character who is supposed to be playing a pro photographer.
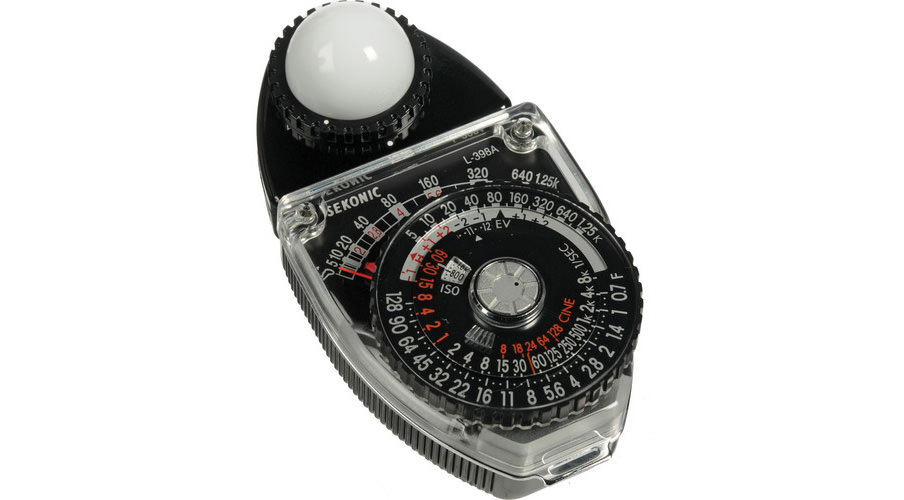
Other types of handheld meters are reflected light meters, spot meters which meter only a tiny “spot” of the scene, flash meters, and color meters.
Modern digital cameras often incorporate measuring color temperature, flash, and spot metering along with their built-in averaging meters. Using a handheld meter, though, is preferred by many advanced photographers who need very exacting control over the process, such as a product photographer for commercial advertising.
In-Camera vs. Handheld
When taking photos using a camera without any sort of built-in meter, you either have to expose based on experience and the Sunny 16 Rule, or use a handheld light meter. A handheld meter is also a nice alternative even when your super-duper modern DSLR or mirrorless digital camera has the most up-to-date metering system in existence.
With a handheld meter, you gain two benefits:
- You can get some extremely accurate readings if you take the time.
- It forces you to slow down and really think about the photographic process. You can slow down without a handheld meter, but the act of metering and then thinking about the camera settings is good exercise for any photographer.
In the film days, a selenium cell handheld meter worked even if your in-camera meter failed for some reason or another. This was often because that lousy little button battery was dead. With a modern digital camera, if your battery is dead, you won’t be making any exposures at all, even if you do have an old selenium cell light meter on hand.
In-camera meters in today’s world of super-capable cameras are nothing less than amazing. Newer photographers may take it for granted, but we used to have to outthink our camera’s meters.
Pro Tip
Many professional photographers use a card that is 18 percent gray on one side and 90 percent white on the other. Place the card at subject position and fill the camera viewfinder with the card to measure exposure from the camera position.
Alternately, you can take an image with the card in it to use as a base point for making minor color or exposure adjustments in Photoshop or other post processing programs. Be sure you remove the card and take a picture for the final image!
Go back to that 18 percent gray we talked about. The meters in film cameras from the 60s, 70s, and early 80s were made with the assumption that averagely lit scenes were going to be measured for an average exposure. That was fine for the typical snapshot and for many situations.
Where things got tricky was photographing scenes that didn’t fit the everything-is-average model. Take a portrait, for instance. To avoid squinty eyes and harsh shadows, we turned our subject away from the light. Which often meant the face was lit less brightly than the background, requiring an exposure change.
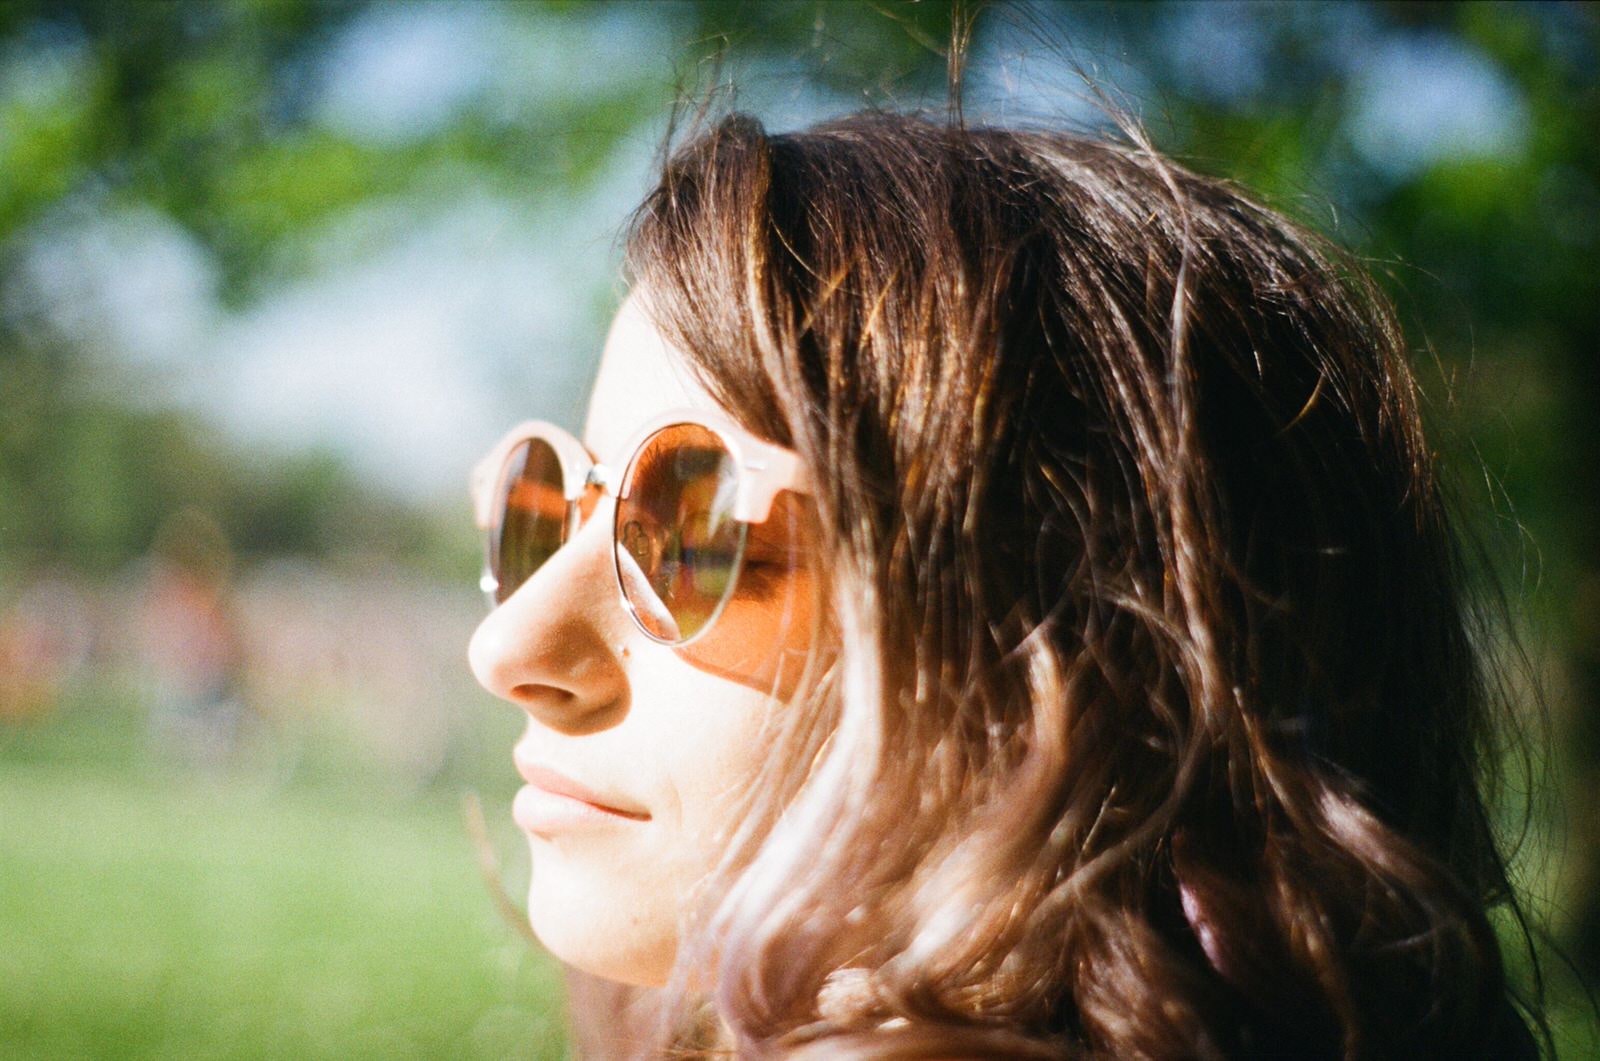
Backlit Portrait – Photo by Alex Sheldon on Unsplash
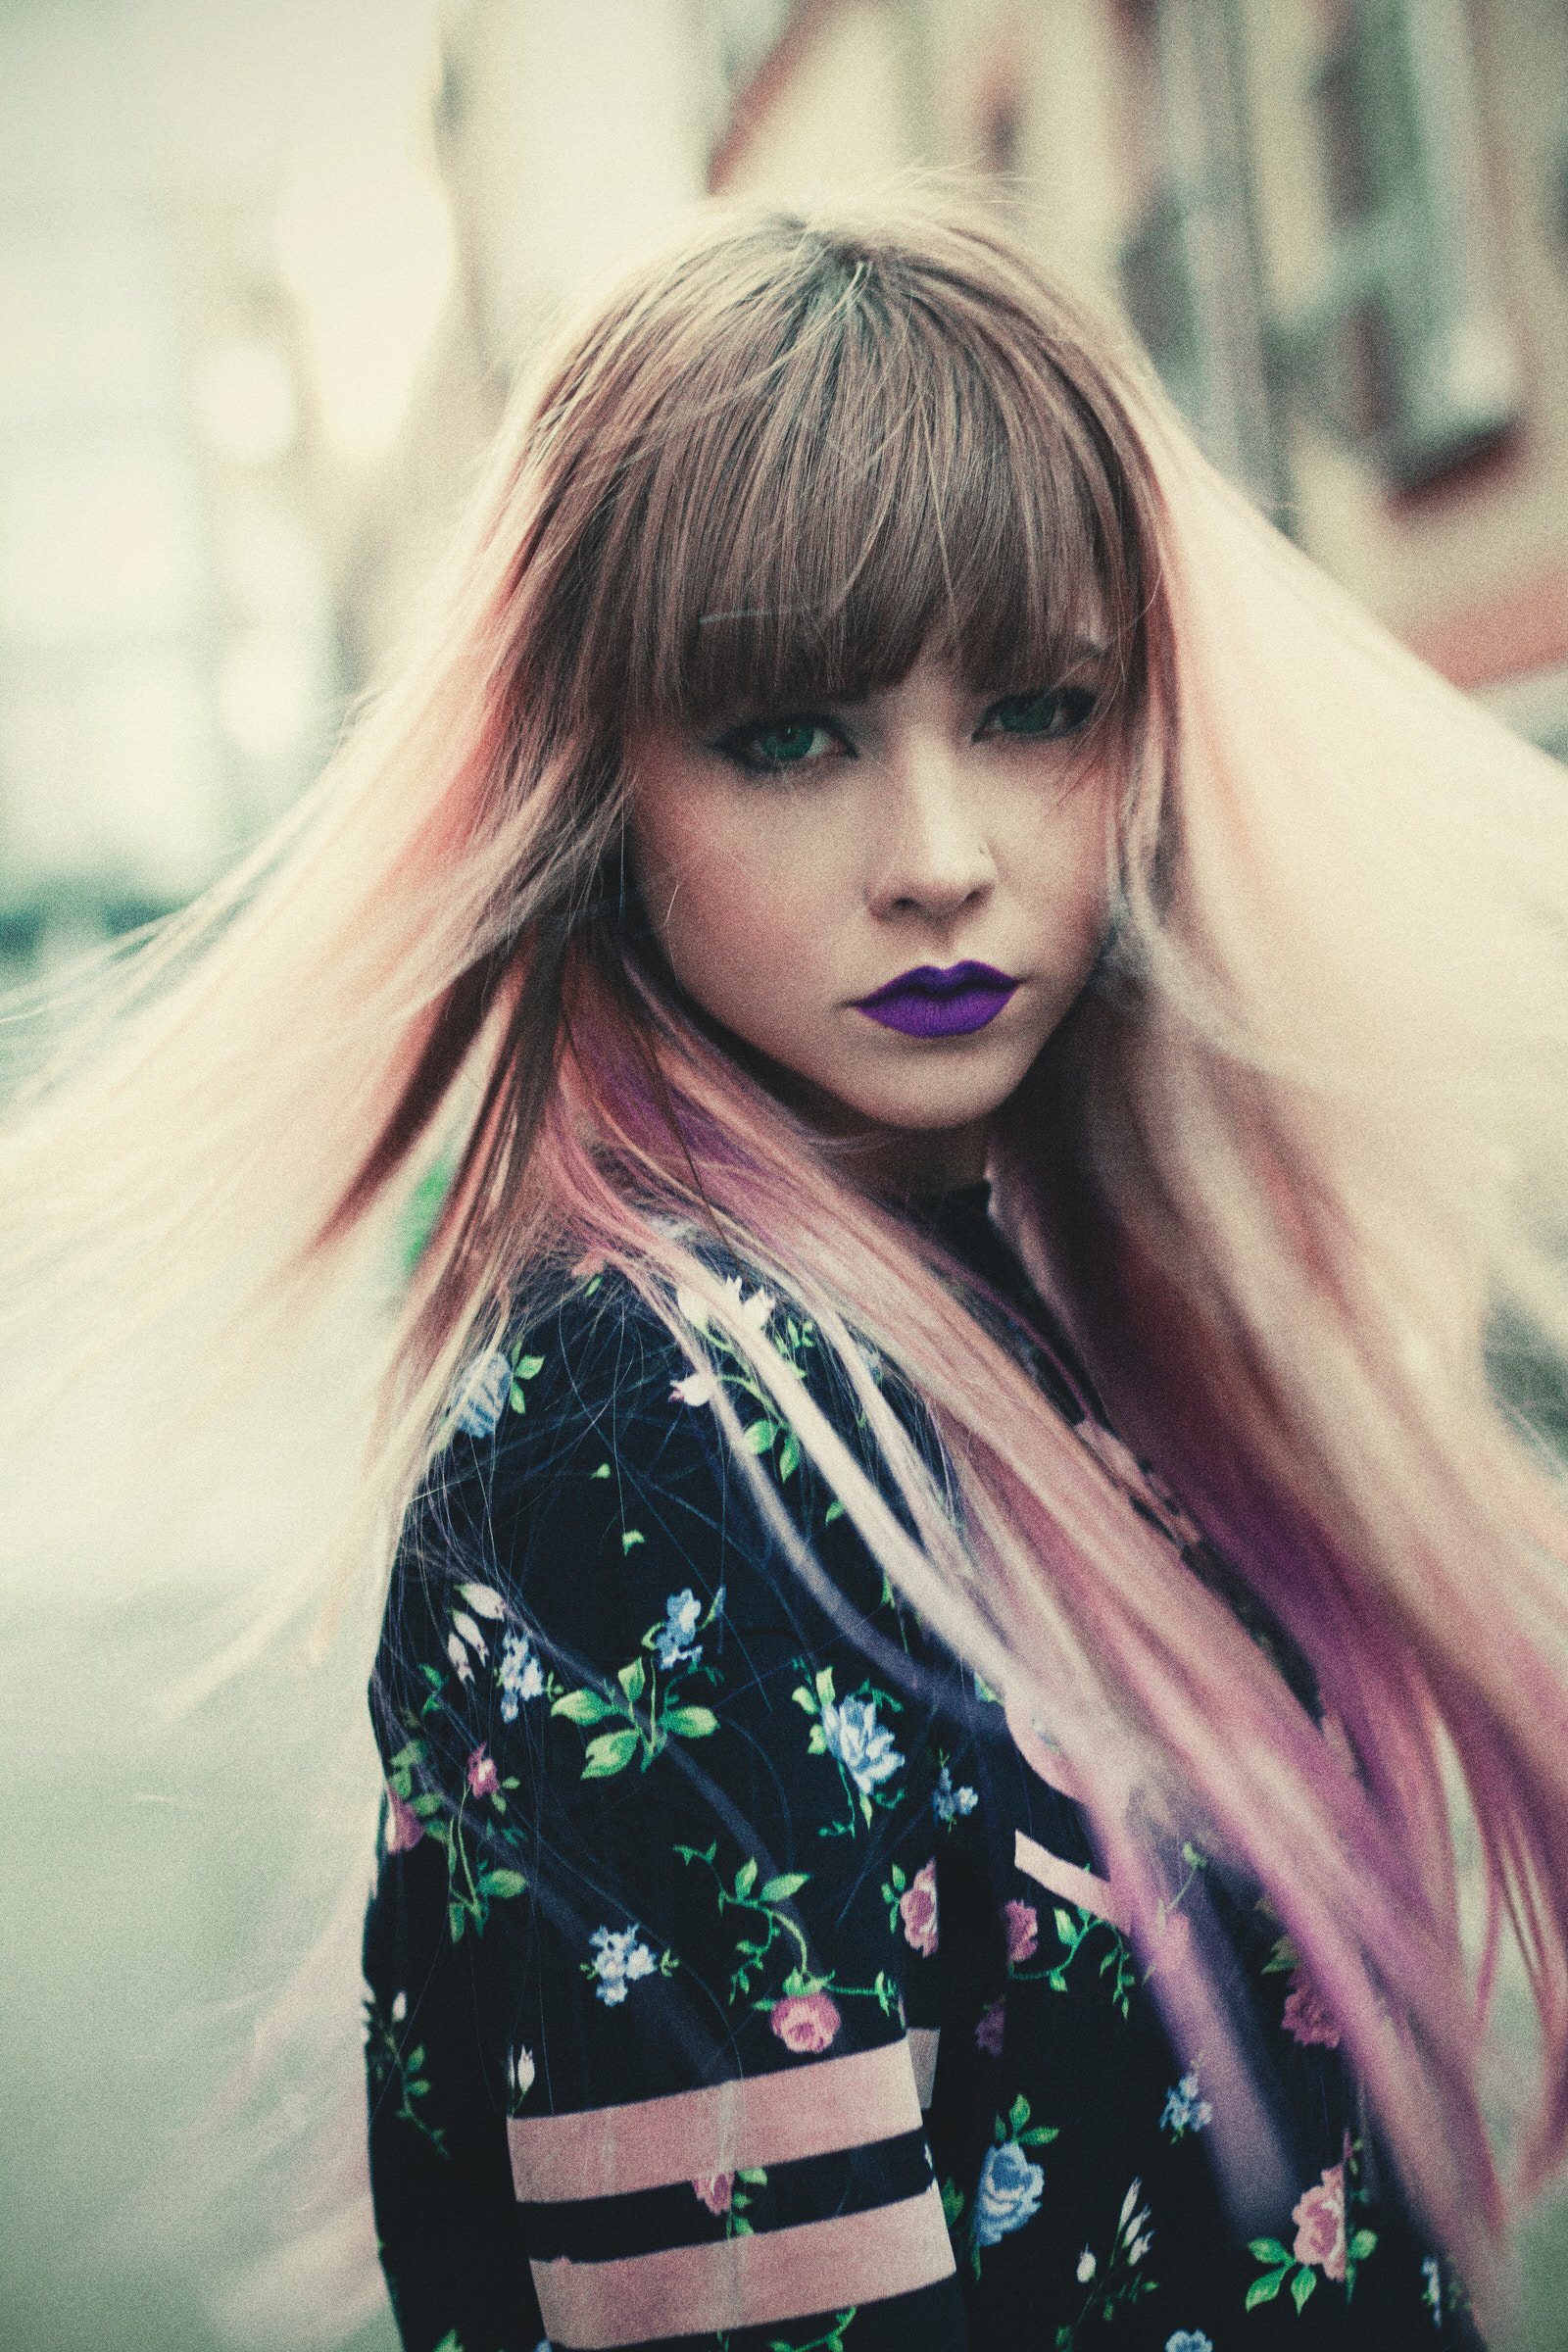
Another situation was if our subject was high key or low key, we somehow had to compensate for what the meter reading was telling us (remember the 18 percent gray rule). As examples, taking pictures in the snow or bright sand on a sunny day, typical vacation shots, would yield underexposed images. That sand or snow would turn out middle gray.
Likewise with a scene in deep shadow, twilight, or of things darker than middle gray. The metering would tend to overexpose them. So, our precious ebony kitty sitting on the dark brown couch would turn out looking like a muddled middle gray kitten. Who wants muddled kittens?


Left: Low Key Image. Right: High Key Image. Photos by Stephen Harker
Evaluative vs. Averaging vs. Spot Metering Area Modes
Metering modes are different than exposure automation modes. Metering modes refer to the area of the scene that is being measured. Exposure modes refer to changing the aperture, shutter speed, and sometimes the ISO in order to expose the image. Many cameras have multiple metering patterns.
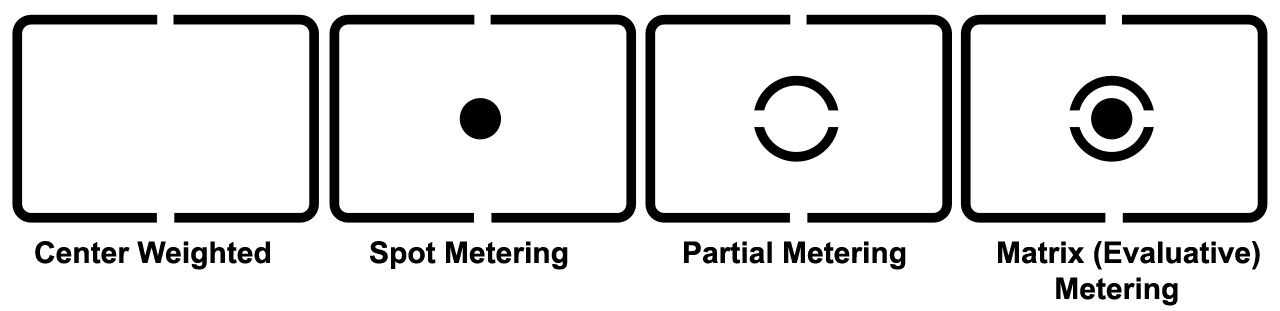
Canon metering modes. Photo: Runner1616 [CC BY-SA 3.0], via Wikimedia Commons
Evaluative Metering
Matrix Metering, Smart Metering, evaluative metering – or whatever your favorite brand calls it – is amazingly good, fully capable of providing accurate exposures in many difficult lighting situations.
Modern evaluative camera metering systems use preset instructions in the camera’s computer brain, based on evaluations of thousands of images, to automatically compensate for a wide range of difficult lighting situations. This is true whether you are in full program auto or shooting manually but relying on the in-camera meter or any exposure mode in between.
With evaluative metering, the camera’s computer processor scans everything in the entire scene. The computer recognizes certain patterns of light and dark in the scene and compares those patterns with the instructions it has concerning thousands and thousands of similar patterns. Autofocus points may be factored in as well. It then chooses an exposure that should be correct for the scene.
Instead of merely averaging out the light and dark, it actively evaluates the specific photographic situation you are in and automatically compensates exposure settings to provide a properly exposed image. It’s the default metering mode for fully automatic camera operation.
Most of the major brands will have a similar icon either in an LCD display or a label next to a button or switch.
- Use evaluative metering when shooting fast action or in rapidly changing light conditions.
- For most situations, it is surprisingly accurate. Don’t just think of it as the beginner or snapshot metering mode.
Averaging or Center Weighted Averaging Mode
Sometimes though, you don’t want the camera to override your exposure measurement decisions. So, you can turn your camera metering setting to averaging. Often it is actually center-weighted averaging, giving the center of the frame more importance than the outer parts.
For many years, this was the default metering area mode. If you learned photography on manual focus 35mm film SLRs, this is probably the metering area mode you became very used to. It’s a good mode for most general purpose photography.
- Use for group portraits and head and shoulder portraits in any lighting other than strong backlighting.
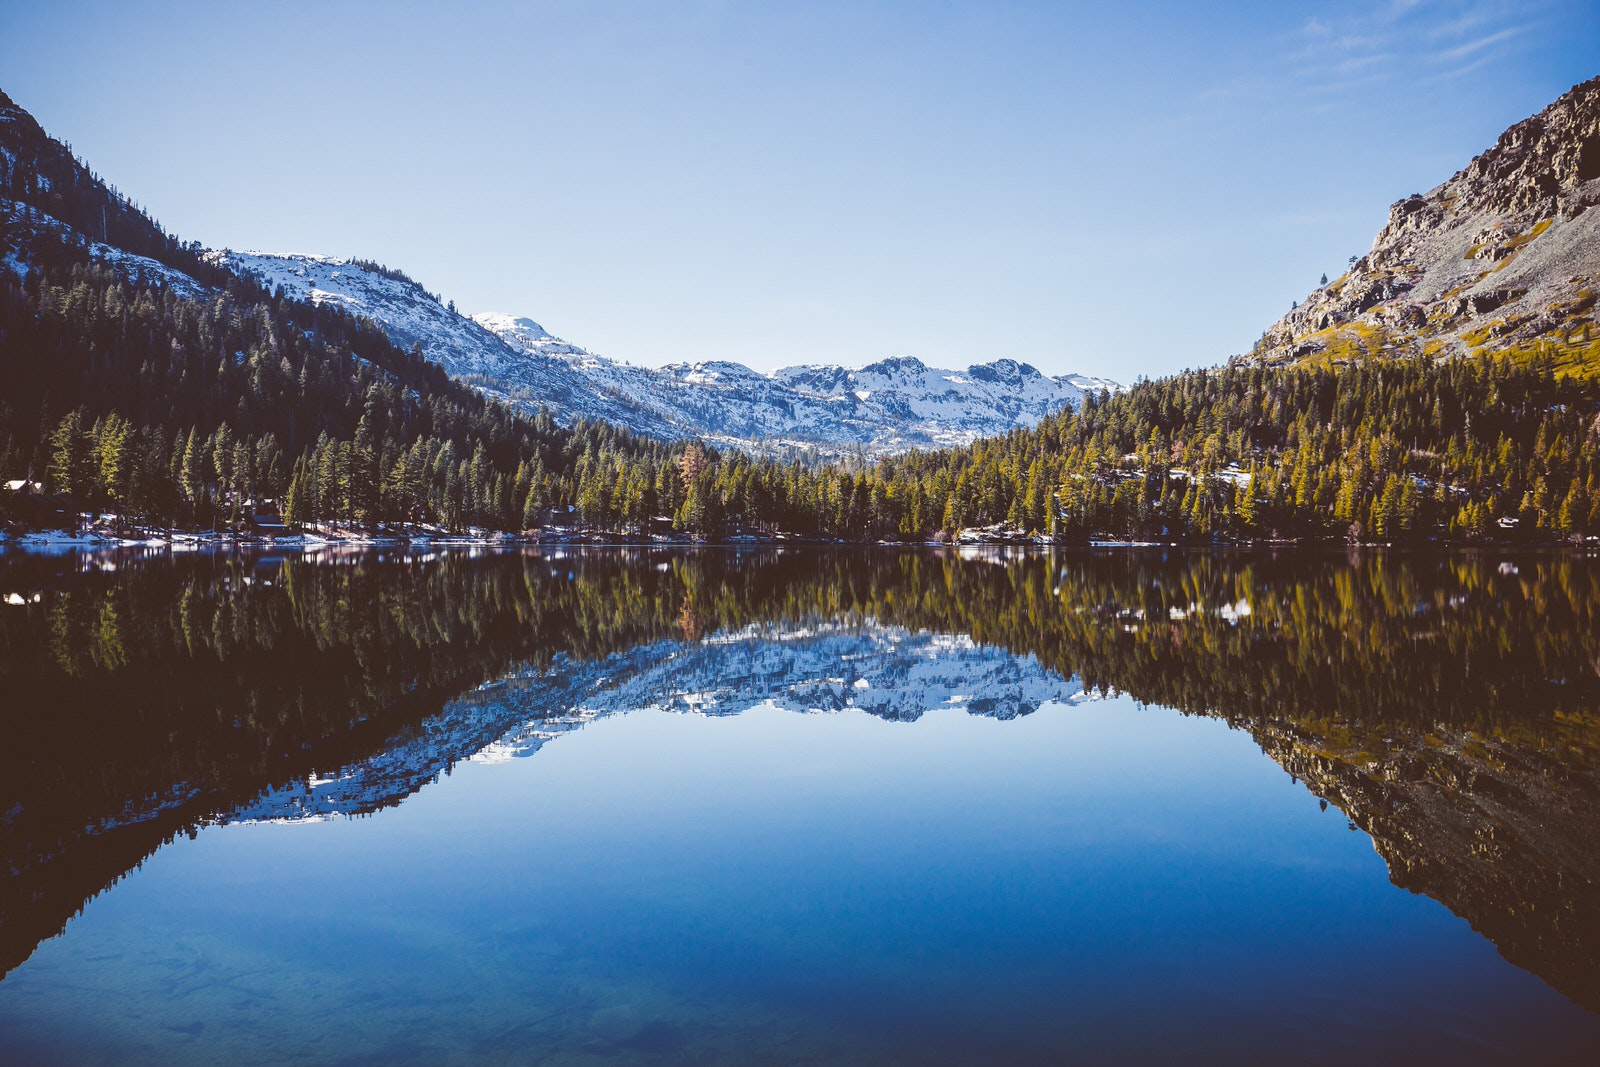
- Also good for landscapes such as fall foliage.
Spot or Partial Area Mode
Some cameras also have spot metering or a mode that lets you take multiple spot readings to combine and average. Only a small portion of the scene is measured. For some of the major brands, it can be either a large spot (12 percent) also known as partial, or it could be a very small spot (one percent).
When you want the exposure to be based off of only a very small portion of the image, this metering mode is your best choice.
- In some cameras for professionals or advanced enthusiasts, the small spot for metering can be linked to a specific focus sensor point.
- For a subject lit by a spot light, this is the best meter area mode.
Spot-lit Scene – Photo by Edward Franklin on Unsplash
Camera Exposure Modes
Focus modes, metering modes, auto-exposure modes, drive modes, there sure are a lot of modes in our cameras. We just covered metering area modes, now let’s look at auto-exposure modes, since those are related to metering.
Manual (M) Mode
You are setting everything exposure-related on your own. Shutter speed, lens aperture (f-stop), and ISO are set by you and they will stay set that way until you change them.
- The built-in meter’s reading can be used or ignored.
- Ignore it if you are using a handheld meter or have a special technique or method in mind.
- Manual mode is the best mode for HDR photography or panoramas.
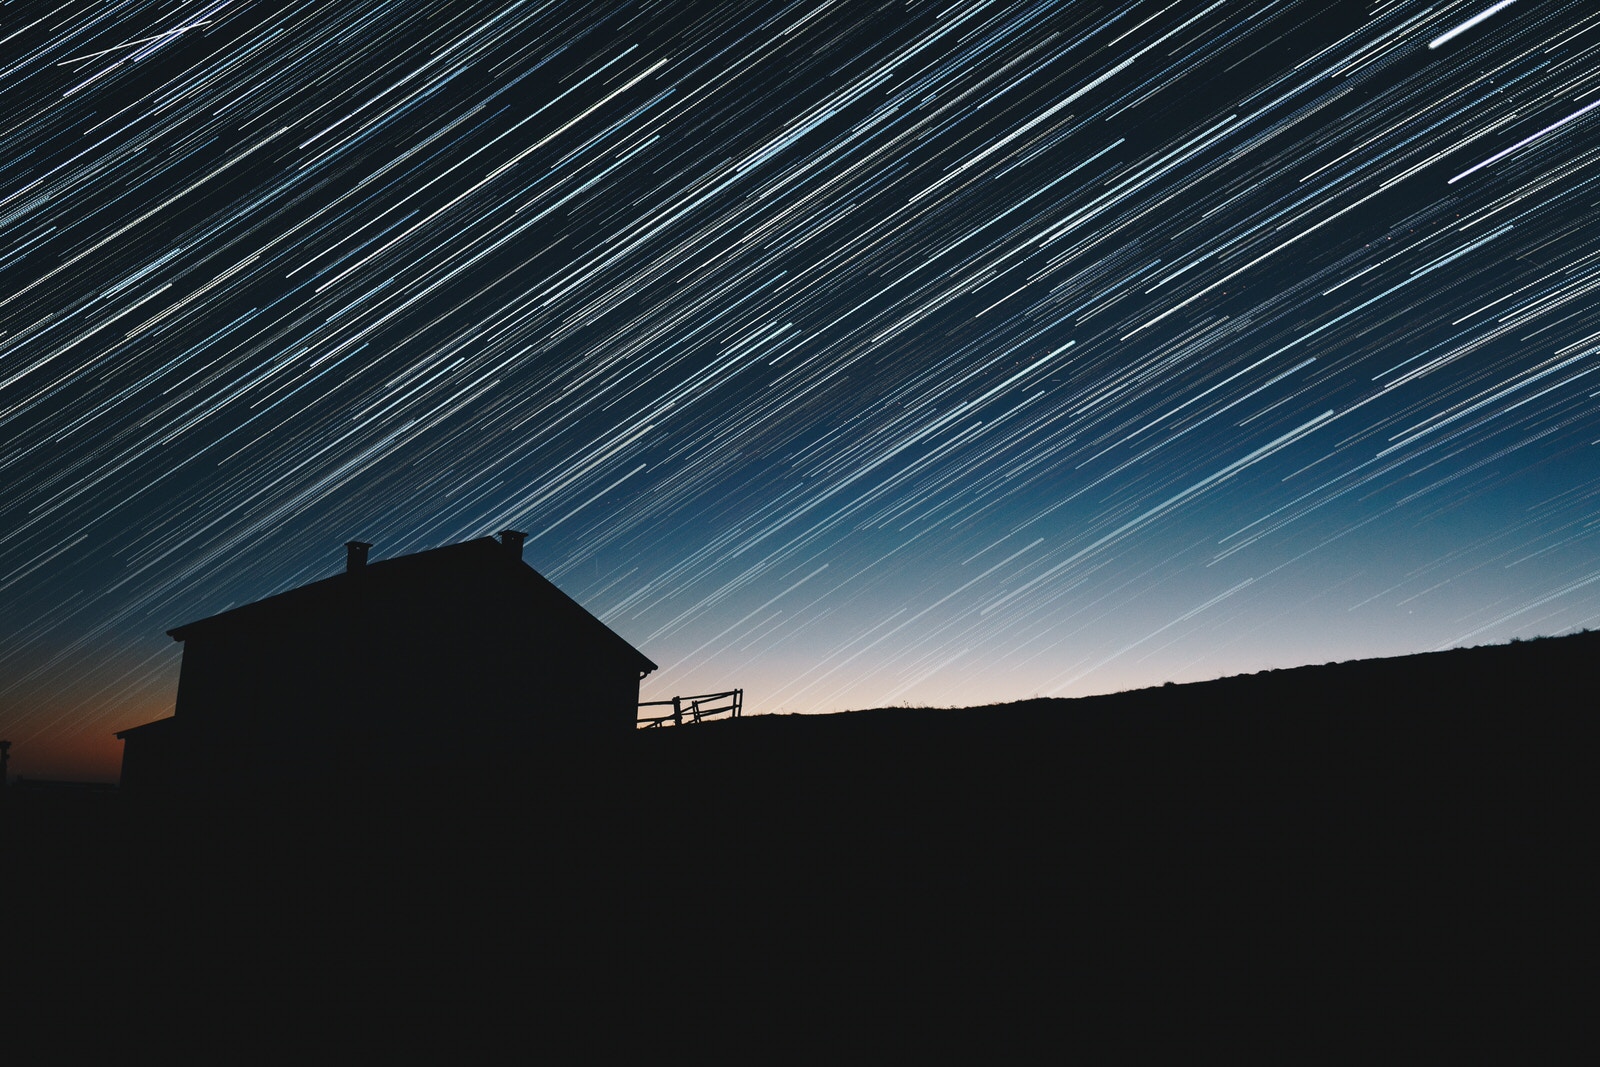
- Also use manual mode for astrophotography or other very long exposure situations.
Long Exposure – Photo by Luca Micheli on Unsplash
Aperture Priority (Av) Mode
You set the lens f-stop and the camera decides the shutter speed to use based on the light conditions and whatever ISO you are using. This mode was the most popular automation during the big boom of exposure automation of the 60s, 70, and 80s, probably because it is simple to adapt to all sorts of lenses.
- Av mode is often the best mode of choice when using older lenses that don’t have any of the modern camera connections or when using lens mount adapters. As an example, this will allow automatic exposure when using a 60-year-old specialty portrait lens on a mirrorless digital camera.
- It is also the mode to use when depth of field is most important. Such as a small aperture (f/16) for maximum depth in a landscape or a wide aperture (f/2.8) for a portrait with only the person in focus.
Shutter Priority (Tv) Mode
You decide what shutter speed to use and the camera sets the aperture. This mode requires lenses to be matched to the camera’s controls, either by mechanical means or electronically.
- Use this mode when shooting action. Slow shutter speeds blur movement; fast shutter speeds freeze movement.
- Pan with a moving subject to create background blur.
- Keep camera still to create subject blur.
Program or Programmed (P) Mode
Both the f-stop and the shutter speed are controlled by the camera. The camera computer chip has a preprogrammed set of exposure combinations for a given light value. There are a lot of ways that current camera makers are doing program mode. Several allow user input to change what combinations of settings are used.
This is also the exposure mode you are in when you set your camera to that green dot full auto setting. Remember, that green dot auto mode takes control of just about everything in the camera – focus mode, meter mode, motor drive mode, exposure mode. You can’t change anything but the focal length of your zoom lens.
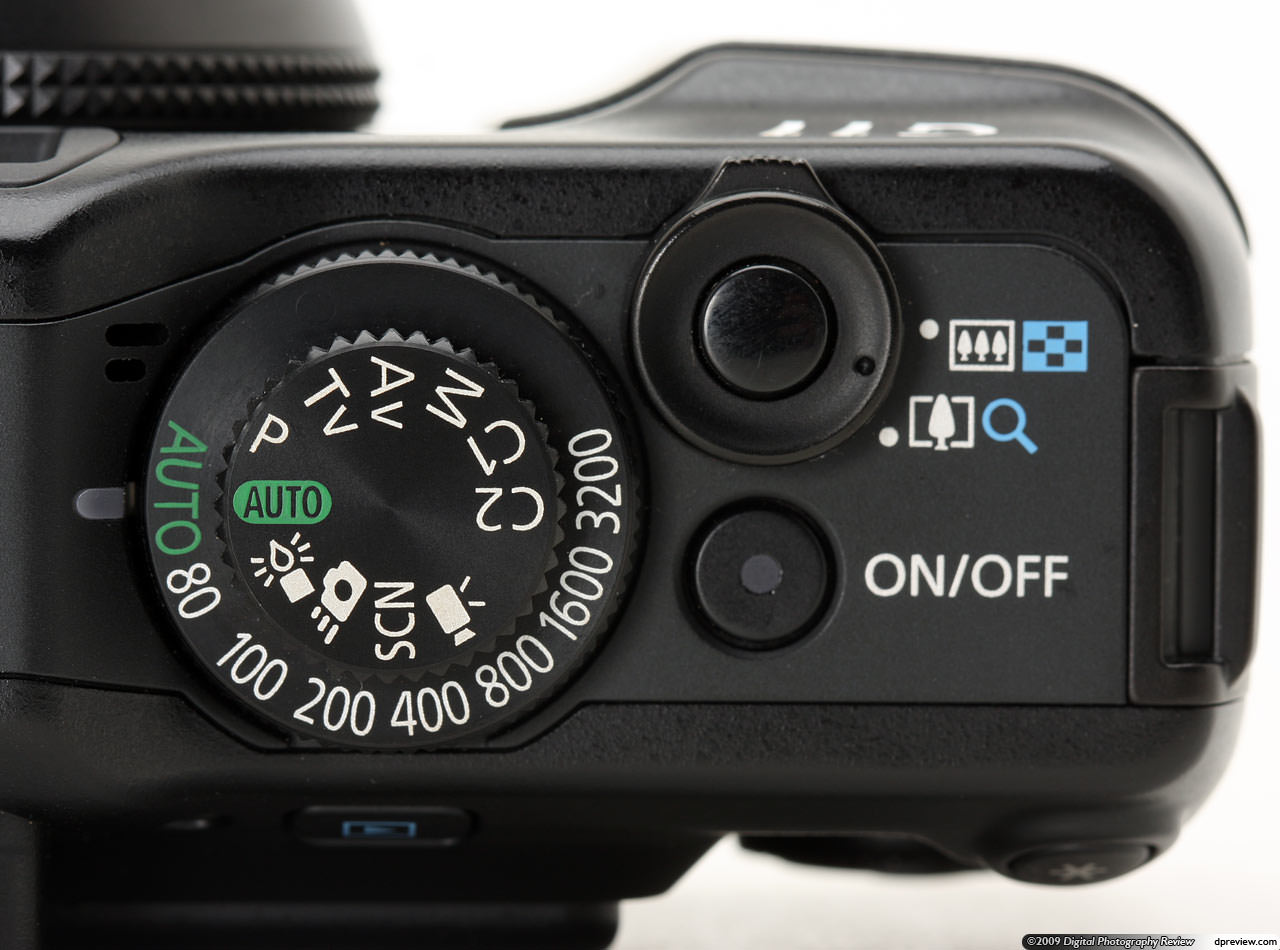
Exposure mode selector showing green dot auto mode. Photo by Bill McChesney via Flickr Commons (CC BY 2.0)
Flash Automation (TTL and Other)
Manufacturers are giving photographers many options in how we expose our images with flashes or strobes.
One of the biggest improvements to flash photography came out in the late 1970s and early 1980s from several manufacturers: OTF TTL flash metering. TTL means through the lens, OTF stands for off the film plane. This metering method is widely used in current digital cameras from entry level to very high-end professional models.
A light reading sensor is placed inside the camera, either pointing at the sensor or film or pointing up at the back of the lens. The light coming into the camera during the flash exposure is measured. This is the most accurate way to meter when using flash.
- Some flash metering modes include focus distance calculation for completely balanced flash and ambient light exposures. Also known as automatic fill flash.
Exposure Compensation
If your camera is in any of the exposure modes other than full auto mode, you can use this setting to override the meter reading for either more or less exposure. You do this by setting a value (-1, +2, etc…) for exposure compensation on a dial or in the camera menu.
This control is most commonly used for better control in challenging lighting and scene conditions, such as the high key or low key scenes highlighted earlier.
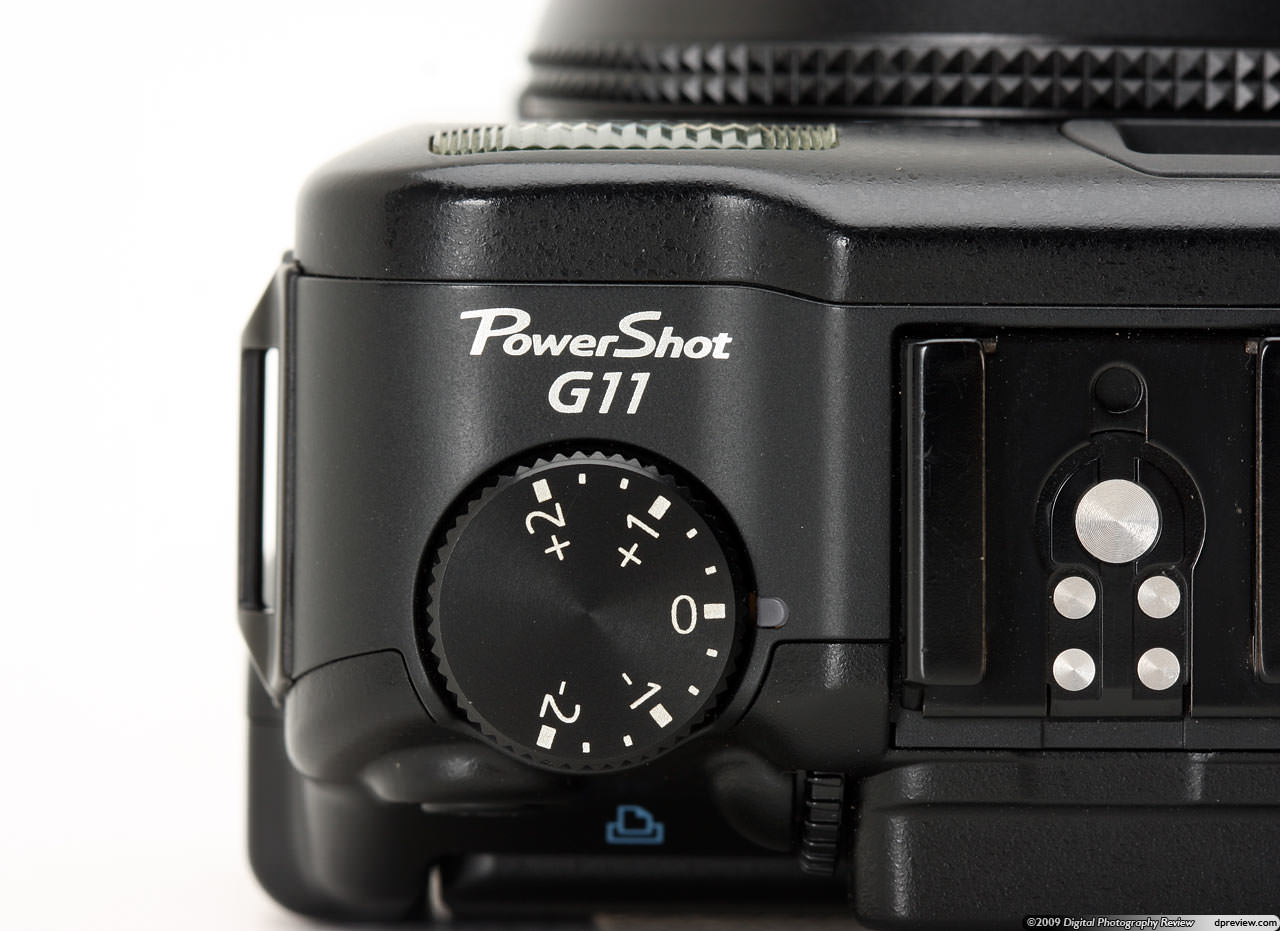
Photo by Bill McChesney via Flickr Commons (CC BY 2.0)
Take some time to experiment with your camera in different lighting conditions using all the exposure modes. Then note which situations yielded consistently over- or underexposed images. Use exposure compensation for those conditions in future photo shoots.
You Are In Control
When it comes to metering area modes, exposure modes, or what shutter speed, f-stop, or ISO to use, you are in control. What’s important is making good images.
Pro Tip
Get the best possible exposure in-camera instead of having the “I can fix that in Photoshop” mindset. In other words, use post-processing to enhance your images, and quit trying to save a bad image (unless it’s the only photo you have of an important subject or event).
However you are using this art and craft of drawing with light, exposure settings and metering are an integral part of your imaging.
I urge you to try out some of these modes in your own cameras that you may not use regularly. Pick up an old light meter at an estate sale or your favorite local camera store and play around with it. Read the manual of your current equipment to see just what it can do. And join the PHLEARN Phamily to share your experiences and get helpful tips and feedback.