Lost in the Shuffle: Keeping Your Digital Photos Stored and Organized for Good
It’s 2020. Do you know where your photos are? If you’re like most people, probably not.
Digital photography seems like such an elegant solution to the old problem of those boxes full of photos we used to see in our grandparents’ closets. The reality of it is, we’ve replaced those piles of scattered prints with unnamed digital folders and jumbles of semi-cloud-synced albums from every smartphone we’ve ever owned.
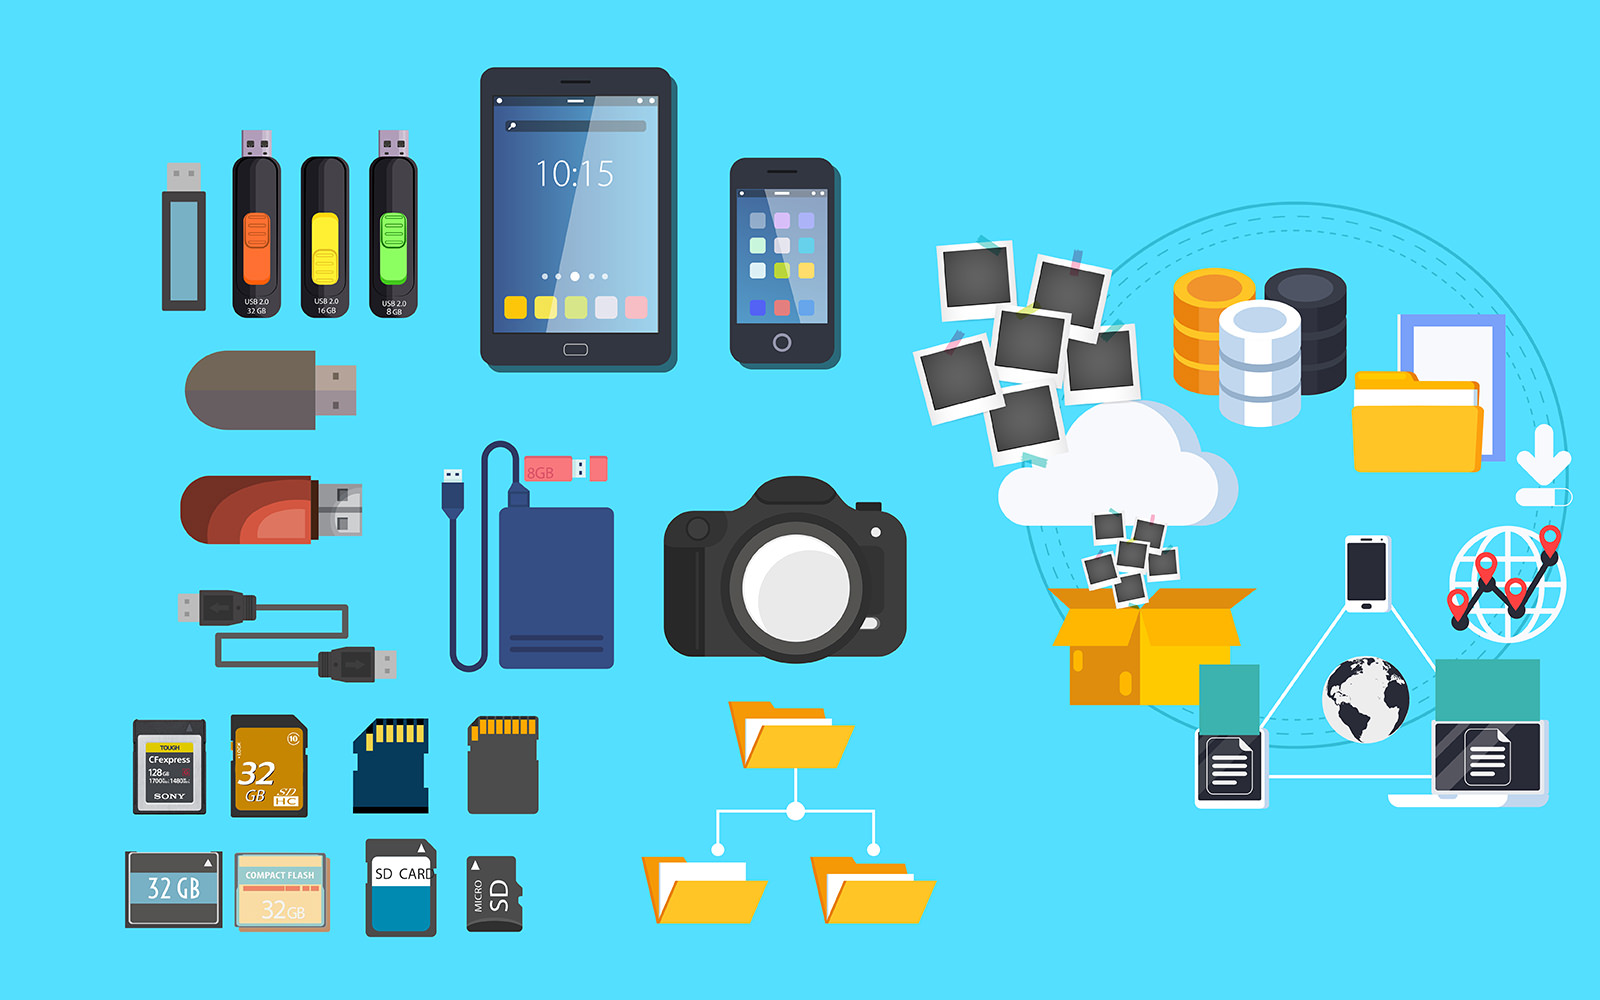
It’s so easy to end up with photos saved all over the place – cloud storage, folders spread out all over your computer desktop, external hard drives, thumb drives, photo streams, etc. Organizing all those images can become pretty overwhelming, and it only becomes more so the longer you wait. Fortunately, we have 10 simple steps you can take to organize and manage your photo saving workflow and keep it under control.
Name Your Photos
This sounds embarrassingly easy, right? But those of us who have actually tried to name every single one of our hundreds (if not thousands) of photos know it’s a daunting task.
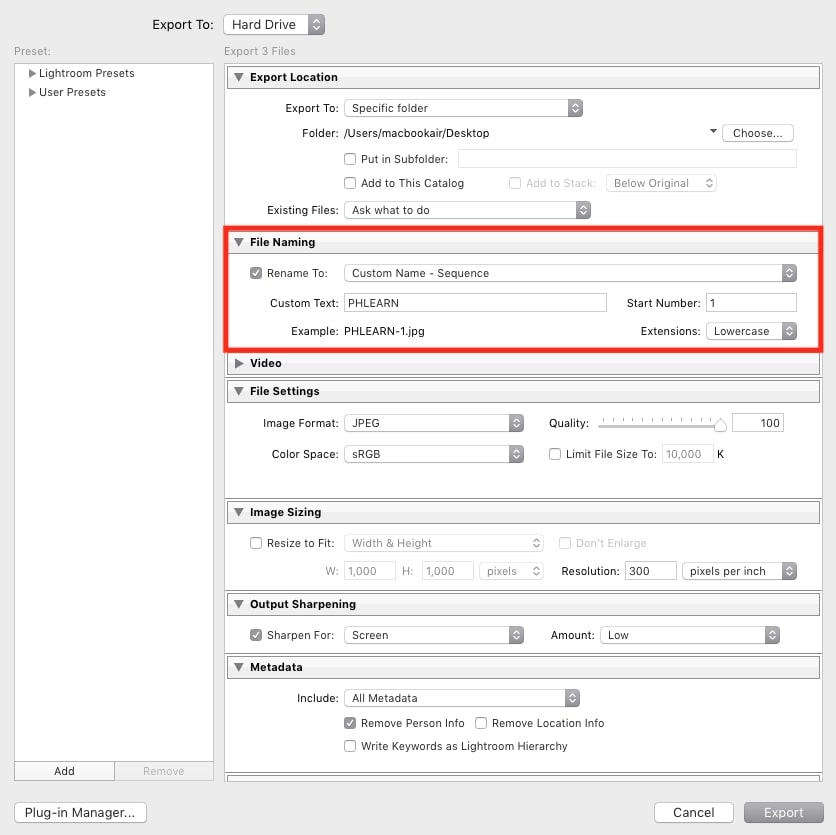
It’s honestly not realistic to try and give a unique name to every single photo we take. There are just too many. But one thing you can do is give all of the photos from a particular date or event the same name and sequence them with a number after each photo. You can do this when exporting from Lightroom very easily:
Or you can batch title/describe images in the native Photos app for Mac by selecting your desired photos, right-clicking, and entering your info into the correct field.
These are just a couple of examples. Chances are, whatever program you use to edit or catalog your images will have some sort of option for this.
Use Folders (and Subfolders… and Sub-Subfolders)
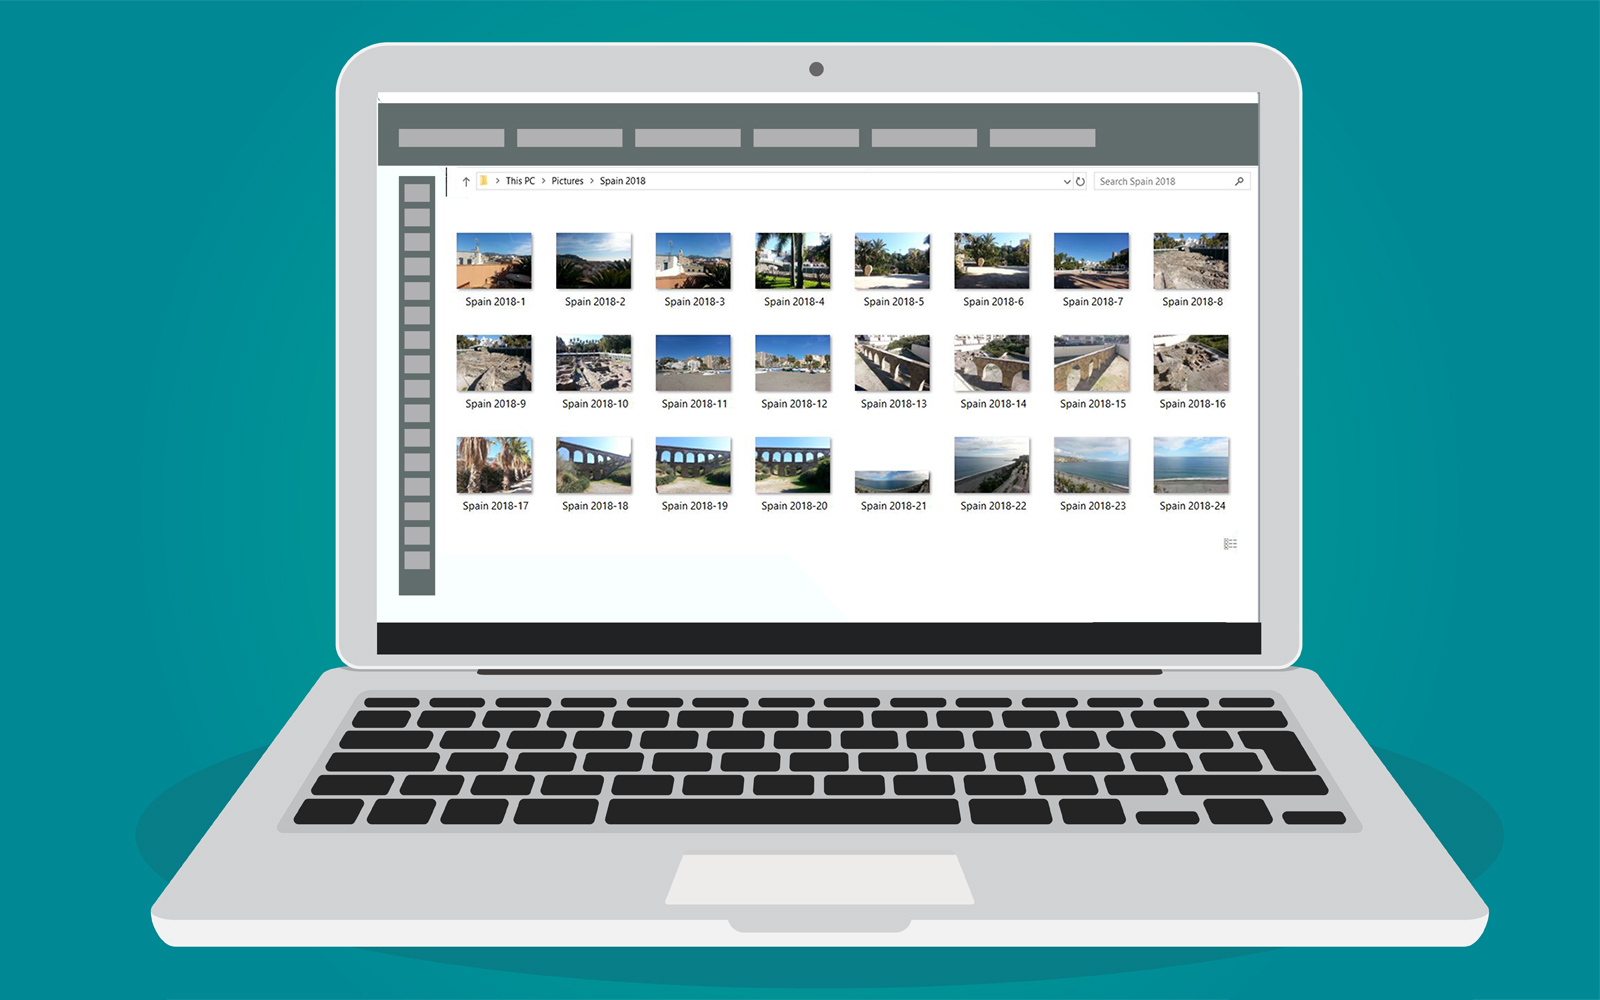
It’s really up to you how specific you want to get when you are categorizing images, but the more folders you have separating out unique events, trips, and projects, the more quickly you’ll be able to find a particular one that comes to mind.
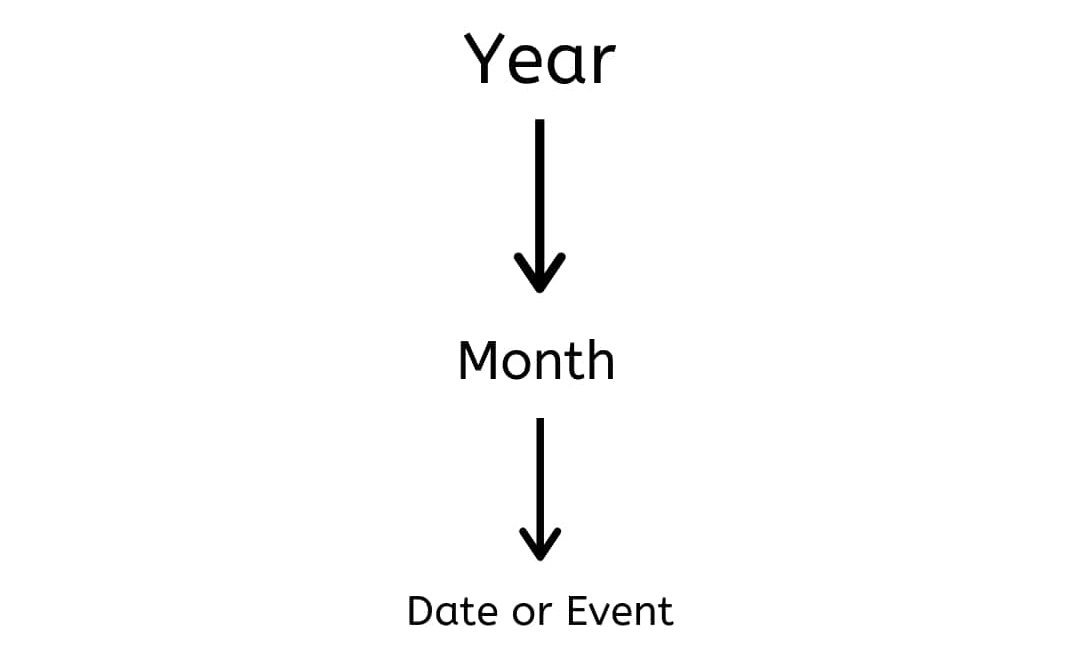
This is a good place to customize, since everyone’s brain works a little differently. You want to think of your photo storage as a maze, and for your brain to travel through that maze efficiently, it needs to be set up in a way you will be able to predict and understand quickly and effortlessly. Maybe for you the folder sequence will be purely chronological:
Or maybe it you have a lot of different types of photography and prefer something more abstract:

The point is, your folders are your map through the maze that is your photo storage, and whatever you name them or however many subfolders you use, make sure it is a system that will make sense to you in the future.
Identify Photos by Their Attributes
This may seem redundant after talking about folders. That’s because a lot of people don’t really understand how systems like keywords, tags, and labels work. Folders are a way of grouping and categorizing your images. Labeling them with keywords is more of a way to connect photos across different categories, which makes it easy to recall the ones you want when you’re ready.
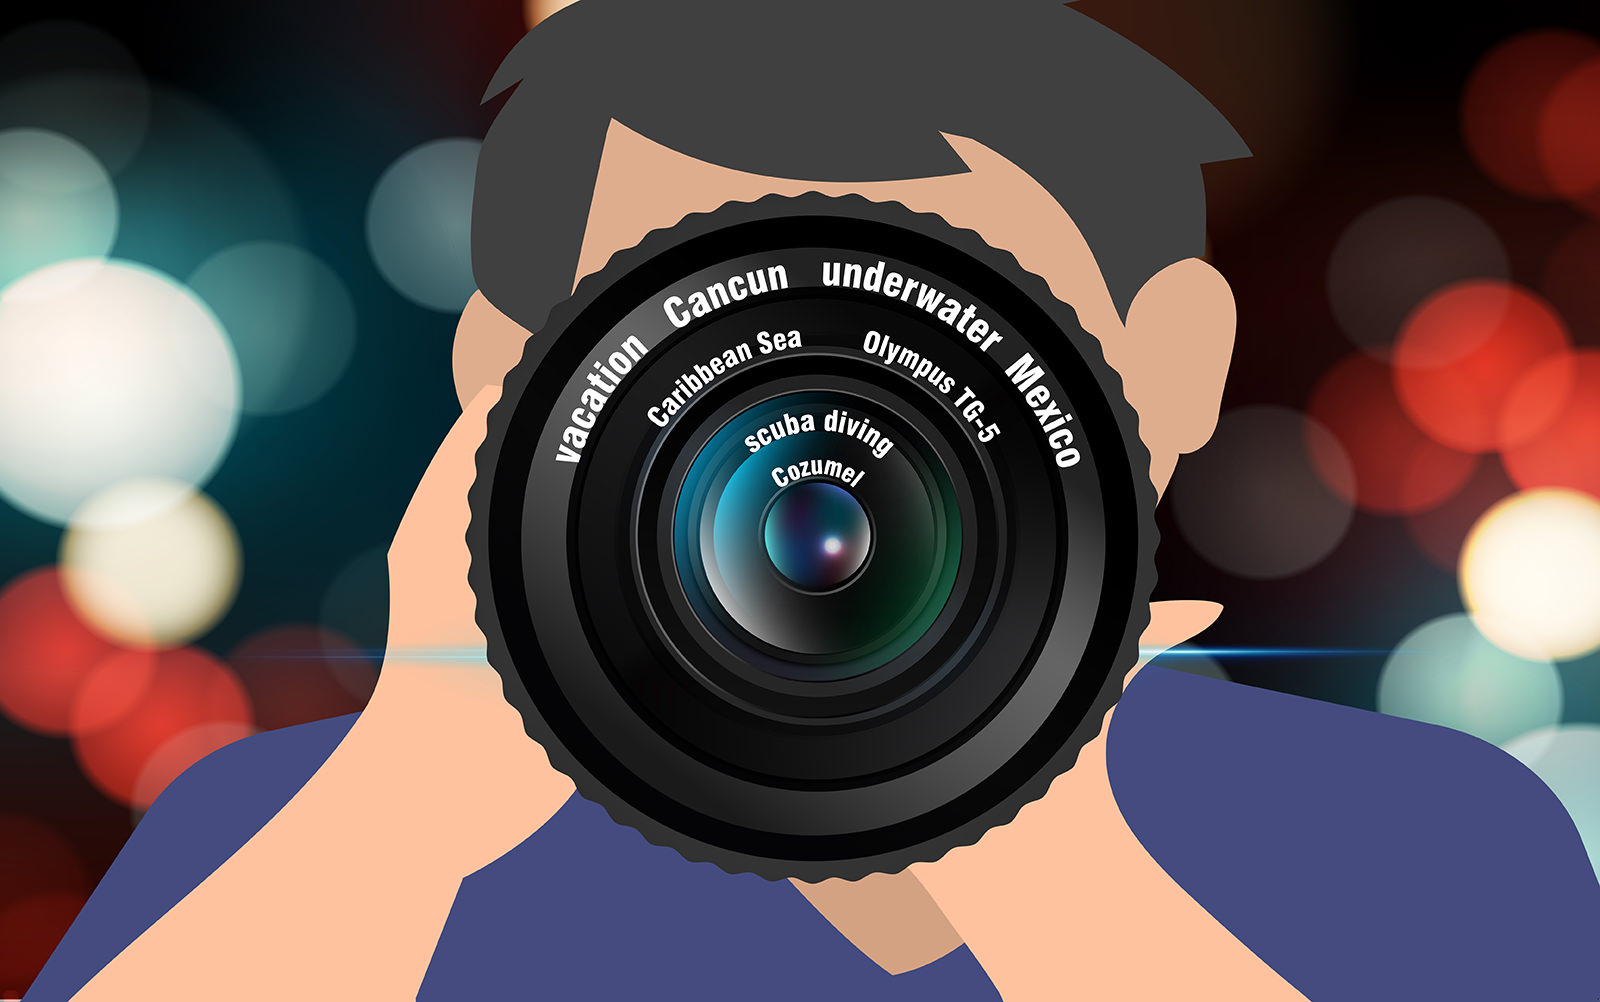
It’s the same general idea as tagging photos on Facebook or in a looser sense, using a hashtag on Instagram. You’re labeling attributes or subject matter in that picture so that in the future, you can recall that picture based on one of those things. More importantly, by naming that attribute in the form of a tag, keyword, or label, you can call up any other images in your library that share it (as long as you’ve taken the time to label or tag those images as well).
Sometimes your camera, computer, or photo library will do some of the work for you. Facial recognition, if you’re using a software that offers it, will be your very best friend when it comes to portraits and family memories (albeit one that might creep you out a little). Technology is getting scary good at recognizing which faces belong to the same person, regardless of the angle or lighting.
This is where geolocation comes in handy, as well. Seeing where you physically were when a photo was taken, simply by opening up the image’s data, will jog your memory if you’re struggling to identify the right folder or category for a particular image.
Use Favorites, but Use Them Wisely

Most camera rolls and cataloging systems will give you the option to select favorite images. In Lightroom, they’re called “picks” and you press P to flag them. Google uses stars. Your iPhone lets you tap a little heart. It’s a super-easy, quick way to mark images that stand out to you and send them to a dedicated group of other important images.
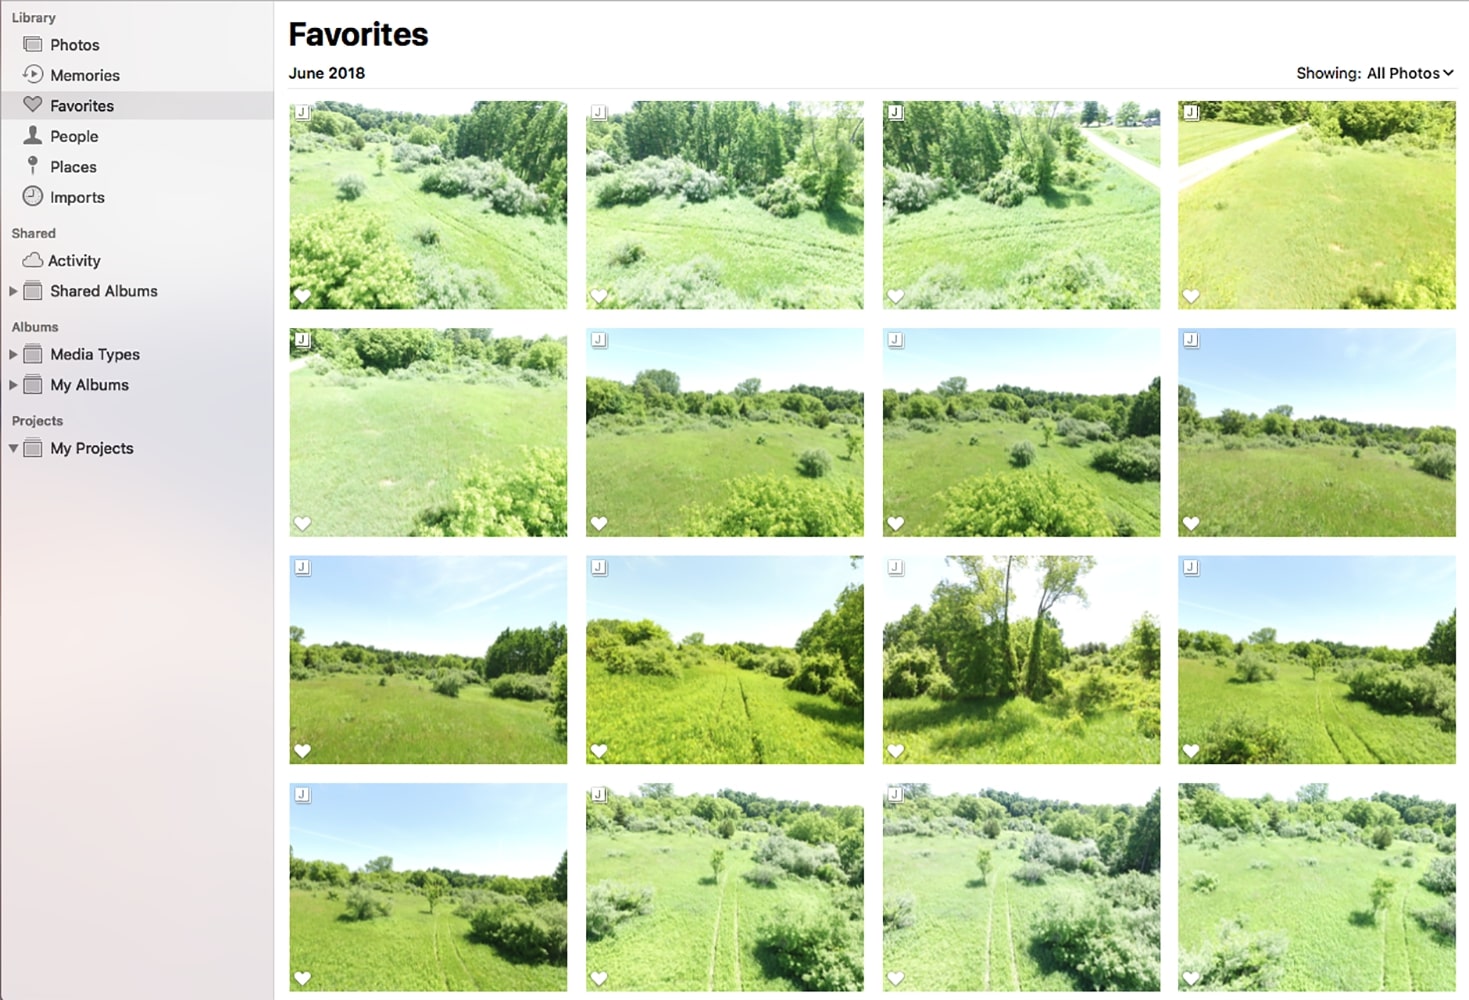
The issue here is that you’re basically creating an elite group of photos that share the same problem you were already facing on a larger scale. If you don’t clean Favorites out every so often, it basically becomes a digital junk drawer.
There are two ways to keep this from happening:
- Use Favorites only for the very most significant or often-needed images in your collection.
- Use Favorites to set aside images for specific projects and empty it out after each project is completed.
The big thing to understand is that a Favorites system is really just a special type of keyword or label, like we discussed in the last section. When you un-favorite a photo in whatever system you’re using, you aren’t deleting that photo. It’s still hanging out in its folder with all of its photo buddies, right where you left it. You are simply removing it from the elite group to which you previously assigned it. Photos don’t have feelings, so don’t worry, they won’t take it personally.
Don’t Fear the Delete Button

Sometimes we tend to hang on to entire batches that were taken at the same time, when less than half of those images are actually significant. For professional photographers cataloging paid work, there’s a fear of deleting the shot that we would ultimately have come back to edit into the best of the batch. And sometimes, that does happen… we go back through and find that one shot we overlooked and it ends up being the underdog that defines the entire album.
But come on, now. Let’s be honest. We know hopeless cases when we see them. You don’t need five photos of the inside of your camera bag or a painfully crooked, woefully underexposed shot of the bride’s feet exiting her limo.
It’s the same for family photos. Maybe when Jimmy hit his first home run, 25 photos of him with the game ball seemed about right in the moment. But five years later, a handful of poses will do. Don’t be afraid to let go of images that are just taking up space. The less scrolling you have to do to find the really important shots, the more likely you are to actually go back and look at them over and over again. And isn’t that the point of organizing them, after all?
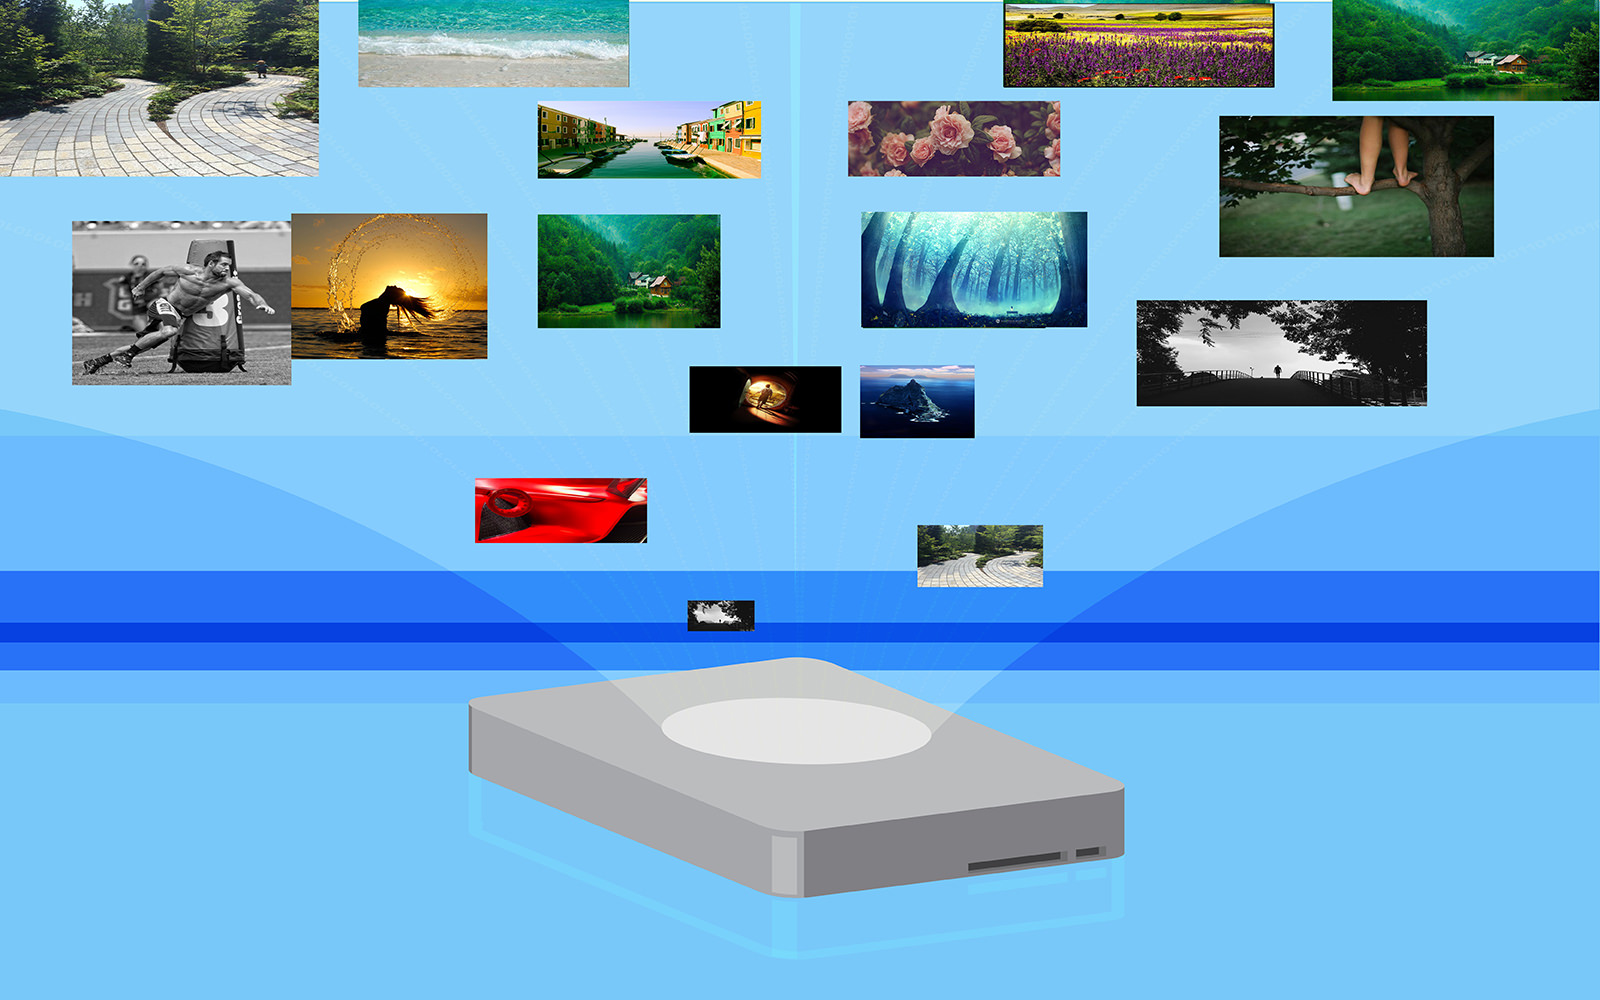
Create a Central Hub
The most important thing about getting your digital photos organized is to get them all in the same place. We’re not talking about dumping them all into one folder and calling it a day, we’re talking about finding one centralized hub to host your images. Your choice should meet three important criteria. It should be:
- Accessible – To be a practical system that you’ll actually continue to use, it needs to be located somewhere you can get to with little to no hassle. The Photos app in Mac, the Pictures folder in Windows, or a system of folders on your desktop will all work perfectly well.
- Durable – It goes without saying, you want this location to be a safe place for your images to live for a very long time. That means it should not only be physically strong if applicable, but as future-proofed as you can manage.
- Easy to Back Up – You want to be able to set up a smooth workflow for saving extra copies of all your photos in the event that your central hub goes kaput.
Remember that you’re not just talking about syncing the camera roll from your smartphone, here. If friends have posted photos to their social media that you find meaningful, it’s best to save a copy for yourself, since you have no control over how long those images stay accessible. ALWAYS ASK FIRST! Yes, your friend did put them online for the world to see, but asking is just the right thing to do.
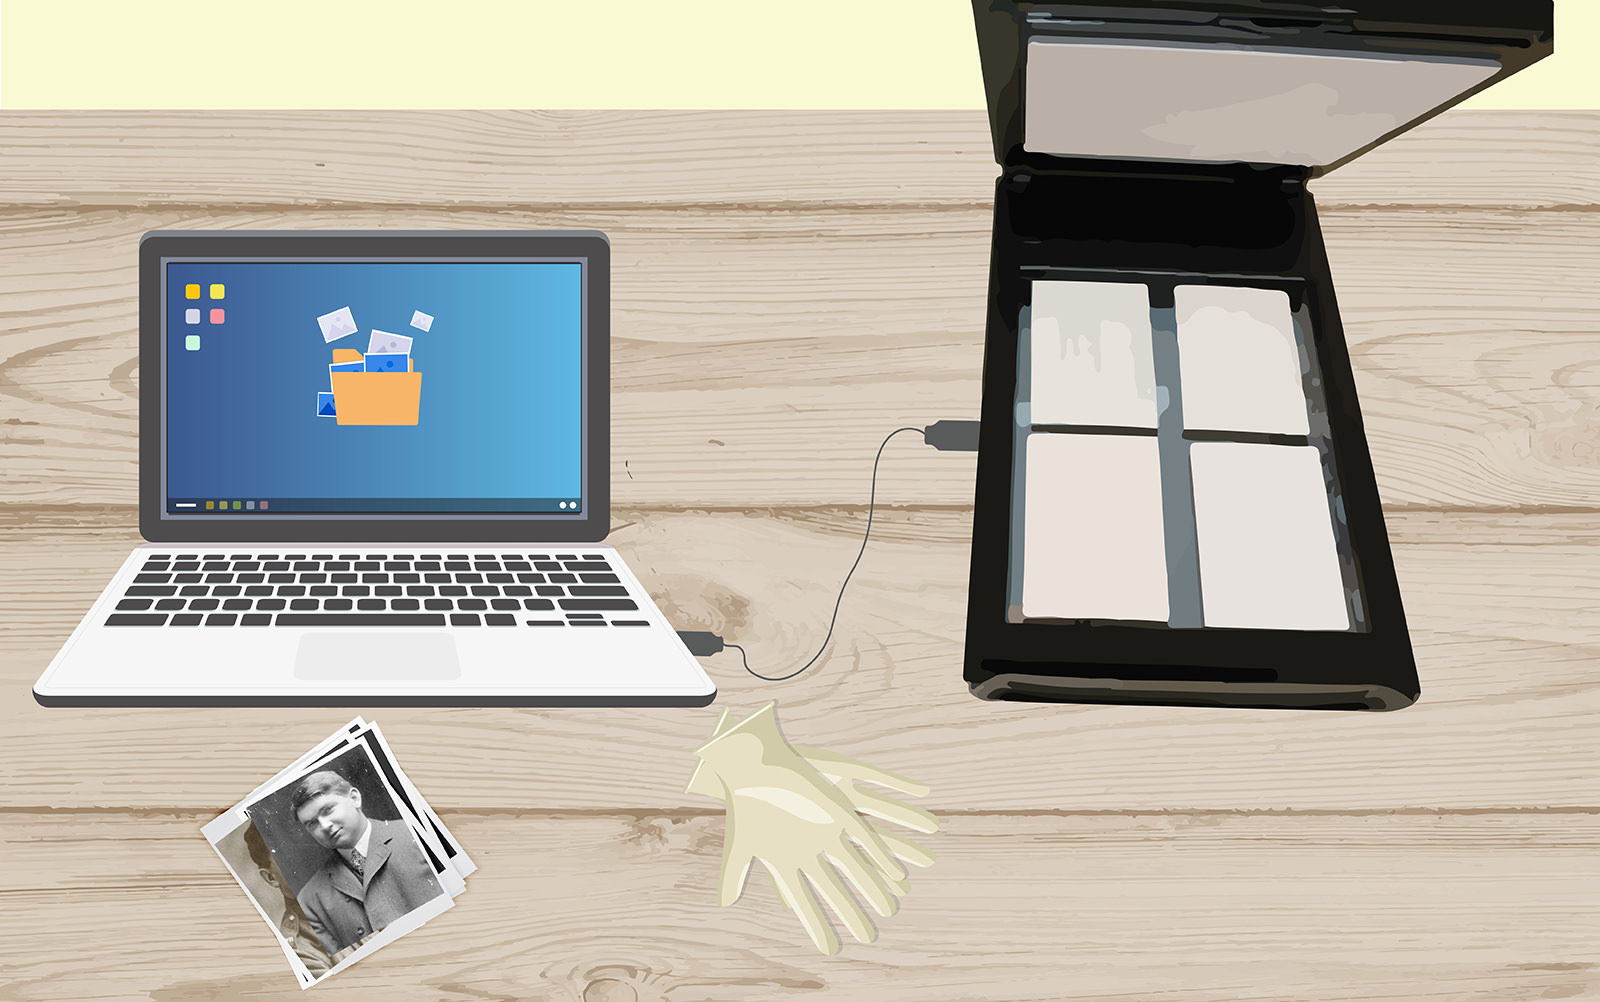
Likewise, old prints and slides that hold a place in your personal history should be scanned and saved digitally. This might be a part of the project that takes a little longer, since you have to find, scan, and retouch (if desired) all of these one by one. But it’s worth the extra time to have literally all of your significant images in one location.
Invest in a Quality External Hard Drive
If you’ve followed every recommendation up to this point, your photos are probably looking pretty organized. However, it would be a stretch to say they’re stored safely. You are exactly one natural disaster, angry ex incident, or ill-timed coffee spill away from being back at square one. Or worse, from even losing what you started with. So let’s talk about backups.
The idea is to have a mothership of memories (the central hub we just established) readily available to you, with a separate physical backup (for example, on an external hard drive) and one backup in the Cloud (we’ll talk more about that in a minute). It’s not as much work as it sounds like; you can automate your backups pretty easily on both fronts so really your only responsibility once you get your system set up is to keep using that system.
You can choose a desktop hard drive that draws power from a wall outlet (faster file transfers) or a lightweight one that’s powered through the data cable connecting it to your machine (more portable). If you’re using a Mac, get friendly with Time Machine to automatically back up your photos – and pretty much everything else – whenever your hard drive is connected to your computer. You can do basically the same thing on a Windows machine with File History.
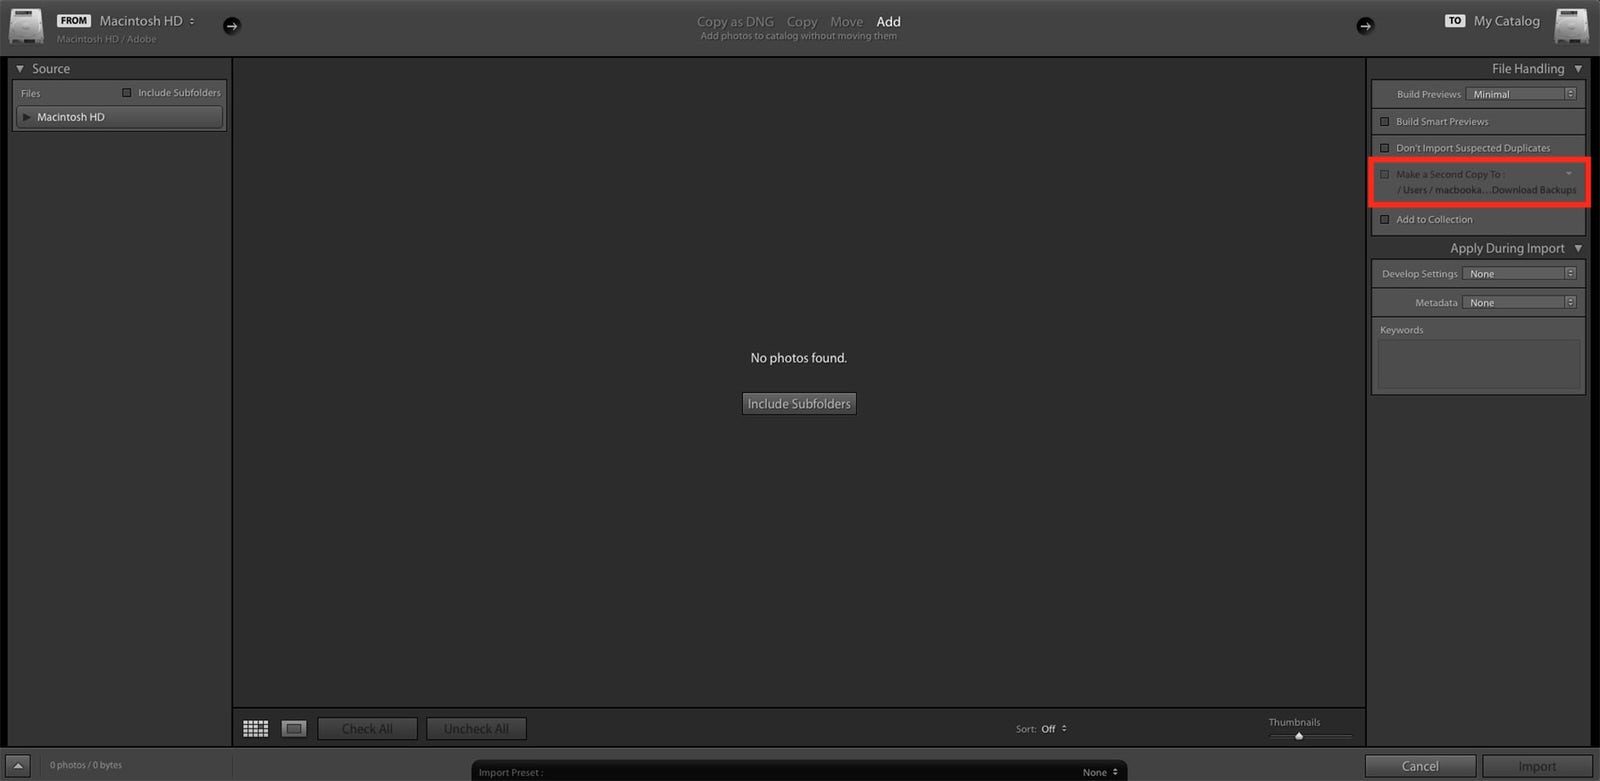
Lightroom users can also save copies to an external drive during the import process. So if anything happens between the transfer from your memory card and the export process, you’re covered.
Look at Your Cloud Storage Options

The Cloud is an appealing form of storage, because it’s convenient. You sign up, you sync, possibly pay a certain amount, and then you don’t really think about it again. It’s accessible from anywhere with an internet connection and you can share photos easily with a quick link.
But however simple the Cloud is, it’s not a standalone, permanent solution for storing your memories or your work. Companies go out of business, shared folders get taken offline, and internet connections go on vacation right when you need your images the most.
If you’re looking to back up a few family photos, you can probably get away with the free amount of storage that you no doubt already get as a bonus for signing up for something completely different. Got Amazon Prime? You’re set with Amazon Drive. Use Google Drive? Try Google Photos. Have a photography plan through Adobe? You’ve got anywhere from 20GB to 1T.
Mac users can sync their Photos app pretty seamlessly with an iCloud plan, which is available to Windows users, as well. It will cost you though if you’re a professional needing all the space you can get. A personal favorite of pros who share a lot of files, especially big ones, is Dropbox. It’s all a matter of preference. Just know one thing: services that claim to give you unlimited storage may compress your photos to accommodate for that. That’s probably not an issue for family photos, but professional photographers need something with a little more oomph, even if it comes at a bit of a cost.
How Much Storage Space Do I Need?
A lot. Probably more than you think you do. Just think of how many photos you have right now, and it’s only getting easier and easier to take pictures. Choosing a Cloud plan is a little more flexible than deciding on a hard drive, since you’ll probably have the ability to upgrade your plan.
Because storage formats, file sizes, and image quality are constantly changing these days, all you can do is buy the most storage you can afford at this point, and be fully prepared to upgrade or change it up over time.
Form Good Habits

Good organization is about maintaining an organized workflow. You can go through every image in your collection right now and organize to your heart’s content, but if you don’t keep up with the next batch you upload (and the next, and the next) it’s not going to help you for long.
Create an upload routine for yourself. Offload your images right after a shoot when you can. Add keywords, tags, or labels and titles immediately on import when possible. The longer you wait, the fewer details you’ll remember about your photos. Check regularly to confirm that your backups are functioning as planned, and just like with your camera or your phone, take care of your equipment. You don’t want to ever have to use those backups!
Get a Little Old School
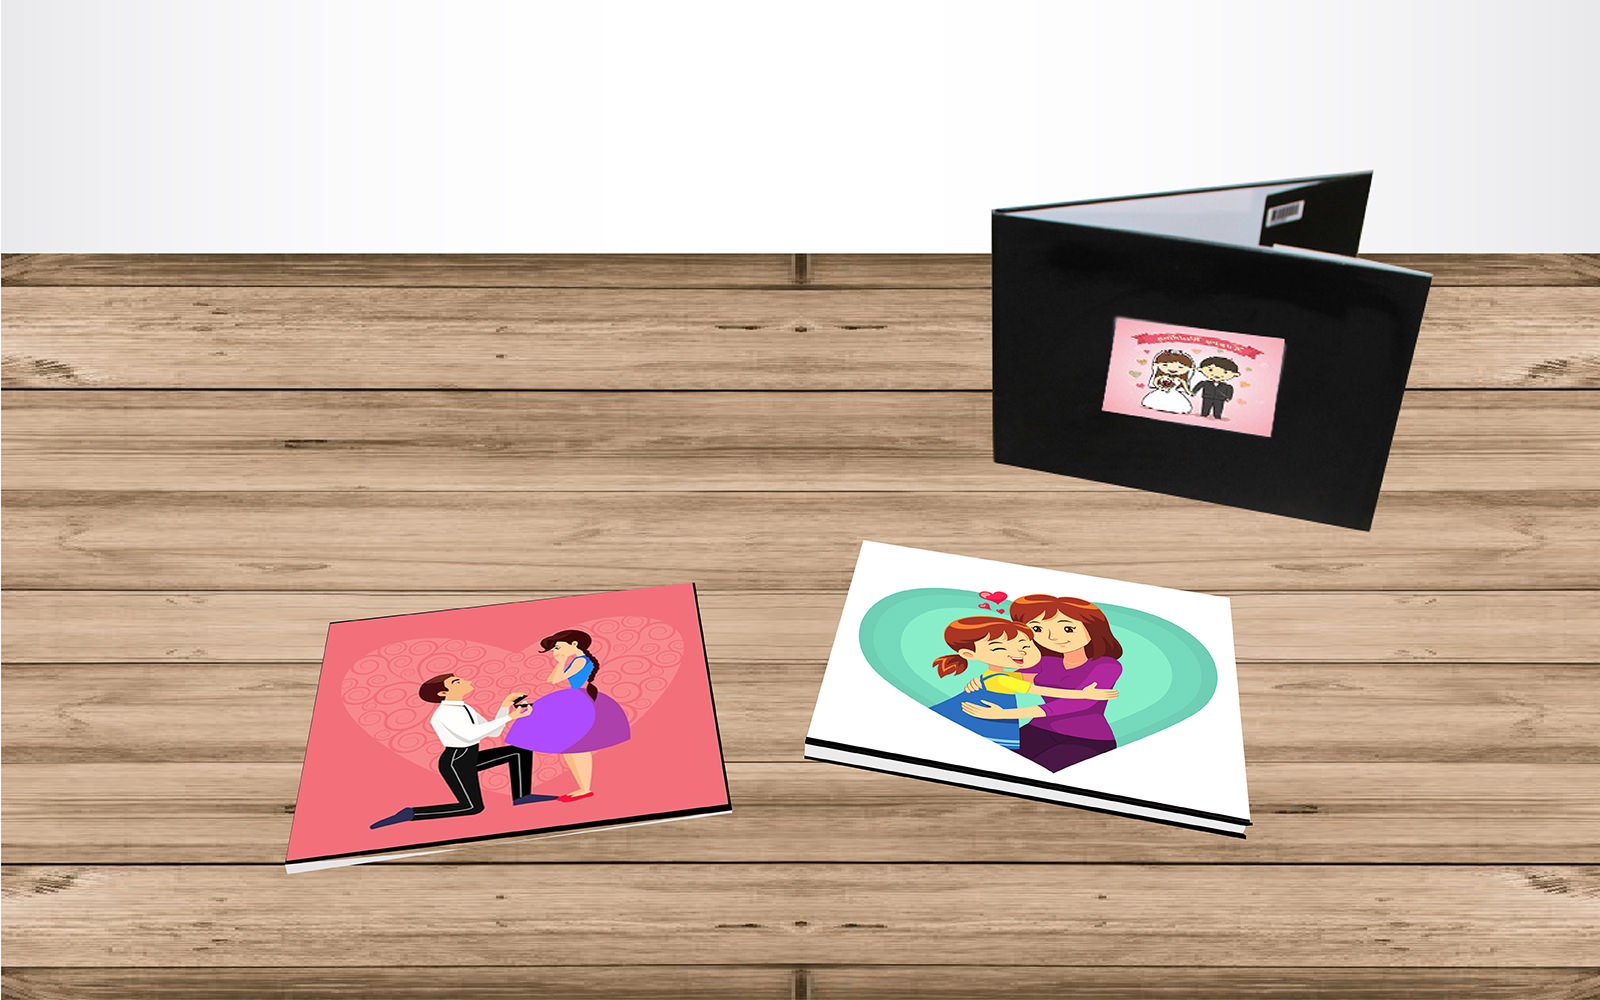
We’ve covered scanning your prints into digital format, but the truth is that an actual, physical print is hard to beat. Digital photos are easy to take and fast to pull up, but you have to actually go and look them up if you want to see them.
Photos aren’t meant to stay hidden in folders. They’re meant to be seen and experienced and enjoyed, especially photos that have sentimental value. So go ahead and spring for some canvas prints to hang on the wall. Order a yearly photo book to stack on your coffee table. Put your photography in places where you will see it and be uplifted by it when you aren’t expecting it. Maybe go a little crazy and get one of those big blanket things with your favorite family photo printed on it if that’s your thing. Look at your photography.
Creating a custom workflow for your images will help you organize and store them in a way that makes sense to you. That’s pretty important, because photography is meant to be seen and that’s pretty hard to fulfill if you don’t even know where your images are at any given time!
So set aside some time (possibly a lot of time) to go through all your photos, categorize them, and back everything up. Be prepared to change or upgrade your system as technology evolves! And once you’ve got everything in a neat, safe system, remember to go back and enjoy your photos from time to time. You know where to find them!