How to Remove Backgrounds in Photoshop
-
Add to
favorites
-
DifficultyMedium
-
Length4.75 hours
-
Videos14
-
Software
description
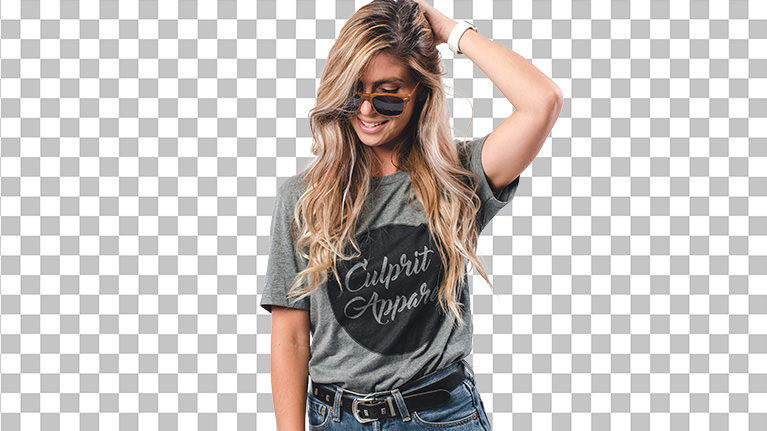
Removing the background from a photo can be one of the most challenging things to do in Photoshop. Whether you need to remove unwanted objects, remove an entire background, change the background color, or make the background transparent, we’ll show you all of the tools and tricks you’ll need to succeed!
Learn how to use powerful tools like the Pen Tool, Select and Mask, and more to completely change a background, make selections of people and objects, and place subjects in a totally new environment.
THIS COURSE INCLUDES
- 18 Sample Images
- 1 Photoshop Brush
Share
Table of Contents
-
01 - How to Create Selections & Masks21:07m
-
02 - How to Refine Selections16:38m
-
03 - How to Make Selections with Channels23:20m
-
04 - How to Create Accurate Masks with the Pen Tool32:03m
-
05 - How to Cut Out a Subject with the Brush Tool25:16m
-
01 - How to Change Background Color Part 110:09m
-
02 - How to Change Background Color Part 213:54m
-
03 - How to Remove A White Background Part 121:25m
-
04 - How to Remove A White Background Part 25:48m
-
05 - How to Replace a Background | Sky Replacement5:51m
-
06 - How to Replace a Background | Snow Scene16:44m
-
07 - How to Replace a Background | Complex Hair54:16m
-
08 - How to Replace a Background | Match Color27:44m
Course Downloads
Change Any Background
Remove Background From Any Image
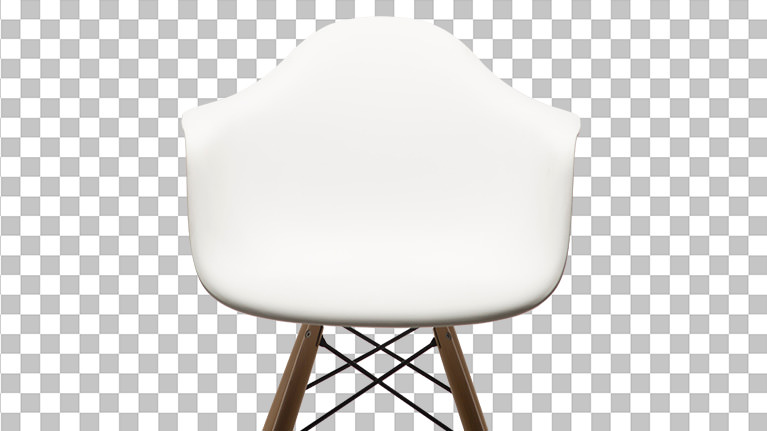
Learn how to remove something from a picture or even remove an entire background with our tried and tested Photoshop techniques! Whether you have images of furniture on a plain colored background or photos of a friend in front of a busy city skyline, we’ll show you how to completely erase the background, change the background color, and even place them into a totally new environment.
Change Background Color
If you’re shooting products or fashion, being able to change a background color to complement the colors of your subject is a great skill to have! We show you step-by-step how to change the background color or change it to pure white. We even show you how to make a background transparent which is perfect for creating images to display on the web.
Make or Remove a White Background
Making or removing a white background is a common problem and we will show you how to do it in just a few clicks! We’ve developed some Photoshop techniques that will not only help you make perfect cut-outs but now it’s faster and easier than ever before.
Cut Out Hair in Photoshop
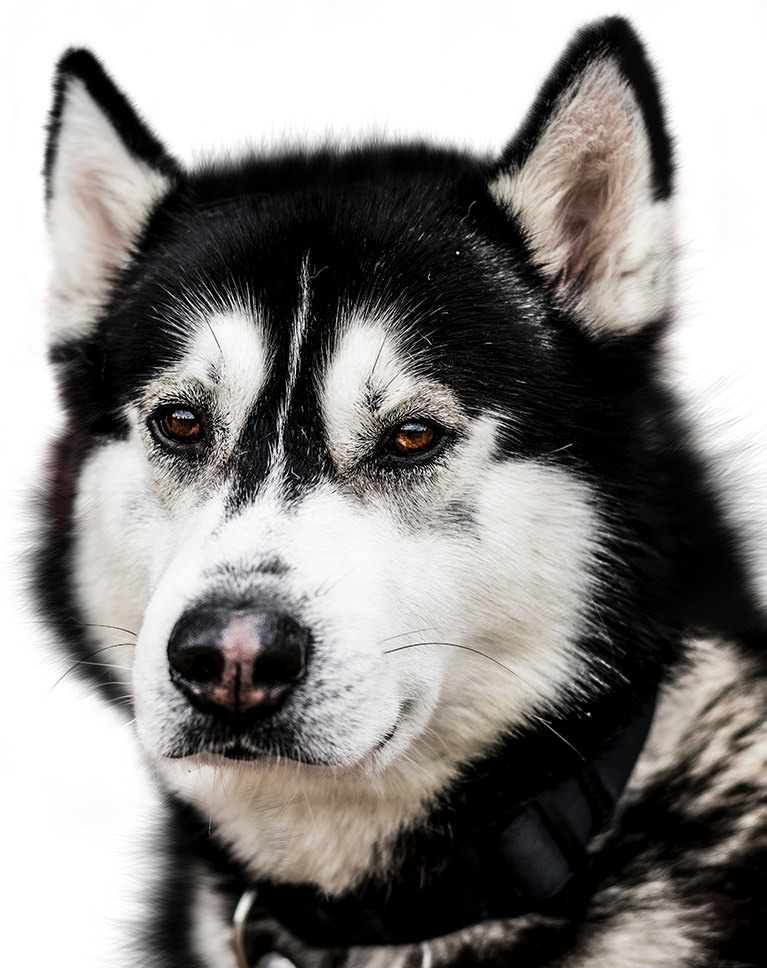
Hair is soft and detailed, making it one of the most tricky areas to select out of an image. In this tutorial, you will learn to master the tools and techniques necessary for hair masking in Photoshop. We take it a step further and show you how to add new hair using the Brush Tool and Clone Stamp Tool!
Cutting Out People & Products
Identify the specific challenges of cutting out different types of objects and learn how to tackle each individually! A product might often have smooth edges and curves where a person will have many different complex edges depending on their hair, skin, and wardrobe. We will show you how to identify areas and quickly choose the right tool for the job.
Refine Selections
Selections will change and evolve over time as you work on an image. Learn to use multiple tools in combination to create a perfect cutout. Use the Magic Wand Tool to get a rough selection, switch to the Pen Tool to handle the gentle curves of skin, and then finish it off with Curves to get every strand of natural hair!
Realistic Composites
Changing a background doesn’t have to be difficult! You just need to ask yourself a couple of questions. Where is the horizon in the original image? What colors are present? Where is the main light source? We will teach you what to look for and what questions to ask yourself to make a realistic composite!
Match Light & Color
It will take more than a clean selection to place a subject onto a new background. Learn how to use adjustment layers to replace and match light and color with the new environment. Take someone from a cool seaside to a warm city sunset in just a few minutes with Photoshop!
Replace a Sky
Have you taken the perfect landscape photo but wish that there was just a little bit more drama in the sky? We can help! Sky replacement is one of the most fun and effective uses of the skills you will learn in this tutorial! Turn a clear blue sky into one full of clouds or add the perfect sunset in just a few minutes.
Match Light & Color
Selection Tools
Unfortunately, there’s no magical background eraser tool. But that doesn’t mean the process of cutting out a background has to be hard. Master the tools that professionals use to create accurate selections in Photoshop and learn to combine the power of the Pen Tool, Channels, the Brush Tool, Select and Mask, and more!
The Pen Tool
Learn to use the Pen Tool and start making perfect selections in Photoshop! If it has a hard edge, straight lines, and smooth curves, the Pen Tool is the ideal tool for cutting out an object. We break down all of the keyboard shortcuts you’ll need to master this tool and show you how Paths work in Photoshop.
The Magic Wand Tool
Creating any accurate selection can take minutes or can take hours depending on what tools you use and how precise you want to be. The Magic Wand Tool is a powerful option when you need speed and flexibility without sacrificing precision. Watch us use the Magic Wand Tool by itself and in combination with other tools to get the ideal selection.
Channels
The Pen Tool and Lasso Tool are both great for cutting out objects that have a smooth and relatively hard surface – like furniture or a mountain landscape. For softer objects, Channels should be your go-to. From fluffy clouds to flowing hair, we’ll show you how to select it and extract it from its original background.
The Brush Tool
The most versatile tool in Photoshop is just as useful for making selections as it is for painting. Learn to use the Brush Tool to refine your layer masks, add blur along an edge, and even paint in realistic hair!
Select and Mask
The Select and Mask panel is one of the easiest tools to use that will help you create a perfect layer mask. We will show you how to take advantage of this tool and its many options to refine the edges of a selection, add feathering, and more!


Aaron Nace
PHLEARN Founder
Aaron Nace is a photographer, Photoshop artist and founder of PHLEARN. He is the #1 Photoshop instructor in the world with millions of YouTube subscribers.
Reviews
New & Popular Tutorials
Training Site in
the World
Tutorials!
Ratings
and Counting
Subscribers


Aaron Nace is my absolute favourite tutor for everything photoshop. I’ve been following him for years. This is a great tutorial that I often return to for reminding myself how to get better selections. Aaron’s videos are delivered in a relaxed easy to follow style. Long may he continue. Thank you so so much .
So good, so nice, so helpful tutorial. thanks a lot!
Very professional and helpful!
Thanks for sharing knowledgeable tips, seems very helpful various ways of super cutout. Very well narrated – step-by-step in easy to understand language.
Thanks for this amazing post.. it’s really helpful.. surely going to share this ! If you are looking for some great product photo editing services online you visit our website – Product Photo Editing Thanks Again
OMGOSH OMGOSH OMGOSH !!!!! LOVE YOU FOR DOING THIS !!!!! 20 YRS EDITING AND I JUST FOUND OUT SO MANY TRICKS !!!! AND I THOUGHT I KNEW EVERYTHING …. LOLOLOL NOT EVEN
Excellent! Enjoy lot’s of things.
Best Photo editing Tutorial Ever !!! Lucky to have Aaron Nace as an Instructor . I really enjoy his tutorial. Explain everything in details and make photoshop and photo editing really awesome
Excellent class!!! Aarons teaching style makes it easy to follow and understand the subject matter. Throughout the class segments he also adds some bonus knowledge to increase our skills. I have been an avid Photoshop user for 15 years and learn something new and useful from every one of Aaron’s classes!!!
Excellent!
Great thanks! Was wondering if you do a tute on depth maps and how you can use them to create more accurate depth of field (bokeh) for backgrounds you plop in. Also a focus stacking tutorial would be great too. Thanks!
I did not watch all the videos but want to make a comment that from all the videos that I have seen Aaron would be great if you would slow down on what your steps are. Because you state the the difficulty is medium and the one video that I watched was 22 minutes and trying to duplicate your step took me 1hour and 45 minutes because I would have keep going back over the video because you just kept going so fast over the steps
Great tutorial.
Love all your tutorials! without you I never would have learnt photoshop 😀 so thank you!! A question though… how can I change the backround of a slow shutter speed blurred portrait? (double head..body for ex. ,in which you can slightly see through so the backround, not only needs to be changed around the subject but through it )
Absolutely marvelous! Thank you so much
This pro tutorial is flat out awsome Aaron! I learned a lot of new things. Thank you!
Finally updating myself to all the extraction, background removing techniques with the latest versions of Photoshop. I am an animal/dog photographer and illustrator and deal with hair all the time. Tutorials are fantastic. The section on extraction with channels and using the brush in overlay mode is worth the entire amount of subscription. Along with Von Glitska for Illustrator, Aaron is my favorite Photoshop instructor on the internet. ‘ve been following him on youtube and Phlearn for ages. It is like hanging out with a good friend or a sibling that are computer nerds, but know how to explain everything in a comprehensive, non-complicated, non-condescending manner.
WOW! Extremely comprehensive and easy to understand. Illustrator/designer looking to broaden my Photoshop skills, this tutorial surpasses any other tutorial I’ve found. Well worth the money. The section on channels is a game changer. Thank you so much for this gem!
The tutorials just get better on PHLearn. Forget about stressing when cutting the hair of your subject out. Just use channels to make the process a whole lot easier. Thanks Aaron Nace!! I will be alot more confident when cutting out subjects and replacing backgrounds.
Excellent tutorial, I like how you have covered all the bases. Will watch this a few times I think.
There has got to be an easier way to do things than with the Pen tool, which is a real time consumer. In a busy world, we don’t have time to spend hours cutting out things.
This tutorial was awesome, exactly what I was looking for. Had problems with making good selection, but now I know all the secrets. Great :)))))) So Happy :)))
Very good course I learned a lot of things that I didn’t know. I’m going to try and rewatch this video.
It’s official… Aaron is ‘the best thing since sliced bread’ when it comes to Photoshop tutorials.
Just this tutorial alone was worth the subscription – PHLEARN IS THE BEST!!! Keep it up Aaron!!!!
This was a great class! I already have a good deal of experience with changing and removing backgrounds, but I still learned a ton. Thanks so much!
Fantastic, clear, concise and easy to follow instructions. Really are a great teacher! One thing though – where have you hidden the fur brush? I can’t find it!
This tutorial provides good in depth examples and practial exercies to get you more familiar with removing backgrounds. Aaron clearly explains the range of tools and techniques available along with example scenarios for their use. Highly recommended to all levels of Photoshop users.
Another super tutorial! The step -by-step approach, coupled with tool review and tips, teaches not only how to remove a background, but also how to use Photoshop more effectively and efficiently. I don’t consider myself highly proficient in Ps, but every tutorial gives me more confidence and a better understanding of program. This particular tutorial was challenging, but working each section through several times was well worth the effort. As an older learner (76!), the repetition and reminders are particularly helpful. Great teaching style! Thanks, Aaron!
If you’re looking for a single tutorial on this topic, this is the one! Excellent presentation of concepts followed up with step-by-step examples. A great companion to other tutorials such as “Photoshop Compositing: Masking and Cutting Out Subjects”.
Im gonna hold out for “how to change and remove Foregrounds” 🙂
A very helpful step by step approach to isolate subjects properly and non-destructively and then to put them onto new backgrounds with all the adaptation needed to merge them seamlessly. Especially the structured approach to address all the issues on light levels, saturation, colour matching and then re-colouring at the end were eye-openers for me on why I struggled with projects in the first place. I saw a number of tutorials on this on YT, but to get a real understanding on how to tackle this end-to-end, this is the first! Should be a game changer for my matte painting activities as well.
You’re not charging enough for your Pro tutorials! The “How to Change & Remove Backgrounds in Photoshop” is terrific. The format of reviewing the various tools and then using them on photographs of increasing complexity really helps cement the information. The best parts are when you inadvertently go down a blind alley (e.g., grouping the layers only to discover an issue with one of the blending modes), and then point out an alternative approach. Users of Photoshop run into this all the time, and it helps to see we’re not alone, and that there’s usually a solution. I also like the attention to detail. When an image looks good for 99.9% of the people viewing it, you’ll still find minor issues and fix them. This is instruction at a much different level. You’ve already told everyone how to use the tools, now you’re driving home the idea that if you’re going to spend time on something…do it right! Thanks for doing these tutorials. -robert.