Products Learning Path
Six tutorials on product photography and retouching, in order. Shoot products and work with clients, retouch for e-commerce, composite multiple exposures, build believable shadows and finish with advertising graphics and mockups.
What You’ll Learn
The Products Learning Path is six tutorials on producing product images a client will pay for. It starts behind the camera with lighting, gear and client relationships, then works through retouching from a simple cleanup to a full e-commerce job and a multi-exposure production, and ends with the graphics and mockups that turn product photos into ads.
- 1. Shoot products Lighting, choosing a camera, shooting and the business side: working with clients from brief to delivery.
- 2. Retouch products Blemishes, frequency separation on products, placing graphics in perspective and cutting products out.
- 3. Retouch for e-commerce A real jewelry job: planning the shoot, pure white backgrounds and extending and changing backgrounds.
- 4. Composite product photography A real production: multiple exposures of furniture and bags combined, backgrounds extended, then retouched.
- 5. Create shadows from scratch Cast, multi-light and product shadows so a cut-out product sits naturally on any surface.
- 6. Design product advertising Labels, logos and graphics placed on real products and mockups with linked smart objects.
Who This Path Is For
Product and e-commerce photographers, retouchers who take product work, and small business owners photographing their own products.
The first tutorial needs no Photoshop at all. The retouching steps assume basic layers and masks.
What You Need
- A camera For the shooting tutorial. Any camera with manual control works.
- Photoshop Any recent version for the retouching and compositing steps.
- Sample files Included, so you can retouch the same products as the instructor.
- Basic lighting A light or two helps for the shooting tutorial.
If you sell product photography, the client sections of the first tutorial are worth watching even if you already shoot well.
How Long It Takes
Six tutorials and 104 lessons, about 29 hours of video. The product compositing production is the longest at over thirteen hours. At a few hours a week, plan on four to six weeks.
Shoot a product of your own early on; retouching your own lighting mistakes teaches more than the sample files can.
Frequently Asked Questions
Do I need a PHLEARN PRO membership?
Yes. This is a PRO Learning Path, so all six tutorials and their sample files are included with a membership.
Do I need a studio?
No. A table, a window or one or two lights and a backdrop are enough to start; the first tutorial covers setups.
Is this for Amazon and Shopify images?
Yes. The e-commerce tutorial covers pure white backgrounds and consistent product shots for online stores.
Do I have to follow the order?
It is built to be followed in order, from shooting to retouching to advertising.
Can I skip the shooting tutorial?
If you only retouch, yes. Start at step two.
Where to Go Next
Start the Path
Start with the product photography guide. Only retouch? Start at step two.
On This Page
PHLEARN PRO
Every tutorial in this path, with sample images and RAW files, plus the full PRO library.
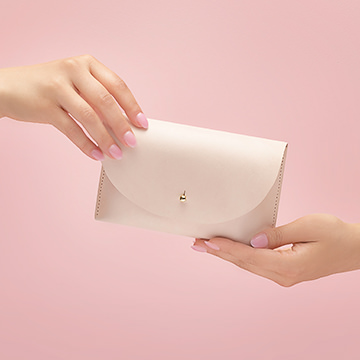
Join guest instructor Ross Floyd as he breaks down the theory and fundamentals of lighting objects, how to accurately represent products in an image, and the business side of building and maintaining strong client relationships.
Photography & Lighting | Medium | 3 hours
15 Sample Images
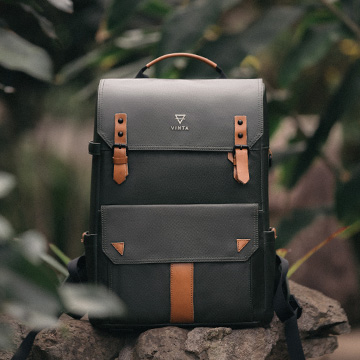
Join us as we explore a professional product retouching workflow in Photoshop. Learn how to retouch and reshape products, remove scratches and blemishes, sculpt highlights and shadows, and more!
Photoshop | Photo Editing | Easy | 1.5 hours
7 Sample Images | 6 Sample PSDs | 1 Photoshop Action

Learn how to create beautiful product images for e-commerce! Master the tools and techniques professionals use to change backgrounds, retouch products, and export multiple formats for the web, banners, and ads.
Photoshop | Photo Editing | Medium | 5 hours
28 RAW Sample Images | 2 Sample PSDs | 2 Photoshop Actions

Join Ross Floyd and Aaron Nace as they walk you through 10 product photo edits from start to finish. Learn to cut out objects, remove blemishes, reshape products, and master advanced techniques like frequency separation and dodging & burning.
Photoshop | Retouching | Medium | 13.25 hours
31 Sample Images | 2 Photoshop Actions
Learn to create realistic shadows for compositing, product mock-ups, product placements, e-commerce and graphic layouts.
Photoshop | Compositing | Medium | 3.25 hours
8 Sample Images | 6 Sample PSDs | 1 Photoshop Action

Elevate your graphics with a captivating journey through Photoshop for advertising! Learn the essential skills of text, graphics, and compositing, then bring your creations to life in the real world through billboards, magazines, and more!
Photoshop | Text & Graphic Design | Advanced | 4.25 hours
10 Sample Image Links | 12 Sample PSDs