DOWNLOAD SAMPLE IMAGES
description
Welcome to 10 Days of AI in Photoshop and Lightroom! On this first episode we’ll explore the power of Generative Fill in Photoshop. This tool is vital, as it allows you to remove, add, or replace elements in your photos with unprecedented speed and realism, saving you hours of manual editing work.
This is Day 1 of our 10 Days of AI series. Follow along with all 10 episodes as we explore the the magic of Artificial Intelligence together!
JOIN 10 DAYS OF AI (FOR FREE!)
Ready to jump in? Sign up and we’ll email you a printable calendar and daily class schedule so you can get started right away!
Image Source
- Katie Mukhina
- Pedro Oliveira
- Karsten Winegeart
Images sourced from Unsplash.
Share


AFTER
BEFORE
Your Editing Revolution
Generative Fill is the most powerful AI tool in modern photo editing, allowing photographers and creatives to make complex, non-destructive alterations in seconds. This tutorial covers the core techniques: object removal, adding elements, and full object replacement using partner models.
Select for Removal
1. The first step for any Generative Fill task is making a selection. For object removal, use the Selection Brush tool (Keyboard Shortcut “B”)) to quickly paint a loose circle around the unwanted object. It’s crucial to include a small buffer area around the object in your selection for the AI to sample the surrounding context effectively.
2. Once selected, access the Contextual Task Bar (Window > Contextual Task Bar). Click Generative Fill, leave the text prompt completely blank, and click Generate to prompt the AI to seamlessly remove the selected elements.
Adding New Objects
1. To introduce new elements into a photo, such as the garden gnomes in the example, select the area where you want the new object to appear using the Selection Brush tool.
2. Click Generative Fill in the Contextual Task Bar, but this time, type a descriptive prompt for the object you wish to add (e.g., “garden gnomes”). Ensure the desired AI model is selected.
3. Clicking Generate will produce the new content, which you can then refine using the variations in the Properties panel.
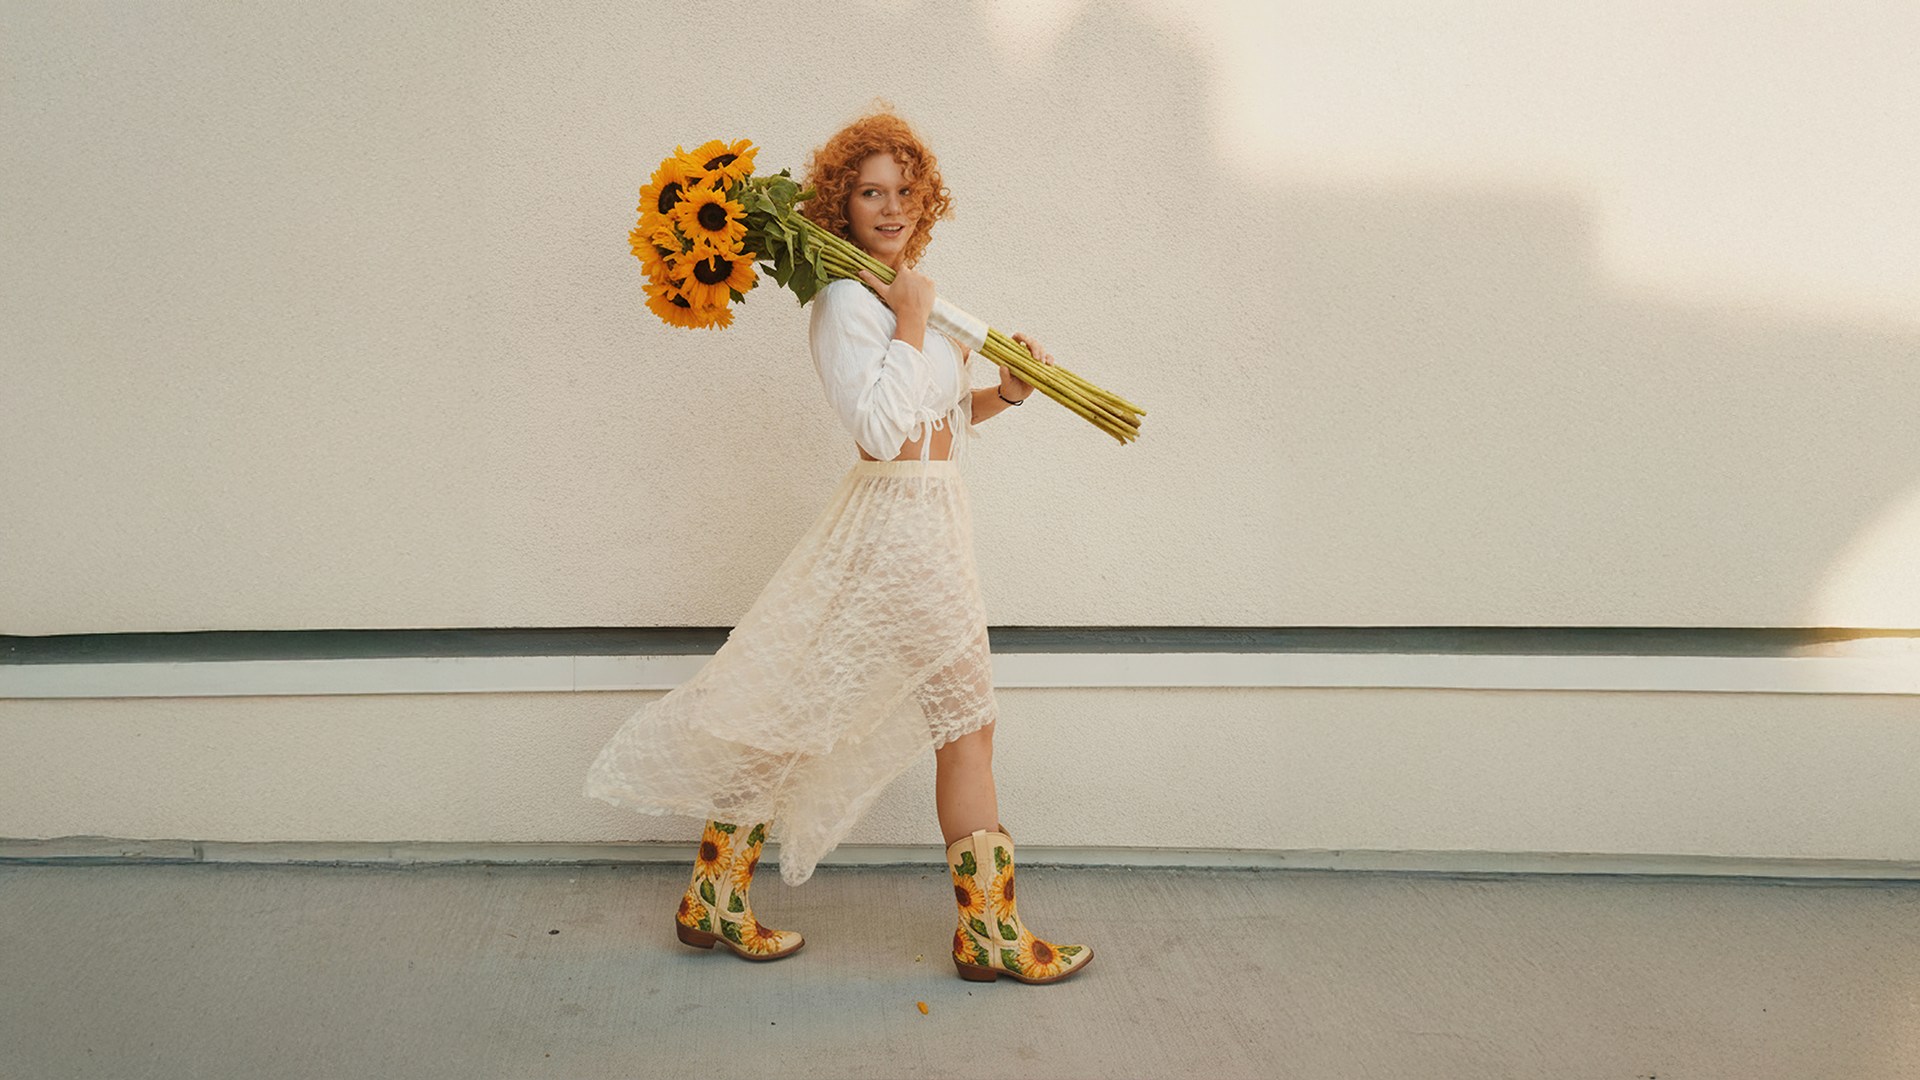
Using Partner Models
For specialized tasks like replacing an existing object with highly detailed, stylized content (e.g., changing boots to “sunflower boots”), you can use partner models like Gemini 2.5 Nano Banana. Unlike Firefly, which works best with small, localized selections, partner models often yield superior results when you Select All (Command/Ctrl + A) before applying Generative Fill. Type a highly specific instructional prompt (e.g., “change her boots to sunflower boots”) and select the partner model from the model picker dropdown. Note that partner models often generate only one variation at a time, requiring you to click Generate again for new options.


