
Download Sample Images
DESCRIPTION
No single tool in Photoshop can do it all, but the Brush Tool comes pretty dang close. Learn how to get the most out of Brush Tool by quickly adjusting brush size and hardness, using Flow to build up effects, and even creating a custom brush that simulates fog in a landscape!
From dodging and burning, to realistic atmospheric effects, the Brush Tool might be the most versatile tool in Photoshop.
This is Day 9 of our 30 Days of Photoshop series. If you enjoyed it, follow along with all 30 episodes as we explore the the magic of Photoshop together!
watch next
30 Days of Photoshop

Sign up to receive email updates to keep you going, sample images to follow along, and a printable calendar to keep track of your progress!
Share
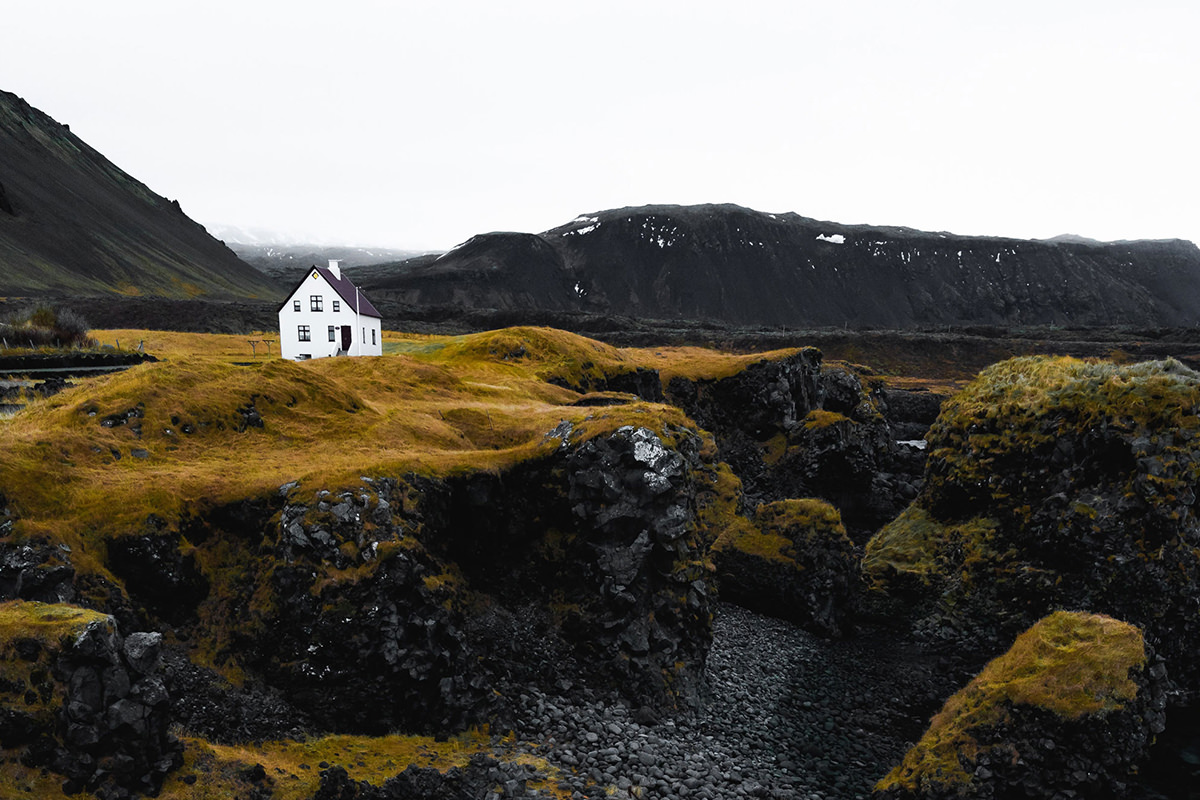
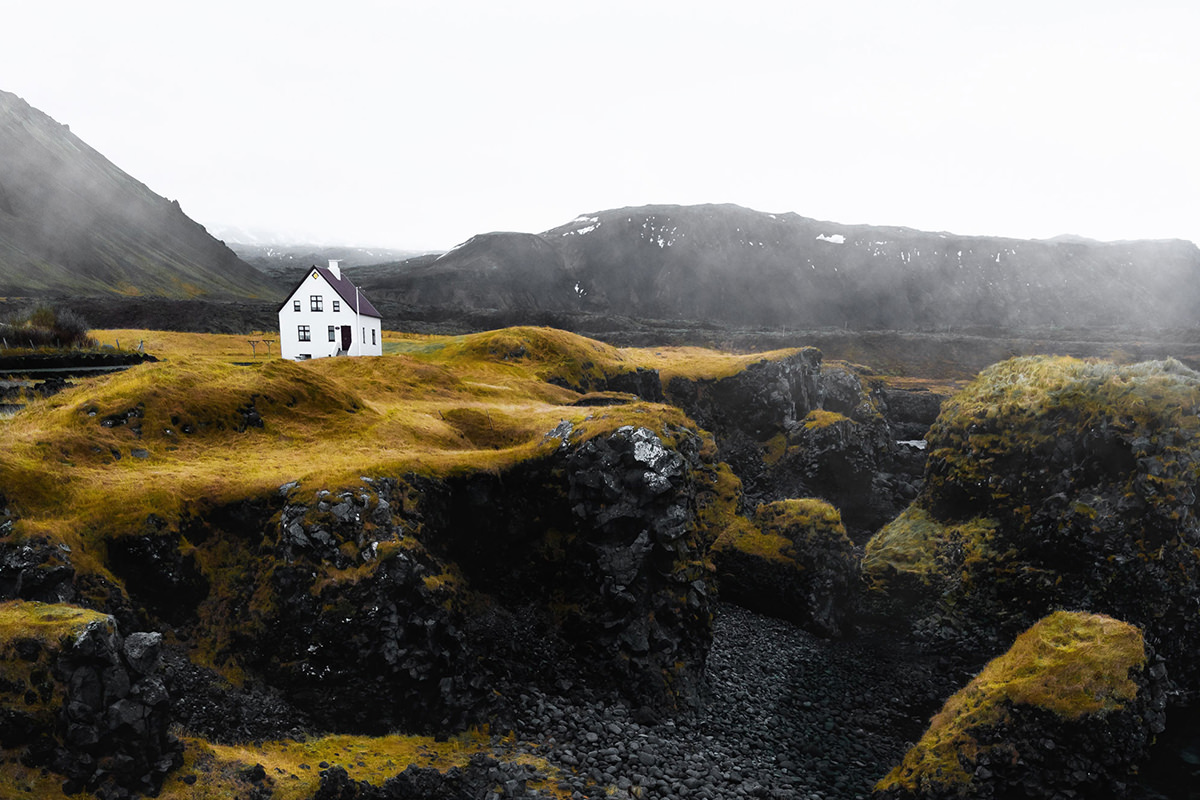
FOG ADDED
BEFORE
Aaron’s Favorite Tool
The Brush Tool
If you’re just getting started in Photoshop, the Brush Tool might not have any obvious applications. On the surface it looks like it’s only good for roughly painting colors over top of a photo–not very helpful at all. But once you become more familiar with tools like Layer Masks, Blend If, Flow, and Blending Modes, the real power of the Brush Tool is revealed.
The Brush Tool is the best way to create and blend subtle effects in your images. Before you can start to take advantage of it, you’ll want to get familiar with the Flow setting. Working with a low Flow percentage gives you the ability to gradually build up effects the more you paint. The lower the Flow, the more control you’ll have trying to dial in the look that you want.
Let’s take a look at dodging and burning as an example. Dodging and burning is the process of enhancing the natural highlights and shadows in an image to create contrast and add dimension. A common technique is to create a Curves Adjustment Layer, make the image a little bit brighter, invert the Layer Mask of the Curves Layer, and then Paint with white over the highlights you want to enhance.
Now if you started painting with a Flow of 100%, the effect would be way too pronounced, creating highlights that are much too bright. You don’t have any control. But if you set your flow to 5%, you’ll be able to paint over the highlights multiple times, enhancing them a tiny bit more with each stroke. Flow allows you build up the effect gradually, for a much more subtle and realistic look.
Custom Brushes
Some of the most fun you can have in Photoshop is creating and using custom brushes to create a wide variety of effects. Imagine being able to paint in realistic rain, snow, or fog into an image. Or even painting in photorealistic strands of hair when retouching a portrait. Custom brushes are a powerful tool that allow you to really stretch the limits of what you thought could be possible with photo editing.


