
Download the Sample Images
description
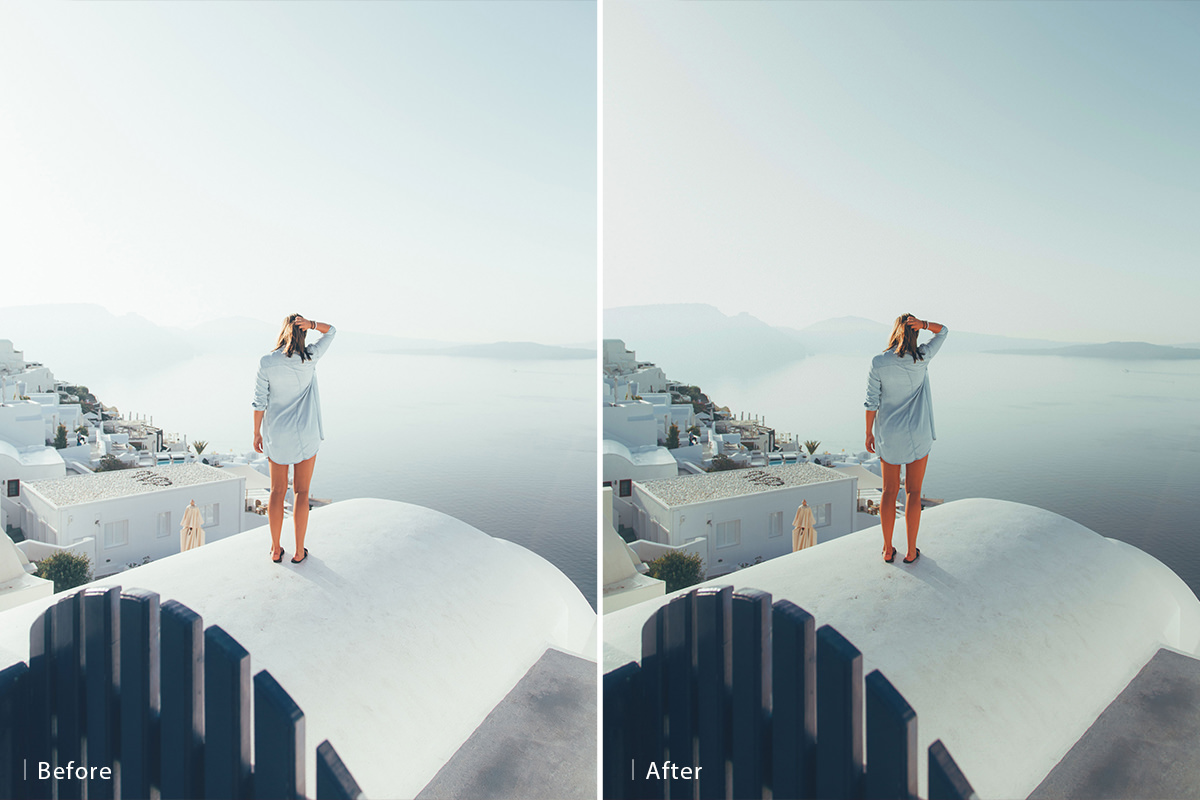
Sometimes it’s just not possible to nail that perfect exposure. Whether it’s extreme lighting situations or limitations of the camera, muddy shadows and blown-out highlights are common issues.
Learn how to recover detail from the highlights and shadows of any image, using professional Photoshop techniques to create a more balanced exposure.
This is Day 22 of our 30 Days of Photoshop series. If you enjoyed it, follow along with all 30 episodes as we explore the the magic of Photoshop together!
Watch Next
30 Days of Photoshop

Sign up to receive email updates to keep you going, sample images to follow along, and a printable calendar to keep track of your progress!
Share
Fix Exposure & Recover Details
What is the ‘Correct’ Exposure?
Okay, so there isn’t a ‘correct’ exposure. It’s very possible to create a meaningful image that might be missing information in shadows that are too dark or highlights that are too bright. In fact, many famous photographs demonstrate that having perfect detail through the brights and darks isn’t necessary at all.
But with RAW and Photoshop, we have the tools to start with a strong foundation and then make any creative choices that we need to from there. It’s better to have detail and to make the decision to remove it than to be forced into a certain look.
Recovering Details
Most exposure issues come from situations where we have really bright areas and really dark areas in the frame. What might look like beautiful lighting to our eyes usually ends up being a technological impossibility for our cameras to accurately capture. But Photoshop gives us the ability to push and pull information back, recovering details that would have otherwise been lost.
This process involves either lifting the shadows or lowering the highlights. The key is that we don’t want to make exposure adjustments that effect the entire photo, we want to target the shadows or highlights specifically to solve the problem we have.
Levels
Levels Adjustment Layers (along with Curves) are the go-to for most exposure adjustments in Photoshop. Not only are they non-destructive (meaning we can change or remove those edits at any time), they also can be made to target specific areas of light or dark in a photo.
If you create a Levels Adjustment Layer over an image and use it to raise or lower the exposure, you’ll notice immediately that it effects everything. If you raise the exposure, the shadows might get brighter, but so do the highlights. We want to avoid this. So how do we turn Levels into a more precise tool?
With Blend If!
Blend If
Blend If is an extremely powerful tool that allows us to have a Layer apply to the highlights, midtones, or shadows of an image. Not only does it select the exact tonal range we want to affect, we can also add feathering to ensure a seamless integration.
So if we want to lift up the shadows a bit, we can create a Levels Adjustment Layer, raise the exposure of the entire image, and then use Blend If to remove the effect from the highlights.
There are some situations where Blend If may not be enough precision. In those cases, don’t forget to use Blending Modes, Layer Masks, and Opacity to dial-in the look you want, for a balanced exposure across the entire photograph.


