Download Assets
description
It’s day 22! On today’s episode we’ll show you how to use the Adobe Camera Raw filter to correct exposure, fix skin tones, straighten horizons, and remove distractions. Discover the power of Smart Filters and masking for professional, non-destructive edits.
Follow along with all 30 episodes as we explore the the magic of Photoshop together!
Watch Next
JOIN 30 DAYS OF PHOTOSHOP (FOR FREE!)
Ready to jump in? Sign up and we’ll email you a printable calendar and daily class schedule so you can get started right away!
Image Source
- Bruno van der Kraan
Images sourced from Unsplash.
Share
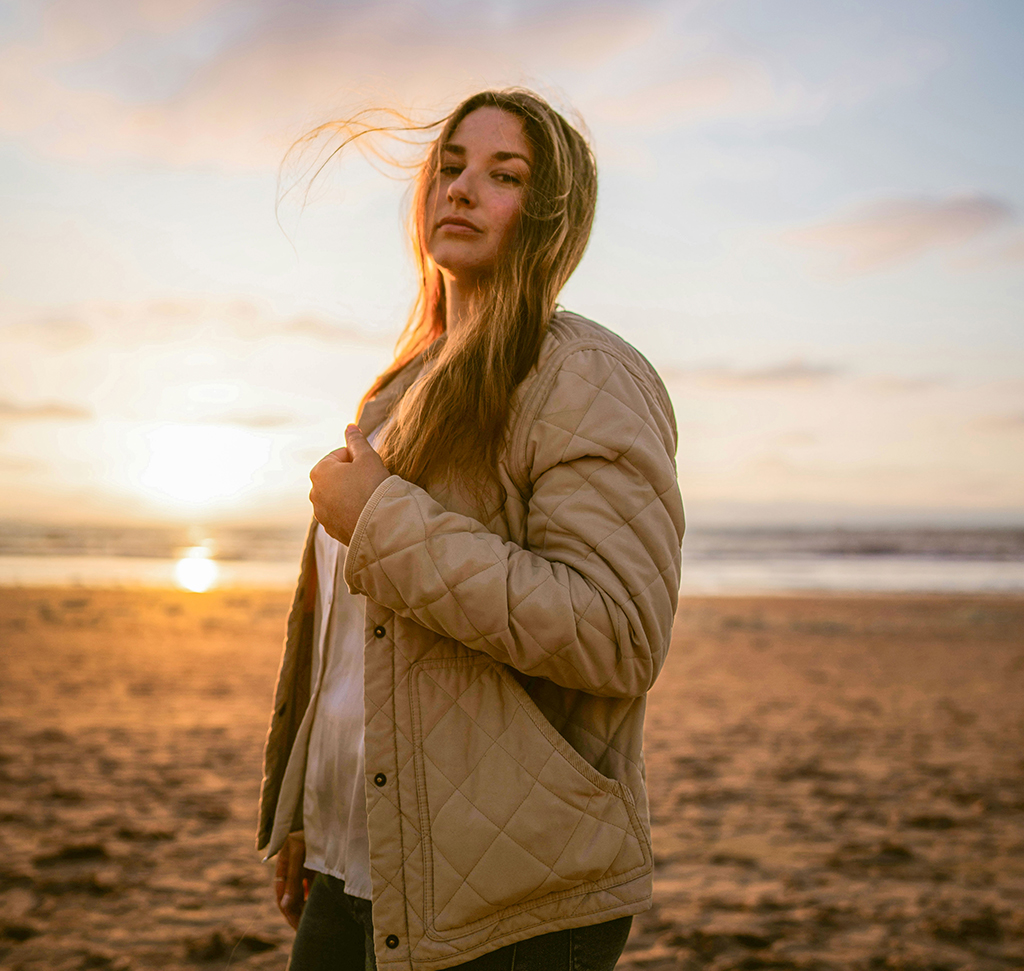
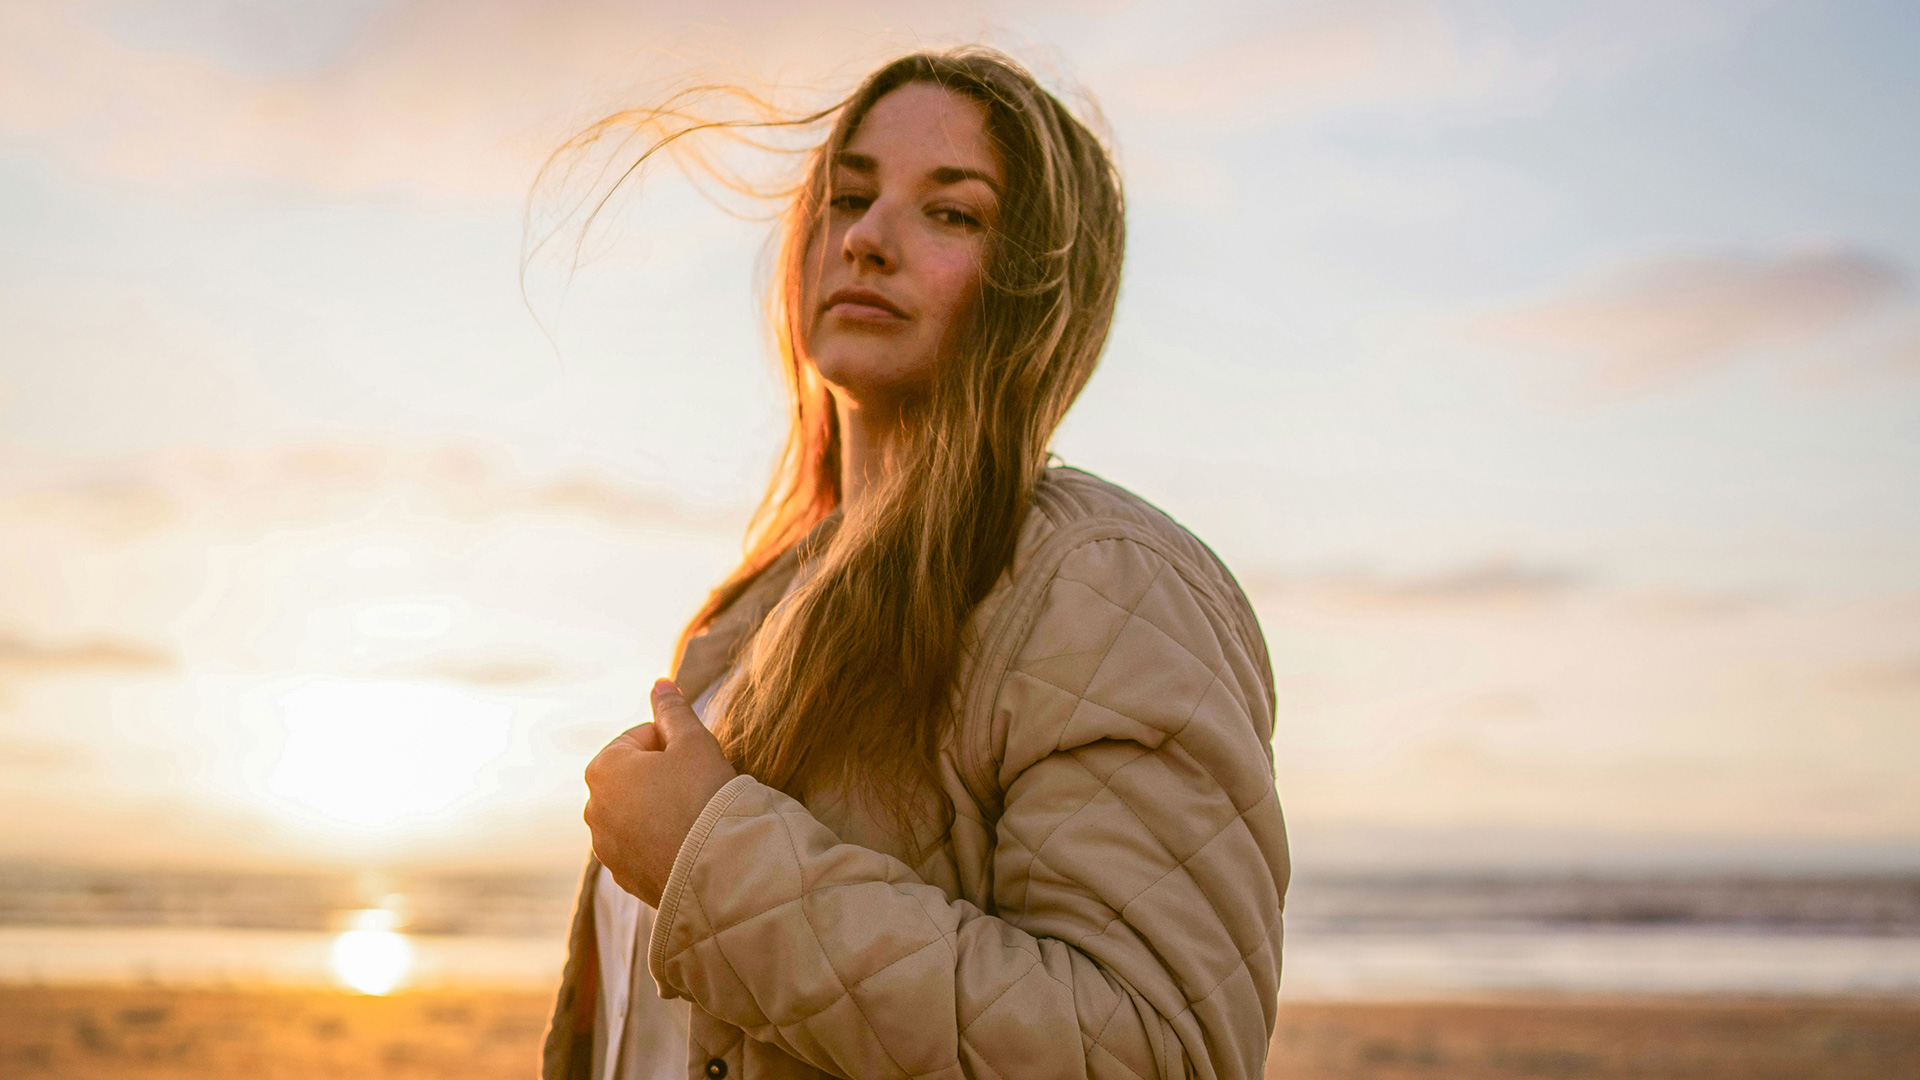
AFTER
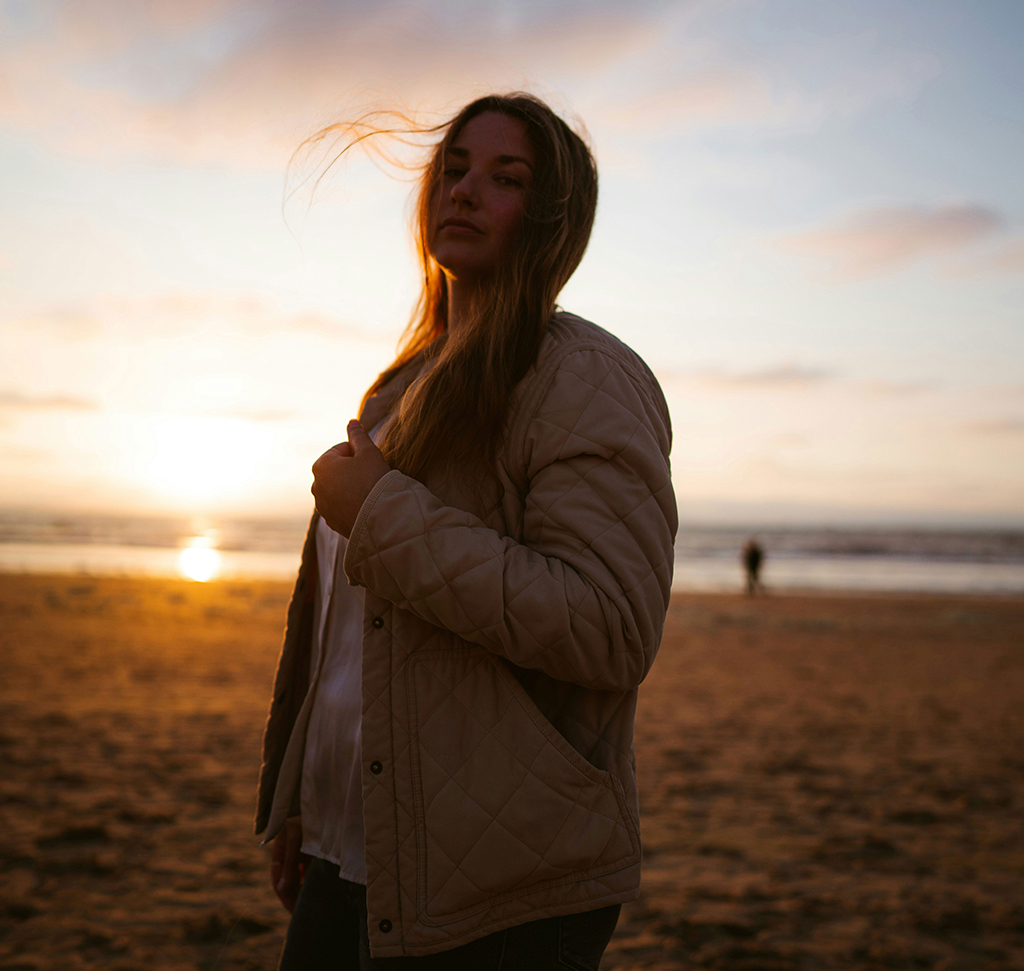
BEFORE
Balanced exposure, Every Time.
Ideally we want exposure to be perfect in-camera. But things don’t always work out when we’re shooting in unpredictable environments or when there are technological hiccups. We all miss on exposure from time to time, so today we’ll show you how to save those images using the powerful tools in Photoshop and Adobe Camera RAW.
Getting Started
1. Begin by opening your image in Photoshop.
2. To ensure your edits are non-destructive, convert the layer to a Smart Object. Navigate to the ‘Filter’ menu in the top bar and select ‘Convert for Smart Filters.’ This action allows you to re-edit your filter settings at any time without permanently altering the original image data.
Camera Raw Edits
3. Access the powerful editing tools by going to ‘Filter’ and selecting ‘Camera Raw Filter…’ within the dropdown menu.
4. For an instant correction, click the ‘Auto’ button in the basic editing panel. This will automatically adjust exposure, highlights, and shadows.
5. You can then fine-tune these settings using the individual sliders for ‘Exposure,’ ‘Highlights,’ and ‘Shadows’ to achieve the perfect look for your overall image.
Enhance Your Subject
To specifically correct your subject’s exposure or color, use the masking tools.
6. In the Camera Raw interface, click on the masking icon on the right side. The program will automatically detect people in the photograph, allowing you to select and create a mask for a specific person.
7. Within the mask’s controls, you can then independently adjust their exposure, shadows, or even color temperature to make them stand out.
Final Retouching Touches
While still in the Camera Raw filter, you can perform additional edits.
8. Use the ‘Remove’ tool to paint over and seamlessly eliminate unwanted objects from your photo, such as the person in the background.
9. To straighten a crooked horizon, go to the ‘Geometry’ adjustments and click the ‘Auto’ button. This will automatically correct the perspective and straighten the image. Once you’re finished, click ‘OK’ to apply all the changes and return to the main Photoshop workspace.
Join us tomorrow as we move on to day 23 of 30 Days of Photoshop, where we’ll show you how to do basic retouching in Photoshop to further enhance your images.


