
Download Assets
This tutorial includes 1 sample image and 1 PDF guide. Downloads are free with a PHLEARN account.
- Download the sample images and PSDs from every free tutorial on PHLEARN
- New free tutorials published every week
- One free account — sign up once, then download anything
Free PDF Guide · 3 Pages
This Tutorial as a Step-by-Step PDF
The 3-page guide walks through Layer > New Fill Layer > Solid Color on the Soft Light blend mode, Blend If in Blending Options to send one color to the shadows and a second to the highlights, masking a cool color off the skin, then double-clicking each thumbnail to dial in the colors and lowering Opacity. Keep it next to your keyboard.
description
Color grading a photo does not need dedicated grading tools. Two Solid Color fill layers, one aimed at the shadows and one at the highlights, split apart with the Blend If sliders and softened with the Soft Light blend mode, are enough to shift the whole mood of an image. This tutorial covers building both layers, masking cool tones off skin, and keeping hue, saturation and opacity editable so the grade can keep evolving.
Enjoying This Free Tutorial?
We publish a new free tutorial every week, each one with sample images and PSDs you can download and follow along with. Sign up and they land straight in your inbox, along with early word on sales, events and subscriber-only offers.
Easily Color Tone Any Photo in Photoshop
Adding an overall color style to a photo doesn’t require complex color grading tools. A simple Solid Color fill layer, set to a blend mode and restricted to just the highlights or just the shadows, can shift the entire mood of an image in minutes, and it stays completely non-destructive and endlessly adjustable the whole time.
Create a Solid Color Fill Layer and Switch It to Soft Light
Layer > New Fill Layer > Solid Color brings up a color picker and fills the entire image with a flat, solid color, which on its own just covers the photo completely. Changing that layer’s blend mode from Normal to Soft Light lets the color influence the photo’s existing tones instead of hiding them, immediately producing a subtle color shift across the whole image. Because it’s a fill layer rather than a flat color adjustment, double-clicking the layer’s thumbnail at any time reopens the color picker, making it easy to try out different hues, more green, more blue, more of anything, and see the effect update live.
Restrict a Fill Layer to Just Your Shadows with Blend If
For an image with trees in it, a warm red tone works well pulled into just the shadows while a cooler green sits in just the highlights, giving the color grade some real depth rather than a single flat tint across everything. Double-clicking in the gray area of a layer (or going to FX > Blending Options) opens the Layer Style dialog, where the Blend If sliders at the bottom control exactly where a layer shows up based on the underlying image’s tonal values.
Using the Blend If Slider to Fade Out Highlights
Holding Alt/Option and dragging the underlying-layer slider from right to left makes that fill layer fade out of the highlights, leaving it visible only in the darker parts of the image. Dragging further restricts the effect to just the deepest shadows, and the exact stopping point is entirely a visual judgment call made by watching the image update in real time.
Restrict a Second Fill Layer to Just Your Highlights
A second Solid Color fill layer, this one a green, gets the same Blend If treatment but in the opposite direction.
Using the Blend If Slider to Fade Out Shadows
Holding Alt/Option and dragging the underlying-layer slider from left to right this time fades the green layer out of the shadows instead, so it only becomes visible in the brighter parts of the image. With one fill layer now restricted to shadows and a second restricted to highlights, the two together start to build a genuine two-tone color grade rather than a single uniform cast.
Mask Out Skin Tones When Using Cool Colors
A cool color like green, blue, or purple sitting over a person’s skin makes it look unhealthy and off, so the highlight-restricted green layer needs a layer mask with black painted directly over the subject’s skin to keep that color from ever touching them. Warm tones are more forgiving and can generally be left visible on skin without the same problem, but it’s worth checking either way before finishing up.
Combine Both Layers on Soft Light for a Subtle Combined Effect
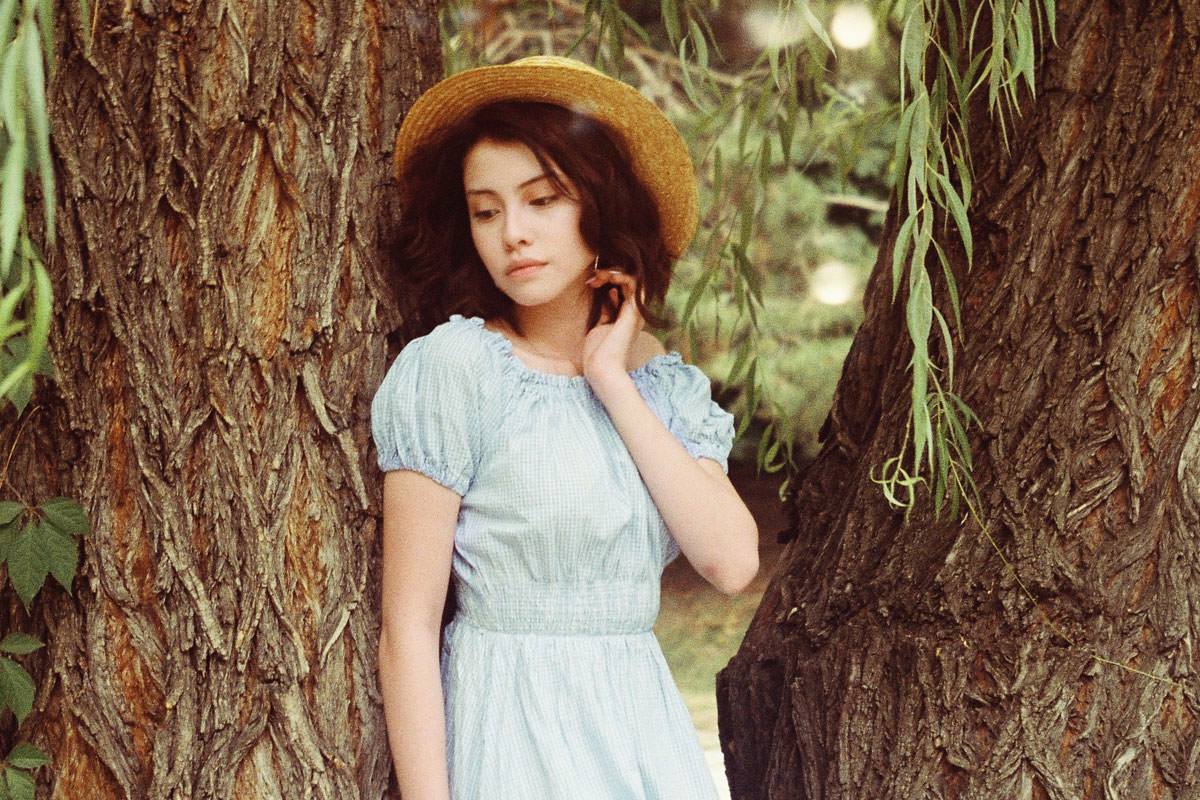
With both fill layers still set to Normal blend mode while their Blend If ranges get dialed in, the effect looks far too strong and obvious. Switching each one from Normal down to Soft Light tones the effect down to something far more natural and subtle, and with both layers active at once, their combined shadow-and-highlight color grade produces a noticeably different overall look compared to the original photo, visible clearly by toggling both layers off and back on.
Fine-Tune Your Colors in Real Time
One of the best parts of this technique is how easy it is to keep adjusting after the fact, since color grading by feel often means not knowing exactly what needs to change to get a photo looking right.
Double-Clicking the Layer Thumbnail to Change Color Instantly
Double-clicking a fill layer’s thumbnail reopens its color picker at any time, and moving the picker around the color wheel updates the image live, making it simple to try a cooler blue in the shadows one moment and a warmer red the next, or to push a highlight color toward yellow-green instead of pure green, all without touching any other setting on the layer. In the video the shadow layer starts out closer to purple and magenta and gets pulled toward a red that stays saturated, while the green in the highlights moves toward yellow and goes a little less saturated and a little darker.
Adjust Opacity, Saturation and Brightness for a Balanced Look
Beyond hue, each fill layer’s saturation and lightness can be pushed up or down directly from the same color picker, more saturated and punchy or more muted and subtle, darker and moody or lighter and airy, giving a huge amount of creative range from just two simple layers. If either color ends up reading as too strong once everything is combined, for instance a shadow color that comes across as too red, simply lowering that layer’s opacity brings the whole effect back into balance without needing to touch the color itself.
Toggling Layers On and Off to Compare Before and After
Turning both fill layers off and then back on at any point gives an instant before-and-after comparison, and because each layer can also be toggled individually, it’s easy to judge exactly how much each one, the shadow tone versus the highlight tone, is contributing to the final look on its own.
Why This Technique Beats Guessing at Color Grading
Two Solid Color fill layers, split between shadows and highlights with Blend If and softened with the Soft Light blend mode, give a huge amount of creative control using nothing but tools already built into Photoshop. Because every part of the effect, hue, saturation, brightness, opacity, and even which tonal range each color touches, stays fully editable after the fact, there’s no need to commit to a color choice upfront the way a baked-in adjustment would require; the whole grade can keep evolving until it actually looks right.
Final Thoughts
A full color-toning pass on a photo comes down to just two Solid Color fill layers, one aimed at the shadows and one at the highlights, blended in with Soft Light and refined with Blend If and a layer mask over any skin that needs protecting from cool colors. It’s a simple, fully reversible technique that turns color grading from a guessing game into something that can be dialed in visually, in real time, until the mood of the photo feels exactly right.
Quick Reference: Keys, Menus and Settings
- Add a fill layerLayer > New Fill Layer > Solid Color
- Blend it inLayers panel blend mode: Normal to Soft Light
- Change the colorDouble-click the fill layer’s thumbnail
- Open Blend IfDouble-click the gray area of the layer, or fx > Blending Options
- Shadows onlyAlt/Option-drag the Underlying Layer slider from right to left
- Highlights onlyAlt/Option-drag the Underlying Layer slider from left to right; paint black on the mask over skin
- Too strongLower that layer’s Opacity a little
No AI, no generative credits. Two fill layers, Soft Light and Blend If.

Free Downloads
Follow Along on the Same Photo
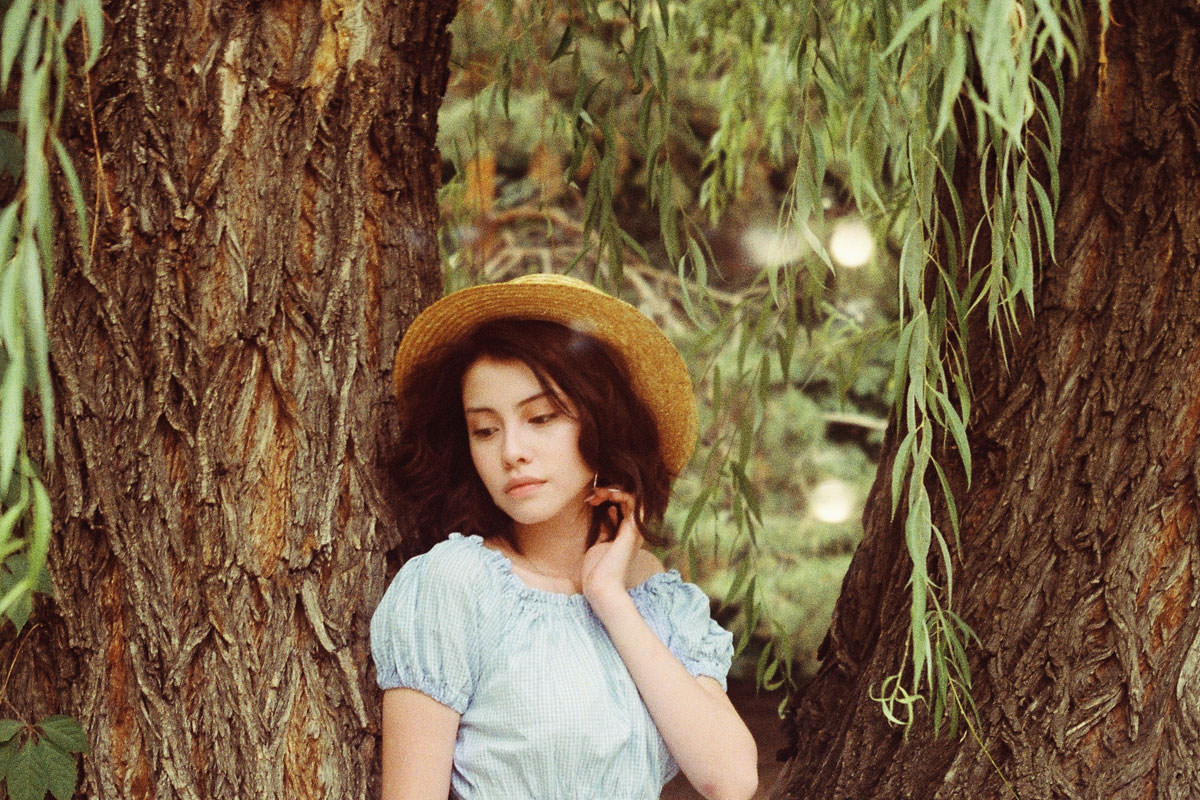
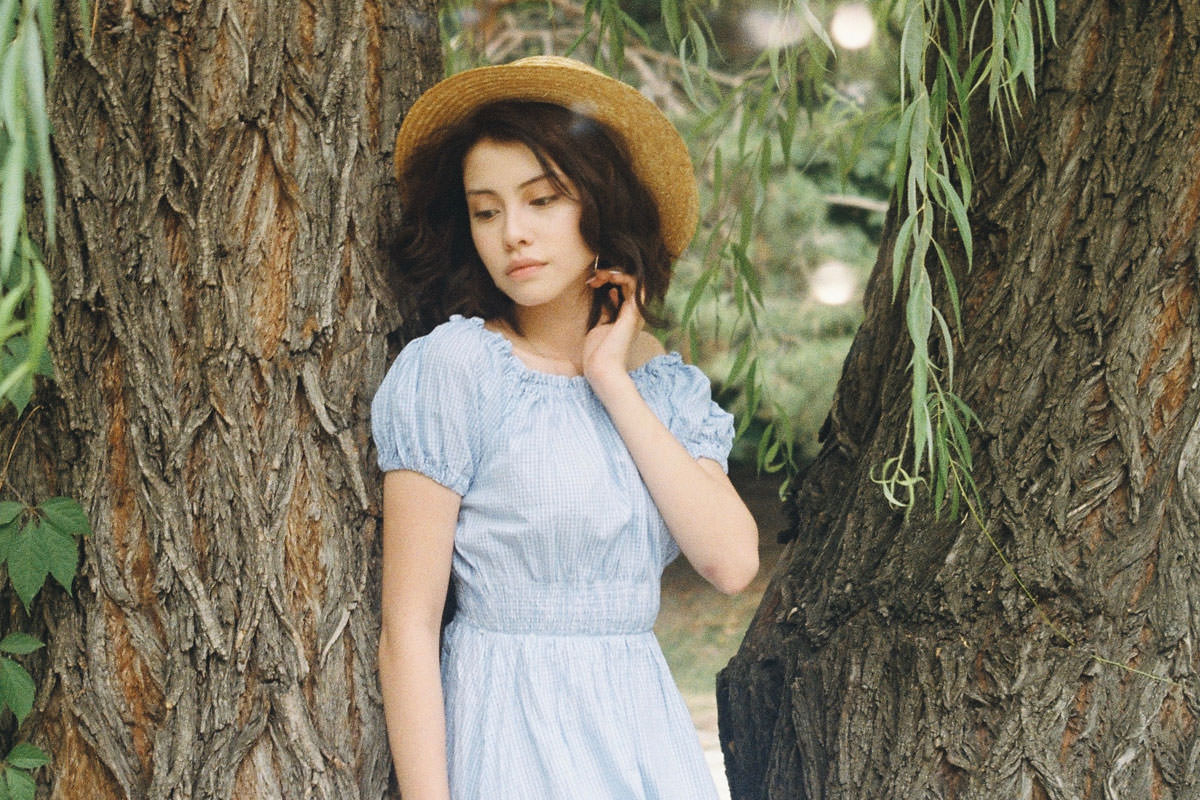
Get the portrait among the trees used in the video and the 3-page PDF guide, so you can tone the same photo step by step. Free with a PHLEARN account.
Color Toning with Fill Layers: Common Questions
How do I add a Solid Color fill layer?
Go to Layer > New Fill Layer > Solid Color and pick any color in the Color Picker. On its own the fill layer covers the whole image with that color.
Why did my photo turn into a flat block of color?
A new fill layer is on the Normal blend mode. In the Layers panel, change it from Normal to Soft Light and the color blends into the photo’s own colors.
How do I change the color after I make the layer?
Double-click the fill layer’s thumbnail. The Color Picker comes back, and the photo updates in real time as you move around it.
How do I put a color only in the shadows?
Double-click the gray area of the layer, or choose fx > Blending Options. Under Blend If, hold Alt/Option and drag the Underlying Layer slider from the right to the left. The color fades out of the highlights.
How do I put a color only in the highlights?
Do the opposite on a second fill layer: hold Alt/Option and drag the Underlying Layer slider from the left to the right. The color disappears from the shadows and only shows in the highlights.
Why mask the color off the skin?
Cool colors like green, blue and purple make skin tones look unhealthy. Click the layer mask on that fill layer and paint black over the skin. Warm colors can stay visible on skin.
Why does the effect look far too strong?
Both layers are still on Normal from setting up Blend If. Switch each one to Soft Light. If one color still dominates, for example too red, lower that layer’s Opacity a little.
Which colors work for the shadows and highlights?
Because the photo has trees, Aaron puts red in the shadows and green in the highlights. The shadow layer starts closer to purple and is pulled toward a saturated red; the green moves toward yellow, a little less saturated and darker.
How do I see the before and after?
Turn both fill layers off and back on. You can also toggle each one on its own to see what the shadow color and the highlight color each add.
Is the sample file free?
Yes, with a free PHLEARN account. You get 1 sample image and 1 PDF guide: the portrait from the video and a 3-page walk-through of both fill layers.
Master Photoshop, Lightroom and Photography
Join PHLEARN PRO for $12.99 a month or $99.99 a year. Cancel anytime, with a 100% money-back guarantee.





