
Download Assets
This tutorial includes 1 sample image, 1 sample PSD and 1 PDF guide. Downloads are free with a PHLEARN account.
- Download the sample images and PSDs from every free tutorial on PHLEARN
- New free tutorials published every week
- One free account — sign up once, then download anything
Free PDF Guide · 3 Pages
This Tutorial as a Step-by-Step PDF
The guide walks through a 1080 x 1080 canvas, placing the photo as a Smart Object, writing the quote on a black Solid Color layer, sizes, weights and center alignment after Ctrl/Command+A, then Window > Timeline > Create Video Timeline, staggered layers, Fade transitions and File > Export > Render Video with H.264. Keep it next to your keyboard.
description
A quote graphic that animates holds a feed far better than a static one. Build it at 1080×1080 for Instagram, lay the type out over a temporary solid-black layer so spacing and hierarchy are easy to judge, then drop that layer to about 20 percent opacity to bring the photo back. Photoshop’s video timeline staggers each layer in with short fades, and Render Video writes the H.264 file.
Enjoying This Free Tutorial?
We publish a new free tutorial every week, each one with sample images and PSDs you can download and follow along with. Sign up and they land straight in your inbox, along with early word on sales, events and subscriber-only offers.

How to Create an Inspirational Video for Instagram
Inspirational quote graphics are everywhere on social media, but turning one into a short animated video rather than a static image gives it a lot more presence in a feed. This walkthrough covers building a quote graphic sized specifically for Instagram, then animating it directly in Photoshop’s timeline and exporting it as a video ready to upload.
Setting Up a 1080×1080 Canvas for Instagram
Go to File and down to New to create a fresh document. Instagram displays square posts best at 1080 by 1080 pixels — sizing smaller risks poor resolution once it’s uploaded, so it’s worth starting at this size rather than scaling up later.
Placing Your Image as a Smart Object
Use the Move tool to drag your background image onto the new canvas. Before resizing it, right-click the layer and choose Convert to Smart Object — this means the image can be scaled up or down later without losing quality, since a Smart Object preserves the original resolution data rather than permanently resampling the pixels. With Ctrl or Cmd+T for Free Transform, click the link icon to maintain proportions, then hold Shift while dragging a corner to resize the image to fit the square canvas.
Designing Your Quote Text on a Black Background
Before adding any text, create a Solid Color adjustment layer set to black and place it above the image temporarily. Designing text against a plain black background, rather than directly over a busy photo, makes it much easier to judge layout, spacing, and readability before worrying about how it sits on top of the actual image. Press T for the Type tool and add your quote in white (the video uses a Michael Jordan quote, “Don’t be afraid to fail.”), then duplicate that text layer for a second line (“Be afraid to not try.”) and for an attribution line naming who the quote is from — crediting the source is worth doing any time you’re using someone else’s words.
Varying Text Size and Font Weight for Visual Interest
Making every line of text the same size tends to look flat. Select the Move tool, hold Shift and drag a corner handle to scale a text layer proportionally in one direction, or hold Shift and Alt or Option together to scale it from the center in both directions at once. Varying size across the different lines — a larger primary quote line, a smaller secondary line, a smaller attribution — creates a clearer visual hierarchy. Opening the Character panel under Window, then Character, also lets you adjust a text layer’s font weight (the video uses Lato and sets the second line to Black); a heavier weight on one line compared to the others adds contrast and interest, assuming the font in use supports multiple weights.
Aligning and Positioning the Text Layers
Press Ctrl or Cmd+A (or go to Select > All) to select the whole canvas, then Shift-click all your text layers and use the Move tool’s Align Center option to align every line to the horizontal center of the canvas at once. To reposition a group of layers vertically without accidentally shifting them off-center horizontally, hold Shift while dragging — this constrains the movement to a single axis, keeping everything perfectly centered as you adjust vertical spacing between lines.
Reducing the Black Layer’s Opacity to Reveal the Image
Once the text layout looks right against the solid black background, lower that black layer’s opacity so the image underneath becomes visible again. An opacity around 20 percent works well here (Aaron later raises it to 30 percent while timing the animation, to make it a little darker), dimming the image just enough for white text to stay readable without hiding the photo entirely — this same trick is worth remembering any time light-colored text needs to sit clearly on top of a busy image. Since the background image is a Smart Object, it can still be resized or repositioned at this stage without any loss of quality.
Building a Video Timeline for the Animation
With the still image finished, go to Window and down to Timeline to open Photoshop’s animation panel. Choose to create a Video Timeline rather than a Frame Animation — a frame animation is better suited to a simple animated GIF, while a video timeline supports fades and other transitions between layers over time. Every layer in the document appears as its own track in the timeline automatically.
Timing When Each Layer Becomes Visible
Dragging a layer’s bar to the right along the timeline delays when that layer becomes visible in the animation — before that point it stays hidden, and once the bar begins, it appears and stays visible for the remainder of the clip. Staggering each layer’s starting point — the image first, then the black overlay, then each line of text in sequence — builds up the full graphic gradually rather than showing everything at once. Playing the timeline back after each adjustment makes it easy to judge pacing and adjust timing until the reveal feels natural.
Adding Fade Transitions Between Elements
Elements simply popping into view abruptly feels less polished than a smooth fade. Clicking the transition icon in the Timeline panel brings up options like Fade, Cross Fade, Fade with Black, Fade with White, or Fade with Color — a plain Fade works well for most text reveals. Click and drag it onto the start of each layer’s bar so that element fades in rather than just appearing. The default duration is 1 second, which Aaron finds takes way too long, so he clicks the fade itself and drags to shorten it; shorter fades tend to feel snappier and keep the animation from dragging, while longer fades read as slower and more deliberate. It’s worth experimenting with both the timing of each layer and the length of its fade together, since the two interact to determine the overall pacing of the piece.
Rendering and Exporting the Video
Instagram doesn’t support animated GIFs, so the finished animation needs to be rendered out as an actual video file rather than exported as a GIF. Go to File, down to Export, and over to Render Video. Choosing the Adobe Media Encoder with H.264 as the format produces a standard MP4 that most platforms, including Instagram, accept without issue. Name the file, choose a save location, and click Render — a short animation like this typically renders in just a few seconds.
Getting the Video from Your Computer to Your Phone
Since Instagram uploads happen from a mobile device, the rendered video needs to make its way from your computer to your phone before it can be posted. Emailing or texting the file to yourself, using AirDrop on a Mac, or scheduling the post through a third-party tool like Hootsuite are all straightforward ways to bridge that gap. Once the video is on your phone, it uploads to Instagram just like any other video post.
Why This Approach Works
Designing the text against a temporary solid black background isolates layout decisions from the distraction of the underlying photo, which makes it far easier to judge spacing, size, and hierarchy before worrying about how everything sits on top of the actual image. Keeping the background image as a Smart Object throughout means it can be resized at any point in the process — including after the text is finished — without ever degrading quality. And building the reveal as a video timeline with staggered layer visibility and short fades, rather than displaying everything at once, gives the finished piece a sense of motion and pacing that a single static image simply can’t offer in a crowded social feed.
Final Thoughts
Turning a quote graphic into a short animated video is a simple way to make it stand out further in a feed full of static images. Starting with the right canvas size, designing your text against a black background before revealing the photo, and building a timed, faded animation in Photoshop’s Timeline panel covers the entire process from a blank canvas to a finished video ready for Instagram.
Quick Reference: Keys, Menus and Settings
- Canvas and photoFile > New, 1080 x 1080 pixels; right-click the photo > Convert to Smart Object; Cmd/Ctrl + T to scale
- Text on blackSolid Color layer in black; T for the Type Tool, one layer per line
- Size and weightMove Tool: Shift-drag scales one way, Shift + Alt/Option from the center; Window > Character for the weight
- Center the linesCmd/Ctrl + A, Shift-click the text layers, Move Tool center align; Shift-drag to move straight down
- Reveal the photoBlack layer opacity about 20%, 30% in the final
- AnimateWindow > Timeline > Create Video Timeline; drag each bar to stagger; transition icon > Fade (1 second by default)
- ExportFile > Export > Render Video, Adobe Media Encoder, H.264
No AI, no generative credits.

Free Downloads
Follow Along on the Same Photo
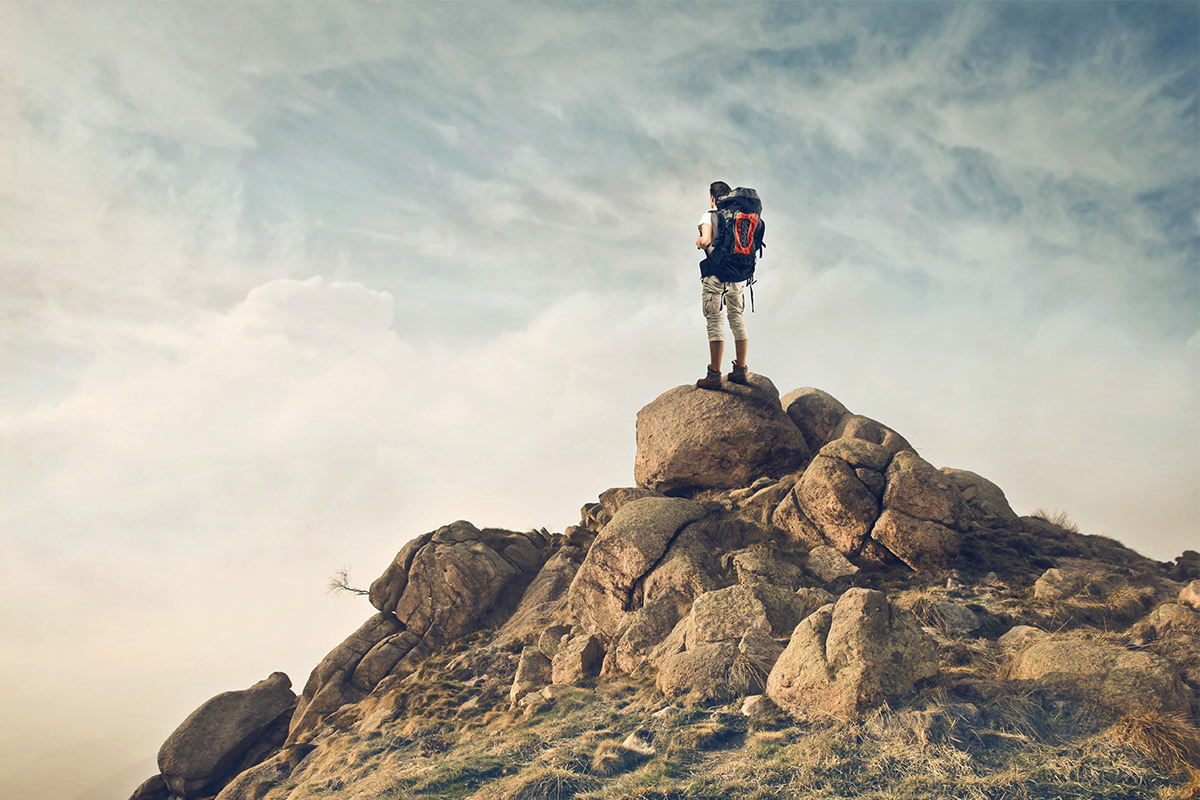
Get the sample photo behind the quote, the layered PSD of the quote and the 3-page PDF guide with every step from a blank canvas to the rendered video. Free with a PHLEARN account.
Instagram Quote Video: Common Questions
What size should my Instagram document be?
The video uses a square 1080 by 1080 pixel document from File > New. Making it smaller risks poor resolution.
Why convert the photo to a Smart Object?
So you can shrink it to fit and make it bigger again later without losing definition. Right-click the layer and choose Convert to Smart Object before you transform it.
Why design the text on a black background?
A black Solid Color layer hides the busy photo so you can judge the layout of the text by itself. You lower its opacity afterward to bring the photo back.
How do I change a font’s weight in Photoshop?
Open Window > Character and pick a weight. The video uses Lato with the second line set to Black. Not every font has several weights.
Why won’t my text center on the canvas?
Press Cmd/Ctrl + A to select all first, then Shift-click the text layers and click center align with the Move Tool. To move lines afterward, hold Shift so they only go straight up and down.
How do I make white text readable over a photo?
Keep a black layer between the photo and the text at a low opacity. About 20% looks good in the video, and Aaron raises it to 30% in the final.
Should I choose Video Timeline or Frame Animation?
Video Timeline. Frame Animation is for things like animated GIFs; the fades need a video timeline. Drag each layer’s bar to the right to set when it appears.
How do I make each line fade in?
Click the transition icon in the Timeline, choose Fade and drag it onto the start of each layer’s bar. The default is 1 second; click the fade and drag to shorten it if it drags on.
Why export a video instead of a GIF?
Instagram does not support animated GIFs. Go to File > Export > Render Video and use Adobe Media Encoder with H.264, then email, text or AirDrop the MP4 to your phone to post it.
Are the sample files free?
Yes, with a free PHLEARN account. You get 1 sample image, 1 sample PSD and 1 PDF guide: the photo behind the quote and the step-by-step guide.
Master Photoshop, Lightroom and Photography
Join PHLEARN PRO for $12.99 a month or $99.99 a year. Cancel anytime, with a 100% money-back guarantee.





