Cut Out, Blend, and Color Match like a Pro – Liquid Portrait
-
Add to
favorites
-
DifficultyAdvanced
-
Length3.25 hours
-
Videos7
-
Software
DESCRIPTION
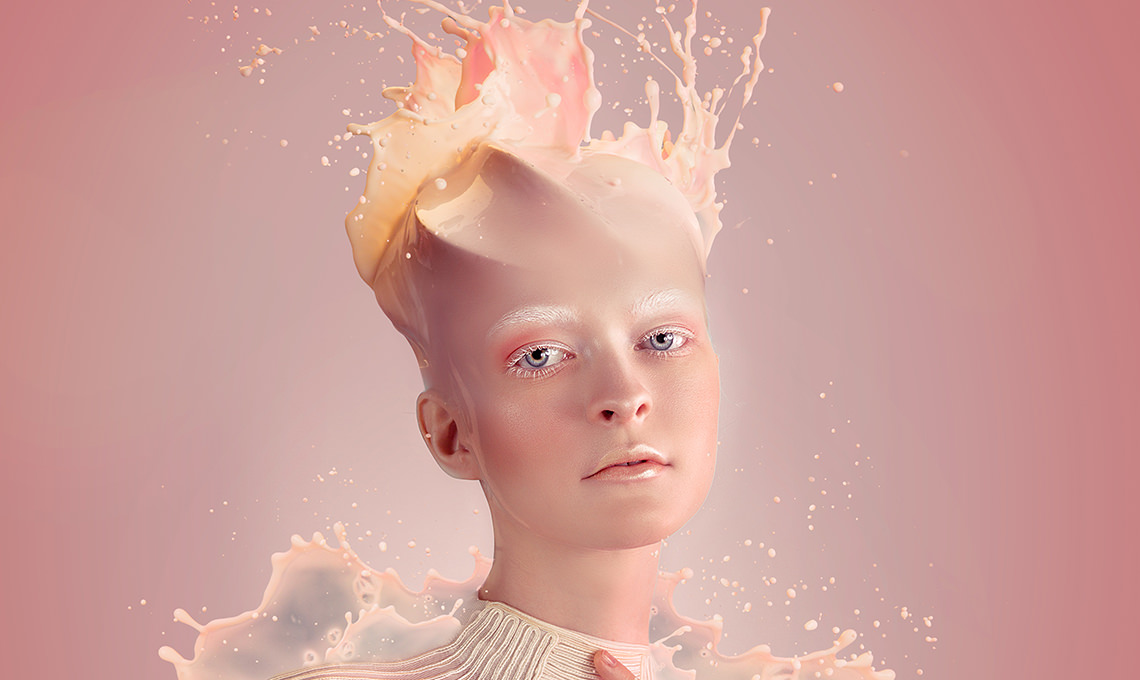
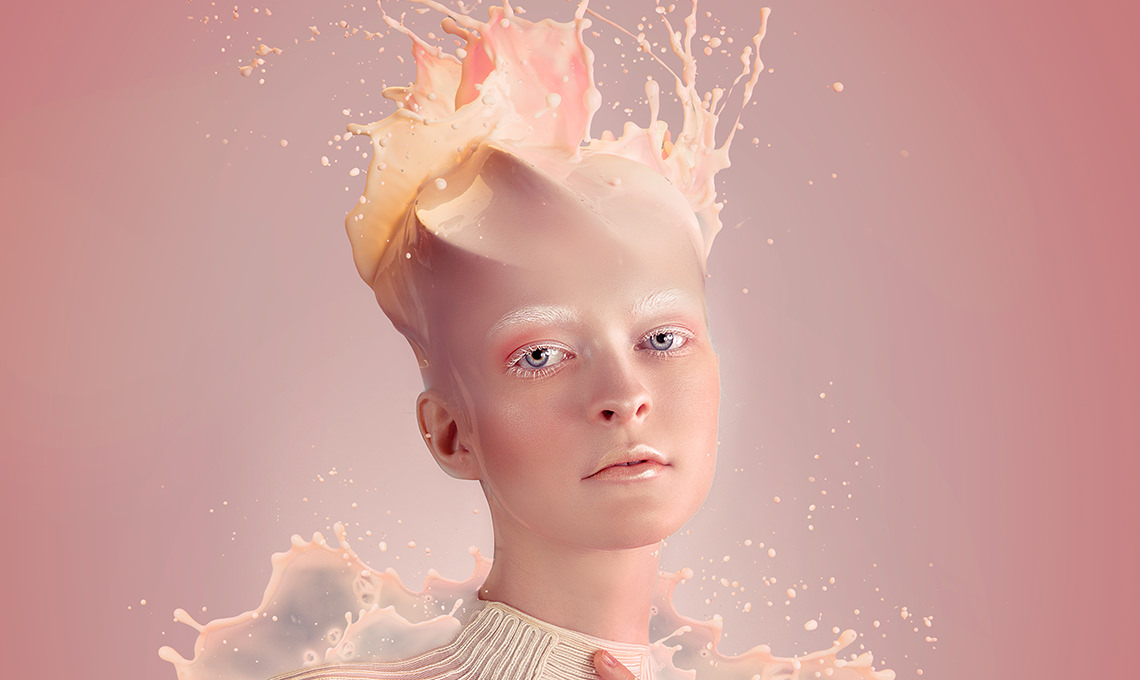
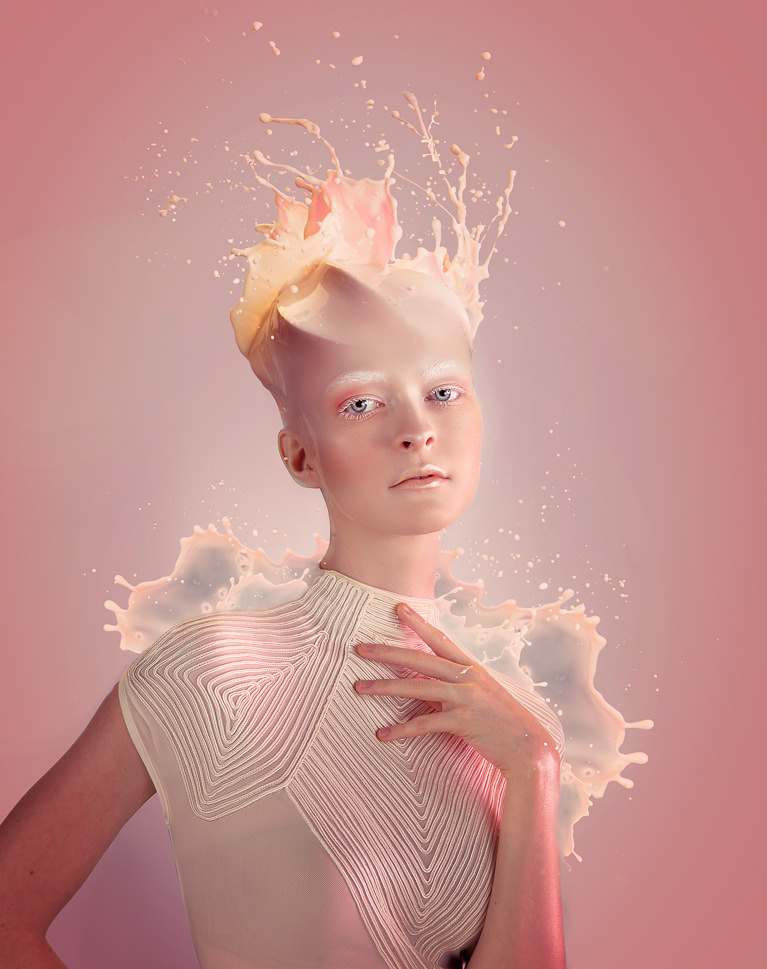
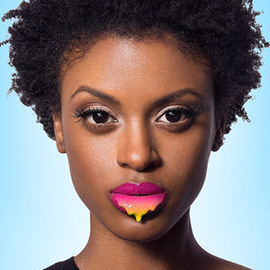
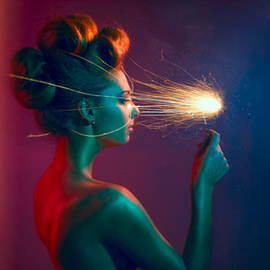
In this Phlearn PRO Tutorial, you will learn how to do the photography and Photoshop retouching necessary to add incredible liquid splashes seamlessly to any portrait.
Every aspect is covered in great detail—compositing, coloring, retouching, cutting subjects out from the background, painting details, dodging, burning and more.
THIS COURSE INCLUDES
- 10 Sample Images
- 1 Photoshop Brush
- 1 Photoshop Action
Share
Table of Contents
-
01 - Planning the Composite7:13m
-
02 - Compsiting the Subject23:50m
-
03 - Blemish & Distraction Removal35:48m
-
04 - Cutting Out the Subject35:53m
-
05 - Adding Splashes (Part 1)33:23m
-
06 - Adding Splashes (Part 2)39:15m
-
07 - Final Coloring11:58m
Course Downloads
From Concept to Reality.
Create a portrait unlike any other
Consider adding something extra to your next portrait. See each step required from the planning and photographing to compositing and retouching. Use what you learn to incorporate multiple elements and ideas together to form incredible new images.
Make Perfect Cutouts
Follow along as we explain the correct tools and techniques to cut out the subject for this image. Learn how to use the Pen Tool to create paths and turn the paths into selections. Create incredible selections and speed up your background cleanup.
Blend and Composite
Learn the secrets to compositing and blending multiple photos together to create seamless, stunning effects. From start to finish, you will see how each image is photographed, adjusted and combined using Photoshop.
Remove Hair
To achieve this effect you will have to completely remove the subject’s hair. Learn how to remove hair and add skin texture to the bald head to make it look real.
Blend Everything
See how to create new skin texture from scratch to combine the splashes with the skin on the subject’s head. Learn how to properly color, expose and warp each element to bring it all together.
Dodge and Burn
Learn how to dodge and burn in new ways to help blend images together. Alter the highlights and shadows to create extra details in specific areas. Use what you learn to add style and interest to any image.
Liquid Portrait
In this tutorial, we focus on blending your own images to create a one of a kind composite.
Retouch & Enhance Clothing
There’s no specific formula for creating a perfect skin tone. Follow along and learn different processes for adjusting these tones to keep your subjects looking great. Plus, receive a Custom Phlearn Action to make this step easier than ever.
Perfect Face and Eyes
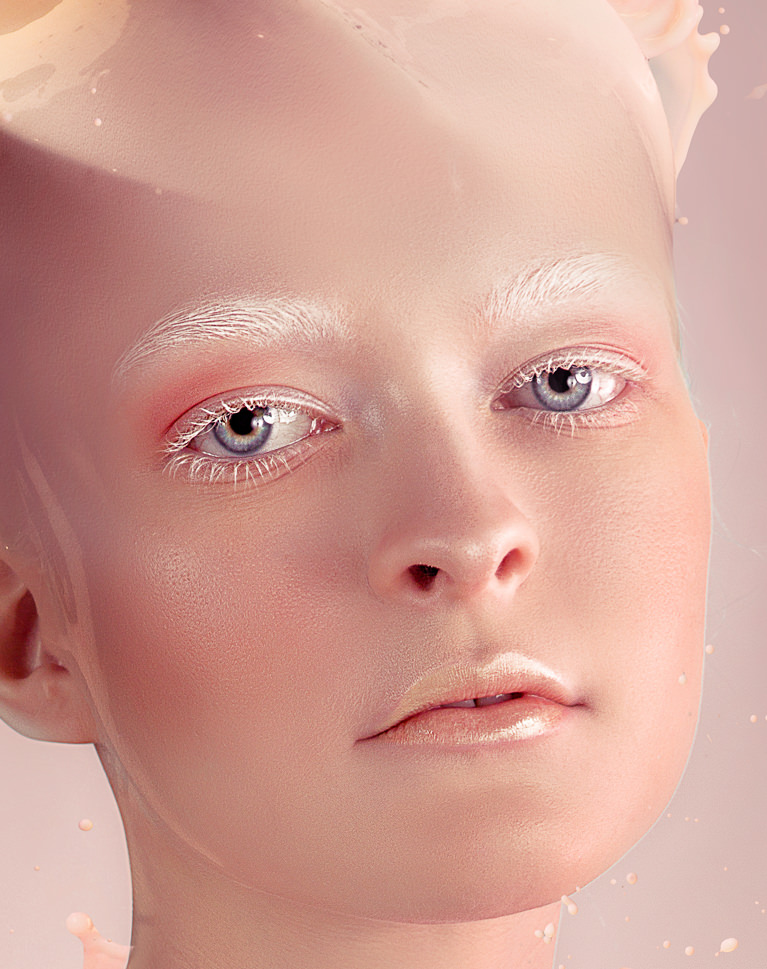
Learn all the steps required to give your subjects face and eyes more focus and beauty. Pay extra attention to the eyelashes and eyebrows and see how to enhance these areas by painting in additional details.
Perfect Color Match
Create the most believable composite image by matching the colors perfectly. Learn how to adjust the colors separately between shadows, midtones and highlights to create an accurate and realistic color match.
Reviews
New & Popular Tutorials
Training Site in
the World
Tutorials!
Ratings
and Counting
Subscribers






Brilliant tutorial … as always!
I accidentally deleted the file of the completed tutorial, is there any way I could get it so I could brush up my knowledge, don’t really have time to watch it from the beginning. Would be very grateful.
Outstanding tutorial, it covers so much from retouching to compositing, so many tips and tricks for better and faster workflow, just great all around.
We cover so much in this so gracefully that by the end your tool kit is doubled and your satisfaction is quadrupled! Another Top Lesson!
In-depth tutorial! Definitely picked up some new tricks I wasn’t expecting to learn.
Outstanding Tutorial! I’ve learned so much, thank you!
Fantastic fun tutorial using a range of tools and techniques to create a very cool looking portrait. Quality entertaining instruction from Aaron makes the course enjoyable and easy to follow.
Where is the download for the action and brush?
Thank you for your work, I learned a lot of new tricks, I really love averything you do for us!
love this tutorial, and even went so far as to shoot my own model so that I could create my own interpretation. Terrific work Aaron
really a great class, i learn a lot in this class
What a fun to do this tutorial, but when i see, this guy use the pen tool, OMG, i hate this tool. But when i see how easy Aaron use it, i wonder. Now i have to learn it of course. Thank you for this work Aaron, After useing PS about 10 years i learnd a lot of things with this work. By the way, your english is too fast for me :—) but i have eyes to see what you are doing, so i can follow you easiely. Now i Go to learn pen tool for the next great work. Thank you so much Aaron.
Wow……one of the best tutorial i think. I will use it next time and upload my work. Thank you so much for sharing.
This tutorial is awesome and I have learned beyond expectation. I also like to see when Aaron doesn’t like an approach and goes back and shows another way of doing things such as adding noise for skin texture instead of using the clone stamp tool. For a beginner like me it was a bit fast, but fortunately I have worked true Photoshop 101 – 301 so I was able to follow. Now that the work is done it is also a good reference file if I can’t remember how certain things are done.
Thank you Aaron and PHLEARN team for this awesome tutorial. I have posted it on my Instagram and used the tag #phlearn
Awesome Tutorial. It was a bit fast and I’m glad I did Photoshop 101 – 301, else I don’t think I would have been able to follow along.
Anyway… I’m so happy and glad I did this, so many new techniques and tricks I’ve learned and can always go back to the reference file in case I forgot some stuff. Thank you Aaron and PHLEARN team for this awesome tutorial.
This tutorial is quite attractive. Other courses are also practice slowly.
This tutorial is great!I learned a lot and had super fun doing it and I learned a lot!!Thanks a lot Aaron!You’re a great teacher and an inspiration!!
Here is my result. Cheers!
Thx for great tutorial, was very hard! final coloring simply amazing, doing 30% of image. Compositing with head takes a whole day 🙂
Job well done!!
So this tut doesn’t contain actual BTS video and some explanation through the shooting?
Absolutely amazing tutorial!! I am learning a lot in here, thanks Aaron 🙂
Yes, I understand the charge sales tax of your country. But…I’m overseas. Anyway…..thanks for your reply 🙂
hey aaron you didnt change the bland mode to soft light of the manicen head detail that you did with the pen tool. ( section 6 head splashes about 15:40 ). btw sorry for bad english?
Hi~ I have a problem about the payment. I got your Pro Tutorial for several time before, but this time to have pay a tax when I get this one. Is it necessary to pay this?
We have to charge sales tax for anyone who live in the state of Illinois, it’s just the way tax law works. I’m not sure how you got around it on your previous purchases, our new shopping cart is much better at administering these types of details.
Olá tudo bem , não falo inglês e sim português . Queria parabenizar o editor por esse lindo trabalho .
Queria sabe se posso comprar a aula via Paypal ? Lembrando Pagarei em dólares .
Yes you can pay with PayPal.
My previous review is gone? I think it was a great PRO but I missed the Behind The Scenes-video in the PRO-package.
Hi Fredrik!
Can you let us know what you mean when you said you “missed” the behind the scenes?