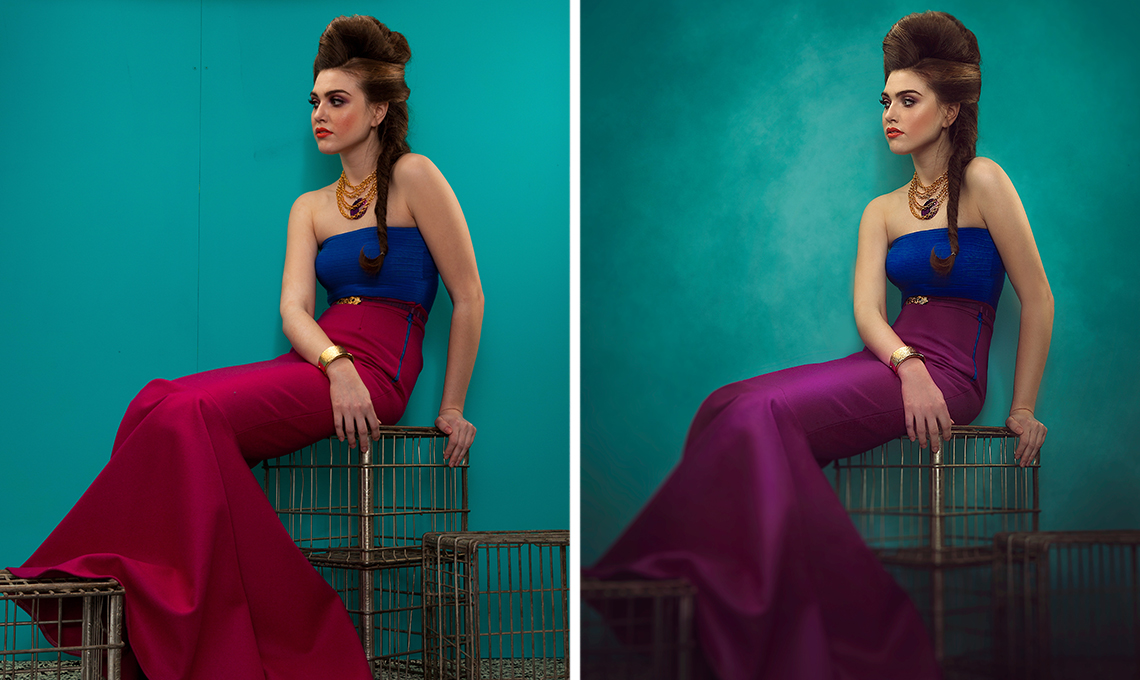
Quick Photo Retouching for Beginners
-

-
Add to
favorites

-
DifficultyEasy
-
Length1 hours
-
Software
Join PHLEARN PRO for instant access to this course and every tutorial on PHLEARN.
- Stream in up to 4K on any device
- Closed captions and chapters on every course
- Download all sample images and PSDs
- New PRO tutorials every month
- Cancel anytime
DESCRIPTION
In this Phlearn PRO Tutorial, you will learn the two most important things when it comes to quick photo retouching: the How and the When. Speed up your quick photo retouching workflow by gaining the knowledge and ability to decide exactly what your portrait images need.
THIS COURSE INCLUDES
- 11 Sample Images
- 2 Photoshop Brushes
Course Downloads
Retouching in No Time.
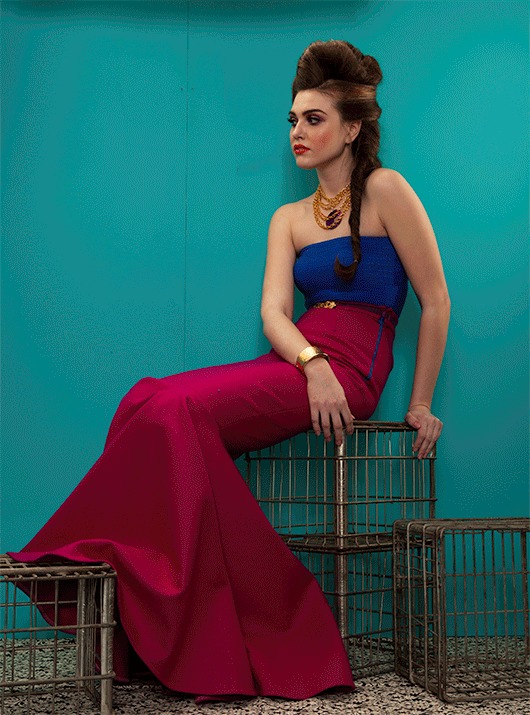
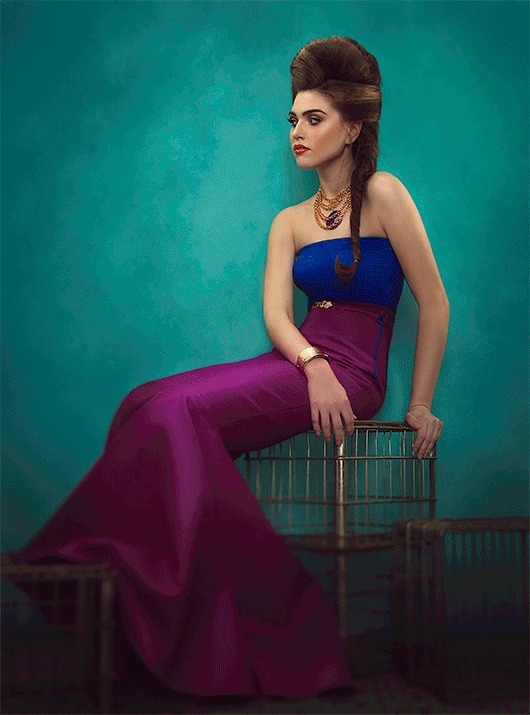
Quick Photo Retouching: Shape the Body
Make your subject look their best without looking unnatural using the liquify tool properly. Use what you learn to dramatically alter the shapes and tone a person bringing attention to the right places.
Skin Smoothing
Be sure to pay attention to the entire body. Most of the time it is not just the individual pores that need work, but the overall shapes. Learn how to smooth skin quickly and keep your subjects looking their best with quick photo retouching.
Color Correction
Remove the complexities from correcting colors in shadows, mid-tones and highlights. At times, highlights are too warm or too saturated and need to be treated separately from other areas of an image. Learn how to correct color in a quick photo retouching pass and restrict your changes to specific areas.
Sharpen the Details
Learn how to selectively sharpen different areas of the image to draw attention to where it’s needed. See exactly where and how to sharpen for the greatest impact in the least time.
Look Amazing In No Time
Make your subject look their best without looking unnatural.
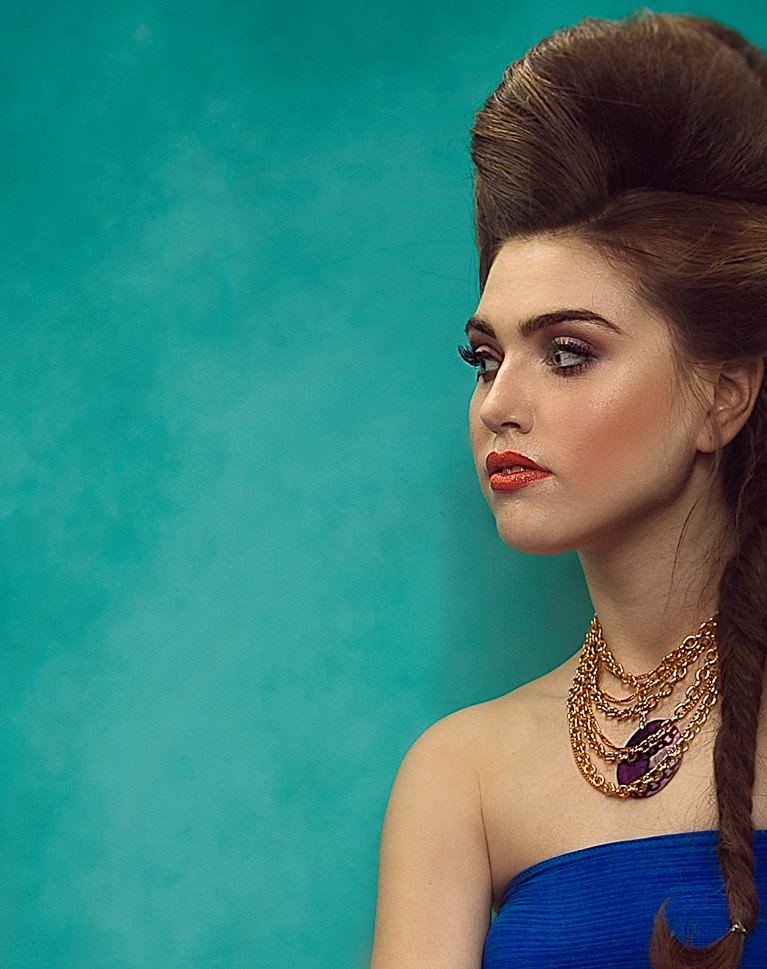
Create Blurs in Quick Photo Retouching
Use a creative blur to help draw attention to specific parts of your images. In this tutorial, you will learn the most important parts of using a blur and how to make it look as though it is a part of the original photo.
Custom Photoshop Brushes
Create your own Photoshop brushes so you’ll always have the right brush for the job. Custom brushes are excellent for quick photo retouching and adding special effects to your images.
Add Texture
Learn in detail how to use brushes to add incredible texture effects to your images. Plus, receive Phlearn PRO Custom Brushes with this tutorial that you can use on any image!
Plan Your Vision
Every Photoshop project should start by creating a plan of action. This is extra important for quick photo retouching, where every minute counts. See how to identify what to keep, what to get rid off, what to combine and what to enhance.
What Quick Photo Retouching Actually Means
Quick photo retouching is not about cutting corners, it is about knowing which corners matter. A portrait that needs a little Liquify, one pass of skin smoothing, and a color correction can be finished in minutes if you go straight to those three steps and stop. This tutorial trains that judgment: how to look at a photo, decide what it needs, and skip the rest without leaving anything important behind.
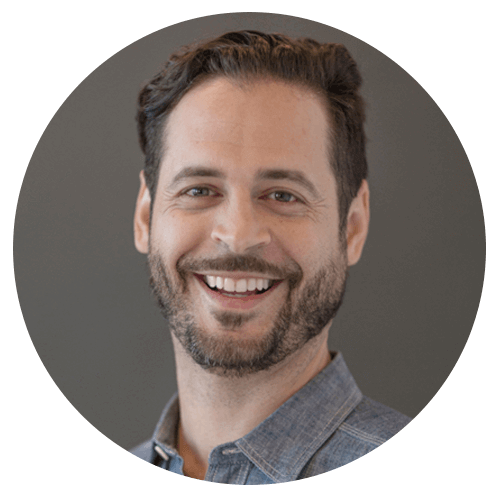
Aaron Nace
PHLEARN Founder & Lead Instructor
Aaron Nace is a photographer, digital artist, and founder of PHLEARN. Driven by a deep passion for image creation and a dedication to sharing knowledge, he founded PHLEARN in 2011 to empower creators around the globe. With over 2 million YouTube subscribers, 8+ seasons speaking at Adobe MAX, and hundreds of tutorials published, Aaron continues to produce free weekly lessons alongside new in-depth PRO courses every month.
Reviews



Unlock This Course & Every PRO Tutorial.
Get Instant Access with PHLEARN PRO!

Stream in up to 4K on any device, with closed captions and chapters
Download full project assets, original PSDs, and sample images
Unlimited access to all PRO Photoshop, Lightroom, and Retouching courses
Includes full access to Photoshop Actions, Lightroom Presets, and LUTs
Flexible monthly and annual plans to fit your workflow
Cancel anytime with zero hassle or fees
What? Liquify!?? I never knew that existed! Amazing class, thanks Aaron…
I love it so much! I can`t believe I did all those changes! Thank you. Just one question, to create a new layer with all the work done I have tried to follow the instructions you give but I can´t, nothings happens, also to change the size of my brush, etc, nothing, 🙁 What can I do?
These are the ones I like most! From the beginning to the end. The whole process! You rock!
Great tutorial. Would recommend without any reservations.
After buying my camera…. Phlearn is the best investment I made !
Man… was that good ?.. hell YEAH ! 🙂 The only reason I’ve went with this tutorial instead of newer, longer ones was that of time. I had to enhance my skills even by smallest in the shortest time possible. This 1 hr tutorial is AWESOME I’m really happy that I’ve choose to watch it. Thank you PHLEARN
Considering half way through it I was capable of this (I’ll actually finish the video and properly retouch later :P) I think I can say Phlearn is the BEST and I’m SOOO buying more of these tutorials they are great and you guys are amazing. Thank you so much! (I know I got distracted and didn’t finish it properly but I was so excited)
Wow…. This has changed the way I work. I had my own way of working on things for along time. This has added to my bag of tricks and improved me as a photographer. Even part way though the tutorial I had to stop and try it on one of my own images.
Aaron, what have you done to me?! You make me headache and you turned whole my world upside down!
I have an easy life like truck technician and now I do everything to become photographer and retoucher! Because of You!
Pop in to London for a nice, tasty paint of lager, as good as your tutorials! 🙂
Thank you and whole you entire team 😉
Awww thanks so much Andrey! We’re so glad you’re learning and enjoying them!
Aaron thanks so much for the tutorial! Question – why don’t you convert pictures to smart objects when you use filters? So if you mess it up you can always come back or undo them, instead of starting from scratch! I have done so to use the liquify tool and then you can stack different filters (or 2 liquify tools, for that matter), and change them or manipulate them independently.
Cool tutorial as always! Thank you. Aaron can you share names of your favorite retouchers and PS masters? Very interesting who inspiring you and where you get all these ideas 😀