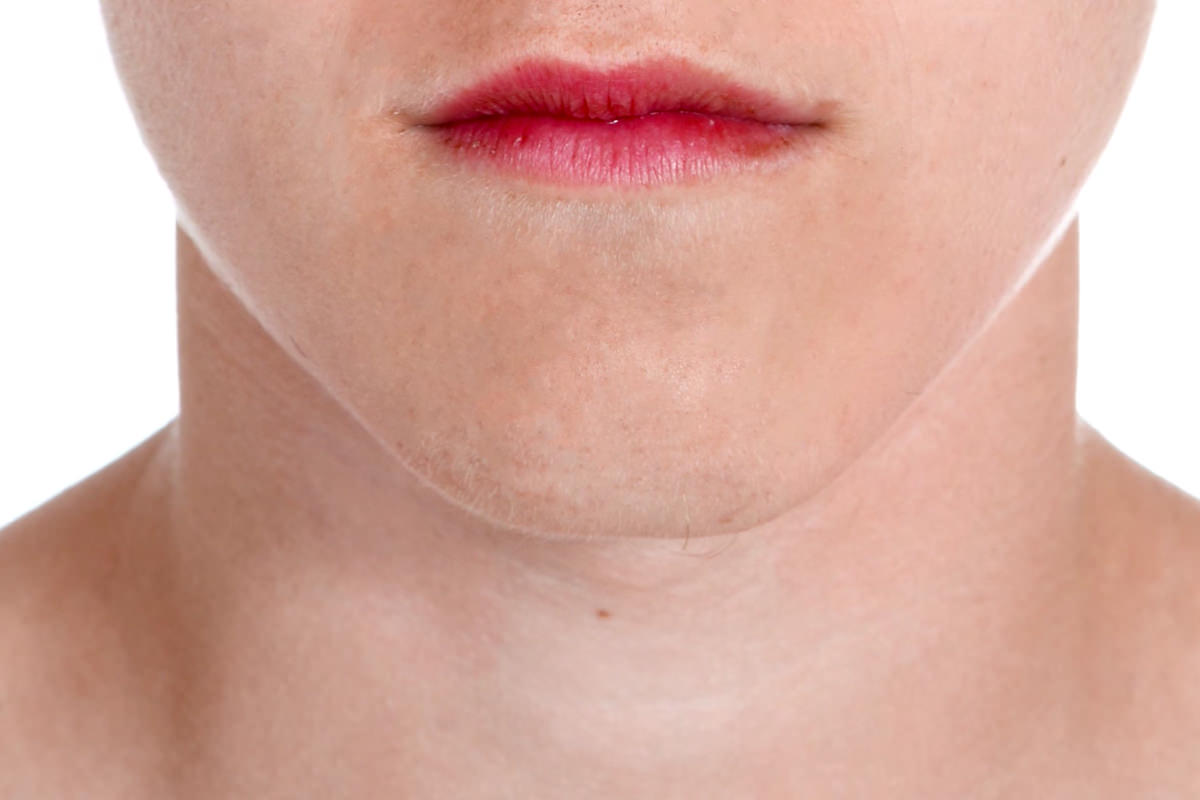

description
Learn how to remove acne in Photoshop by splitting the job into a color pass and a texture pass. A Hue/Saturation layer set to the Reds channel, with its color range slider narrowed, neutralizes blemish redness without flattening the rest of the skin, and the lips get masked back in. From there the Spot Healing Brush set to Content-Aware clears the individual spots and then the blotchier areas, and a soft layer of sampled color restores the natural variation real skin has.
Enjoying This Free Tutorial?
We publish a new free tutorial every week, each one with sample images and PSDs you can download and follow along with. Sign up and they land straight in your inbox, along with early word on sales, events and subscriber-only offers.

How to Remove Acne in Photoshop
Acne creates two separate problems in a photo, the redness left behind and the texture of the blemishes themselves, and tackling the redness first makes the texture work go much faster. This tutorial isolates and neutralizes redness with a targeted Hue/Saturation layer, then uses the Spot Healing Brush’s Content-Aware option to remove blemishes and smooth blotchy texture, finishing with a touch of natural color restored to the skin.
Isolating Reds With a Hue/Saturation Adjustment Layer
Targeting just the red color range in a Hue/Saturation layer, rather than the whole image, keeps the adjustment focused on exactly the areas causing trouble.
-
Add a Hue/Saturation Adjustment Layer
Add a Hue/Saturation adjustment layer above the image.
-
Select the Reds Channel
Click the channel dropdown and choose Reds instead of Master, so the adjustment only affects that color range.
Using the Color Range Slider to Target Just the Pimples
The small slider beneath the color range bar narrows exactly which reds get affected, and pushing it can isolate individual pimples from the rest of the skin’s natural tone.
-
Temporarily Exaggerate Hue and Saturation
Temporarily crank up both Hue and Saturation on the Reds channel to make the affected areas clearly visible, such as by shifting them to a bright green.
-
Drag the Color Range Slider Left
Drag the small slider in the middle of the color range bar to the left until it targets specifically the pimple areas rather than all of the skin’s reds.
Why Preview With Exaggerated Colors Before Neutralizing
Trying to judge which exact areas a subtle red adjustment will affect is difficult when the change itself is small and hard to see. Temporarily pushing Hue and Saturation to an obvious color like bright green makes it immediately clear which areas, including the lips and every pimple, are actually being targeted before dialing the adjustment back to something natural.
Neutralizing Redness to a Natural Skin Tone
Once the targeting is confirmed, resetting the exaggerated preview and dialing in a subtler shift brings the redness down to a natural skin color instead.
-
Reset Hue and Saturation
Bring both Hue and Saturation back to zero now that the targeting is confirmed.
-
Shift Hue Toward Skin Tone
Nudge the Hue slider to the right for a color closer to natural skin tone.
-
Raise Lightness and Saturation to Match
Raise Lightness and bring Saturation back up slightly until the targeted areas match the surrounding, unaffected skin.
Restoring Color to the Lips
Because the lips fall into the same red range as the acne, the adjustment ends up affecting them too and needs to be masked back out.
-
Paint Black Over the Lips on the Layer Mask
Select the Hue/Saturation layer’s mask, choose a regular brush set to black, and paint over the lips to bring their natural color back.
Removing Individual Blemishes With the Spot Healing Brush
With the redness handled, the Spot Healing Brush’s Content-Aware option removes the individual raised spots quickly, sampling the surrounding skin automatically.
-
Create a New Layer
Create a new layer above the Hue/Saturation adjustment.
-
Set the Spot Healing Brush to Content-Aware
Select the Spot Healing Brush, choose Content-Aware, and turn on Sample All Layers so the healing happens on the new empty layer.
-
Paint Over Each Visible Spot
Match the brush size roughly to each blemish and paint directly over the raised, visible spots in a first pass.
Smoothing Blotchy Texture With a Second Pass
A second pass with the same Spot Healing Brush targets larger blotchy areas of texture and uneven tone left after the individual spots are gone.
-
Zoom Out to See Blotchy Areas
Zoom out to spot larger blotchy or uneven areas of texture that weren’t targeted as individual spots.
-
Paint Over Blotchy Areas
Paint over these larger areas with the same Content-Aware Spot Healing Brush, letting it sample more even skin nearby to fill them in.
-
Redo Any Unsatisfying Results
Use the Eraser tool to undo any spot that doesn’t look right, or simply paint over it again, since each pass samples a different part of the image.
Why Getting Rid of Redness Comes Before Spot Healing
Trying to heal away blemishes while the surrounding skin is still inflamed and red would leave the Spot Healing Brush sampling and spreading that same redness around. Neutralizing the color first means the skin the brush samples from is already close to a natural tone, which is why the texture pass afterward takes far less time and looks more even.
Adding Back a Touch of Natural Skin Color
Skin naturally has small variations in color across the face, so a subtle layer of color painted back in keeps the finished result from looking artificially flat.
-
Sample a Color From the Lips
Sample the natural color already present in the lips.
-
Paint on a Soft Light Layer
Create a new layer, change its blend mode to Soft Light, and paint the sampled color lightly over areas of the face.
-
Lower Opacity to Taste
Lower the layer’s opacity until the added color reads as a subtle, natural variation rather than an obvious tint.
Why Add Color Back In After Removing Acne
Neutralizing all the redness in the skin can leave a face looking uniformly one color, which isn’t how real skin actually looks even without acne. Painting a small amount of natural color back in on a Soft Light layer restores the subtle variation real skin has, keeping the retouched result from looking artificially flat or overly processed.
Why This Approach Works
Isolating just the Reds channel and narrowing the color range slider is what lets the redness adjustment target pimples specifically, rather than shifting every red tone in the skin including the lips. Neutralizing color before reaching for the Spot Healing Brush is what keeps the healing tool from sampling and spreading around skin that’s still inflamed, which is why the texture pass afterward goes so quickly. Adding a small amount of natural color back in at the very end is what keeps the finished skin from reading as artificially flat once all the redness and texture work is done.
Final Thoughts
Splitting acne removal into a color pass followed by a texture pass, rather than trying to fix everything with one tool, is what makes the whole process go faster and look more convincing. The same targeted Hue/Saturation and Content-Aware Spot Healing combination works well beyond acne too, for any blotchy or uneven skin tone that needs smoothing out.
Quick Reference: Keys, Menus and Settings
- Target the redsHue/Saturation layer, Master to Reds
- See the targetCrank Hue and Saturation, drag the middle range slider left, then reset to 0
- NeutralizeHue a little right, raise Lightness and a little Saturation
- Restore the lipsPaint black on the Hue/Saturation mask
- Heal the spotsSpot Healing Brush J: Content-Aware, Sample All Layers, on a new layer
- Add color backSample the lips, paint on a Soft Light layer, lower opacity
Removing Acne: Common Questions
Should I remove the redness or the blemishes first?
The redness. Once the color is neutral, the Spot Healing Brush pass goes much faster, because most of the work is already done.
How do I change only the red areas of the skin?
Add a Hue/Saturation adjustment layer and switch the dropdown from Master to Reds. The sliders then only affect that color range.
How can I see exactly which areas I’m adjusting?
Temporarily crank Hue and Saturation on the Reds so the targeted areas turn bright green. Once you can see the pimples light up, set both back to zero.
What does the small slider under the color bar do?
It narrows which reds are affected. Dragging the middle slider to the left made it target just the pimples instead of every red in the skin.
What settings make the red spots look like skin?
Nudge Hue a little to the right, raise Lightness, and bring Saturation up slightly until the spots match the skin around them. There is no single number; match it by eye.
Why did the lips lose their color?
Lips fall in the same red range as acne. Click the Hue/Saturation layer mask and paint black over the lips with a regular brush to bring their color back.
What Spot Healing Brush settings should I use?
Choose Content-Aware and turn on Sample All Layers, then work on a new empty layer. Keep the brush about the size of each blemish.
How do I fix blotchy skin after the spots are gone?
Zoom out and make a second pass with the same brush over the larger blotchy areas. If a result looks wrong, erase it or paint over it again; it samples a different area each time.
Why does the skin look flat after removing redness?
Real skin has small color changes. Sample a color from the lips, paint it on a new layer set to Soft Light, and lower the opacity a lot.
Master Photoshop, Lightroom and Photography
Join PHLEARN PRO for $12.99 a month or $99.99 a year. Cancel anytime, with a 100% money-back guarantee.





