Download Sample PSD
Click the link below to download the sample images and follow along with this tutorial.
DownloadTutorial Description
Whether you’re trying to nail the perfect composition or trying to achieve a particular effect, the Puppet Warp Tool is a great way to make adjustments to a subject’s pose in Photoshop. Learn how to use Puppet Warp to realistically move a model’s limbs into almost any position!
Learn all of the tools Photoshop has to offer in our comprehensive Beginner’s Guide to Photoshop or create your own levitation effect with the skills you’ll learn in the Beginner’s Guide to Levitation.
Making a Selection
Before using the Puppet Warp Tool, you’ll want to make a selection of the body parts that need adjustment. We recommend using the Pen Tool for selecting limbs since it’s the most accurate tool for making cutouts in Photoshop.
Not comfortable with the Pen Tool? Check out our free and PRO tutorials that cover everything you need to know!
And if you’re following along with our example, we’ve already made the selection! Just looks under the Paths tab in the sample PSD.
Once the selection is made, just duplicate the limbs so that they’re on their own Layer.
Using Puppet Warp
Once the subject’s limbs are on a new Layer, go to Edit and select Puppet Warm. The Puppet Warp Tool gives you the ability to create points along an object and then use those points to to change the shape of that object.
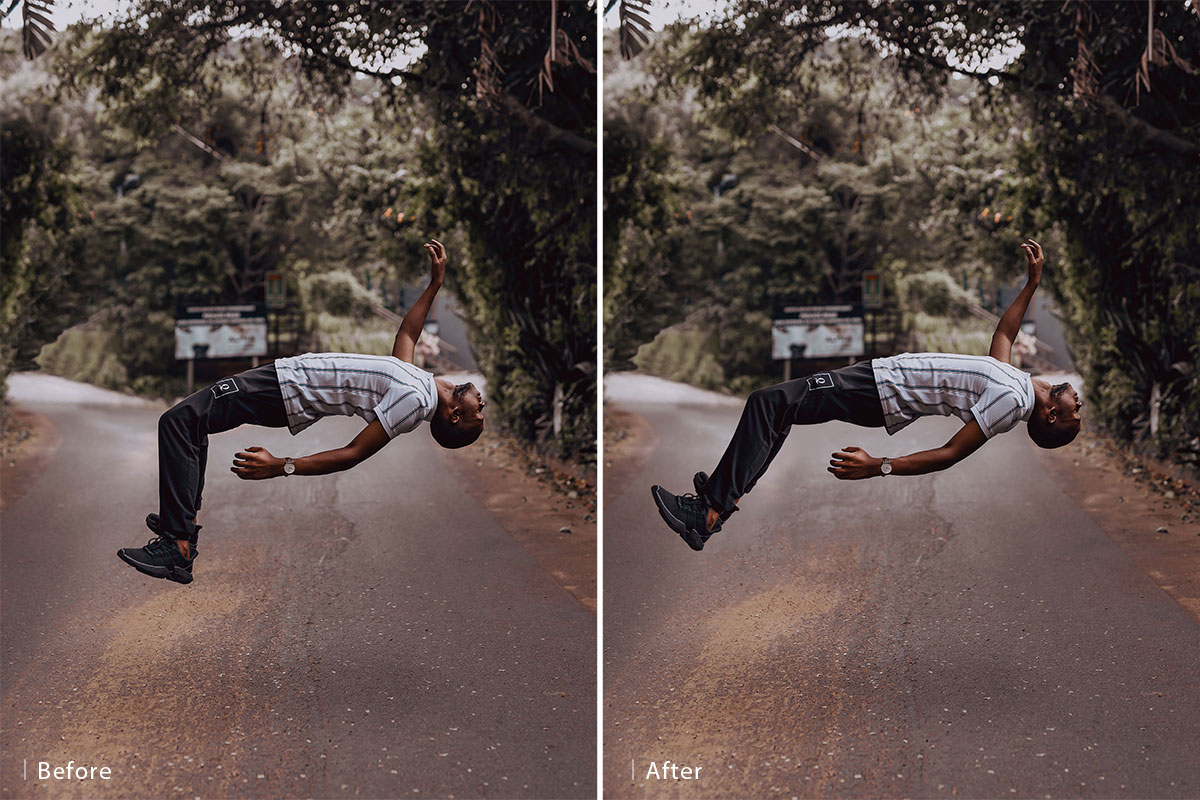
In the case of our example, we want to take the subject’s legs, which are bent, and use the Puppet Warp Tool to straighten them. To so this. we created two points at the hips to lock them in place, one point at the knee (remember to try and place points around joints or areas that naturally pivot), and one at the foot.
Once the points were created, we just clicked on the point at the foot and dragged upwards until the legs were in a position we liked. Depending on the size or complexity of the object you’re adjusting, more or less points may be required to get the shape and position you want.
Don’t forget, you can also use the Liquify Tool to reshape an area even further–best used if a Puppet Warped object looks distorted or unrealistic.
Remove the Original
Once the limbs are adjusted, the last step is to remove the original limbs from the background image. Since we always want to work non-destructively, be sure you do any object removal on a new Layer above the background Layer.
We recommend using the Spot Healing Brush and the Clone Stamp Tool on a new Layer above the background to remove the original object(s).