Description
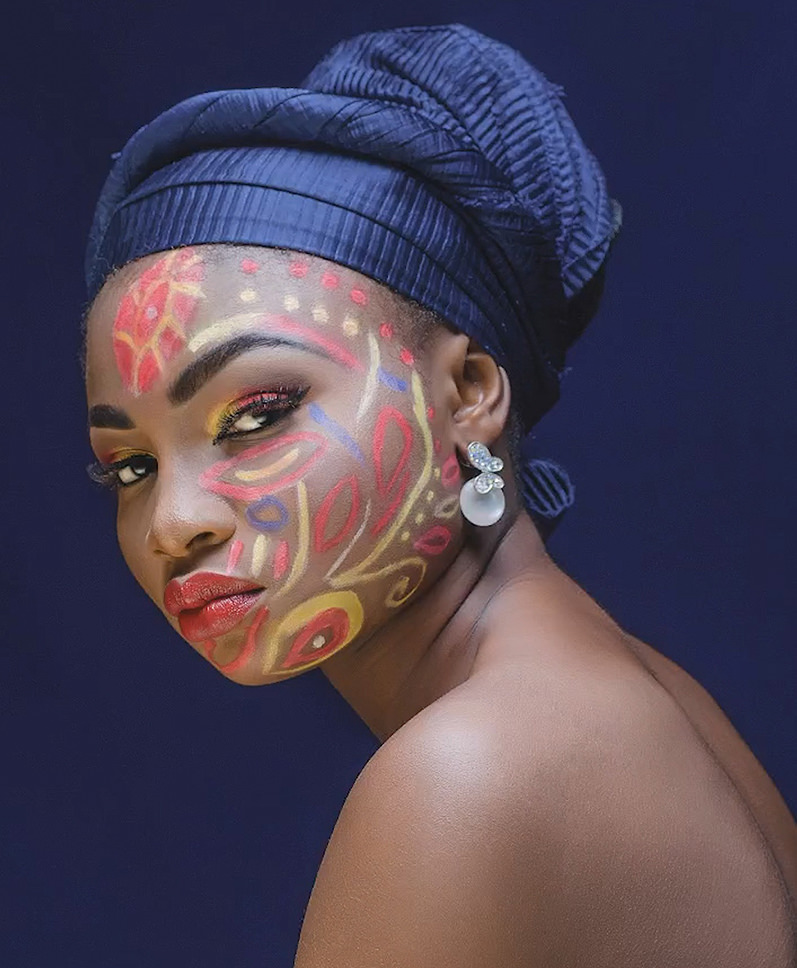
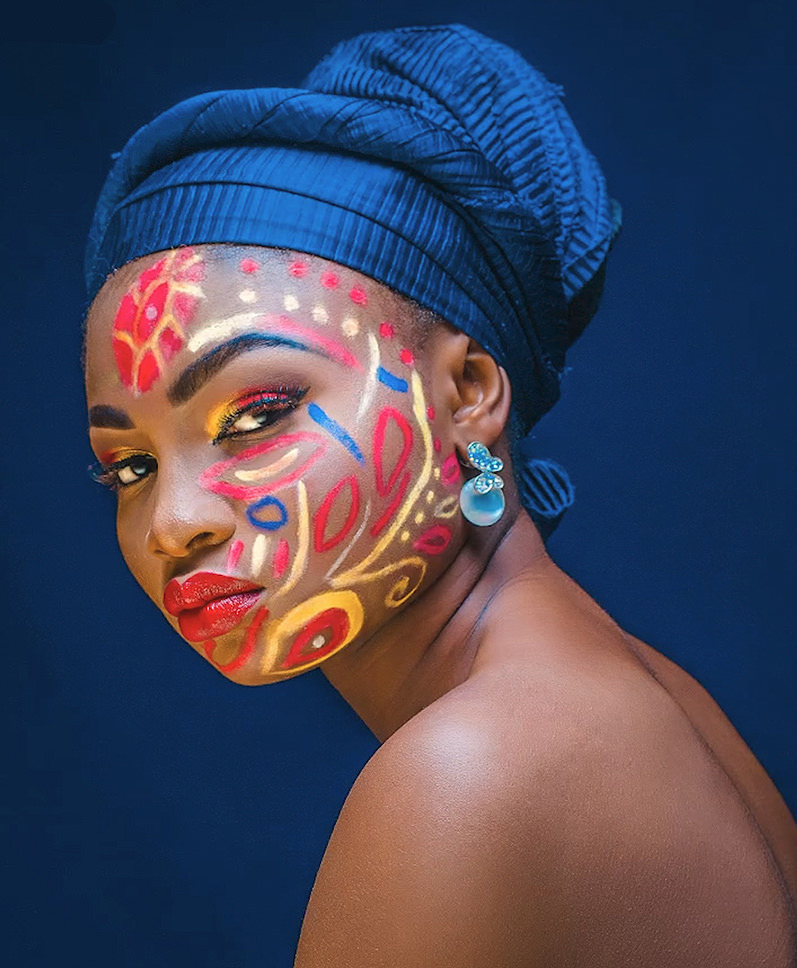
If you want colors that pop off the screen, you came to the right place! Join as we show you how to create bold and vibrant looks in both Lightroom and Photoshop.
Learn how to target and enhance specific colors, make subtle adjustments to exposure, and protect delicate skin tones so that your subjects look their best while you dial up the colors around them. We even include Lightroom Presets so that you can get started right away!
THIS COURSE INCLUDES
- 4 Sample Images
- 2 Lightroom Presets
watch next
Share
Course Downloads
Color That Stands Out
Bold & Vibrant Coloring in Lightroom & Photoshop
This course is all about finding the colors in our images and using Lightroom and Photoshop to bring them to life. Learn to use powerful tools to target specific colors and then control hue, saturation, and lightness to help them stand out. Best of all, these techniques will work no matter what kind of photos you work with!
Lightroom Presets Included
Lightroom Presets are a great way to find inspiration while also saving some time. We include two Lightroom Presets that you can use to get a jump start on your edits. Learn how to use the included Lightroom Presets to quickly add beautiful coloring to any photograph!
Create Beautiful Looks from Scratch
Coloring is one of the most creative processes in a photo editing workflow. Follow along as we show you how to take any photo and build your own beautiful looks from scratch using a combination of professional tools and techniques in both Lightroom and Photoshop.
Bold Looks in Just a Few Minutes!
More images are taken now than ever before and when you need yours to stand out from the crowd, coloring is a great place to start! We show you how to create looks that take advantage of the naturally-occurring colors in a photo by enhancing them and making slight shifts in hue. This allows you to create beautiful, eye-catching palettes that are equal parts bright and bold.
Basics of Color Theory
Colors are at their best when they work together. We show you some basic approaches to identifying and creating looks that take advantage of some of the most powerful color combinations. Want to learn more? Build a foundation in color and color theory in How to Master Color & Tone in Photoshop!
Brighten Images, Lift Shadows
Most images can benefit from some level of general brightening or just lifting up the shadows. We show you how to brighten any photo in Lightroom and Photoshop using precise, non-destructive tools. Learn how to target just the shadows to recover important details that were lost, or brighten a specific part of an image to draw more attention to the things that matter most.
Enhance the Colors in Your Photos
Warm Skin Tones
Skin is one of the most beautiful things to photograph, but one of the most delicate things to handle in the editing process. We show you how to enhance the colors in an image without damaging the natural oranges and reds in skin so that your subjects look great and the colors jump of the screen.
Tone Curves in Lightroom
Learn all about the most powerful coloring tool in Lightroom Classic: the Tone Curve! From targeting the highlights and shadows of a photo to targeting specific colors and color ranges, this amazing feature can help you dial in the perfect look with professional results.
Adjustment Layers in Photoshop
When it comes to general photo editing in Photoshop, Adjustment Layers should be your go-to tools. Allowing everything from exposure adjustments to detailed coloring, they can be combined and mixed in ways that can create beautiful, unique looks. And best of all, they’re entirely non-destructive, meaning you can get back to your original, unedited image in a snap.
Adjust Exposure
The brightness and exposure in a photo has a lot to do with how the colors turn out. If an image is underexposed, the colors will look muted and desaturated. If an image is overexposed, the colors will look a little too intense. We show you how to balance exposure and then dial in the coloring for a balanced and powerful final image.
Vibrance & Saturation
You might have noticed that some photo editing programs offer two different tools that give you control over the intensity of colors: saturation and vibrance. Learn the differences between saturation and vibrance and when to use each when you want colors that look both amazing and natural.
More Coloring Styles
If you enjoyed this course, we have an entire series on creating different styles and looks in both Lightroom and Photoshop. From Dark & Moody, to Bright & Airy, to a little more old-school feel, we’ve got stunning looks and techniques for everyone!

Aaron Nace
PHLEARN Founder – Class Instructor
Aaron Nace is a photographer, Photoshop artist and founder of PHLEARN. He is the #1 Photoshop instructor in the world with millions of YouTube subscribers.
Reviews
New & Popular Tutorials
Training Site in
the World
Tutorials!
Ratings
and Counting
Subscribers







Great. Simple and clear
Great tutorial 🙂 just find it so stupid that you can’t use a tablet on camera raw. they better fix that or imma go nuts.
Awesome tutorial, presented in a easy to understand manner.
Awesome tutorial, easy to follow and understand. Such powerful tools explained very simply. Really enjoyed this.
Yet another great tutorial that is made for beginners and pros as well. Your explanations and different ways on how to achieve a result are easy to understand. Love, that you always explain why you do what you do. That way I learn for what I have to watch out and how I can replicate it on other images. If you learn the how and not the why you’ll be at a loss to use what you learned – not happening with your tutorials on phlearn 🙂 And like always I learned something new (or get reminded of a function I forgot about). I kinda neglected hue/saturation and used curves instead to (try to) change colors. Thanks for reminding me of the powerful tool and how to use its magic 🙂
Always, always excellent instructions and easy to follow! I have been using these tools but not really fully understanding them until now. Such wealth of information! Thank you so much!
Watching these videos I know I don’t make enough use of the colour tools at all. Loved the Range Mask parts as I’ve always had problems using this tool, your explanation was really clear, thanking. Jules
I have been way watching you for hears and whenever I I find something new there is always something to learn from beginner though pro. Finding new ways of approaching editing is always interesting and you provide a very detailed but fun way to learn. Thank you for the years of education you have given me . Dan Lane Wiliams
Short and to the point. Not hard but essential. Tutorials like this go into my ‘Do again’ list. And again, and again.
I am happy to see that you are using Lightroom in more of your teaching. I find that I am able to use Lightroom for Tone, Color, and Sharpening. Therefore, I rarely need to use Photoshop, and I have the advantage of working with raw files and having files around forty times smaller. Photoshop is still great for compositions.
Yeah…what a great tutorial…put that pop in your pics. I really liked the LR bit as that is much easier to understand as I use LR a lot more than PS. Great…keep the LR tutorials coming…..thank you Chris.