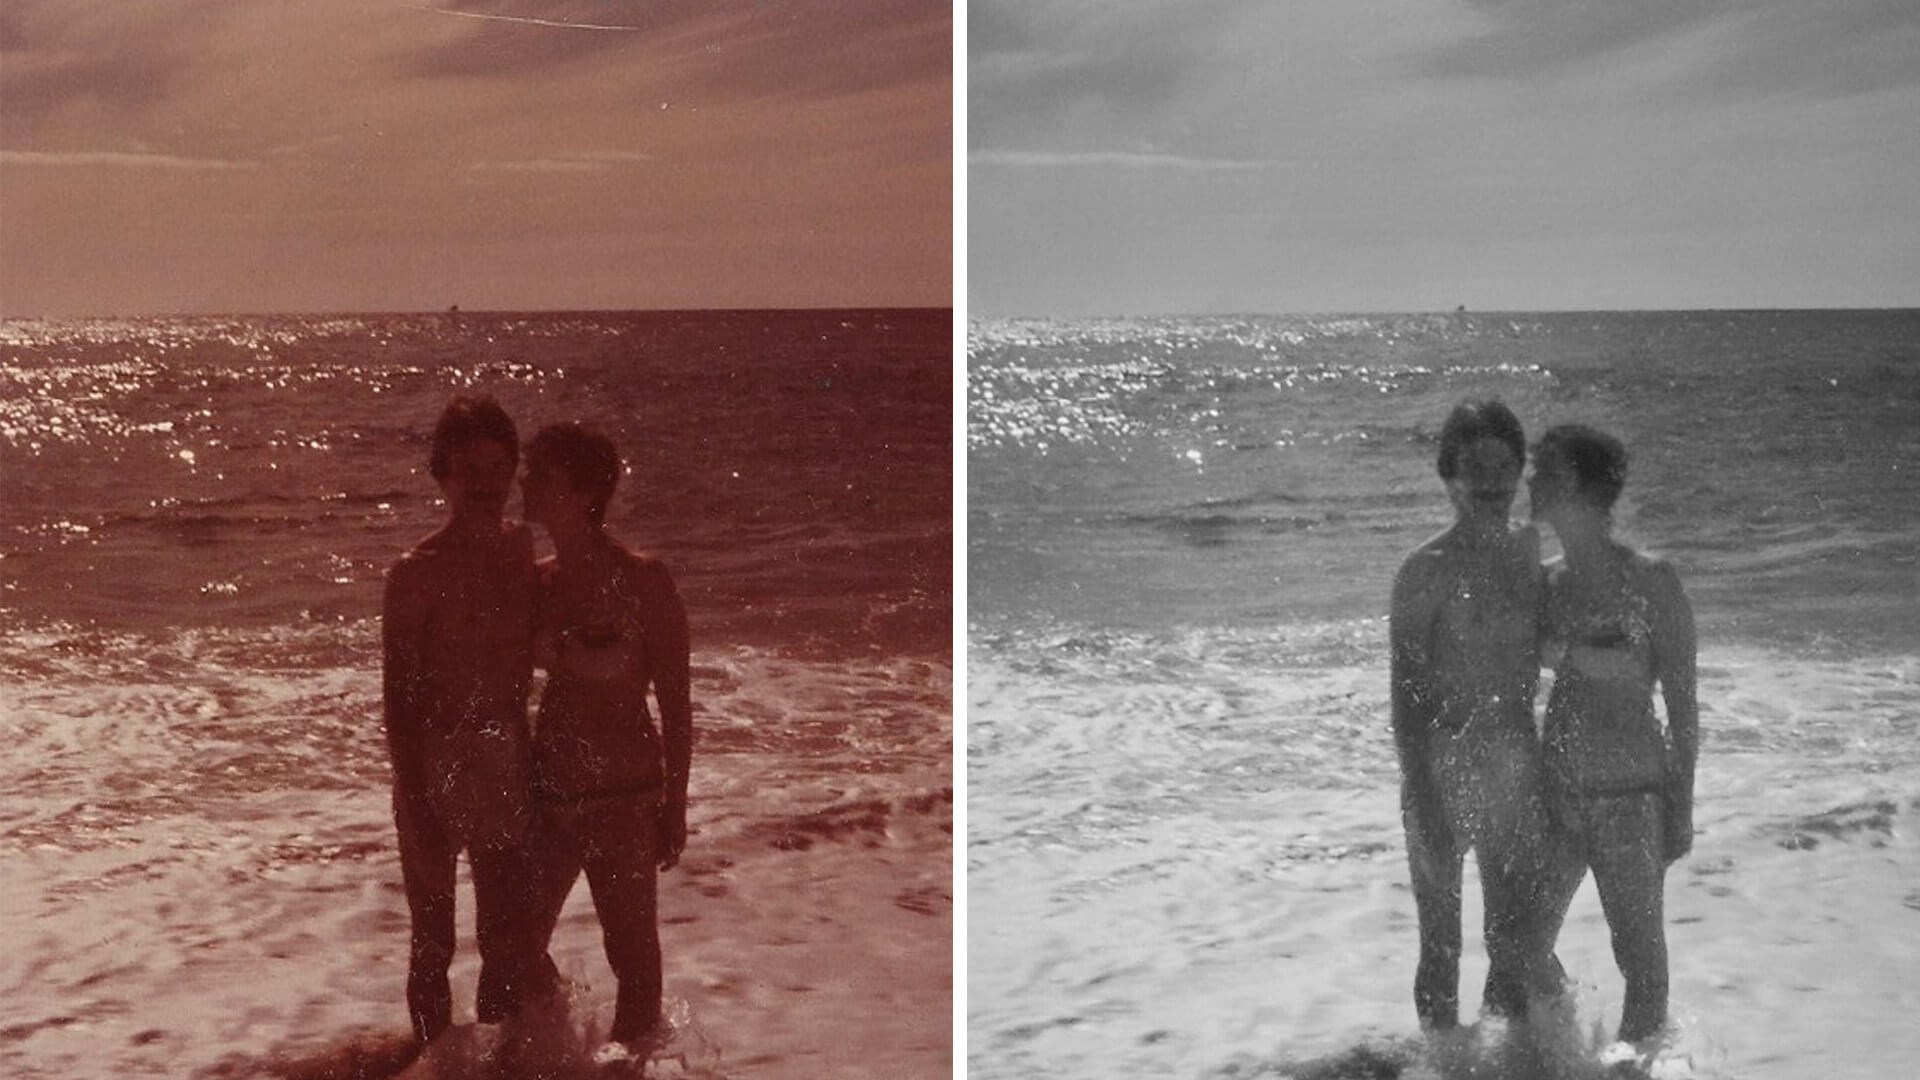

Download Sample Image & PSD
Download Assets
This tutorial includes 2 sample images, 1 sample PSD and 1 PDF guide. Downloads are free with a PHLEARN account.
- Download the sample images and PSDs from every free tutorial on PHLEARN
- New free tutorials published every week
- One free account — sign up once, then download anything
Free PDF Guide · 3 Pages
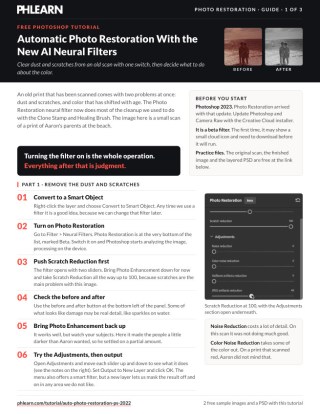
This Tutorial as a Step-by-Step PDF
The guide walks through Convert to Smart Object, Filter > Neural Filters > Photo Restoration with Scratch Reduction at 100, Colorize as a separate pass output as a new color layer, painting that layer with the Brush, then Image > Apply Image and Camera Raw masks with Select Background and Select Subject. Keep it next to your keyboard.
description
Photo restoration in Photoshop used to mean an hour with the Clone Stamp. The Photo Restoration neural filter now clears most of the dust and scratches with a single switch.
Learn how to use Adobe Photoshop Neural Filters for automatic photo restoration. Photo restoration in Photoshop is now mostly one switch: the Photo Restoration neural filter clears dust and scratches, and Colorize has a go at the faded color.

Enjoying This Free Tutorial?
We publish a new free tutorial every week, each one with sample images and PSDs you can download and follow along with. Sign up and they land straight in your inbox, along with early word on sales, events and subscriber-only offers.
Photo Restoration in Photoshop, in One Click and Then by Hand
An old print that has been scanned comes with two problems at once: it is covered in dust and scratches, and the whole thing has gone orange. Both used to be slow, careful work with the Clone Stamp and the Healing Brush. The Photo Restoration neural filter now does most of the first job by itself, and the Colorize filter has a go at the second.
What follows is the order used in the tutorial on a scan of a small print, including where each filter earned its place and where it did not.
Convert to a Smart Object First
Right-click the layer and choose Convert to Smart Object before you open any filter. Neural filters are no exception. Do it first and the filter settings stay live, so you can reopen Photo Restoration a week later and change the sliders instead of starting over.
Finding Photo Restoration in Neural Filters
Go to Filter and then Neural Filters. Photo Restoration sits at the very bottom of the list, marked as a beta. The first time you use it you may see a small cloud icon next to it, which means the filter still has to download before it will run.
Turning the switch on is the whole operation. Photoshop analyzes the image and starts working on the device.
The Two Sliders That Do the Work
Photo Restoration opens with Photo Enhancement and Scratch Reduction. On a scan whose main problem is scratches, Scratch Reduction is the one to push, and taking it all the way to 100 is not unreasonable.
Photo Enhancement is worth bringing up too, though watch your subjects: it can darken faces more than you want. The before and after toggle inside the filter is the fastest way to judge it, and it is worth clicking a few times rather than trusting the preview alone. Some of what looks like damage may be real detail, such as sparkles on water.
The Adjustments Panel, and When to Leave It Alone
Under Adjustments there is Noise Reduction and Color Noise Reduction. Noise Reduction costs detail quickly, and on a small scan there is not much detail to spend, so it often does more harm than good.
Color Noise Reduction pulls some of the color out. On a print that has gone red with age that is not a loss, which is a good example of a slider being useful on one image and pointless on another.
Output to a New Layer, Not the Original
The output menu offers a new layer or a smart filter. A new layer is the safer choice, because it lets you mask the result on and off wherever the filter got something wrong. Nothing about the restoration is then permanent.
Colorize, and Why Image Size Decides the Result
Colorize is in the same Neural Filters panel, and it reads a scene well: it recognizes people, sky and water, and assigns plausible color to each. It rewards detail, so it does its best work on large images with plenty of information and its weakest on a small scan.
Beyond Auto Color Image there are profiles to try, and a manual mode. In manual coloring you click a region, tell Photoshop what color it should be, and it applies that to the area it has identified: click the water and choose a blue, click the sky and choose something brighter, then pull the saturation back when it overshoots.
Output Colorize as a new color layer, and run it as its own pass. In the recording Photo Restoration was still switched on when Colorize was output, and the dust and scratches were still there. The fix was to hide that color layer, go back to Filter and then Neural Filters, and run Photo Restoration by itself to a new layer, with Scratch Reduction at 100 and Photo Enhancement down a little. That leaves one restored layer with the color layer above it. Because that layer is already set to the Color blend mode, you can pick up the Brush, hold Alt or Option to sample a color you like, and paint over the areas the filter got wrong. Lowering the layer opacity lands you somewhere between the filter result and the original, which is often where the truthful version sits.
Finishing With the Camera Raw Masking Tools
Add a new empty layer above everything, then use Image and Apply Image to collapse what you can see onto it. Convert that to a Smart Object and open the Camera Raw Filter.
In the masking panel, Select Background gives you the scene behind the people, where dropping the highlights and adjusting exposure adds back some of the dynamic range a faded print has lost. A second mask made with Select Subject picks out the people so their exposure and contrast can be set separately. Select Objects was actually tried first, clicking on each person and holding Alt or Option to subtract. It worked okay, but that mask was deleted in favor of Select Subject, which worked a lot better. None of these masks are painted by hand.
When the Colorized Version Is Not the One to Deliver
On this particular scan, Colorize got close without being convincing, and the remaining orange cast read as wrong rather than vintage. A Black and White adjustment layer on top of the whole stack was the honest answer, with the option of letting a little color through underneath.
That is worth saying plainly: the restoration worked, the colorization did not, and the finished file is better for admitting it. With a larger, more detailed scan the same Colorize filter can be excellent.
What Actually Changed
The starting point was a heavily orange print covered in dust and scratches. A few clicks later the dust and scratches are almost entirely gone, the tone is balanced, and every stage is still a live filter on a Smart Object.
The traditional tools have not gone anywhere. Neural filters take the tedious part off your hands, and the Clone Stamp, the Healing Brush and a layer mask are still there for whatever is left.
Quick Reference: Keys, Menus and Settings
- Keep it editableRight-click the layer > Convert to Smart Object
- Remove scratchesFilter > Neural Filters > Photo Restoration: Scratch Reduction 100, Photo Enhancement to taste, Output: New Layer
- Add colorColorize as its own pass: Auto Color Image or click areas to color by hand; Output as New Color Layer
- Fix the colorB, Alt/Option-click to sample, paint on the color layer; lower its Opacity
- Stamp what you seeNew layer, Image > Apply Image, then Convert to Smart Object
- Tone with masksFilter > Camera Raw Filter > Masking: Select Background, then Select Subject
- DeliverBlack & White adjustment layer on top; Shift-click the new layers and group them
Free Downloads
Follow Along on the Same Scan
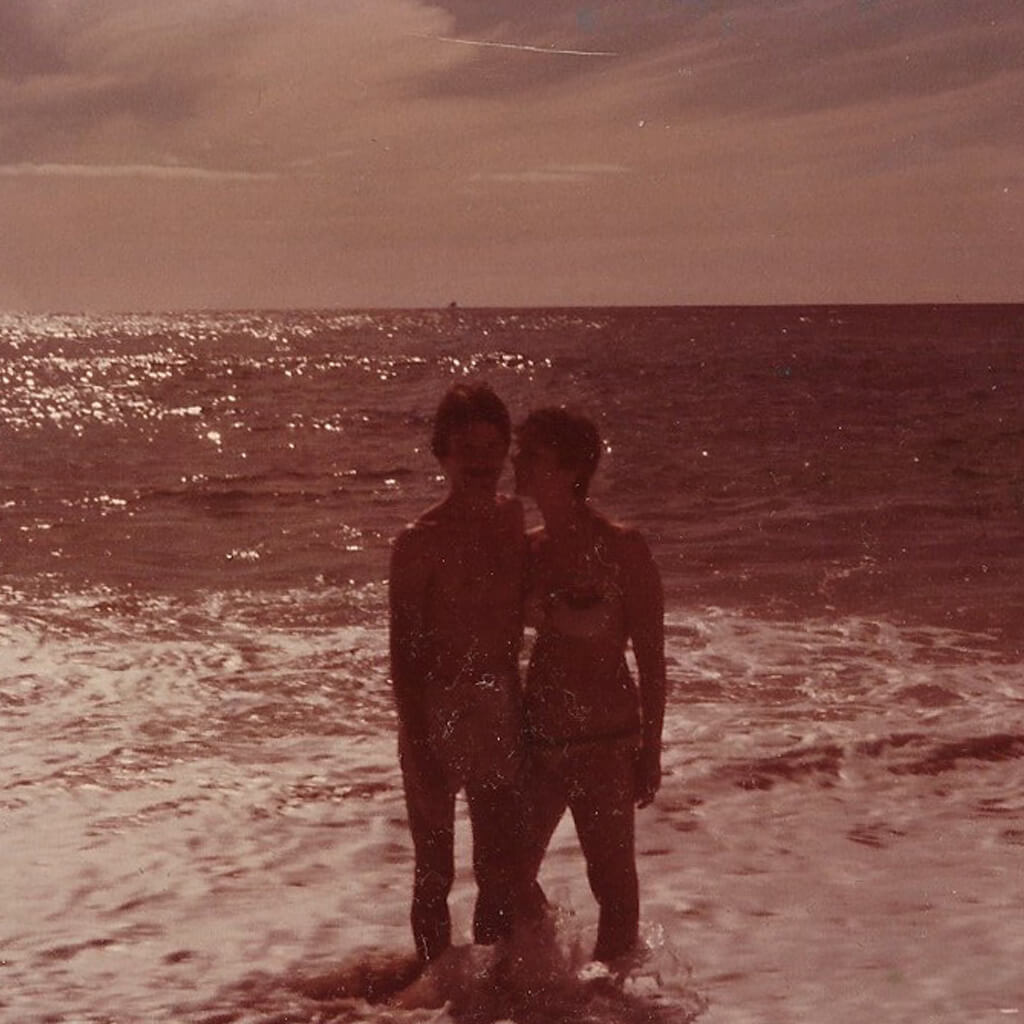
Get the original beach scan, the finished version, the layered PSD with the neural filters still live and the 3-page PDF guide. Free with a PHLEARN account.
AI Photo Restoration: Common Questions
Where is Photo Restoration in Photoshop?
Go to Filter > Neural Filters. Photo Restoration is at the very bottom of the list, marked Beta. If it shows a small cloud icon, it has to download before it will run, so update Photoshop with Creative Cloud first.
Why convert to a Smart Object first?
Right-click the layer and choose Convert to Smart Object before any filter. That way you can come back and change the filter later instead of starting over.
What settings remove the dust and scratches?
Switch Photo Restoration on and take Scratch Reduction all the way up to 100. Use the before and after button to check it, since some of what looks like damage may be real detail, like sparkles on water.
Why did the people in my photo get darker?
Photo Enhancement is too high. It works well, but it can darken faces, so bring it down to a partial amount.
Should I use Noise Reduction on an old scan?
Usually not on a small scan. Noise Reduction costs a lot of detail. Color Noise Reduction takes some color out, which can help on a print that has turned red with age.
Why are the scratches still there after Colorize?
Photo Restoration and Colorize were switched on together. Run them as two passes: hide the color layer, go back to Filter > Neural Filters and run Photo Restoration by itself to a new layer.
Can I tell Colorize what color something should be?
Yes. Uncheck Auto Color Image, click an area in the small preview and pick its color, such as a blue for the ocean. Pull the saturation down if it overshoots. Colorize works best on large images with a lot of detail.
How do I fix areas Colorize got wrong?
Check Output as New Color Layer. That layer is already set to the Color blend mode, so press B, Alt/Option-click a good color and paint over the wrong area. Lower the layer’s Opacity to land between the colorized version and the original.
How do I adjust the people separately from the background?
Make a new layer, use Image > Apply Image, convert it to a Smart Object and open Filter > Camera Raw Filter. In Masking, Select Background for the scene, then a new mask with Select Subject for the people. Select Objects worked okay, but Select Subject worked a lot better here.
Are the sample files free?
Yes, with a free PHLEARN account. You get 2 sample images, 1 sample PSD and 1 PDF guide: the original scan, the finished image, the layered PSD with the neural filters still live and a 3-page step-by-step guide.
Master Photoshop, Lightroom and Photography
Join PHLEARN PRO for $12.99 a month or $99.99 a year. Cancel anytime, with a 100% money-back guarantee.





